N2PZ in the Paint Shop - Page 145.
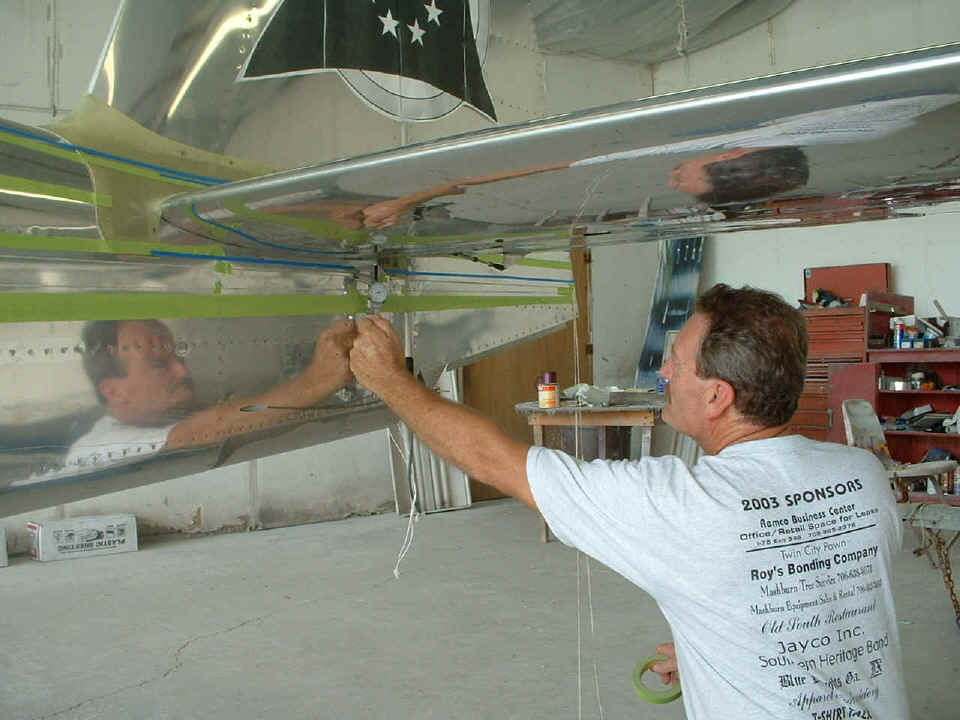
July 5, 2005: This is Bill Pinion doing what
he does so well to insure a good paint job.
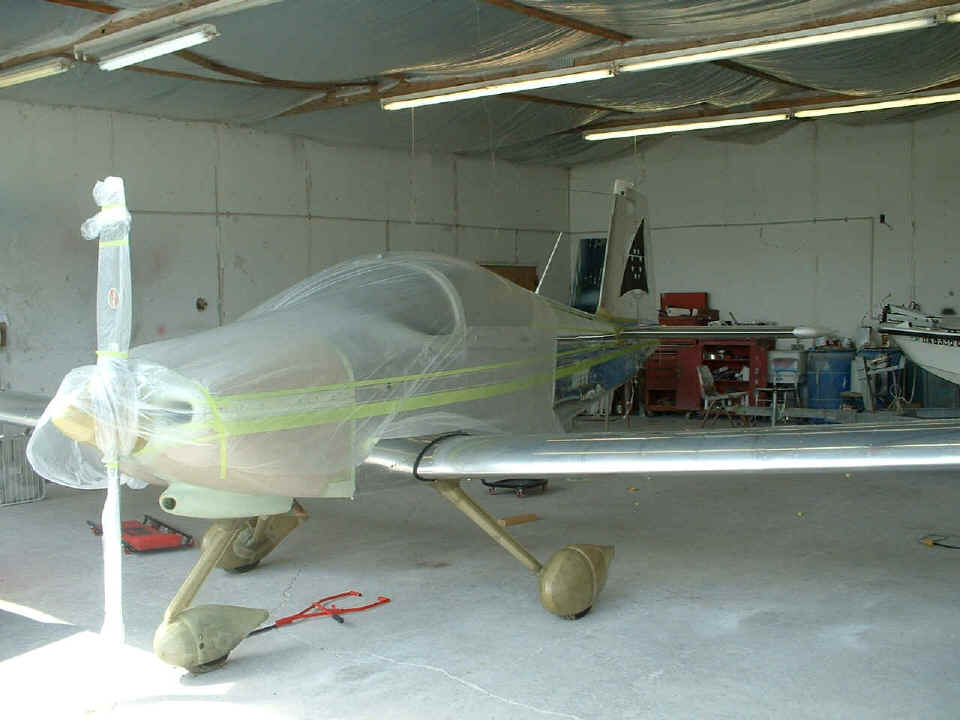
The last shot of the day shows the plastic protecting the canopy, cowl, and
prop from any overspray from the boat repair being completed in the back of the shop.
When I drove to the shop at 9 AM this morning, there was a Cessna 172 that had just
been completed sitting where my airplane sits in this photo. The 172 is outside
awaiting the arrival of its owner. It had been moved out of the shop by the time I
flew in with my airplane at 10 AM this morning. We all headed for home around 5 PM.
Tomorrow, the control surfaces and the fairings all come off. The wheel pants will get a similar gold and blue trim treatment as the side of the fuselage has received. Come back tomorrow for the details.
July 6, 2005: I have been at the paint shop for much of today. The control surfaces all came off, along with the fairings and wheel pants. I also took off the canopy and showed the guys how to put it back ON as needed during the next few days. The Koger sun shade has also been removed from the inside of the canopy. The cowl is off the airplane for cleaning and preparation for painting. I sealed the two front access hatches with clear RTV to protect the electronics behind the instrument panel.
It was a busy day for me and the guys in the shop, Bill and Jeff. I will be going by there only briefly early in the morning to drop off some simple artwork printed on paper. After that, I will be going to the graphics shop to go over my files from Corel Draw. The graphics shop uses Corel also, so this will be an easy meeting. I will be discussing my other graphic needs with them as well, not just the exterior logo and masks for Bill to use in his painting of N2PZ.
I will take a picture in the morning showing the status of the airplane at that time. As I left the paint shop late this afternoon, they were getting ready to wash and clean the entire airplane of oil residues from the rolling mill for the aluminum skins. The process of scuffing the entire surface will also begin. At this point, I don't have much to do on the airplane, so I will be heading to Florida for some contract work on a publishing project. That will keep me busy for a few days and earn a little something to buy AVGAS when needed.
July 7, 2005: I changed my schedule around a bit today, but I did start with the graphics shop to get the "stars" logo file tranferred with some minor changes to it. I had some non-airplane chores to do after that, including getting the car through the emissions testing facility for a license plate nenewal. I also got the oil changed in the car for the upcoming trip to Florida. I got home for lunch and in time to receive a package delivered by FEDEX from Flightline Interiors with my remaining interior seating components and the aileron pushrod boots.
I finally got to the paint shop to drop off the wing walks and my parts bins to give them some extra screws to use as needed while I am away next week. I also ordered some additional hardware, wing tie-down kit, and some charts from Spruce to be delivered tomorrow via UPS. I called Van's Aircraft and placed an order for a light-weight canopy cover that I can use when the airplane is away from home, like at Oshkosh, in Florida, and out West, etc. I also ordered additional UHMW tape to be sure I have enough to cover the nose-gear leg fairing after it is painted.
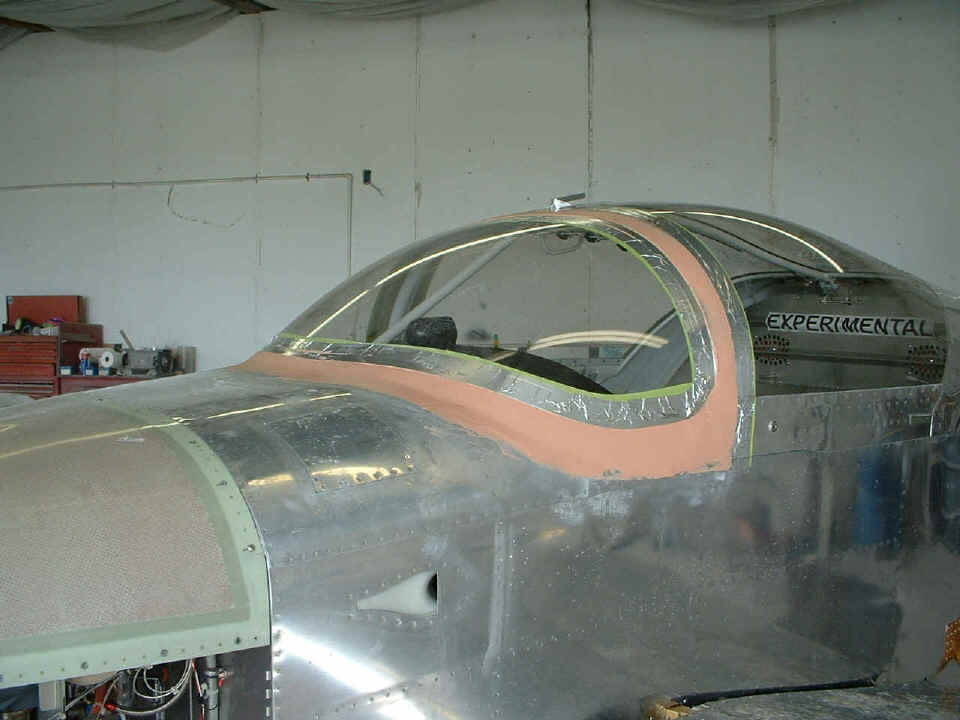
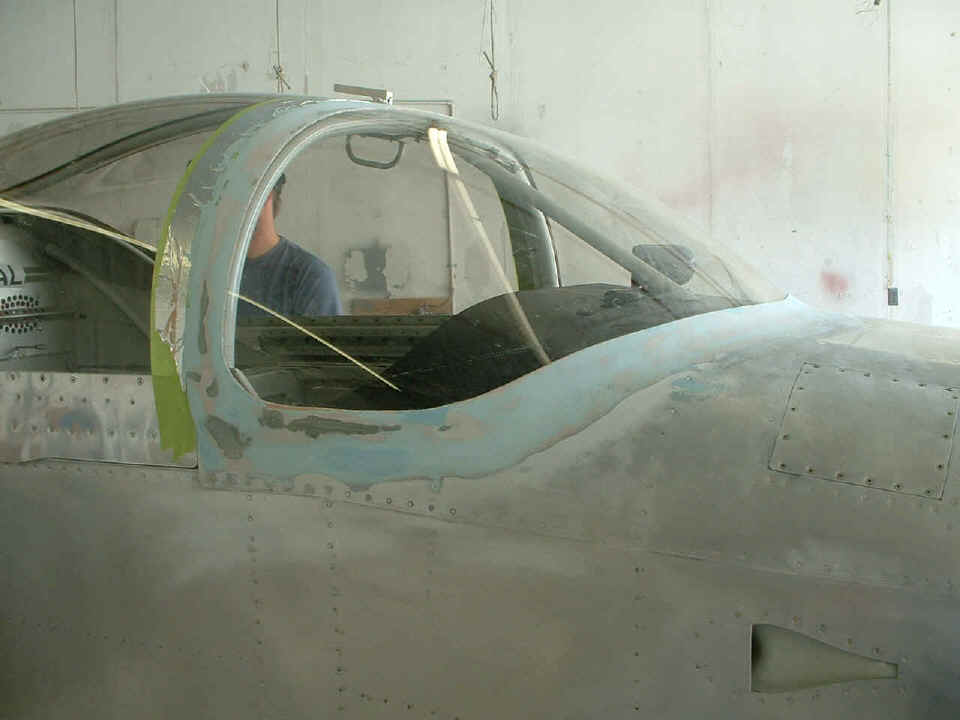
Here is how the airplane looked when I arrived at the paint shop. Jeff
had cleaned up the bad spots in my fiberglass work around my windshield and was finishing
the application of the Aeropoxy Light that I provided. He is a professional at this
and I appreciate his years of skill in providing a good fit and finish to reduce the drag
and improve the appearance of the airplane. It had been cleaned with paint thinner
to remove any remaining oils on the skins and completely washed before I arrived
around 2 PM.
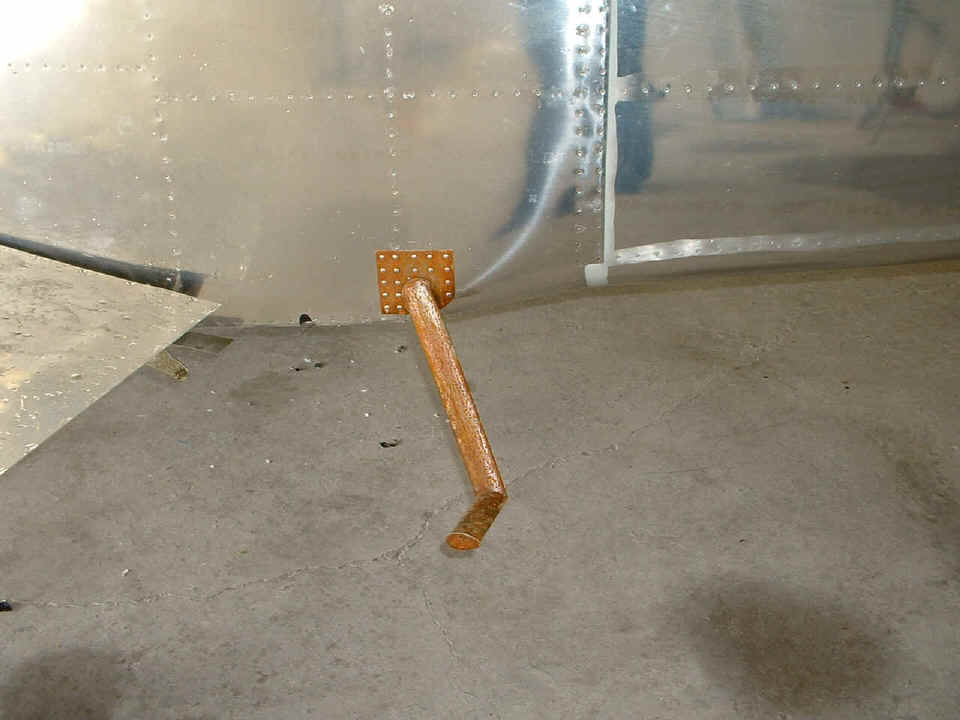
Jeff also stripped off the primer I had on the steps to prepare for an epoxy
primer finish before the paint goes on. He was taping and masking off the
surrounding aluminum skin when I was leaving to head home.
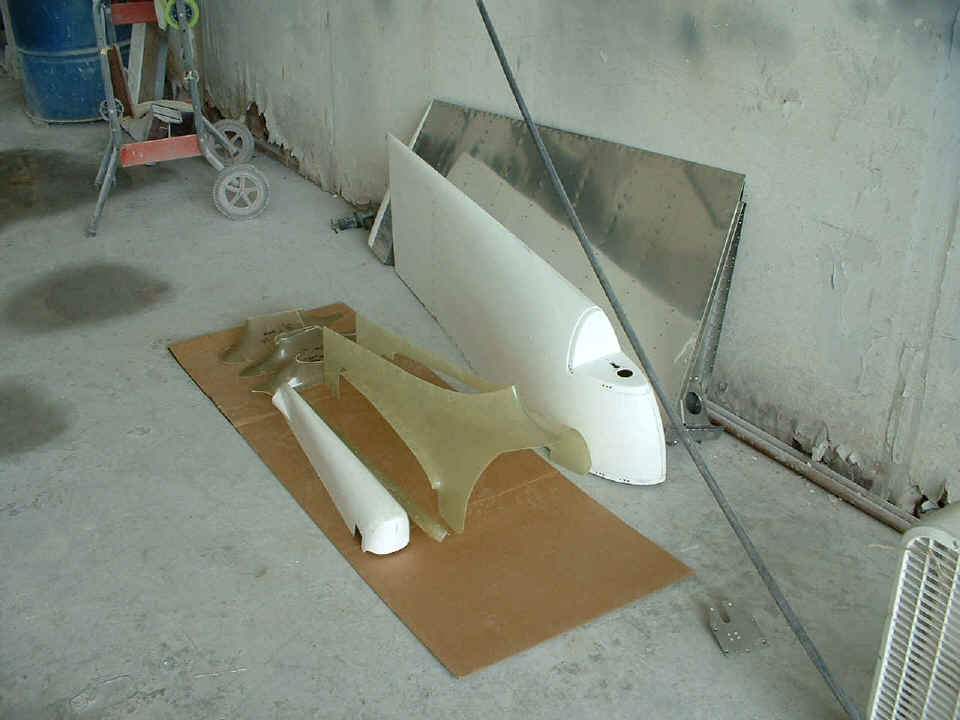
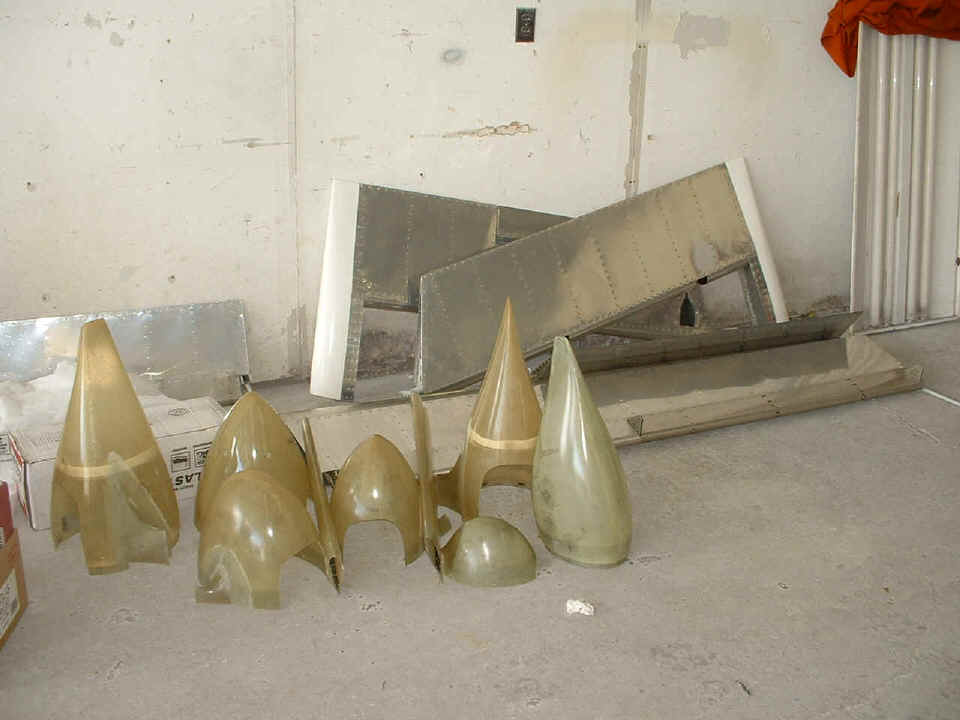
All the removed components also got the same cleaning and wash preparations
before I arrived. Notice that the letters are missing from the aft top edge of the
wing tip. There is nothing but the gelcoat finish showing now. The part
numbers on the fiberglass intersection fairings are on the inside and are not a factor.
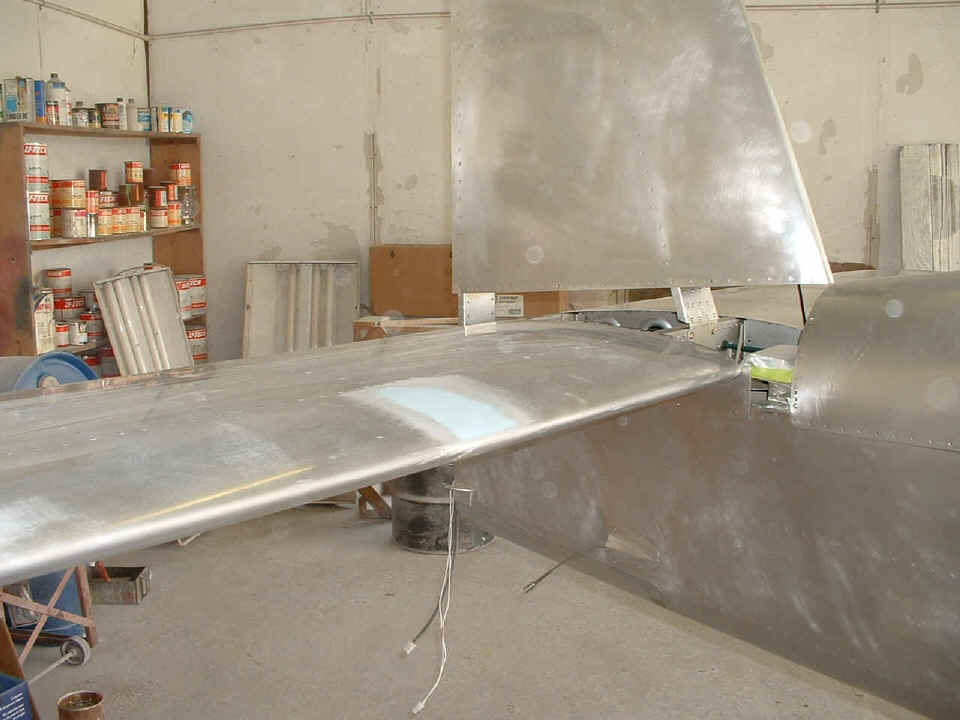
I made sure that Jeff saw all the little dings in the elevators and under the
aft fuselage tail cone. All the wheel fairings are now cleaned and ready for the
next steps in the process. Bill was starting to scuff the entire surface of the
airplane with a Scotchbrite pad as I was leaving.
Tomorrow I will introduce my hangar host, Wendell Folks, to RV-8 builder Larry Champion. Wendell wants to see an RV-8 under construction and Larry has agreed to have us over for a visit in his basement aircraft construction facility. I will have some pictures from that visit in my "Other RV Builders" section posted sometime tomorrow afternoon.
July 8, 2005: The
meeting at Larry's house was on time with Wendell getting to see a slow-build RV-8 in
progress. I have two pictures of that meeting posted on
the Larry Champion Page. UPS delivered my charts and extra stainless steel screws
after lunch. I took the screws down to the paint shop and delivered them to Bill and
Jeff and had a chance to see the latest prep-work on the airplane. Jeff has really
improved the transition around the windshield. He is still working on it and it
should have the look of the Van's factory airplane when he is finished with it.
The entire surface of the fuselage and both stabilizers have been cleaned and
scuffed. The filler has been applied to my "less-than-perfect" areas of
rivet gun "oops" marks. (My digital camera is generating those "lens
flare" circles again when the flash bounces back into the lens.)
| CLICK HERE for Paint Shop - PAGE 146. | RETURN to MAIN MENU. |