FINISHING - Page 97.
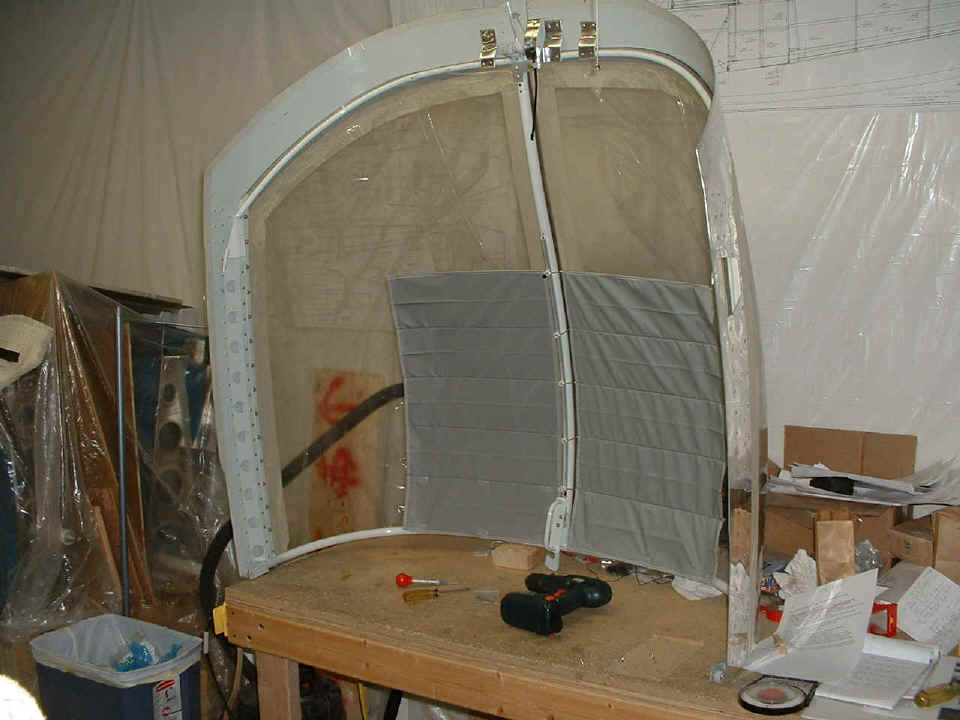
February 25, 2005: The something NEW is the
Koger sun shade. I knew it would be easy to install the sun shade on the work table
before putting the canopy back on the airplane. All it took was drilling and tapping
some holes to accept 4-40 screws and putting the shades on the rods that slide in the rail
attached to the center tube.
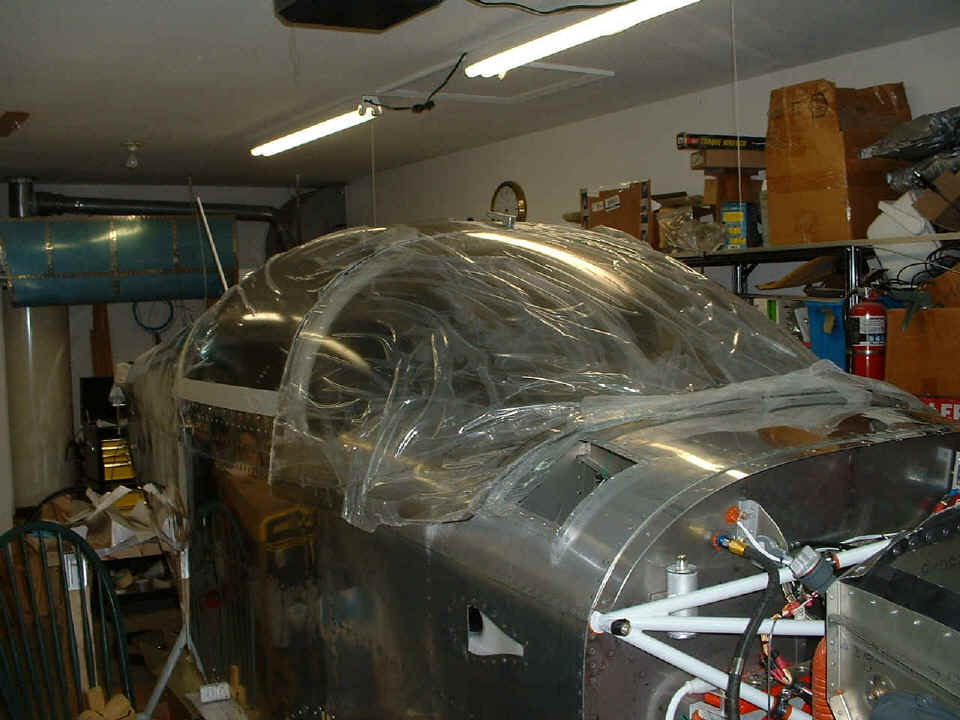
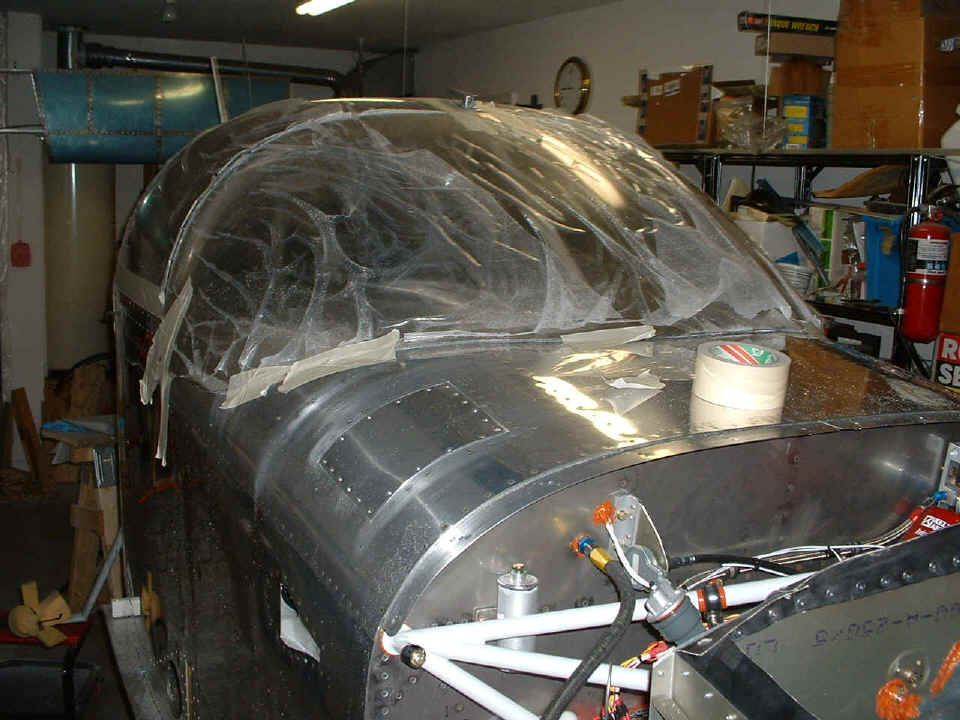
And the last shot of the night, showing everything ready for cutting the excess
plexiglass from the windshield. I called a Van's technical advisor tonight and
picked up a couple of tips to make the next phase of this project a bit easier.
Tomorrow is Saturday, 91 days since I last flew an airplane. I think I will have to fly a Cessna 172 one more time, just to stay current before going off to Oregon for RV transition training. And yes, I will post some photos, of tomorrow at Collegedale and flying the RV when I get to Oregon, whenever that is. Those Delta Frequent Flyer miles are going to pay off for sure.
February 26, 2005: I made good on the flying, but only took pictures when I was on the ground at another RV-builder's home. I did manage a touch-and-go and a full-stop landing at Dallas Bay Sky Park (1A0) for the first time today, then a return to Collegedale Airport (3M3). That other RV-builder is Larry Champion here in the Chattanooga area. You can see his page with those pictures of his RV-8 project by clicking here.
February 27, 2005:
Sunday, and I worked 6.3 hours in three work sessions, all of it used for the initial cut
and fit of the windshield. From the photo above, cutting away everything below the
curve and along the mold marks leaves the remaining plexiglass for the windshield as seen
below.
The next photo shows a planned cut line after fitting the windshield to the
fuselage and the front of the canopy. This process of marking and trimming was
repeated several times today to insure that the changes would be incremental toward a goal
of a reasonable fit.
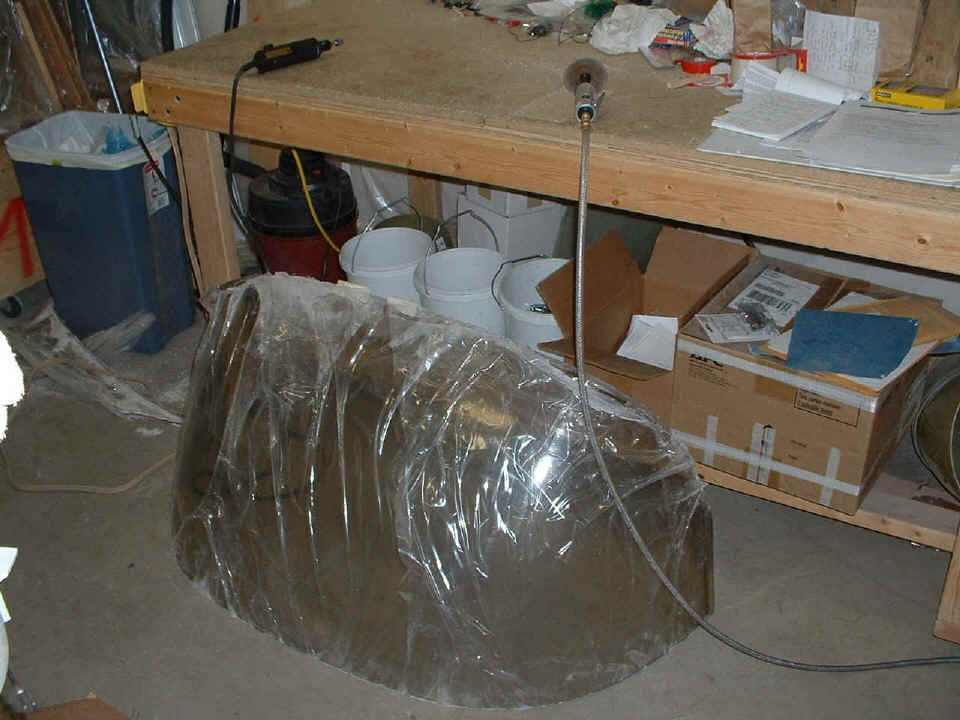
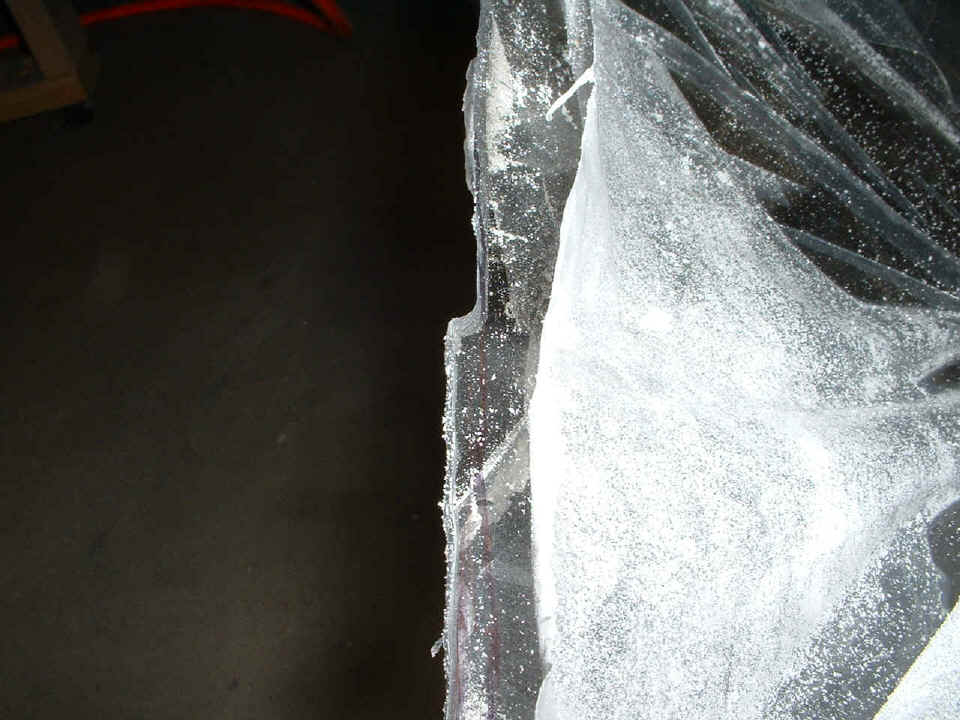
Here is a cut in progress along the bottom front of the plexiglass using the
Dremel sanding drum. There was plenty of plexi dust regardless of whether I was
using the Dremel or the die grinder. You can see how it got between the protective
plastic layers just as it did when I was working with the canopy a few months ago.
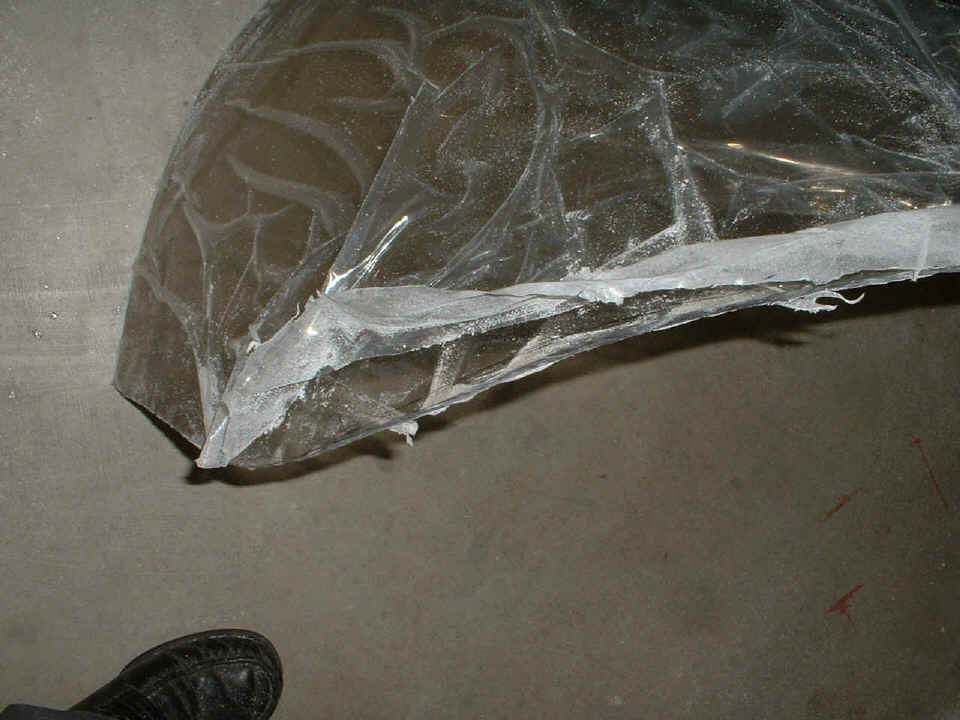
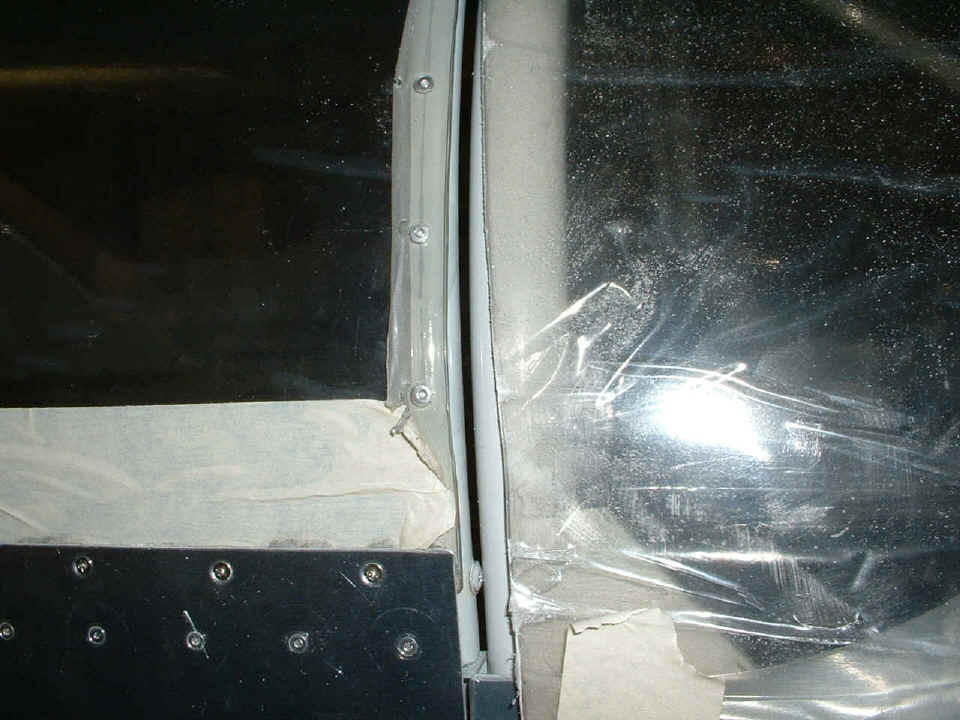
This was the gap at between the canopy and the windshield at the RIGHT side.
All the cutting, sanding, and fitting of the plexiglass windshield was to reduce
the gap you see below to a parallel gap less than 1/4 of an inch.
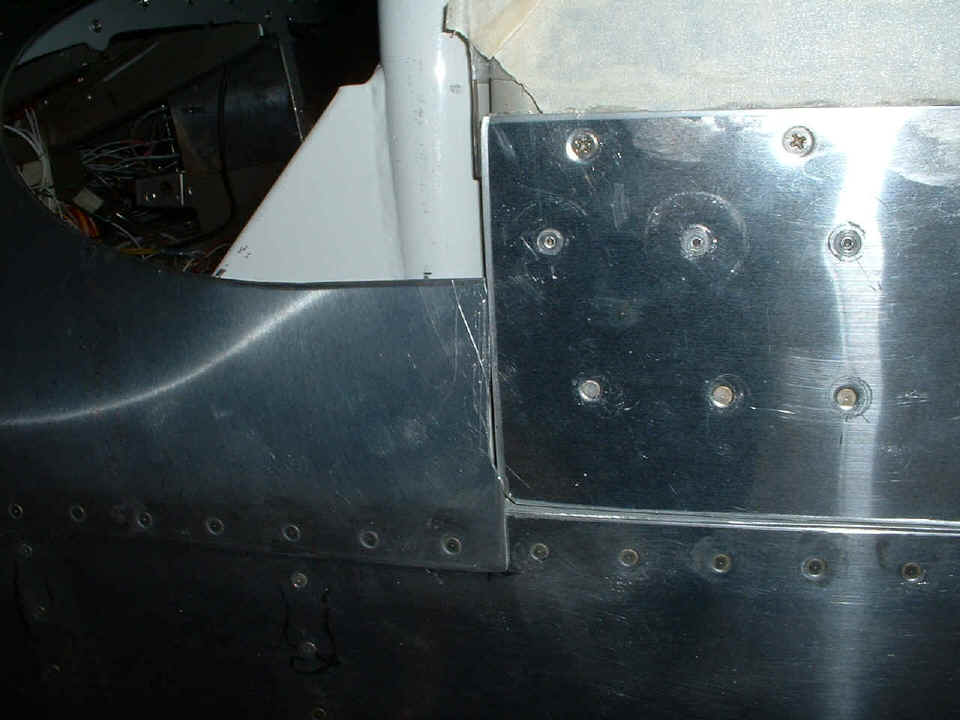
The other surprise I found today was the overlap of the F7106 forward top skin
with the canopy side skirt on the LEFT side of the fuselage and canopy. The Dremel
sanding drum and a deburring tool fixed the problem. The locking handle was very
tight until I found this problem and made the appropriate changes. Now everything
fits just as it did when I finished the canopy work.
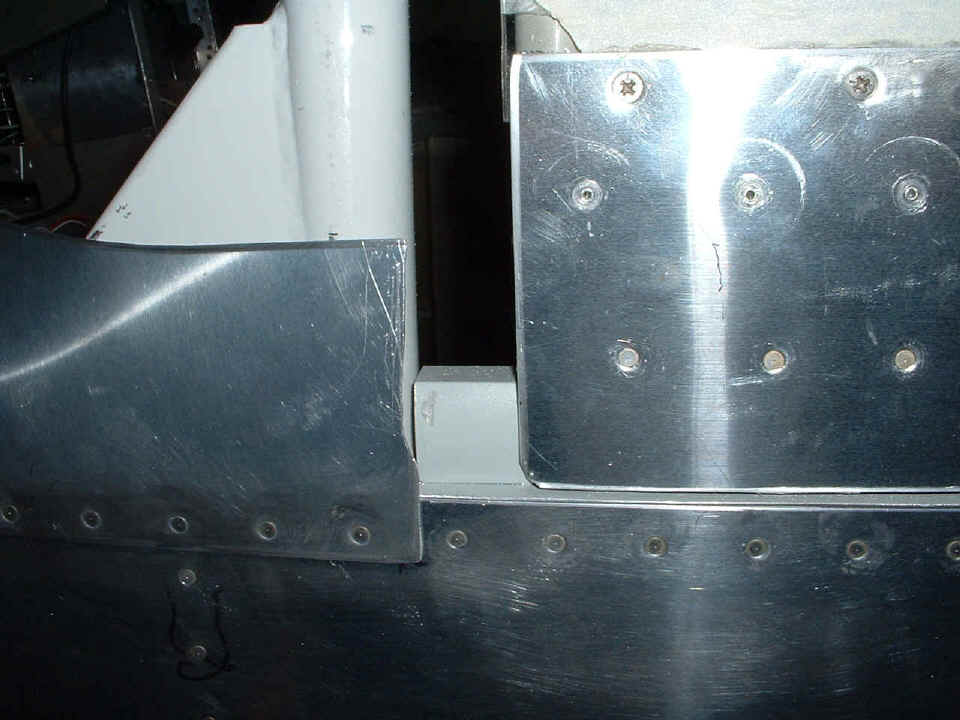
This view of that fix shows just how much of an overlap / fit problem there was
before trimming the aft edge of the F7106 skin. I have used a deburring tool on that
edge, but will also use a Scotchbrite pad to finish it up properly. And yes, I did
bump the slider channel with the sanding drum.
And the last photo of the evening shows how I have used masking tape to hold
the windshield in place during the trim and fit process that consumed the whole day.
The next session will begin the drilling, tapping, and next phase of fitting the
windshield to the roll bar, canopy, and F7106 forward top skin. I may actually get a
chance to check the fit of the magnetic compass and select the location of the GPS antenna
on the "dash board" inside the windshield area. I put the forward access
panels in with a few screws to keep plexi dust out of the inside of the fuselage as much
as possible.
| CLICK HERE for Finishing Page 98. | RETURN to MAIN MENU. |