FIREWALL FORWARD - Page 67.
November 20, 2004: Today saw the alternator
drive belt installed. The size that Van's specified was the correct belt. They
also suggested getting a size larger and smaller just in case it was needed. I
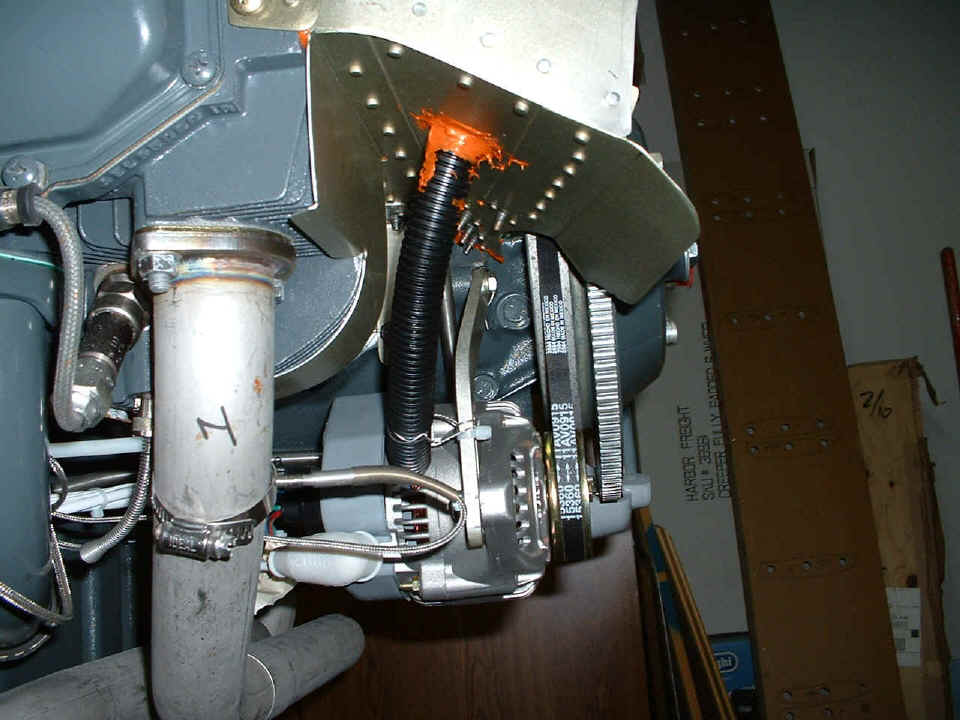
returned the extra belts. I also installed the cooling blast tube to the alternator.
I used safety wire to hold the end of the blast tube near the alternator. The
other end is sealed to the baffle with RTV. Notice how well the curved baffle is
hugging up against the cylinder cooling fins just to the left of the black blast tube?
I installed the safety wire that holds these curved baffles together for cylinders
1 & 3. I have to finish wiring the exhaust gas temperature (EGT) probes and
dress the wiring for them in a session soon.
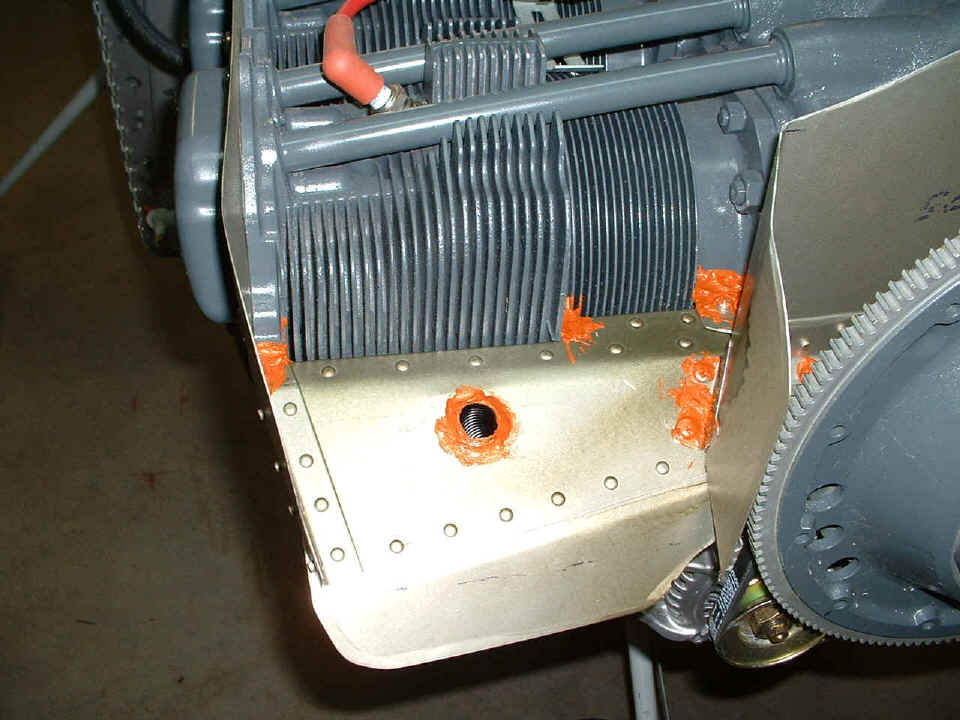
Here is the topside view of the alternator blast tube starting with one
corrugation above the 11/16" hole I put in the baffle plate. And yes, I did cut
the front plate too short and had to rivet some of it back in place. The camera
flash makes the green tint of the wash primer seem almost gold in color in these photos.
Tomorrow is Sunday and there should be more to show you tomorrow night.
November 21, 2004: It was a good day indeed
with another 8.8 hours added to the log book today, which now stands at 1348.5 hours of aircraft construction.
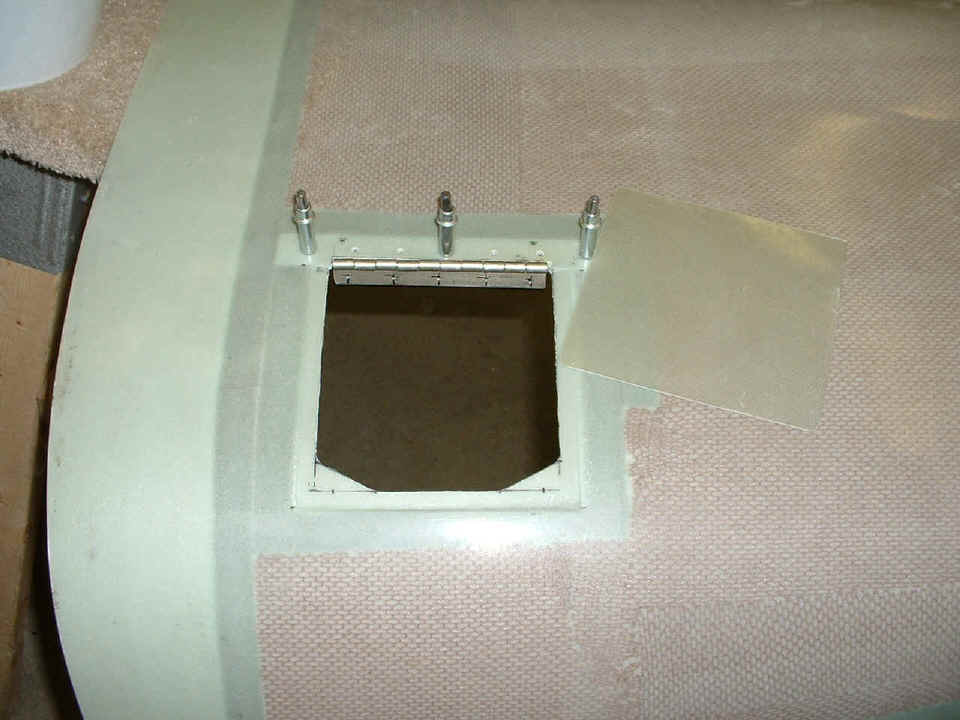
The picture below tells the story of the first three hours of work today.
The hinge material was cut to size and drilled for rivets. I cut out the oil
access panel and cut the fiberglass door down to size.
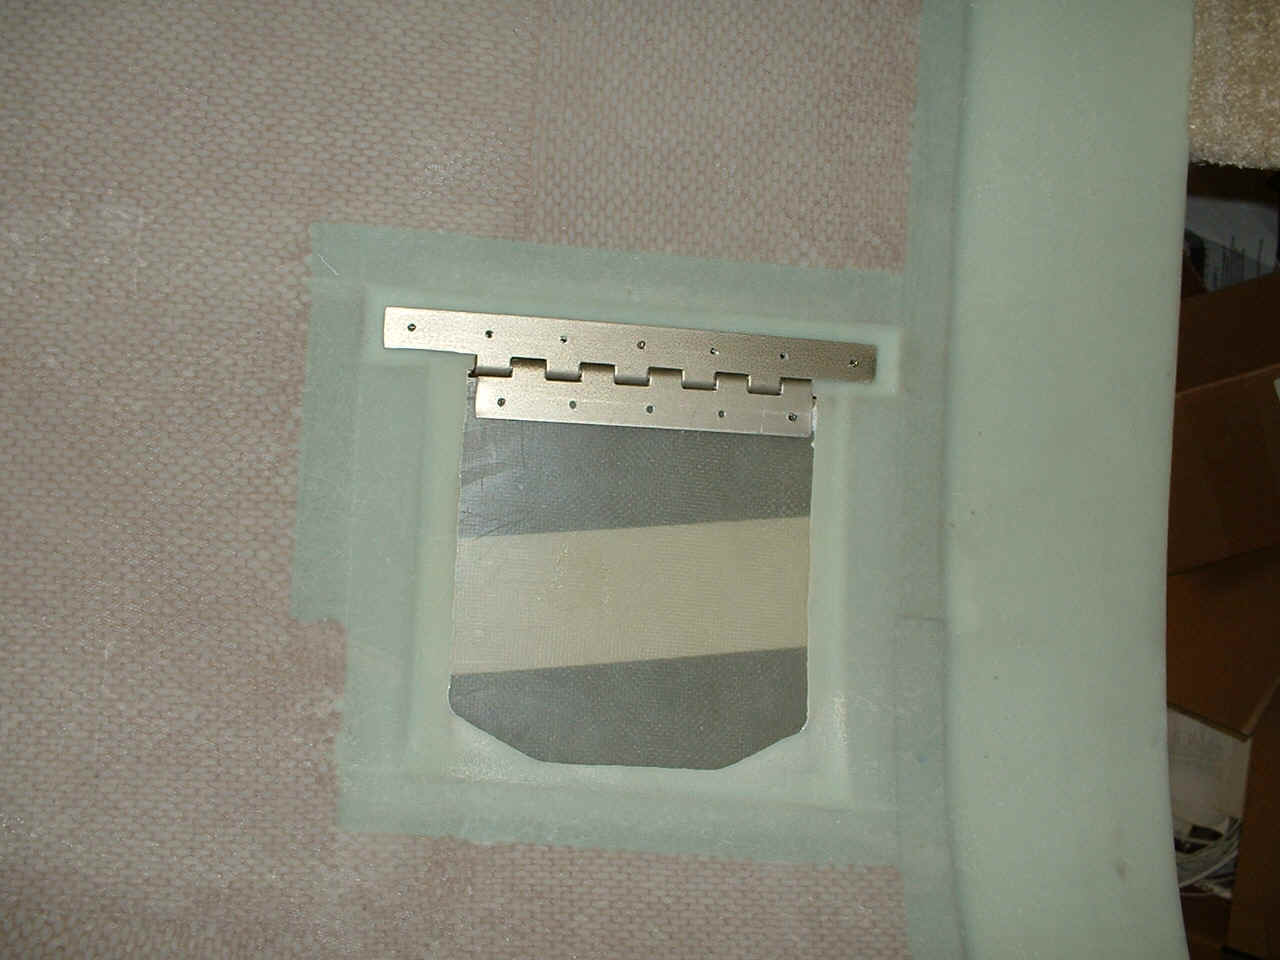
Next thing to do was make sure the door stayed in place before back drilling
the rivet holes in the fiberglass door via the drilled hinge underneath.

Once the door was securely taped down, I tipped up the cowling and drilled
through the fiber glass door. I put in a cleco in the hole at each end of the hinge,
then drilled the three holes in between.
After that it was countersink the holes in the fiberglass, rivet the hinge to
the cowl, then rivet the door to the hinge. Next was drilling through both the door
and the cowl at the fastener locations, then drilling rivet holes to put the Zeus
fasteners in place permanently. In the photo below, the fasteners are twisted to the
"unlocked" position. Right after I took this photo, I set the cowling up
on top of the lower cowl which was attached to the fuselage temporarily and verified that
the oil access door was indeed lined up above the dipstick.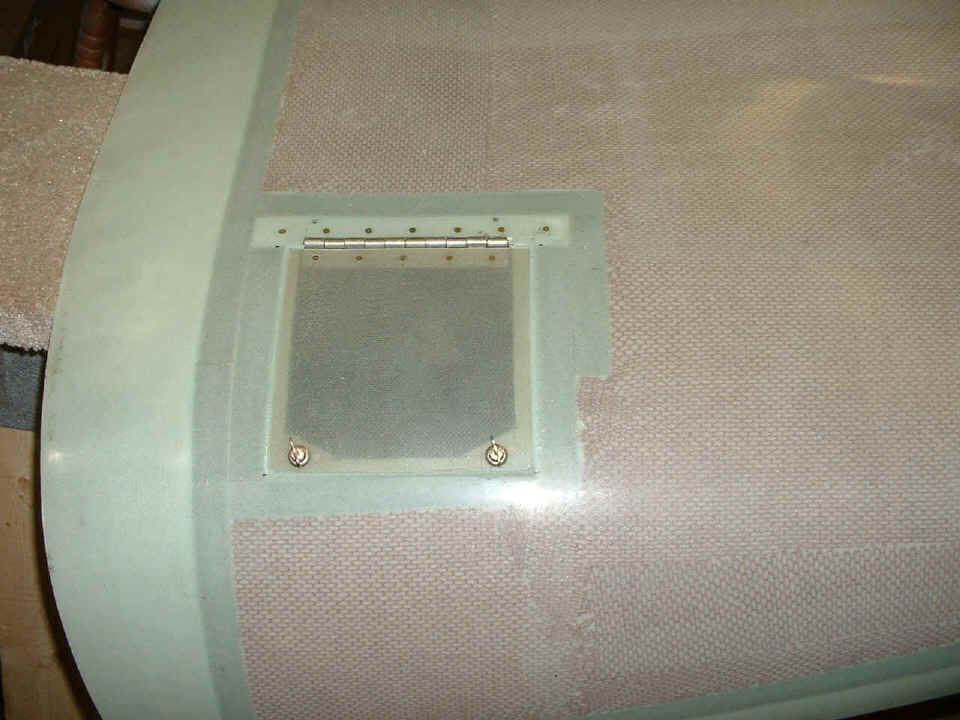
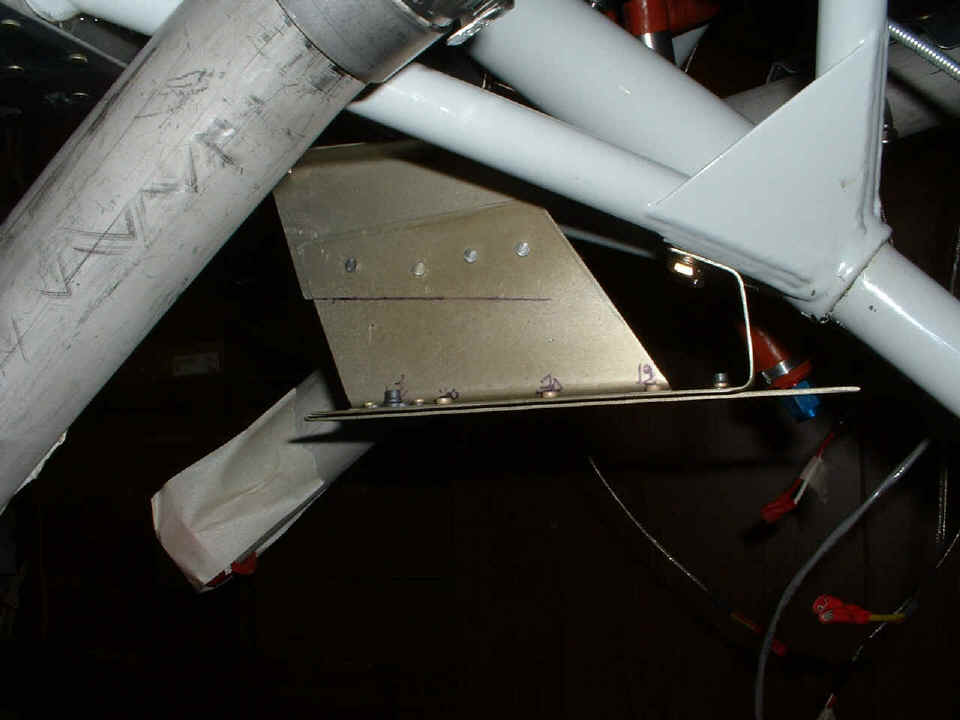
After putting away the cowling halves, I put the U-720 brace assembly into its
proper position and bolted it between the firewall and the engine mount/nose gear leg
assembly. We first saw this assembly on page 62. One
of the other big things that took some time today could not be photographed well. I
had to remove the carburetor and the mounting bracket for the mixture and throttle cables
that are sandwiched between the carburetor and the oil sump. The purpose was to add
ONE hole for mounting an Adel clamp. That clamp holds the fuel line firmly in place
as it winds its way up from the fuel flow sensor to the engine-driven fuel pump. We
first saw that fuel line mess on pages 55 & 56. It was pretty tough to get my thumb into position to hold
down the clamp and the bolt to put the nut on it and get the clamp secured to the steel
bracket.
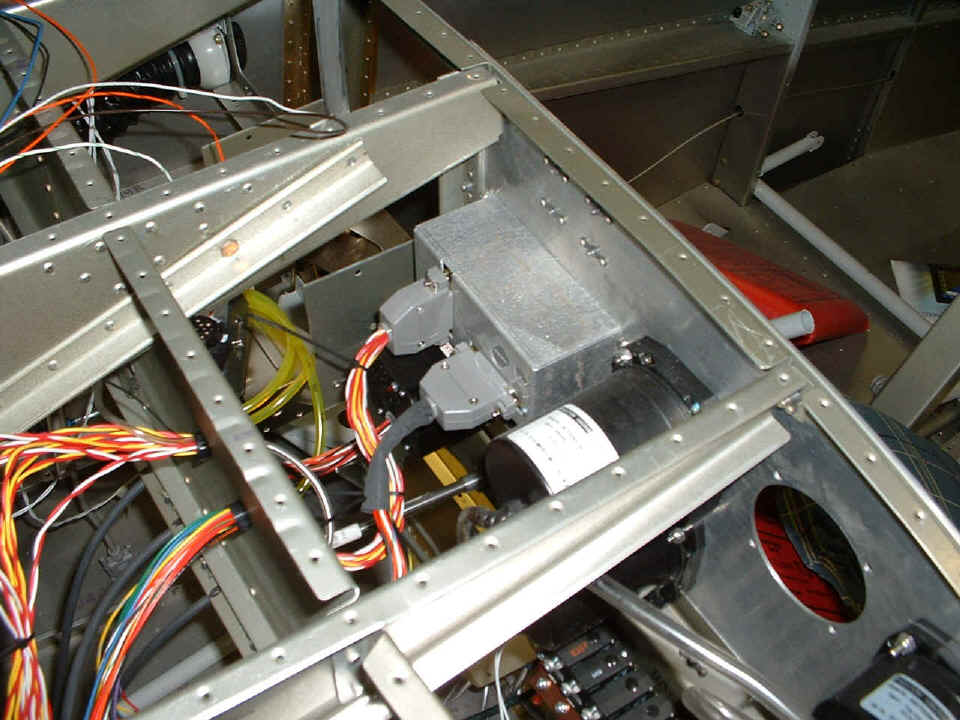
The other big accomplishment of the day was getting the EGT and CHT probes
wired to the EIS engine monitor. I also got the ignition crank sensor wire secured
and routed safely to the firewall and connected to the Plasma III control module. I
redressed the magneto spark plug wires and finished securing the thermocouple wires from
the EGT/CHT probes. All that was done after putting in the safety wires for the
other two cylinder cooling baffles on the bottom side of cylinders 2 & 4 on the LEFT
side of the engine.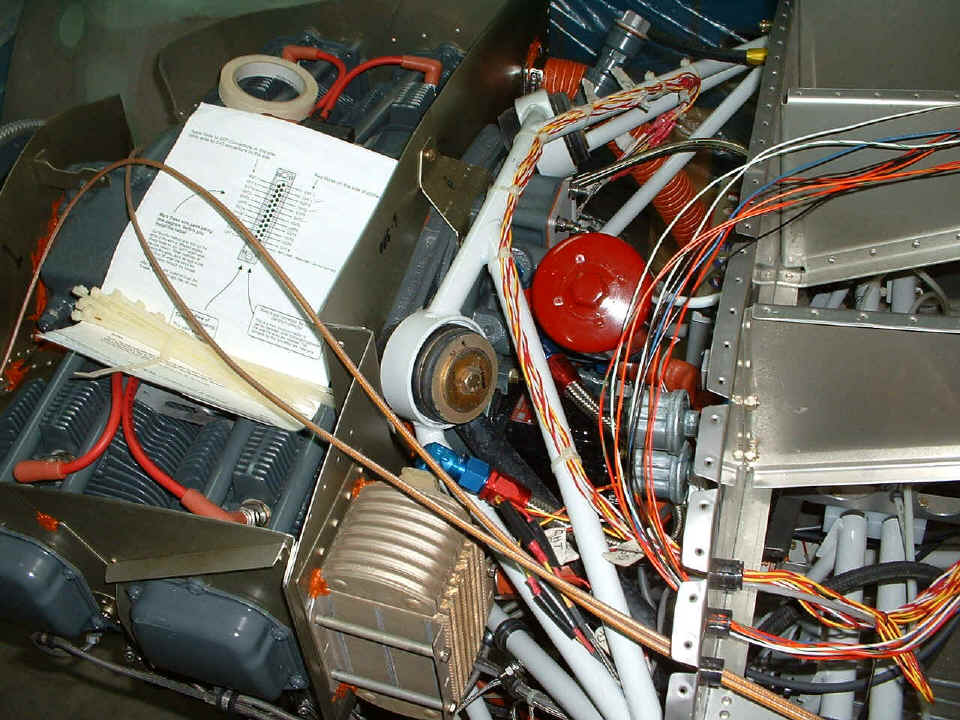
With the CHT/EGT connections confirmed, I put the shells on the two DB-25
connectors and secured them to the EIS engine monitor. I even left the cable
expansion loops long enough to allow the panel to be pulled out for maintenance. Now
if that Dynon D-10A unit would just get here, I could get really serious about the panel.
I still have to wire up the other sensors that go to the EIS unit for fuel flow, amp meter, oil pressure, fuel pressure, etc. Also pending is wiring my avionics breakers to the various items and the pullable 5-amp breaker for the solid state ignition that goes directly to the battery, not the master relay bus. I must say this was another "milestone day" with so much being accomplished. Good night to you all!
| CLICK HERE for Firewall Forward - Page 68. | RETURN to MAIN MENU |