Tugwell Canopy Modification - Page 4.
August 20, 2004: Yep, still the same day,
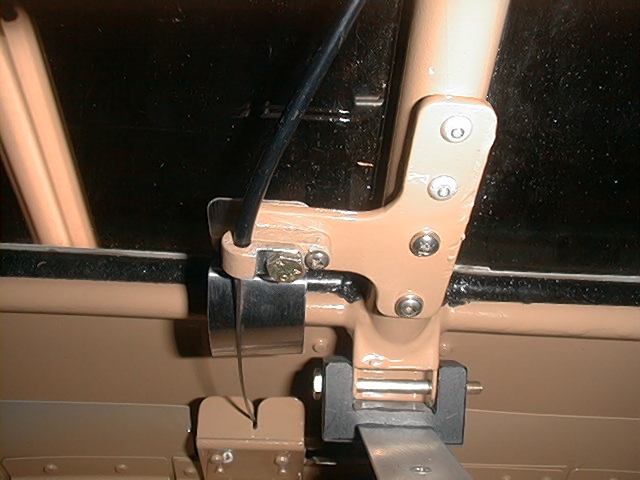
but a good one. Tug has left of course, and all these photos I am taking without
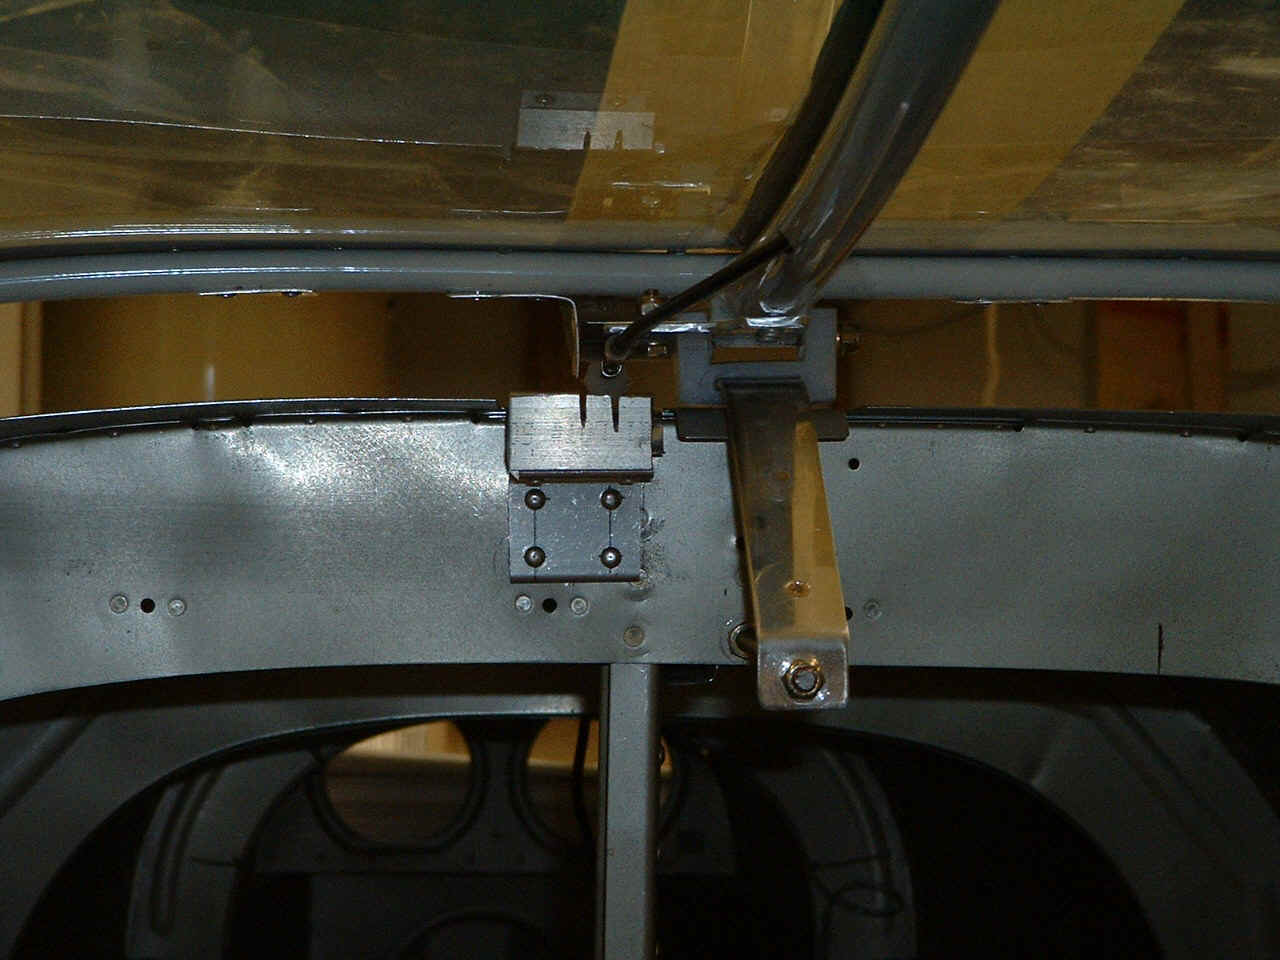
climbing inside the baggage compartment. Here you see the canopy getting ready to
slide closed over the "knee" of the slider rail. Notice the alignment of
the slot and the cable, UHMW disc, etc.
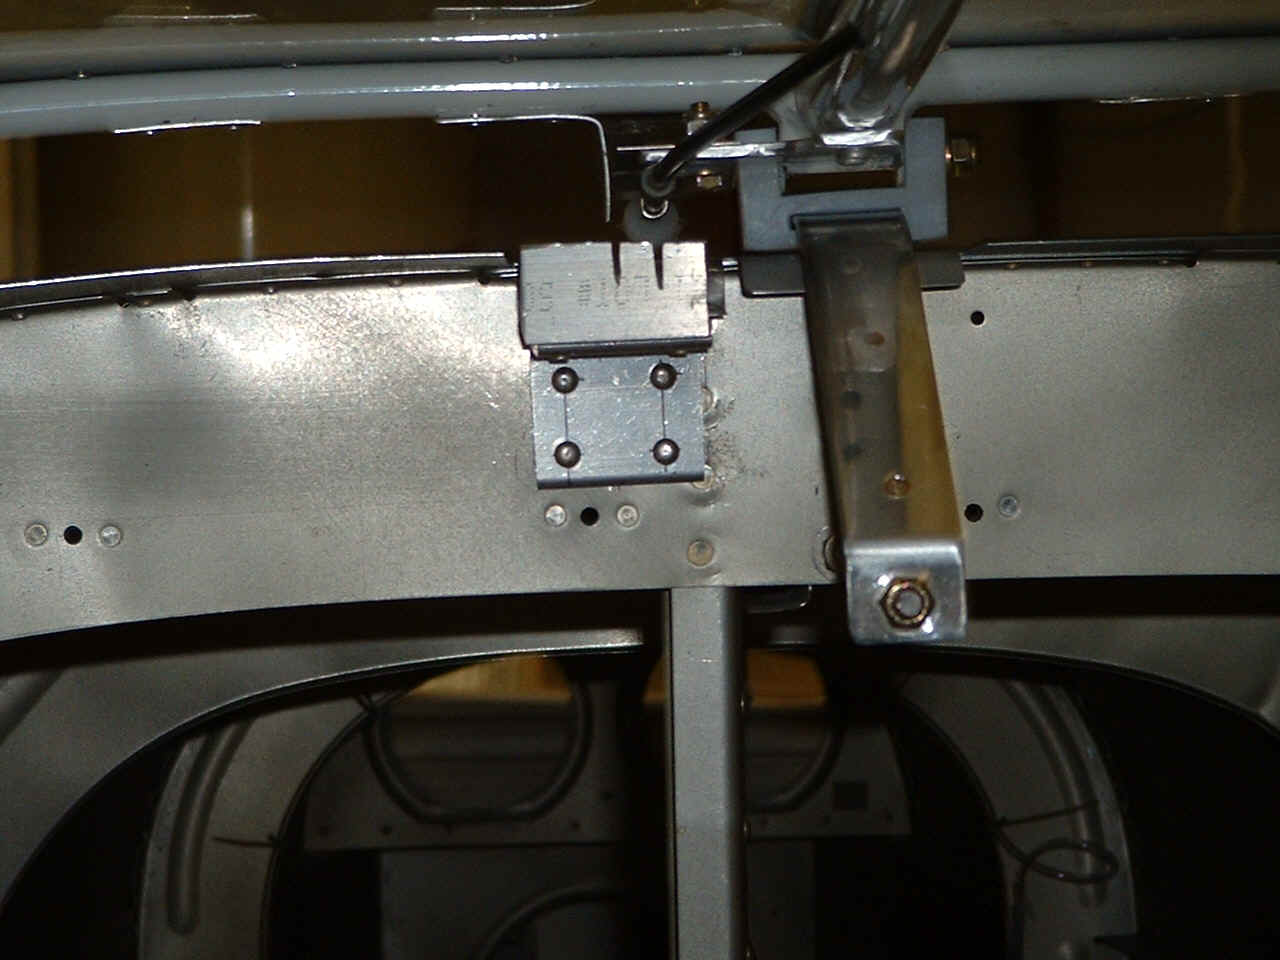
We're almost done, hang in there. This is the same kind of shot where I
managed to get the camera aligned a little better with the cable (closer to the center
line of the canopy).
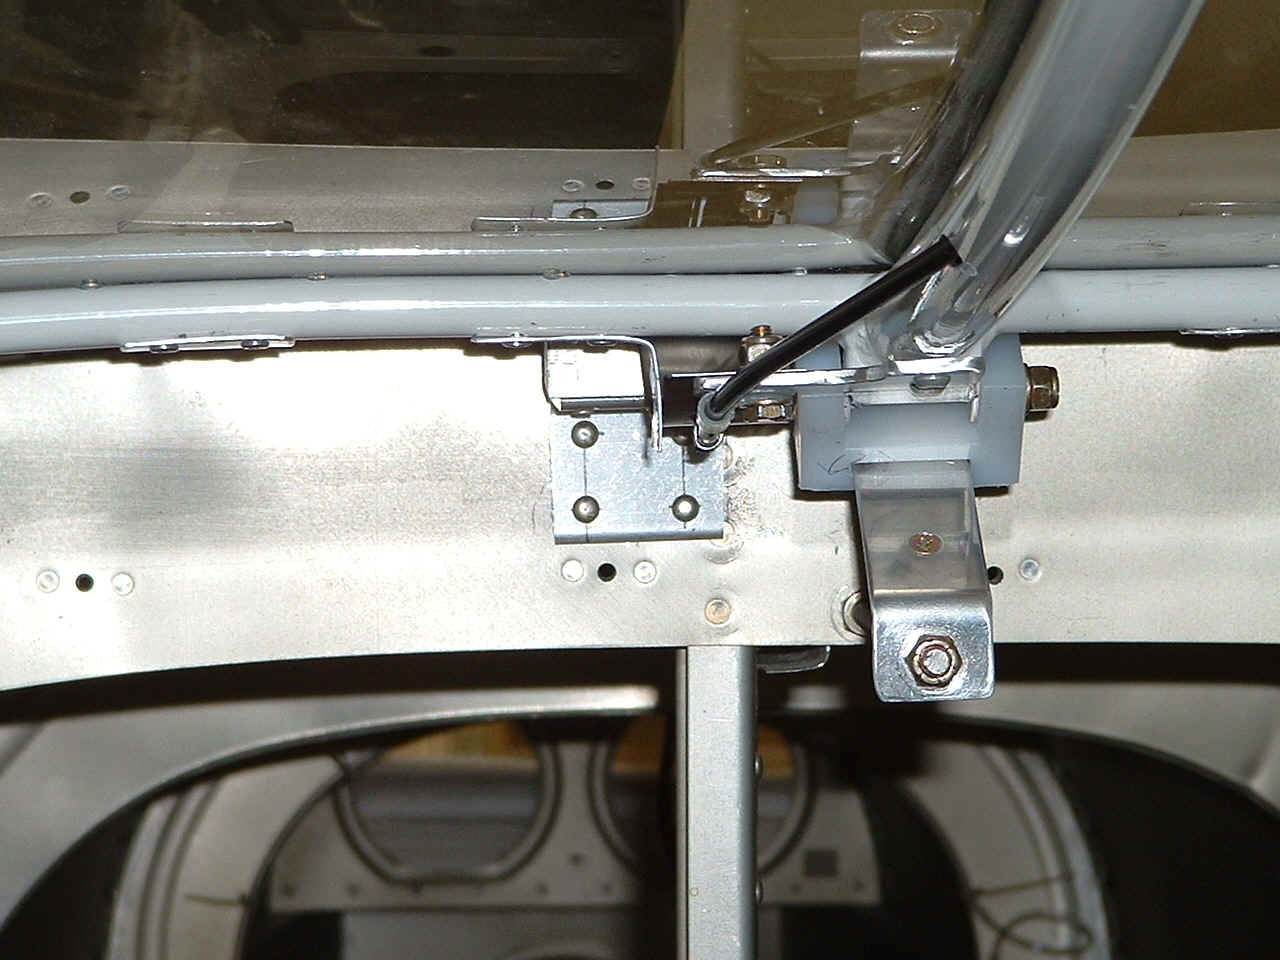
And the last shot! CASE CLOSED!
I should have said canopy closed and locked. The end result of all this is
that now my cable assembly works the same way as I saw Robert's cable working on his RV-6A
the day I was coming home from Oshkosh! All things come to a good resolution in
time.
The other good news of the day is the delivery of my Garmin GTX-327 radar transpnder. You will see that one as I take a break to work on the radio stack mounting rails, wiring, firewall forward, etc, etc, etc. The Tugwell mod is complete as far as I am concerned.
August 22, 2004: I have had an exchange of email information and photos with Dave Nicholson. Here is his message he posted on the Yahoo RV-9 forum with the pictures restored to their correct locations:
I'm probably "the other RV-9" installation for the Tugwell Canopy
Opener. Here
is what I found:
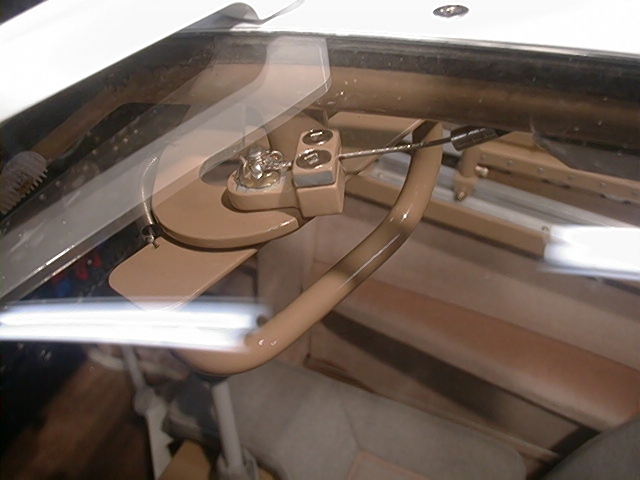
1. First, using a small cup set-screw on a stranded cable tends to cut the
cable strands if it is tight enough to not slip. Because of this, I fabricated
my own Pivot Arm with a cable clamp. (See picture #252 Front Canopy Release
Clamp.)
2. I fabricated a "T" Bracket to replace the "L" bracket, providing
space for
the two CR3213-5-3 Blind Rivets in addition to two Nutserts for additional
rigidity. (See picture #253 Aft Canopy Release.)
3. The Nylon Clamp was pivoting from the Control Cable tension, which would then
misalign the Cable, causing it to not slip into the slot on the Bracket. I
fabricated an aluminum clamp for the Control Cable, using two bolts to prevent
pivoting. See picture #253 Aft Canopy Release.)
Dave Nicholson
N347N
By the way, you are not the other installation I was talking about in my original posting. Below is the text from his email message giving some additional information on the picture above.
| Shortening the arm would have reduced
the "twisting" action between the sleeve and the arm, which contributes a lot to
the cable misalignment, but when I fabricated the aluminum sleeve clamp, as a replacement
for the plastic clip, with two points of anchor so it could not rotate, the
cable alignment was no longer a problem. Dave |
Dave: After seeing the pictures above, I see that you have not done what was "intended" by Robert Tugwell when he designed this kit. The stainless steel strap is supposed to be resting on the angle to keep the cable in the slot when the canopy is in the closed position. The difference in the location of the strap vs. the angle is a result of the additional space between the canopy frame and the baggage bulkhead in the RV-7 & -9 fuselage compared to the RV-6. Robert developed this kit on his RV-6. As a result of his visit to my shop on August 20th, he will be revising his instructions for RV-7(A) and RV-9(A) builders. That was why I re-installed my strap as shown in the last photo on Tugwell page 3. In order for you to do this, you would need a new cable sheath that is longer than how you have it cut now.
Jerry K. Thorne
RV 90622
| Return to PAGE 50. | Return to Main Menu Page. |