Wendell Folks RV-8 Project - Page 62.
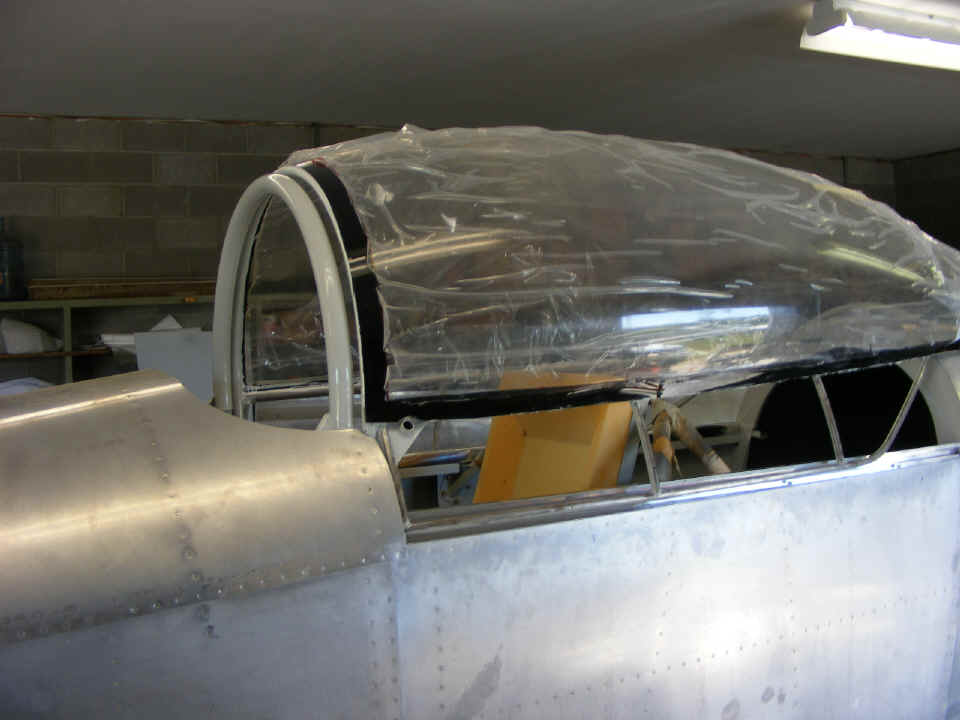
September 15, 2007: The canopy was secured
to the canopy frame with adhesive while I was away on my Texas road trip for the company.
Wendell had plenty of help for that part of the project. RV-3 and Rocket
builder Rich Nadig was the chief of operations for that
day since he has already put his rocket canopy on using the same adhesive. RV-8
builder John Myers also flew in to help. Wendell put
black primer on the inside of the canopy per the instructions from the adhesive supplier.
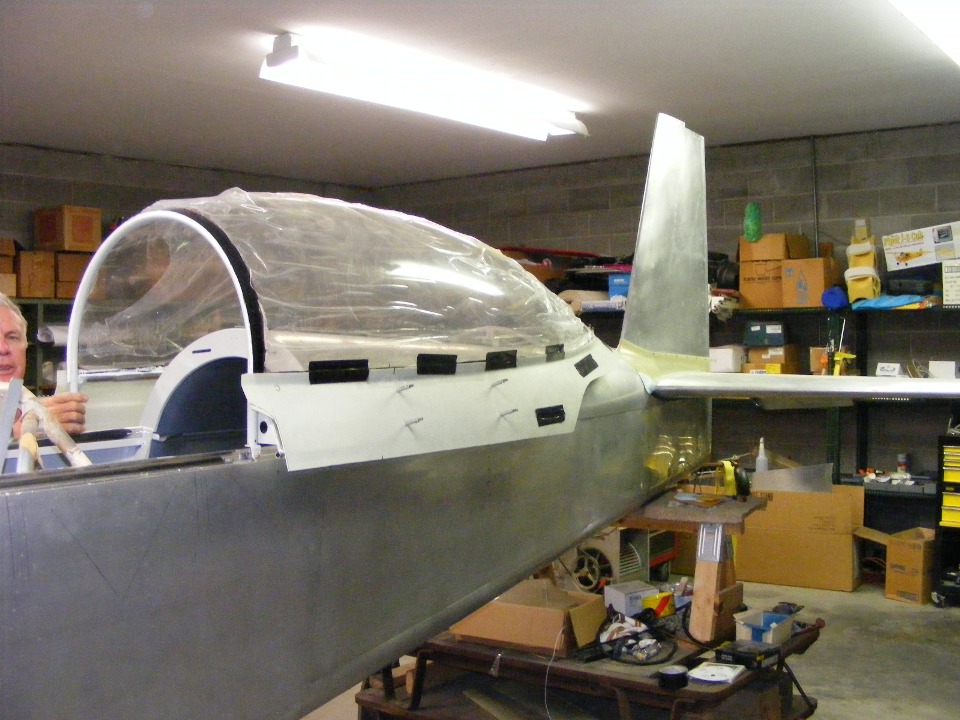
The canopy is set ajar with a 1/8" spacer at the back where the locking block
accepts the rod at the center of the canopy frame on the slider rail. That was
spelled out in the Van's instruction book to insure a solid fit of the canopy skirt when
the canopy is closed and locked.
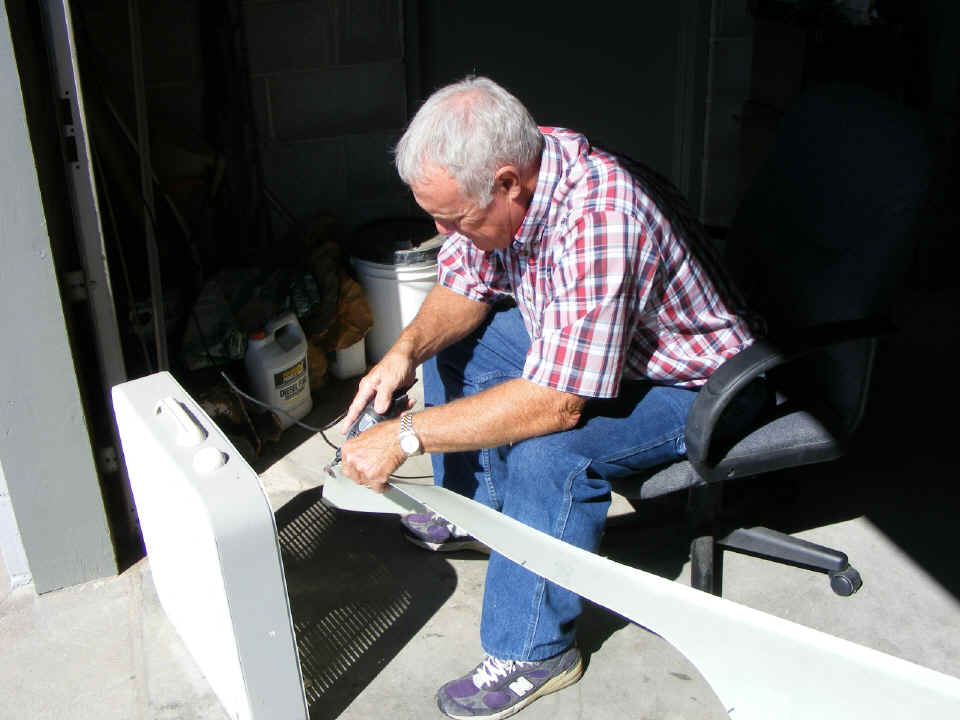
Wendell is trimming the notch in the aft end of the canopy skirts. The
notch allows clearance of the canopy skirt over the slider rail. The box fan draws
away the fiberglass dust from the Dremel sanding drum. The notch will probably need
more adjustment when the skirt is in its final position with the canopy closed and locked.
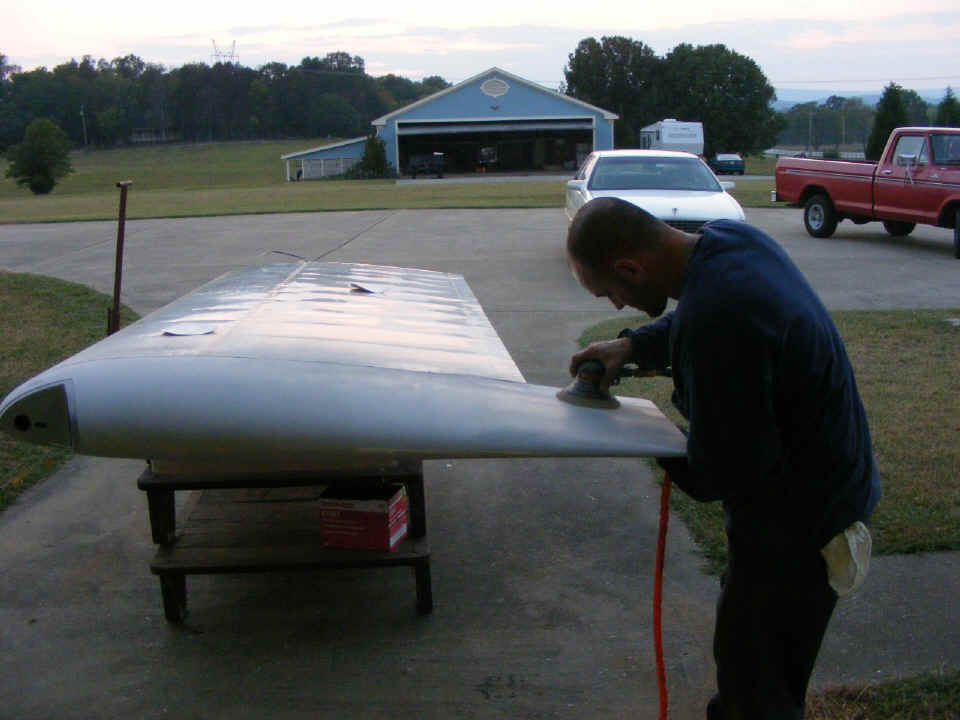
September 17, 2007: The Monday
evening session found Wendell's paint shop guy doing some prep work on the wing
tips. When he saw I was taking a picture, he quickly jumped out of the frame, but
that was after this shot. He had primed the wing tips at his shop, but could not
sand them easily since they were too flexible. He wanted them assembled to the wings
to make them stiff.
Meanwhile, back inside the shop, the canopy skirts are again the focus of our
attention. A few #40 holes were drilled in the canopy frame to attach the fiberglass
canopy skirts temporarily. Eventually the skirts will be secured with Sikaflex in a
similar manner as the clear canopy. There are a number of straight lines on the side
of the fuselage that pointed the way to the holes in the canopy frame. The black
duct tape held the canopy in place while the lines were used to point to the location of
the holes in the canopy frame under the fiberglass. The thin black sharpie pen was
used a lot in these steps.
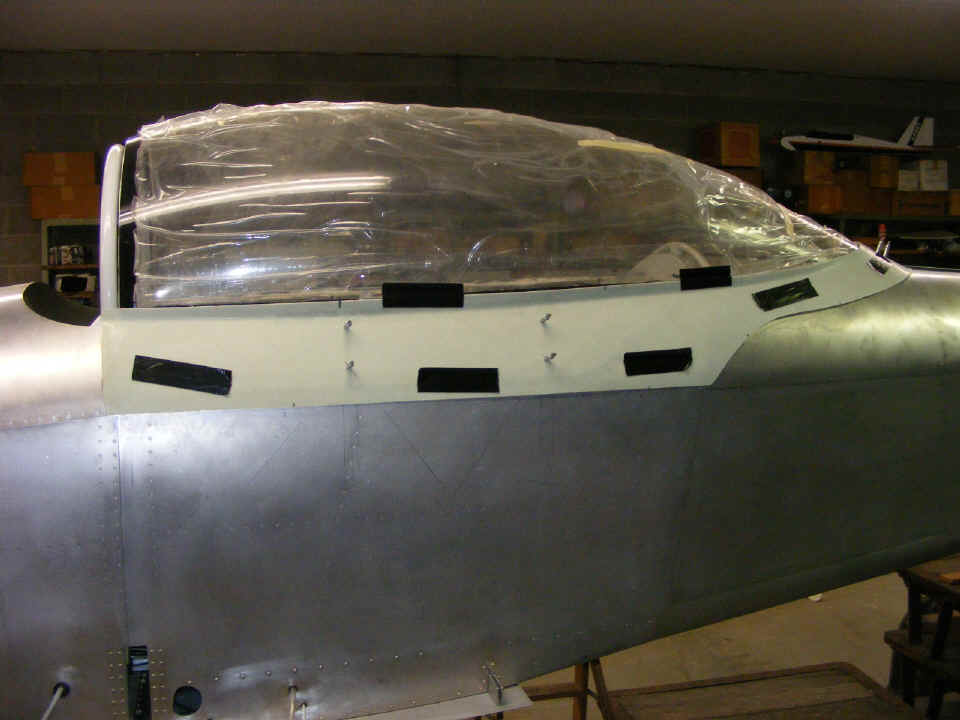
This is all about the fit of the canopy skirt opened and closed.
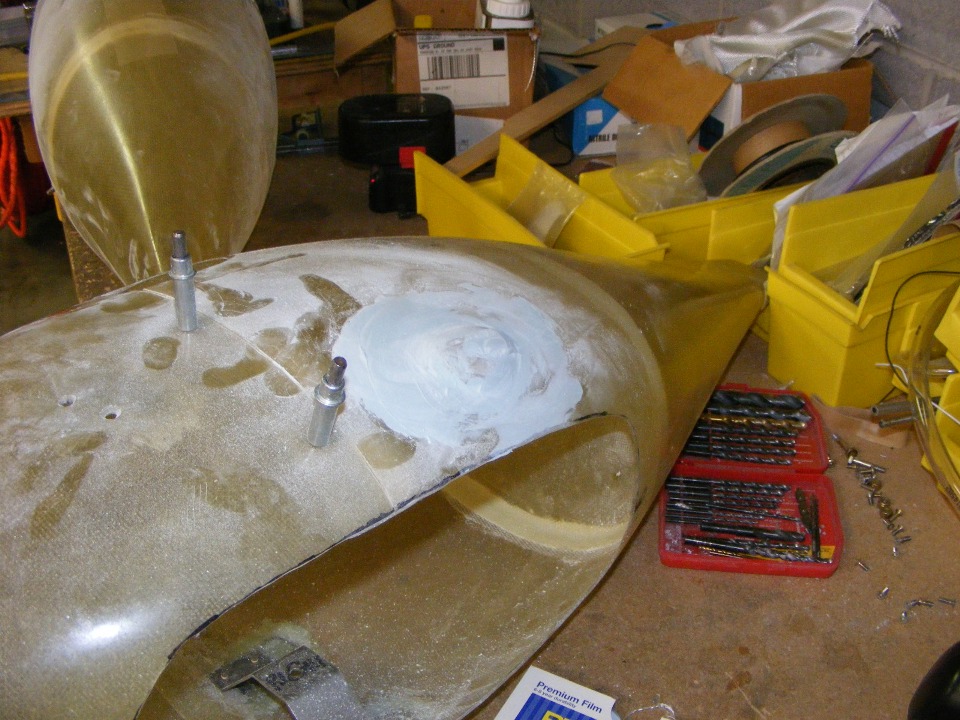
Down on the wheel fairings, it is all about clearing the bolts on the disc
brake cylinders. Wendell used a table spoon as a mold shape for a pair of fiberglass
inserts glassed inside the wheel fairings after cutting the appropriate-sized holes in
them. His paint shop guy added this filler to smooth the outer surface. These
"spoon bubbles" are on the inboard side of the wheel fairings toward the
fuselage.
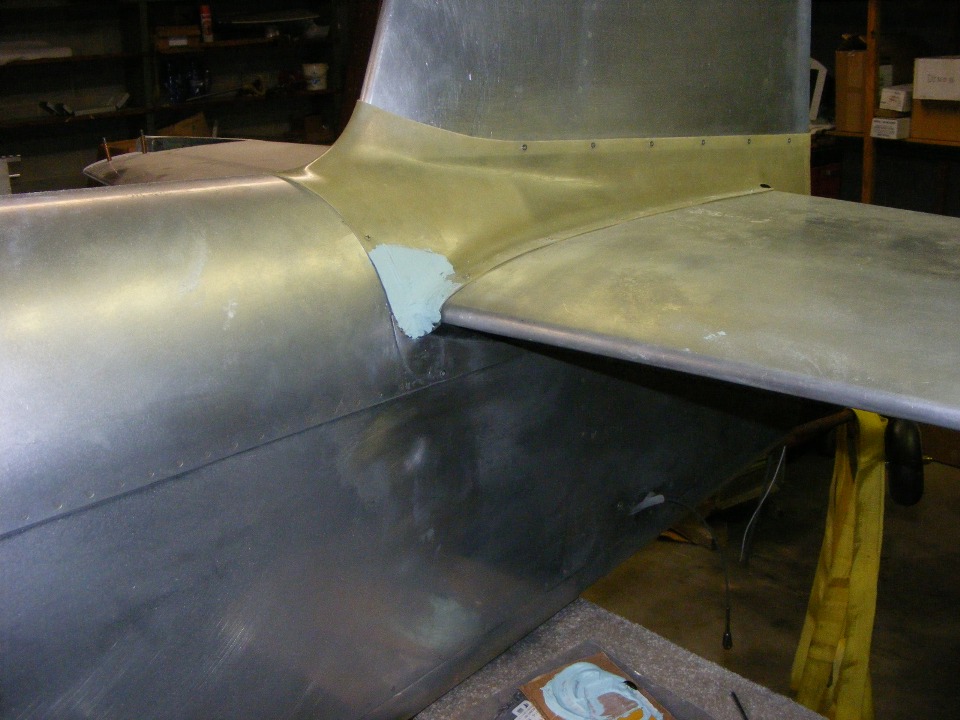
Back at the empennage fairing, the forward edge transition gets smoothed-up
with some filler.
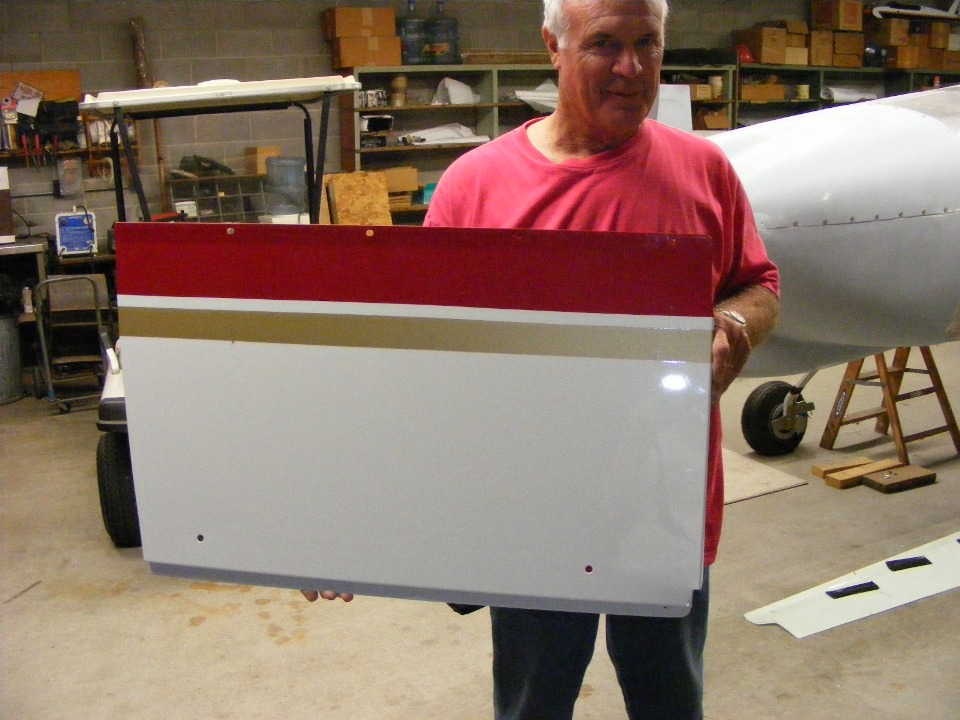
The painter has also shown Wendell this color sample on a steel plate.
| CLICK for Folks PAGE 63 | Return to Other RV Menu | Return to Main Menu Page. |