
Wendell Folks RV-8 Project - Page 50.
April 25, 2007: Here are the new project
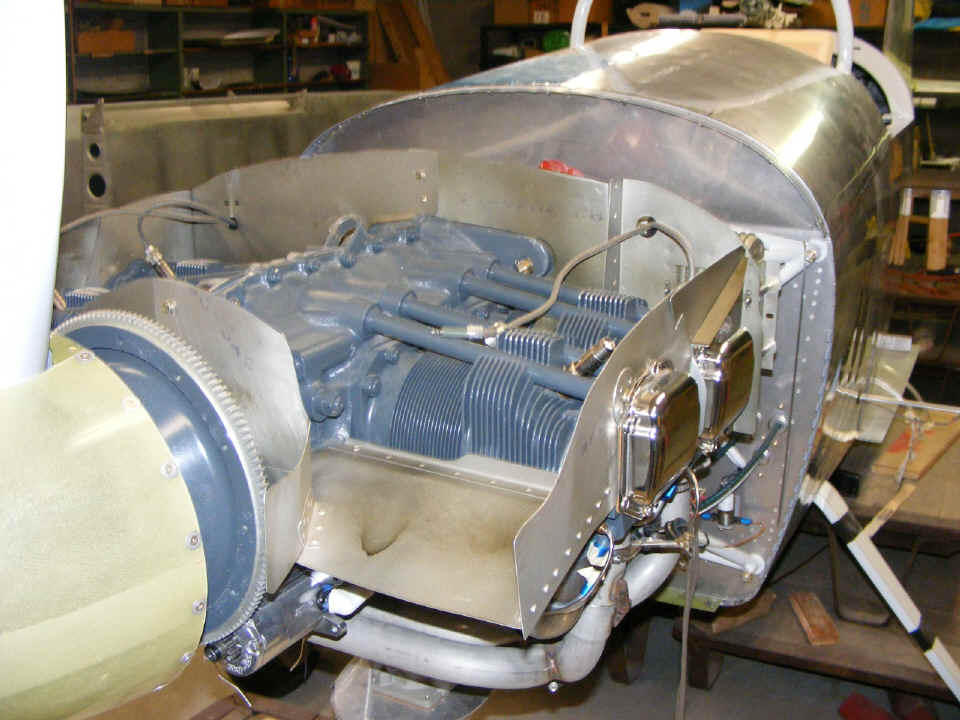
photos taken with my new Fuji S700 camera. The oil cooler is secured to the aft
baffle behind cylinder number four. The oil lines going to and from the engine are
also attached. Two spark plug wires need to have clamps installed to keep them from
rubbing against anything as they are routed from the mags to cylinders 2 and 4. The
temperature probe wires can now be secured.
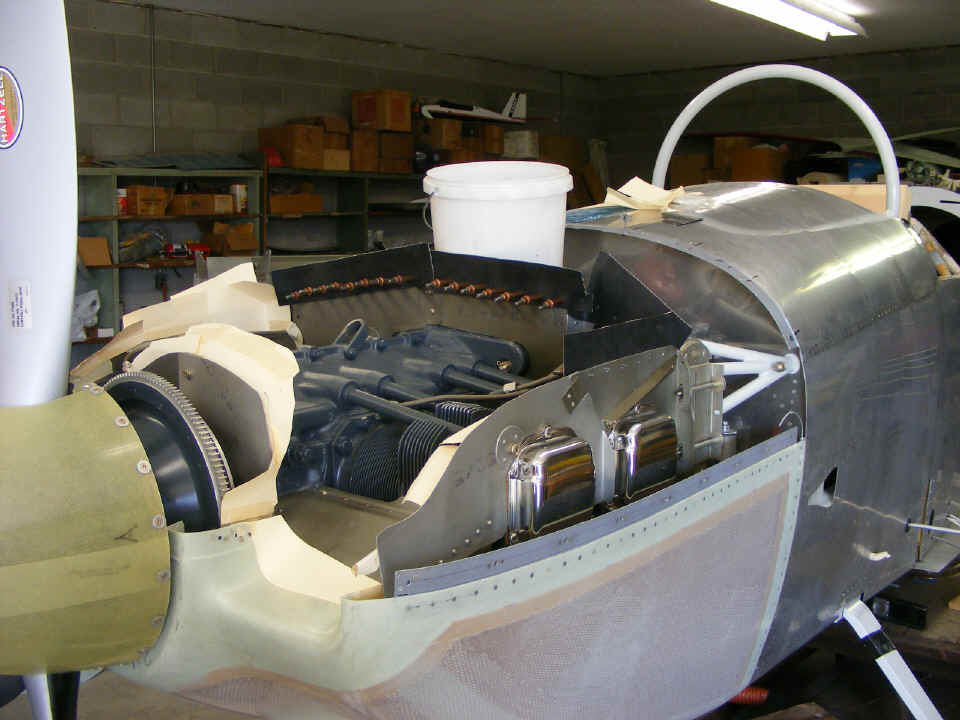
The baffles are ready to accept the flexible fabric that will air-seal the
upper cowl to the baffles.
The spark plug wires behind cylinder number three are routed through a smaller
hole and a plastic bushing per Van's plans plans. Rather than cut a large hole to
pass the nuts on the plug wires, a slot was cut in the baffle to pass the wires down to
the bushing hole. The bushing is also split to wrap around the wires.
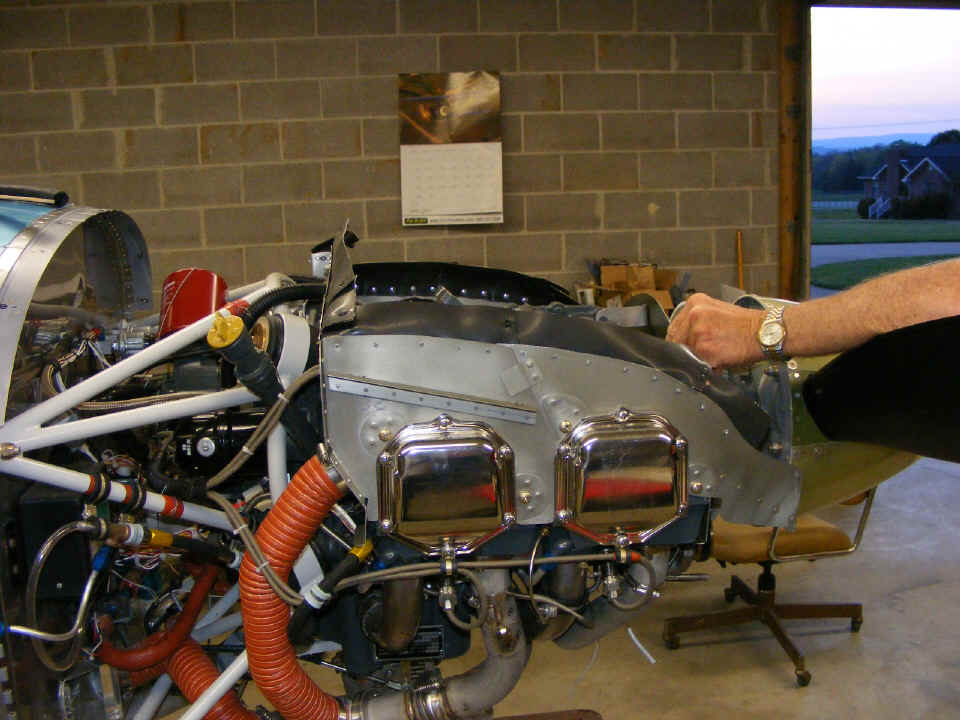
April 28, 2007: The air-seal fabric
installation begins on our Saturday work session. Wendell had been making cardboard
templates using manila folders. We began replacing each template with the flexible
fabric. The front side baffle plates still need to be trimmed to clear the air inlet
ducts of the lower cowl.
April 30, 2007:
Wendell and I had an evening session that found him with much of the fabric installed
across the back and side baffles. I had him trim some of the right side baffle away
where it had the potential of interference with the fit of the cowl air cooling inlet
scoop. Here is a macro view up inside at the fabric as it is laid against the upper
cowl above cylinder #2.
Looking from the oil door, the back row of fabric is seen laid forward under
the upper cowl. None of the overlapped fabric segments have been tied together yet
to insure the correct fit. More about that later when fabric photos are shown.
Due to the position of the flash on the top of the new camera, I rotated the camera
90-degrees to the right to make this shot, then rotated the photo after it was downloaded
into my computer.
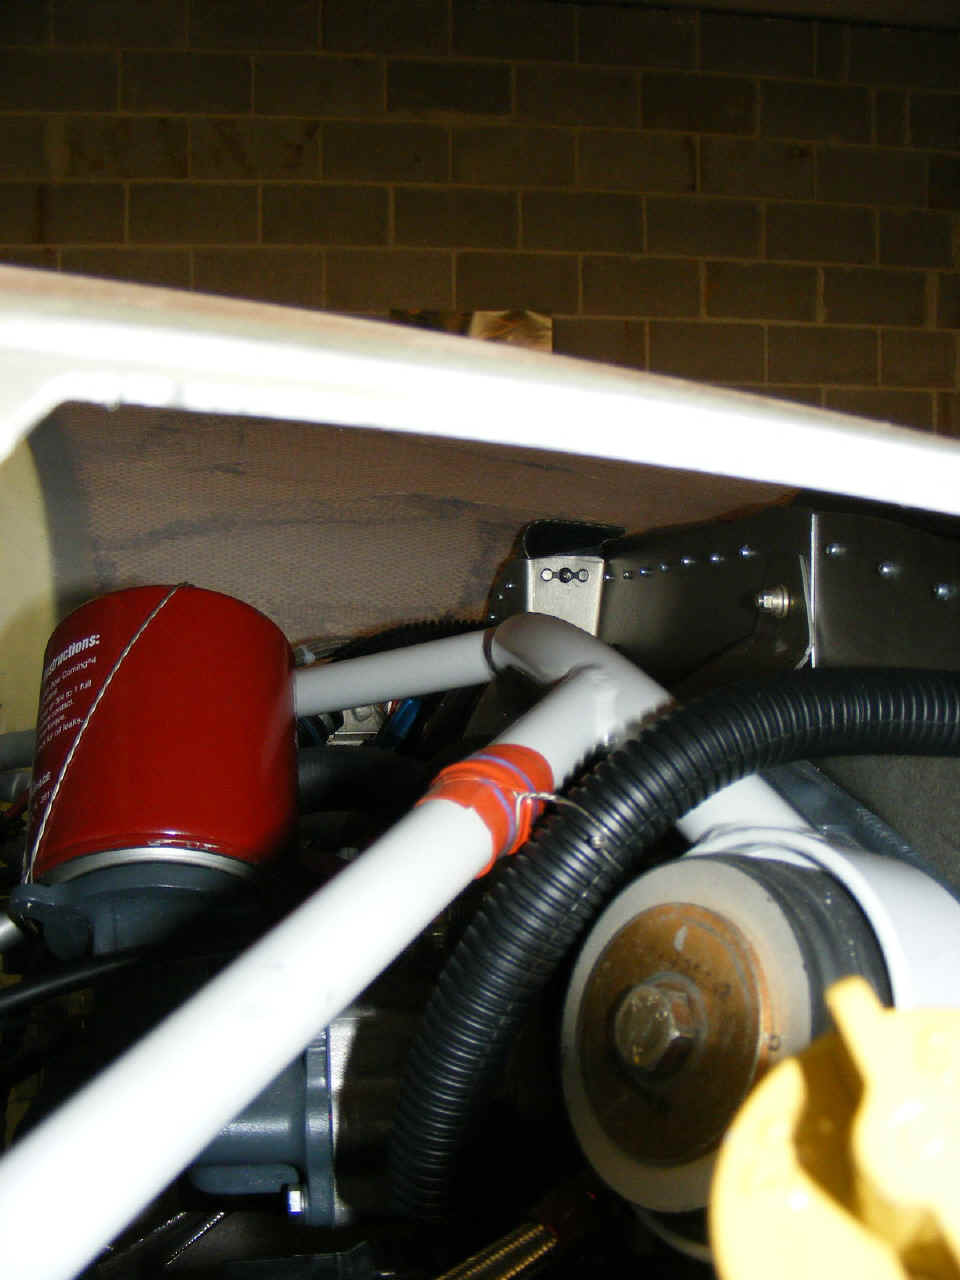
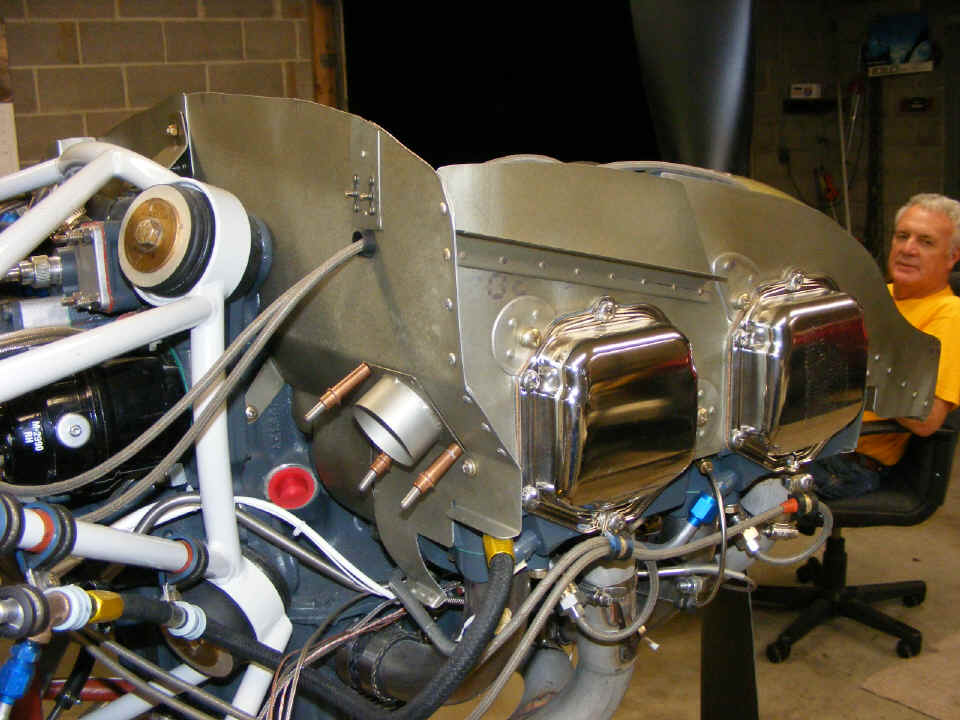
The air cooling tubes for the magnetos have also been installed as you can see in this photo. A piece of safety wire was all that was needed here to get the correct angle on the black tubing.
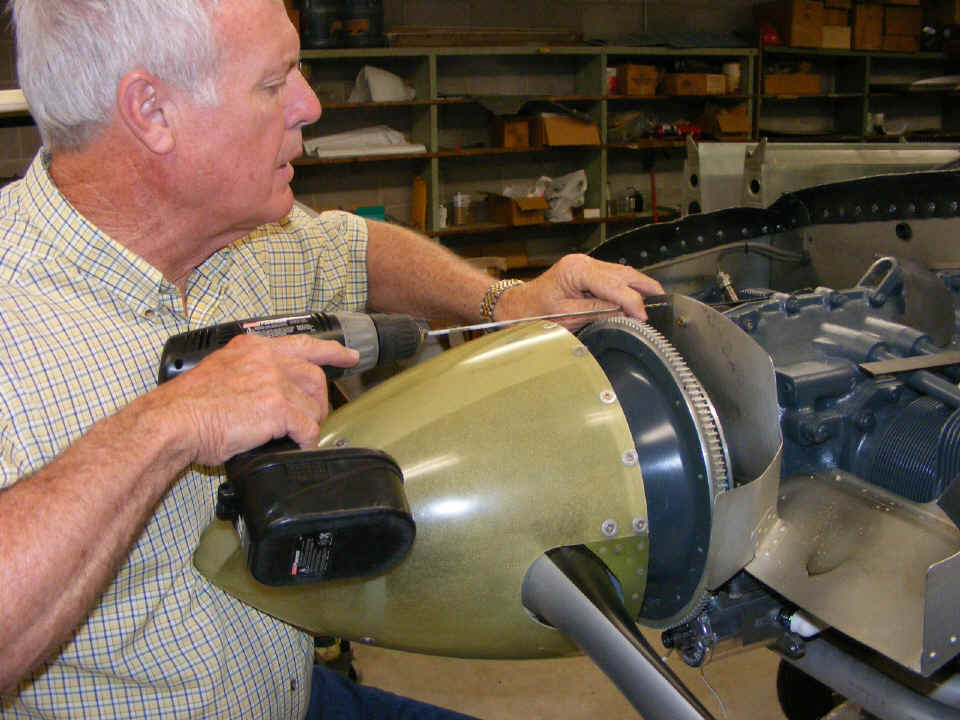
May 1, 2007: The evening
session tonight continued with the fit of the air seal fabric to the cooling baffles.
I took this photo while Wendell was drilling the front baffles for the blind rivets
that will hold the fabric. I positioned the camera to show the routing of ignition
wires, heater scat tubes, and the clean up of the wires to the temperature probes.
Here is what he is really doing from a work perspective.
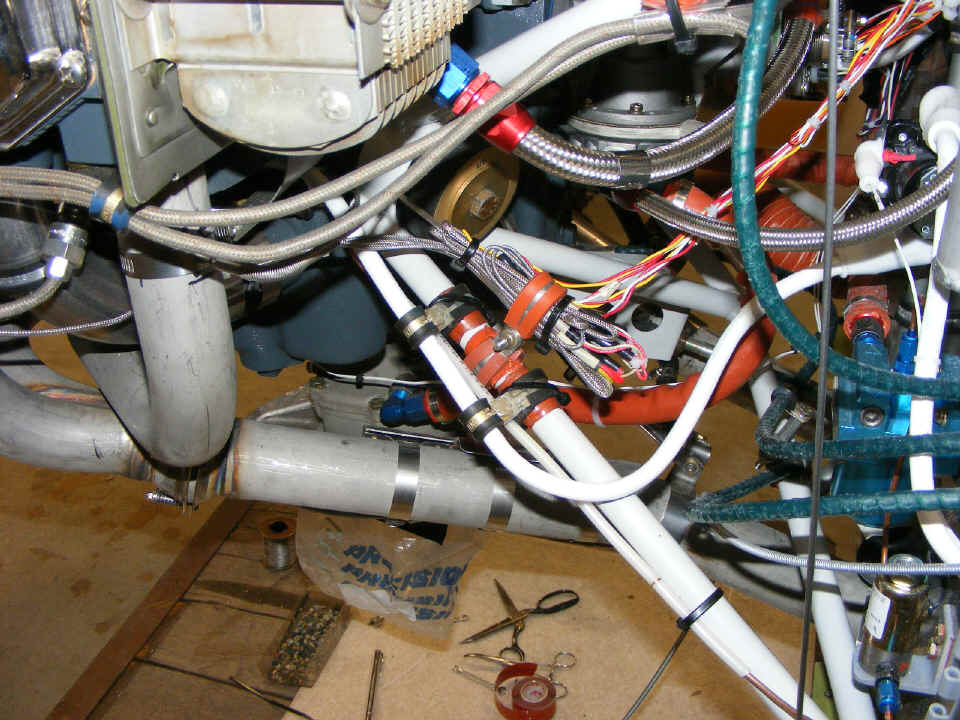
Here is a view of the thermocouple wires and spark plug wires on the left side
of the engine. A few more tie wraps here and there should help.
After these photos were taken, several trial fits of the cowling were made to insure the fit of the air seal fabric and how it lays against the inside of the upper cowl. The instructions for the next day's work included making aluminum straps to fasten air seal fabric to the air scoops at the front of the lower cowl. We talked about the shape and fit of the remaining segments of air seal fabric to be installed.
| CLICK for Folks PAGE 51 | Return to Other RV Menu | Return to Main Menu Page. |