Wendell Folks RV-8 Project - Page 14.
February 4, 2006: Today (Saturday) is the
first chance for Wendell and I to get together for some work on his airplane. I had
given instructions to Wendell on fitting the front seat components prior to my short
business trip to Virginia this past week. He said he was really good at putting
plate nuts after working on the floor panels this week.
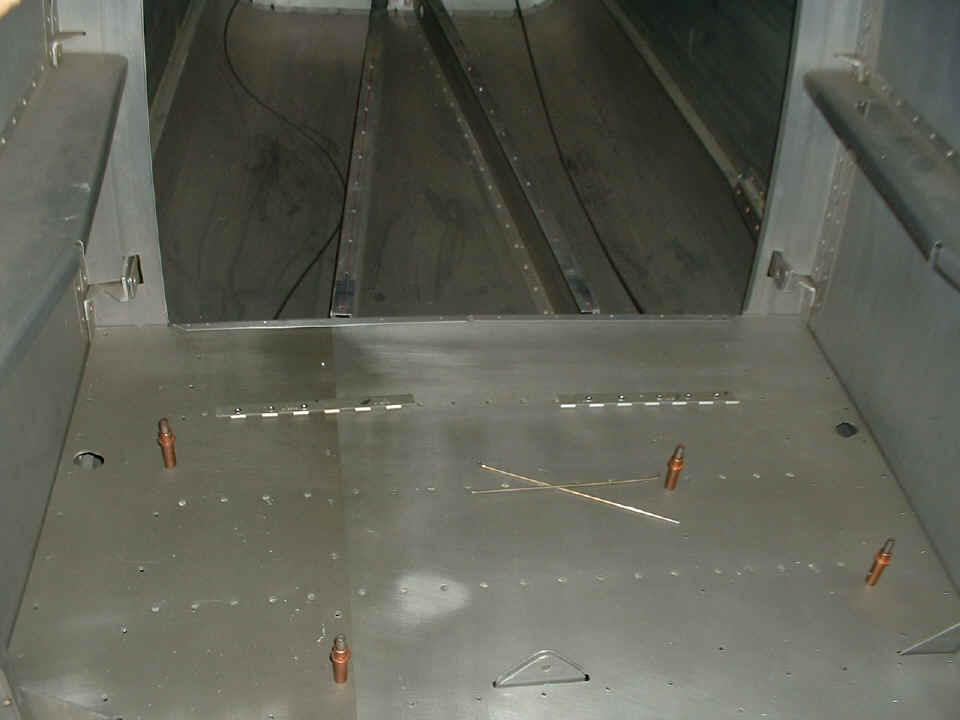
The rear seat hinges are now secured to the floor panels with some LPT-4-3
blind rivets. You can look closely to see that not all the rivets are installed
since the panels are installed with clecoes. This is the preparations for the first
fitting of the rear seat to the bulkhead.
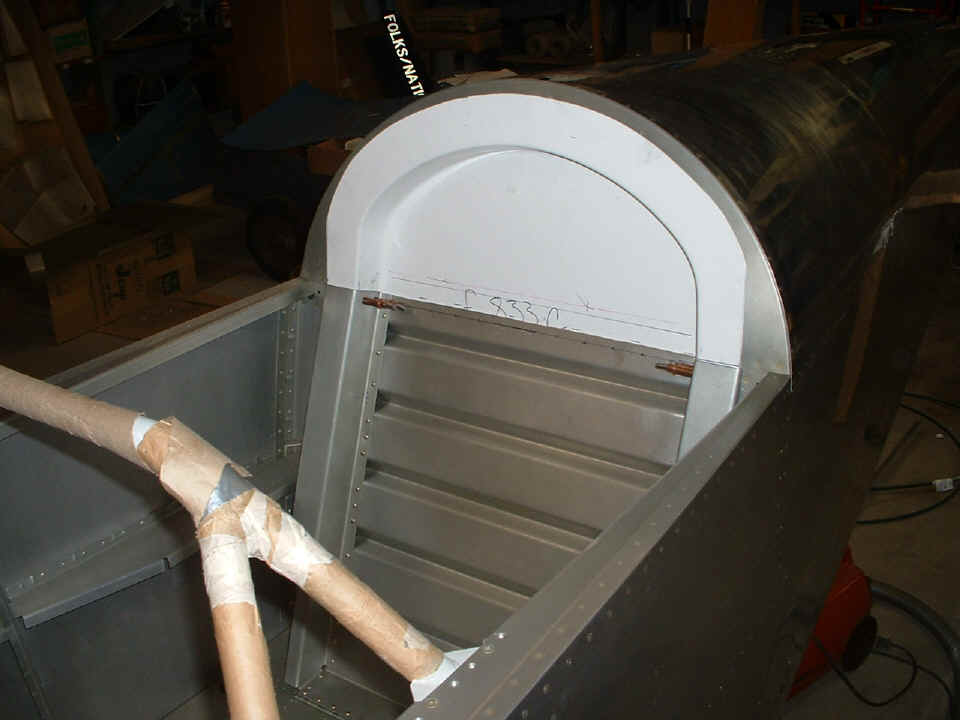
Next is the trial fit of the seat panel and the fiberglass section for the top
of the seat back. It was during this trial fit when we discovered how much of the
fiberglass is removed to insure the seat will rest properly against the bulkhead.
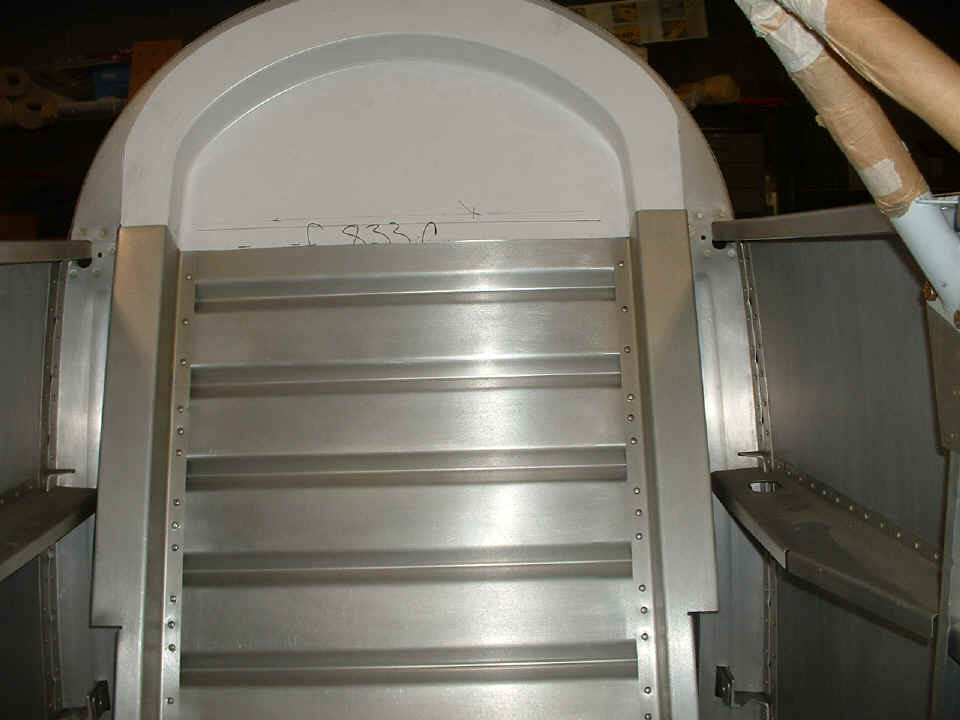
After much careful drilling of fiberglass and aluminum, the rear seat
components have been trimmed and clecoed together for now. I showed Wendell how to
use the combination square to determine how much of the upper portion of the seat back
must be removed to clear the shoulder straps as they come through the bulkhead above the
seat. There is a plenty of fiberglass trimming to be done before the remaining
rivets will be installed in the rear seat assembly.
I provided Wendell with some guidance on things he can do to install the rear seat rudder pedal mounting brackets and the fuel selector valve while I am in California during the week of February 5-11. I will have more on Wendell's project when time permits after my western trip.
February 20, 2006: It is
President's Day in the USA - a day off from the new job and time to help Wendell with his
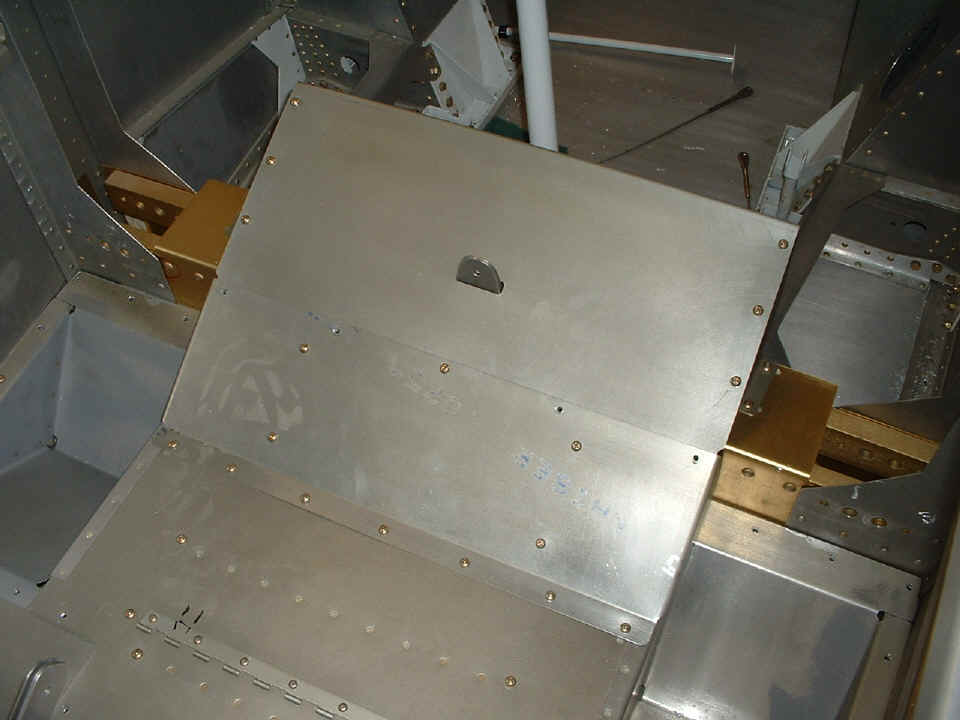
RV-8A. Wendell had been preparing the panel for the engine controls and wanted me to
check his work before doing any drilling a riveting of plate nuts, etc. The wing
bulkhead cover needed to be fitted before making the final positioning of the engine
control panel to the side wall and the bulkheads fore and aft of the panel.
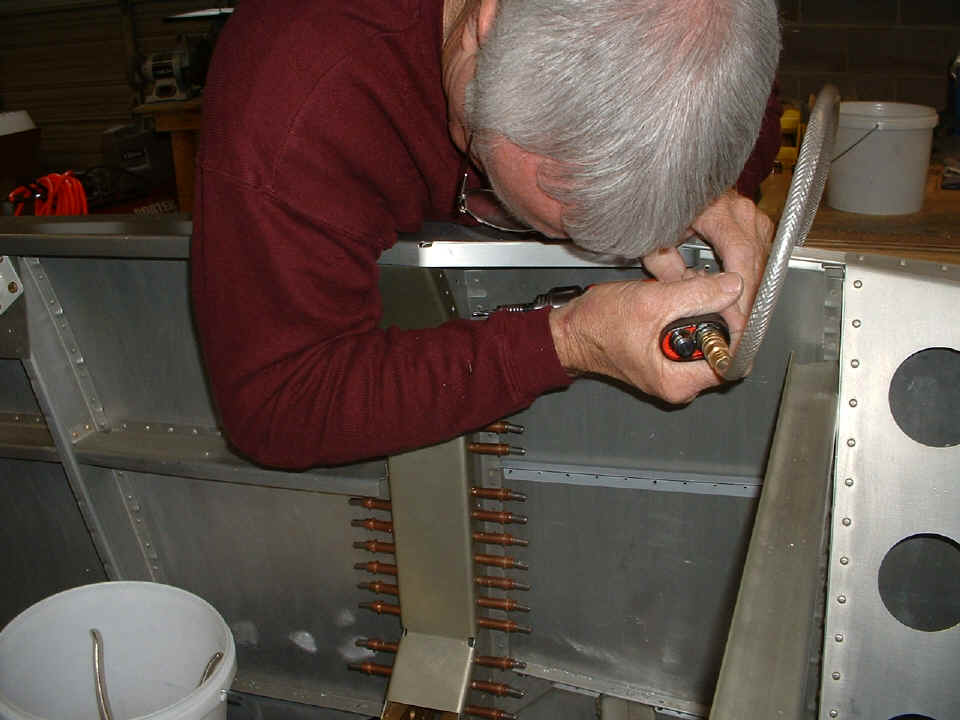
Wendell had installed the fuel tank selector valve prior to my visit. He
had also installed some plate nuts at the ends of the various angles supporting the floor
panels and the fuel selector cover plate.
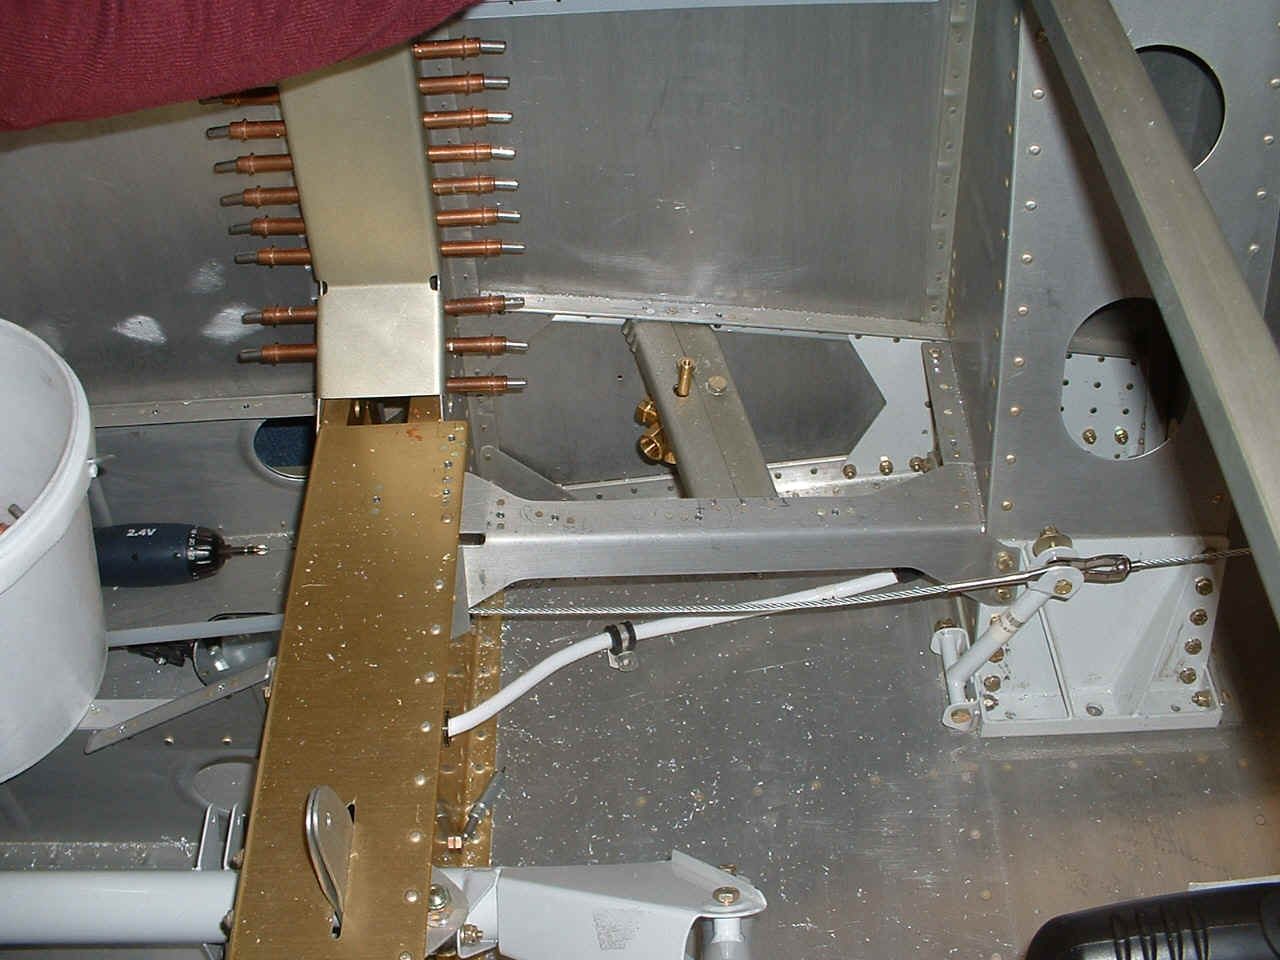
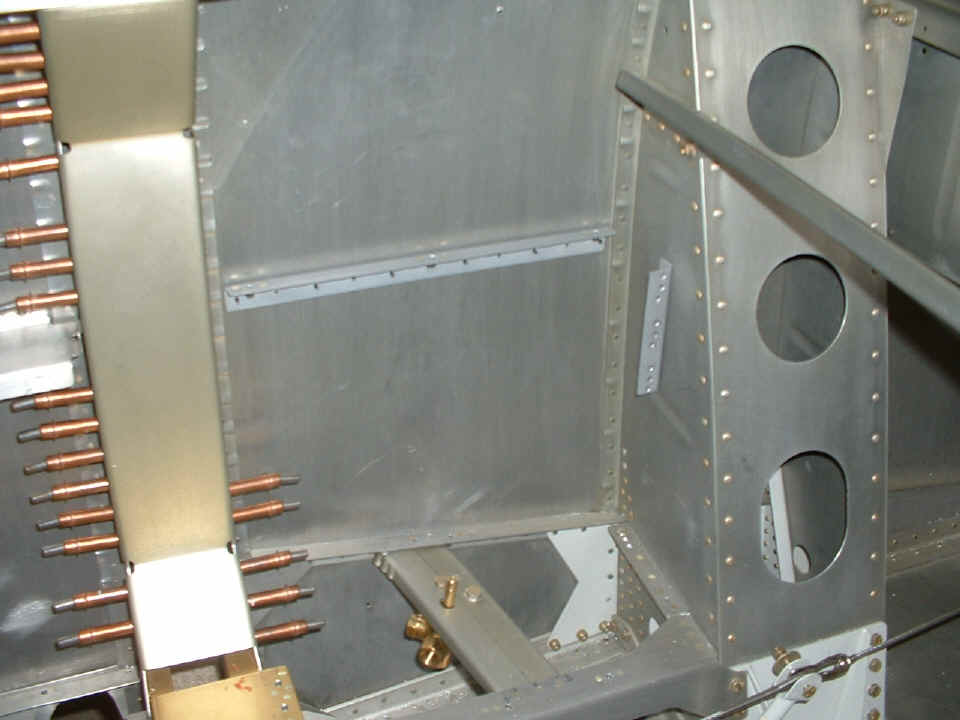
The angles used for mounting the engine control panel were prepared for
riveting to the side wall and the bulkhead at the landing gear tower. Plate nuts
were installed at the appropriate time for each part to simplify the riveting process to
the fuselage wall and bulkhead. The process for installing the switch panel on the
right side of the fuselage was reviewed on the blue prints to provide Wendell with some
work to do when my job requires me to be somewhere else - - which is a pleasant change
after almost a year of unemployment has ended!
| CLICK for Folks PAGE 15 | Return to Other RV Menu | Return to Main Menu Page. |