Wendell Folks RV-8 Project - Page 13.
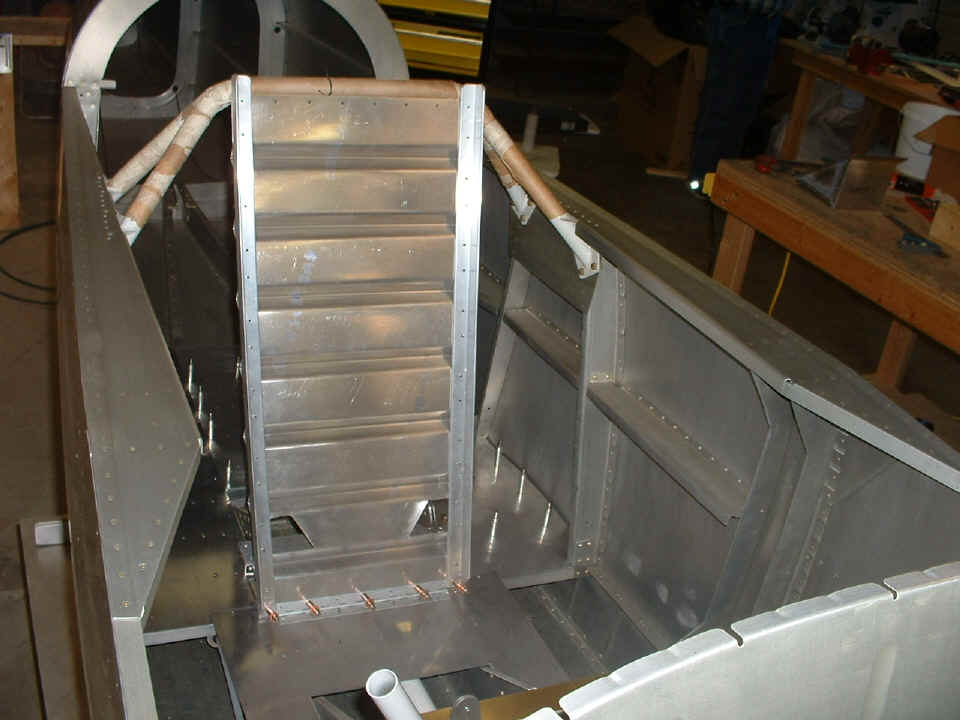
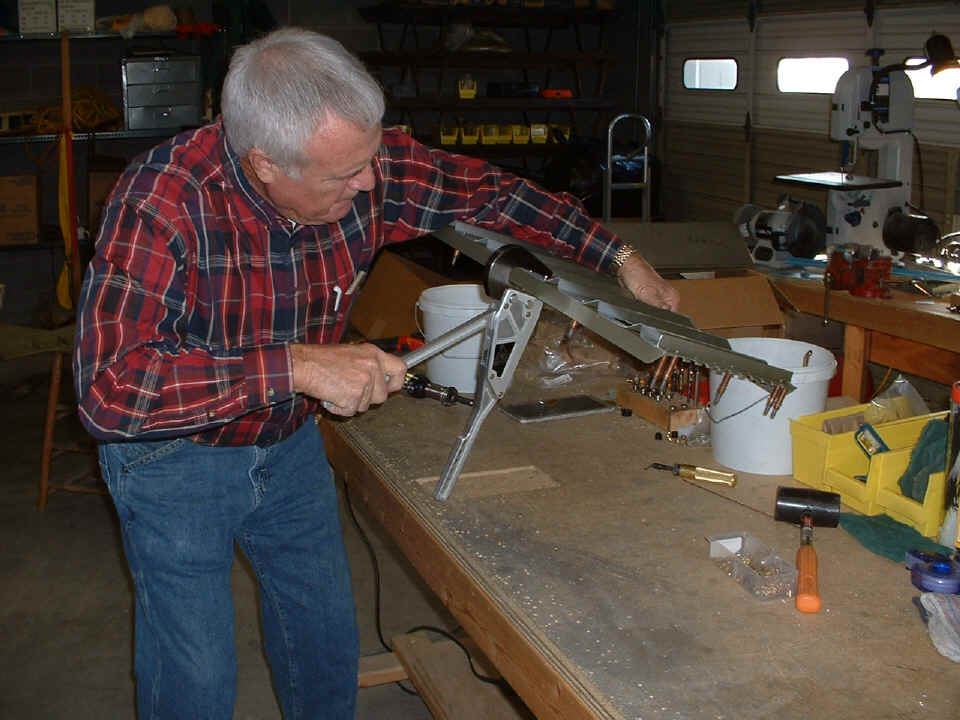
January 18, 2006: This is the first fitting
of the pilot's seat into the fuselage. Everything is clecoed together for this first
trial run.
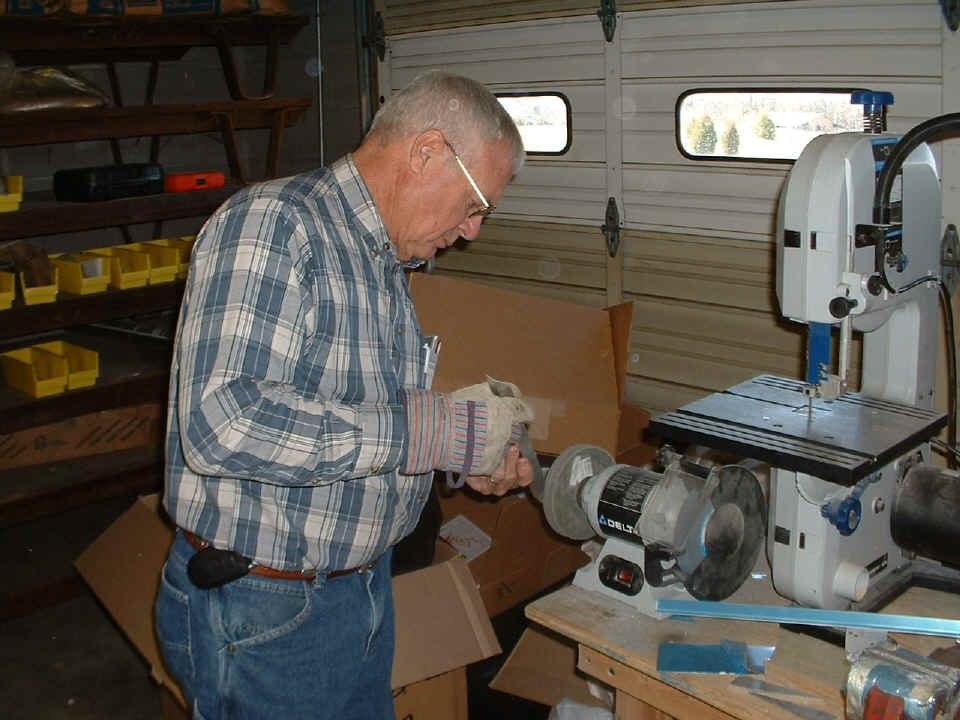
Each piece gets a custom fit and deburring on the Scotchbrite wheel. This
is the angle that goes at the top of the pilot's seat on the back side. There are
several circles of light (lens flare) in this photo.
Today's work session was cut short to make a second visit to the shop of John Myers and to get some additional photos of his RV-8QB.
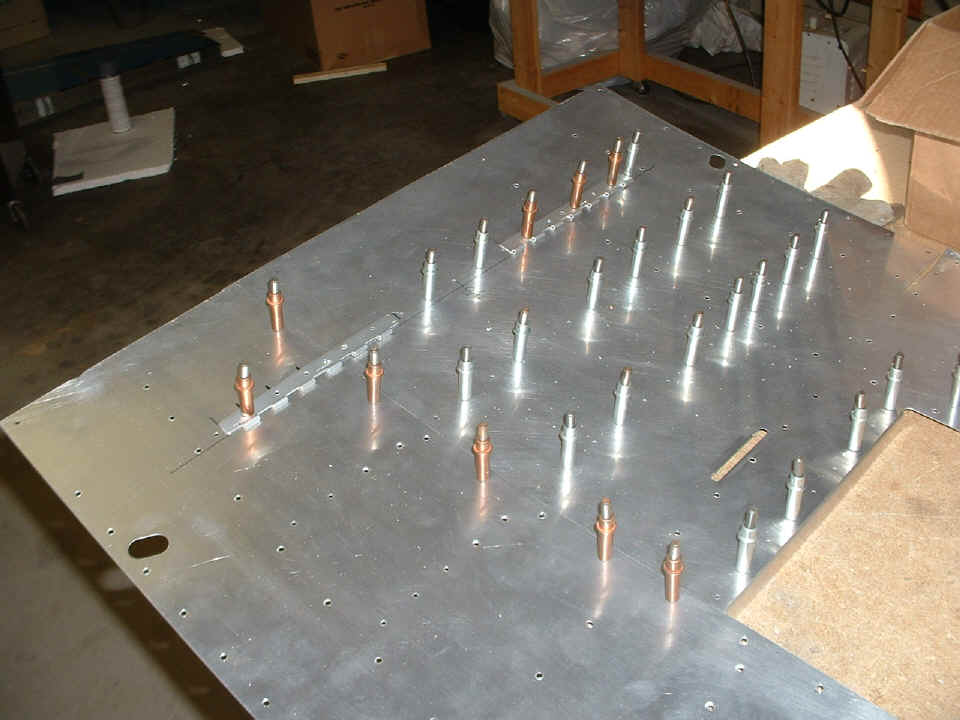
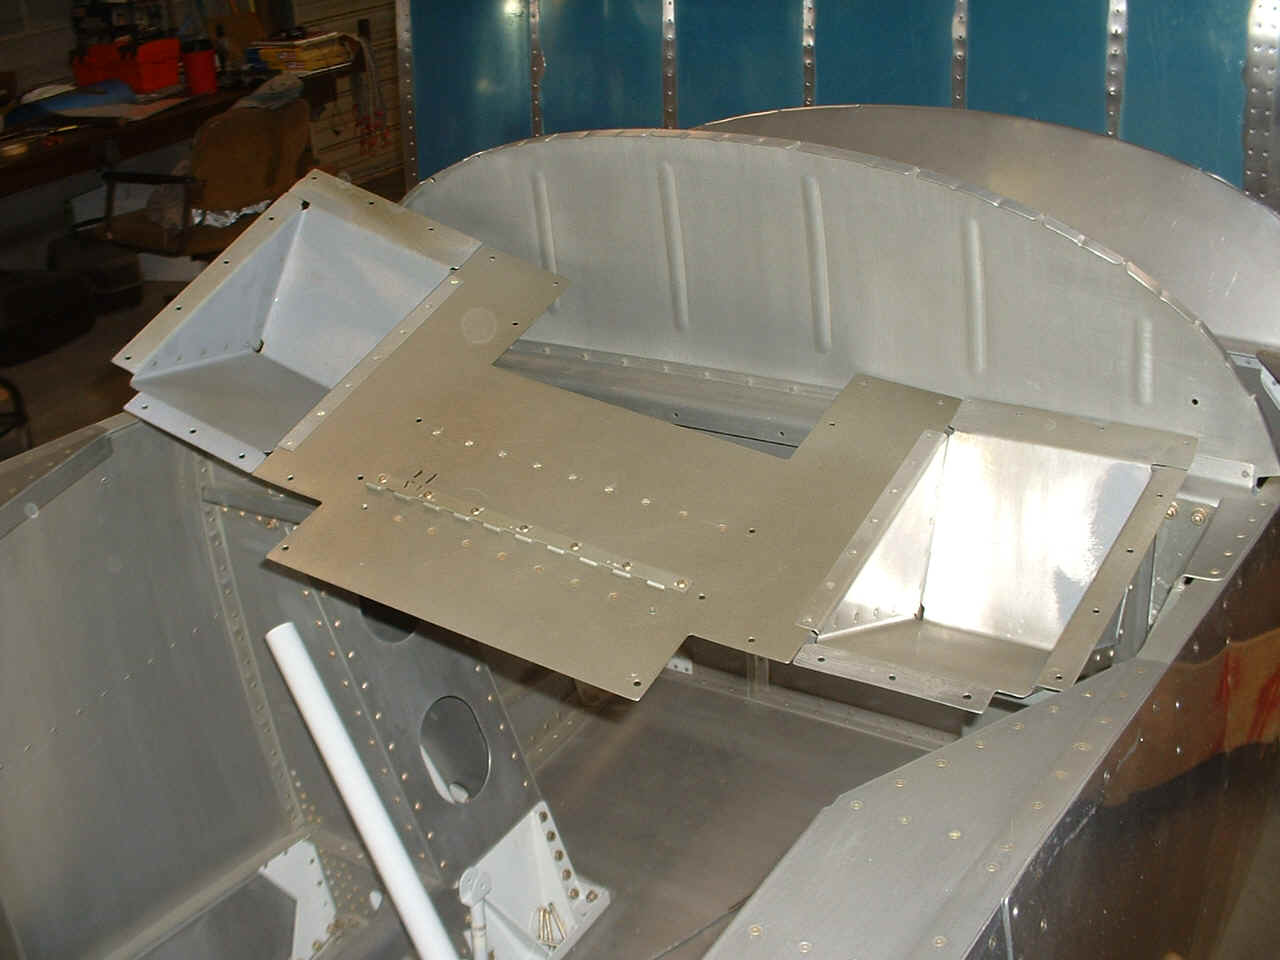
January 19, 2006: Today's session was all
about getting the floor panels in place, then drilling the holes to secure them to the
ribs and angles in the belly of the fuselage. There is plenty of work to do to get
the aluminum filings vacuumed out of the airplane.

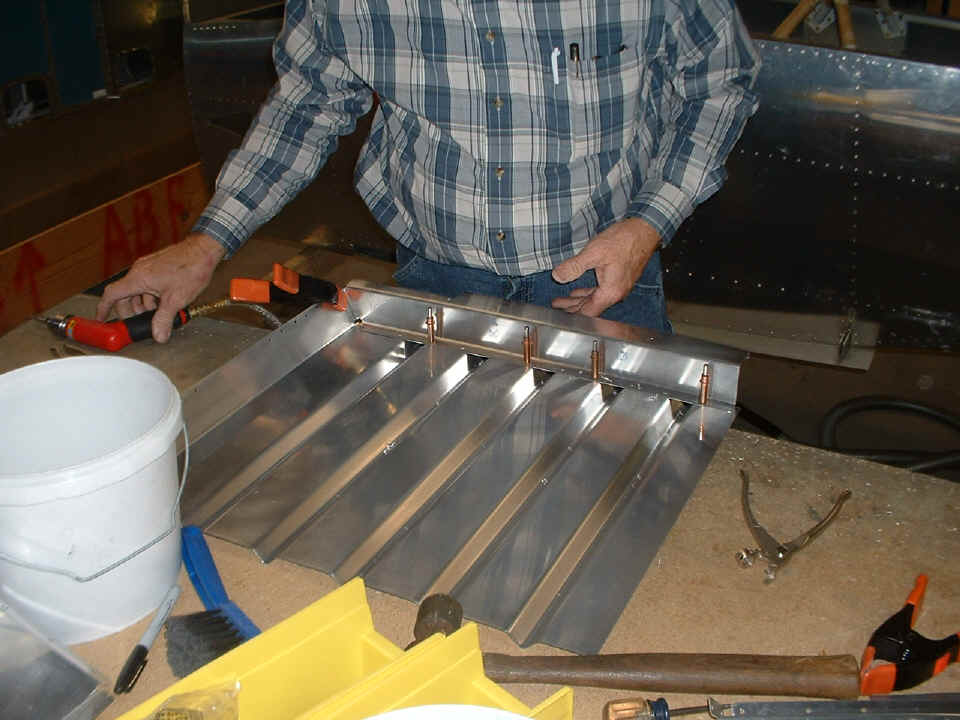
The other part of the session today was about getting the rear seat floor
hinges in position prior to building up the rear seat and sizing it to fit. The rear
floor panels were match-drilled to the fuselage and to each other, allowing them to be
clecoed together on the work table before installing the hinges that will secure the rear
seat back to the floor panels.
January 20, 2006: I came in for a short morning session with Wendell today. We resumed work on the rear seat preparations including the installation of the other halves of the hinges to the seat back. He finished match-drilling the stiffeners to the floor panels. Next will be more prep-work before a priming session that will be coming soon. I coached Wendell on the proper way to assemble the rear seat rails to the seat back before I had to head out for some grocery shopping.
January 23, 2006: Just
one photo to post for this entry. The back seat has some quirks that we learned the
hard way, but not to the point of scrapping anything. When we discovered the true
spacing of the side rails of the seat back, it required new holes a little farther from
the edge of the seat back to secure the side rails. The "traditional" hole
alignment from the outside edges of the corrugated seat back produced an assembly that was
too wide to fit the bulkhead where the rear baggage compartment begins. This session
ended with just clecoes holding these parts together, no rivets were installed today.
January 26, 2006: Wendell had another
priming session yesterday when we had good weather in the Tennessee River Valley. As
a result, today was a visual "milestone" day with some good progress in
riveting. The pilot's seat back is coming together nicely with only a few rivets
needing to be replaced. I realized Wendell had not noticed some of the "subtle
riveting techniques" I used in building my RV-9A. I demonstrated each little
step I use before pumping the handle when using the squeezer for a good set to every
rivet.
The pilot's seat bottom and the passenger's foot wells were dimpled and riveted
together today. The hinge for the pilot's seat back was also riveted in position.
The stiffeners have been put on all the floor panels - front and rear. The
floors are ready to be fitted to the fuselage one more time to drill some final screw
holes in the front edge of the rear floor panels.
At the end of today's short session, we reviewed the steps ahead that Wendell can do in my absence next week. A package from Van's Aircraft arrived with the RV-8 rear battery wiring kit and two other needed parts. One part is the small steel weldment to terminate the aft end of the elevator trim tab cable. The other part is the top rudder cap to replace the original which did not fit properly. There will be more about those parts when the time comes to install them.
| CLICK for Folks PAGE 14 | Return to Other RV Menu | Return to Main Menu Page. |