
Wendell Folks RV-8 Project - Page 5.
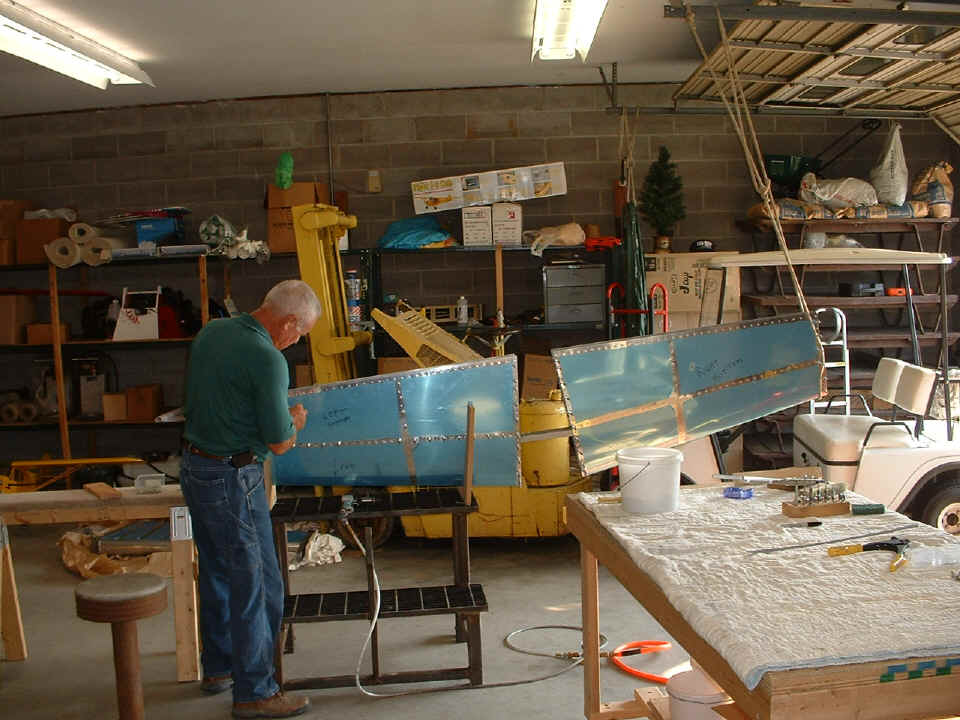
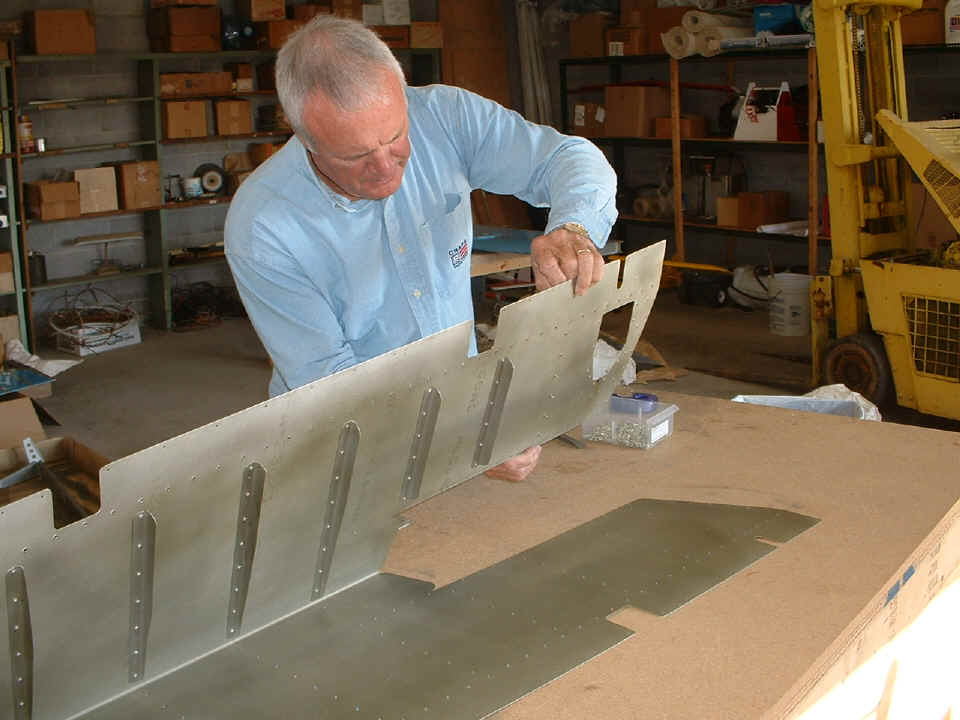
October 21, 2005: The tail section is
approaching completion as Wendel uses the rivet gun and bucking bar to put the other LEFT
horizontal stabilizer skin onto the HS skeleton. I taught him the rope trick I used
when I was building my horizontal stabilizer.
The garage door track made a good tie point for the rope supporting the other
end of the horizontal stabilizer.
The rear main spar assembly gets clecoed into position after all the other
interior rivets are completed. Wendell now sees the light at the end of "this
tunnel" and it is not a train. He can hardly wait for the quick-build shipment
to arrive in mid-November!
October 24, 2005: I had lunch
with Wendell and some of our airport friends today. After I posted my recent updates
to this web site, I went over to the hangar and the RV-8 workshop and found that Wendell
was serious about wanting to put a new skin on the left elevator. He wanted me to
drill out all the rivets to recover the spar and ribs for the new skin and stiffeners he
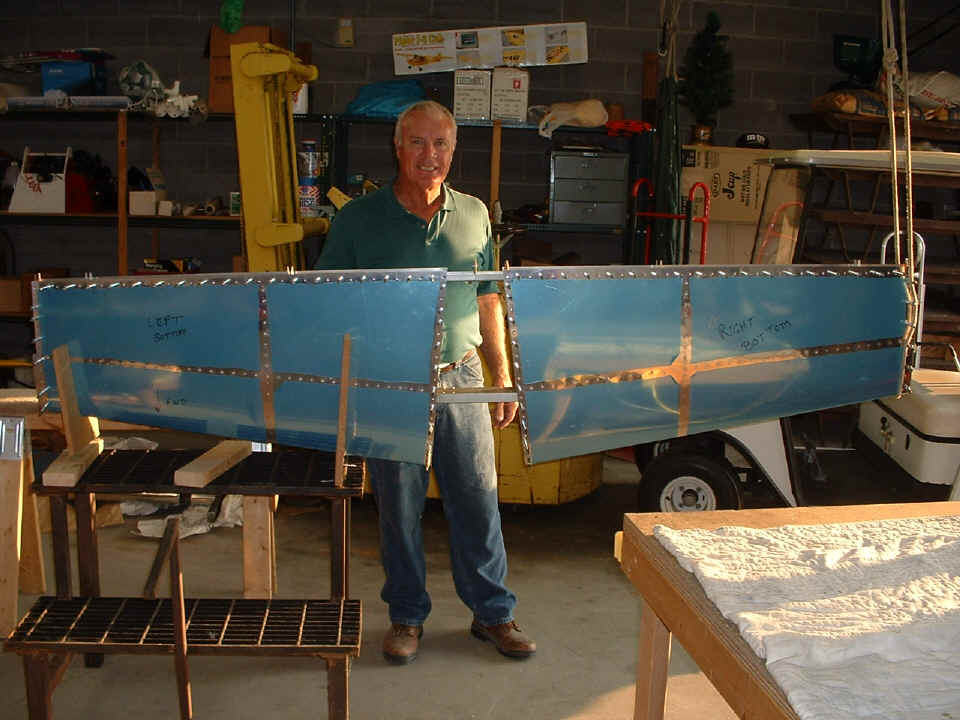
ordered from Van's today. I had to take a picture of the finished horizontal
stabilizer before anything else.
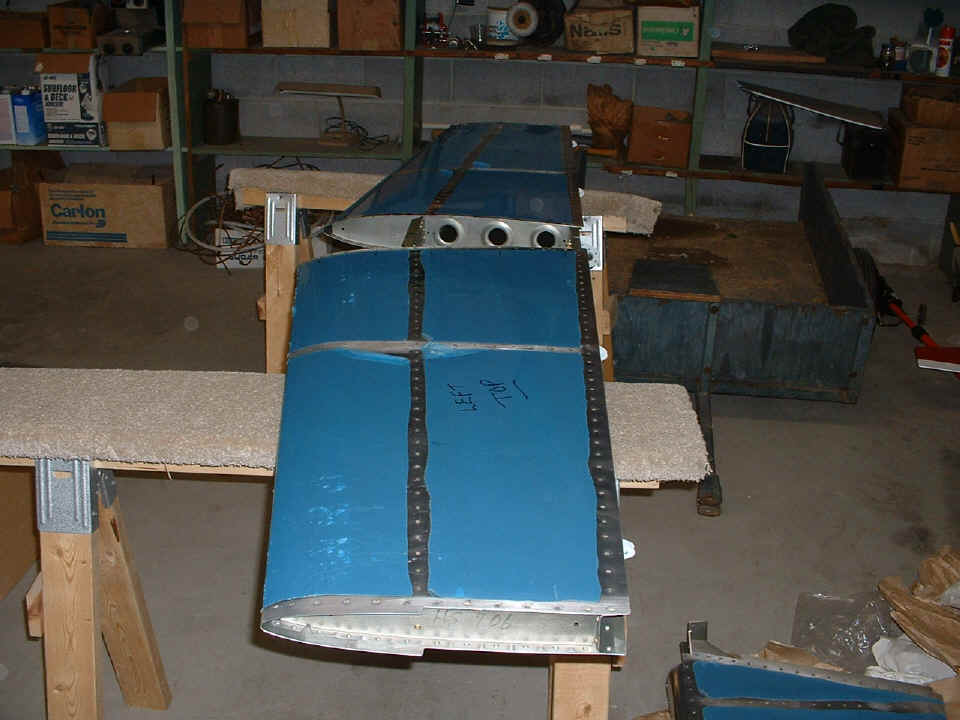
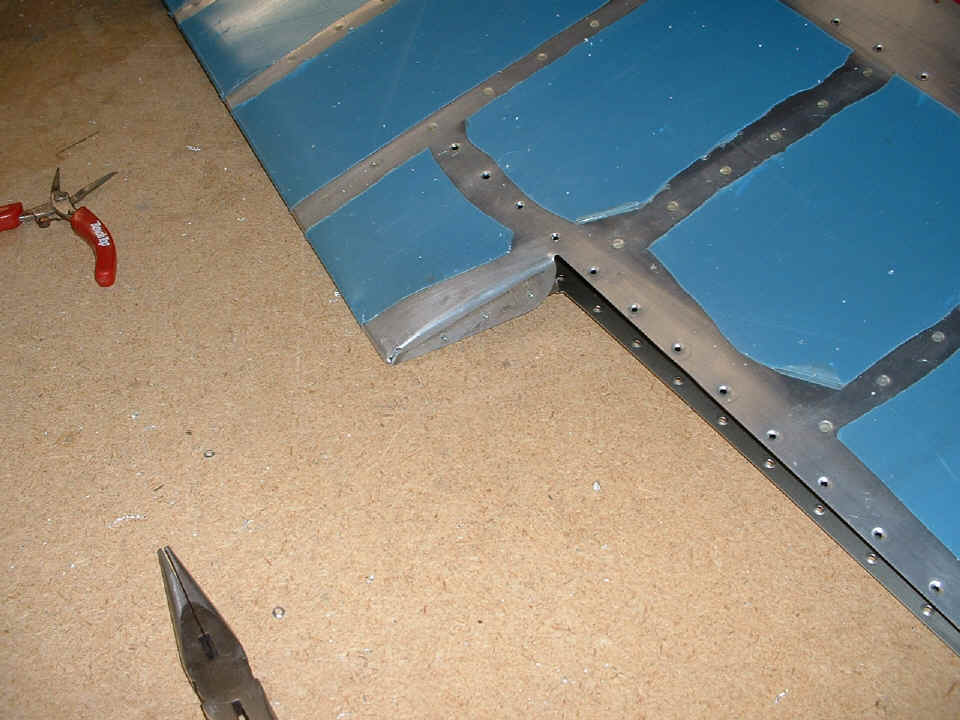
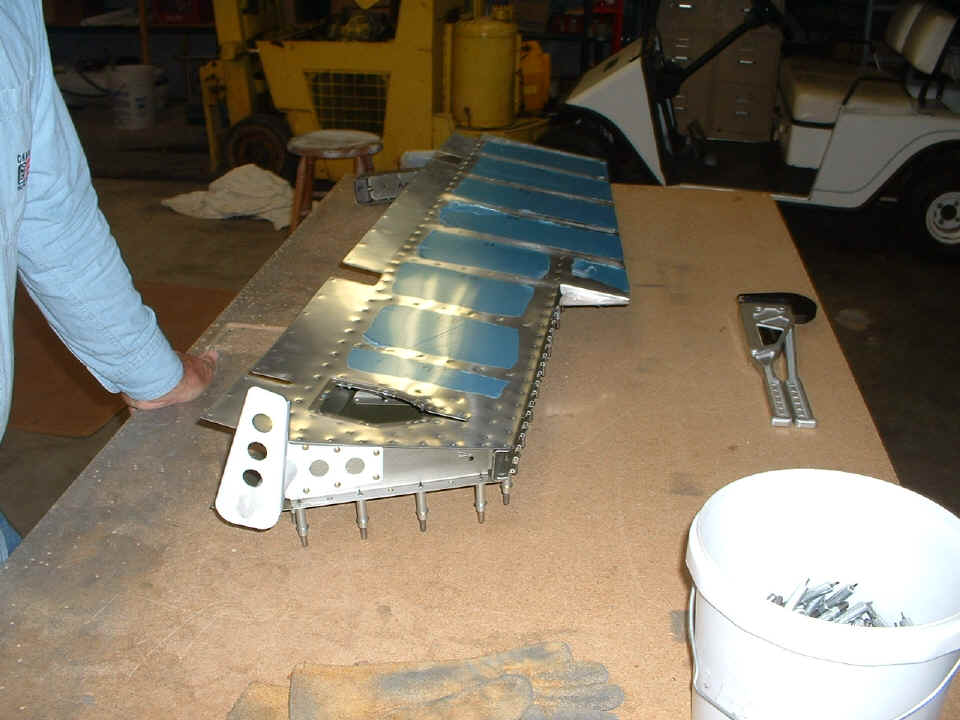
This is the discarded LEFT elevator skin after I successfully removed all the
old rivets from the main spar, both end ribs, and recovered the trim tab mounting spar and
hinge. That hole in the skin where the tabs are bent down is why he wanted to
replace the skin. He is not going to try to recover the stiffeners, just install new
ones on the new skin. Thank goodness for the CNC manufacturing used by Van's to
produce these skins!
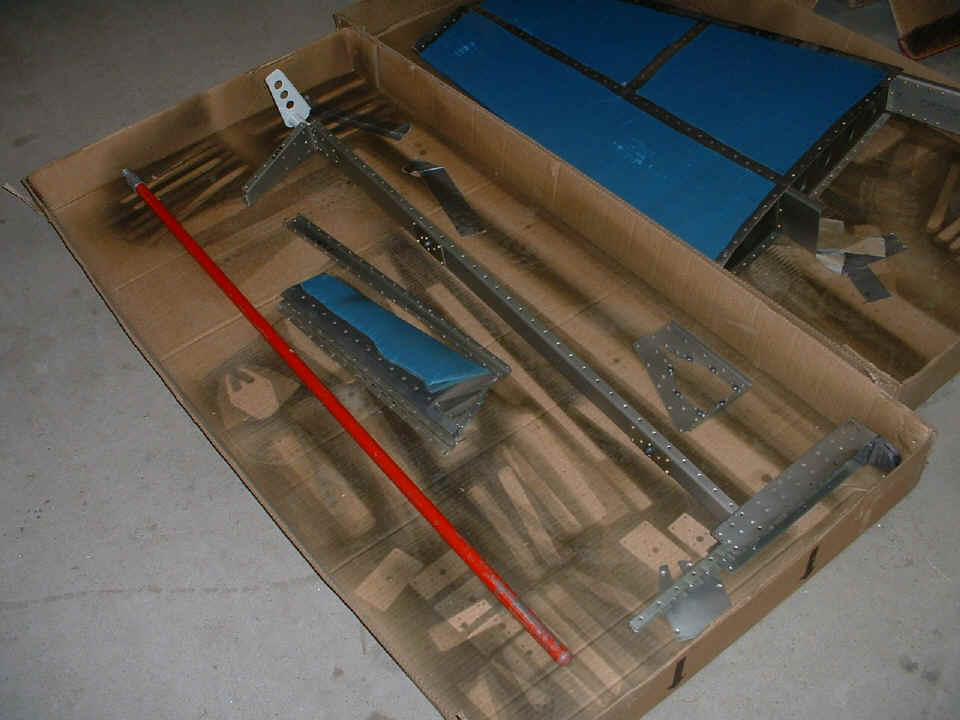
Here are the parts recovered for use when the new skin arrives. The red
broom handle is the same one I used to roll my rudder skin around the rudder spar.
We have done that on Wendell's rudder already and will do that to both elevators when they
are ready. The right rudder can be done now. The new skin and stiffeners for
the LEFT elevator should be here by the end of the week.
October 28, 2005: I went to the shop and the hangar today to get my airplane out for the short flight over to the Chattanooga Airport for the weekend air show. Wendell received his replacement aluminum skin for the left elevator and a full set of stiffeners for it. Since we are both involved with the air show, nothing will be done on the elevator until Monday.
November 3, 2005: The air show
came and went and Wendell got started on his replacement LEFT elevator skin. He
finished the priming this morning and asked me to stop by after lunch to be sure
everything went well. I observed the first stiffener going on the bottom side of the
elevator skin and reminded him of proper technique with the rivet gun. I went
outside to clean the windshield of my car while he put on some stiffeners. When I
came back inside, he had only one rivet he wanted to replace since it was not firmly
seated against the skin when the rivet was set using the back-riveting tool. He is
shown here taping in a row of rivets for the next stiffener. By the time he
completed ALL the stiffeners, I reminded him that JUST ONE rivet being replaced was MUCH
better than he did on the other LEFT skin that has now been discarded.
By the end of the session at 5 PM, the elevator stiffeners were all in place
and the doubler for the elevator trim was also secured with rivets. The trim tab
spar and the elevator spar and end ribs are now clecoed in position to the top skin of the
left elevator. The trailing edge of the skin has been bent to final shape and the
tabs on the end near the trim tab have been bent and drilled for two blind rivets.
The bottom side of the skin will be clecoed in position tomorrow, then the riveting around
the edges will begin using the squeezer.
| CLICK for Folks PAGE 6 | Return to Other RV Menu | Return to Main Menu Page. |