FINISHING - Page 107.
March 23, 2005: Tuesday was about family
business in the Atlanta area, so today was the first time to get some work done on the
airplane. I went out to get some Molex connectors for the strobe light cables going
to the wings. When I got back home, I got out my "under shelf" light to
check the overlap of the fiberglass and the vinyl tape that protects the windshield.
It revealed some areas that need some additional glass laminations. I sanded
the last area on the LEFT side of the windshield and then started cleaning up things.
I blew away a lot of fiberglass and epoxy dust and vacuumed it off the floor.
I cleaned the gum adhesive from the canopy and removed it to allow me unrestricted
access for my next tasks.
So, next time we go to wiring the strobe cables from the power supply area to the
tail and the wing root area. I am tired of doing fiberglass sanding and will take a
few days off from that and get back to my roots: Electrical work. I have
always been into it since high school. It is why I got a degree in electronics and
communications. I have built cable television headends, satellite receive sites, and
satellite uplinks for both video and radio networks. This time the project is for
me. Experimental November TWO PAPA ZULU -- call sign "Enterprise".
March 24, 2005:
Thursday was a good weather day and the garage door came open and a bunch of stuff went
out the door while I cleaned out the garage of much of that DUST! The air hose was
fully deployed and even the engine and baffles were blown clean! I peeled off more
of the blue plastic from the wings when the cart was half way out the garage door and I
had cleaned stuff out from under the cart. I took the prop box outside and cleaned
the floor under the airplane and used the air hose as much as the vacuum to get the place
back in shape. I un-tracked the metal parts from the top of the wings cleaning each
one with the air hose. I blew the dust off the plastic drop cloth, and felt much
better when things started to come back into the garage CLEAN! I got started on the
wiring by putting the Molex connectors on the wires coming out of the wings and fuselage.
I am not finished with all of them yet.
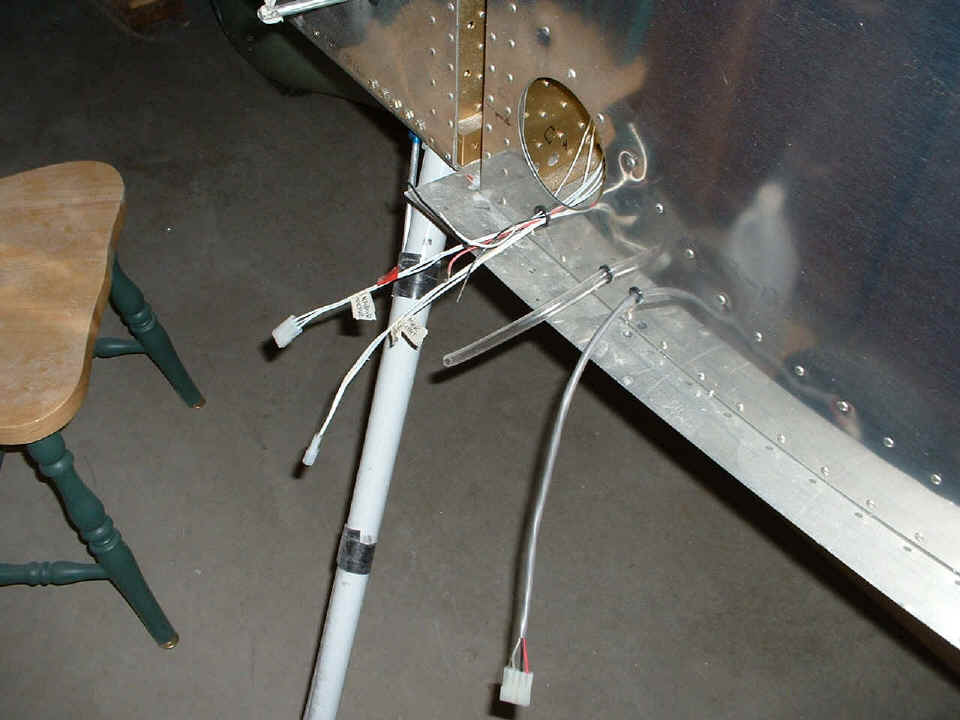
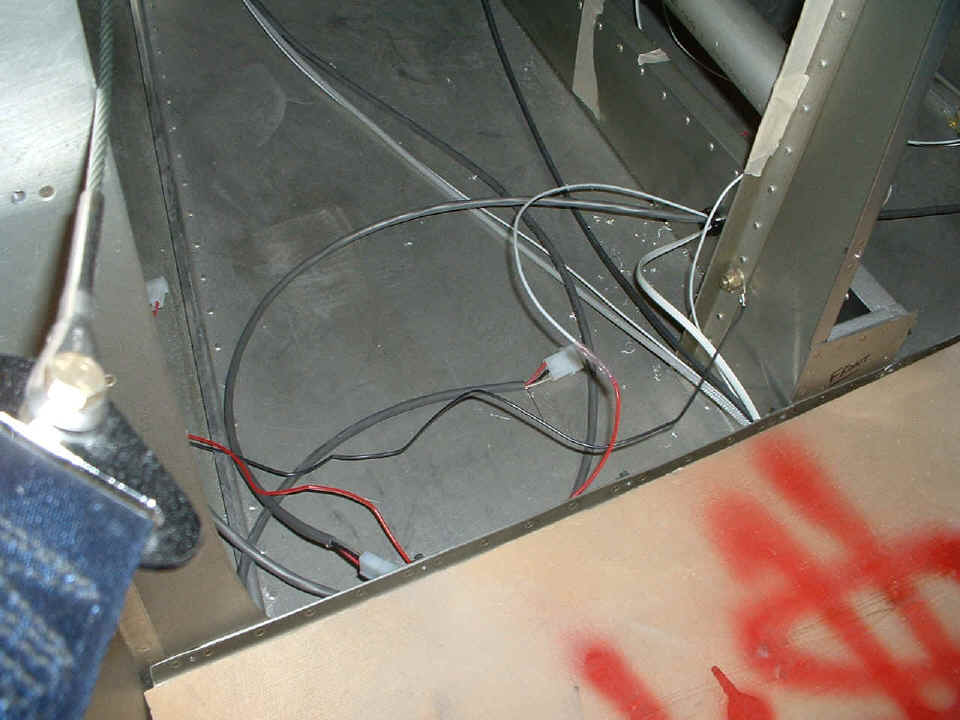
Here are the cables and pitot line hanging out the LEFT side of the fuselage
ready for connecting to the wing. The wires with no connector on the end go to the
fuel sensor to be connected later. The gray cable is the strobe cable with four
conductors into the plug. The landing light and marker light are on one of the
three-connector plugs, while the servo has three wires for it on the other plug. I
made sure I had those three-wire plugs of the opposite sex so they would only fit one way
when the wing is attached.
I climbed inside the airplane to get the power cable connections made in the
back from the strobe power supply location to the tail and to both wing root areas.
I put a 3/4" plastic bushing in the rib next to the elevator bellcrank for passage of
the ELT control cable, the B+ power wire to the strobe power supply, and the strobe light
power cable going to the LEFT wing root. I have to tie all three of the strobe cable
ground wires together and ground them at the case of the power supply. There is
still one coax cable to come from the VOR/Localizer antenna when I get to the airport and
attach the tail feathers. It will pass through this area and will be bundled in a
conduit with some of the other cables to minimize the chances of vibrational damage to the
cables.
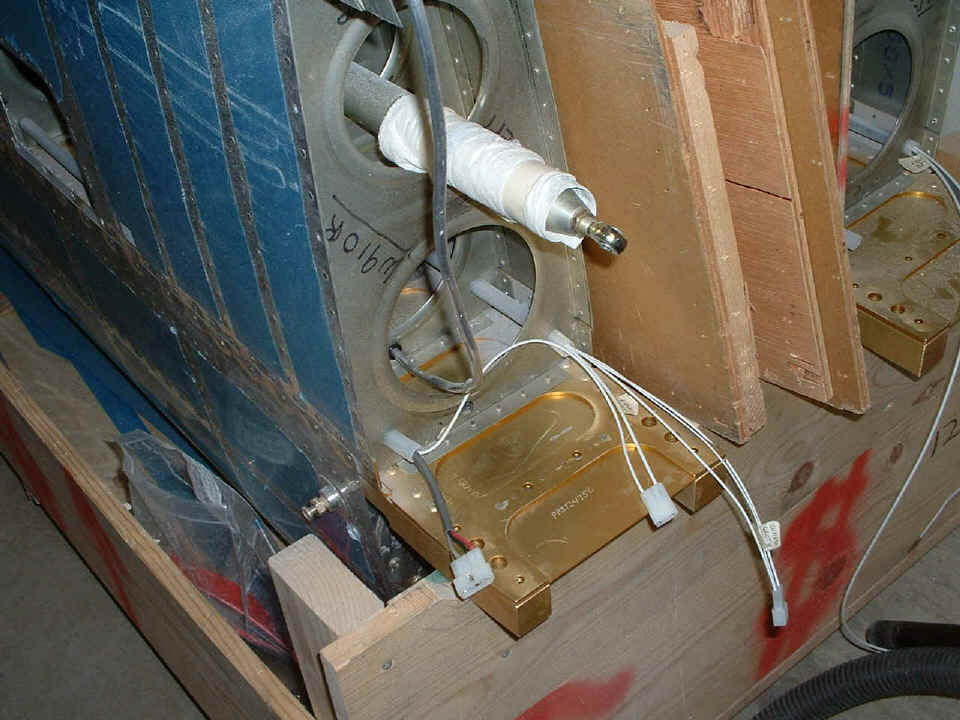
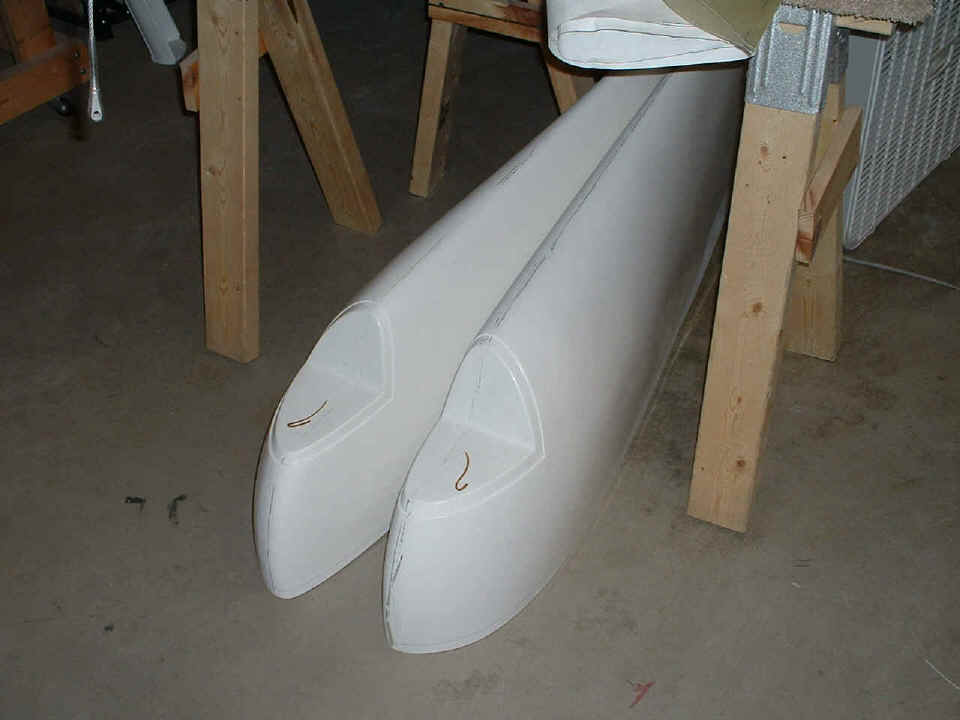
The wing tips have come down from my bedroom at last. I will install the
wing tip marker/strobe light fixtures in my next session. There are some metal ribs
to be installed in the tips, and some trimming of the fiberglass to be done as well to
provide clearance for the ailerons.
March 25, 2005: No work on my airplane
today. I went to visit Scott Solberg to see his interior
from Flightline Interiors.
March 26, 2005:
Saturday and another beautiful day to get plenty of work done on the airplane. I
started by completing the Molex connector wiring to the wing light wires at the wing root
end and at the fuselage wire exit ports. Next thing was to remove about 1/4" of
aluminum angle from the front left corner of the engine cooling baffles. This
allowed the easiest installation of the lower cowl I have done to date. Although I
did not take a picture of it directly, look at the bare aluminum wing skin below and you
will see a reflection of the lower cowl now installed on the fuselage again. I
wanted to get it out of the way and saw no reason not to put it back on the airplane.
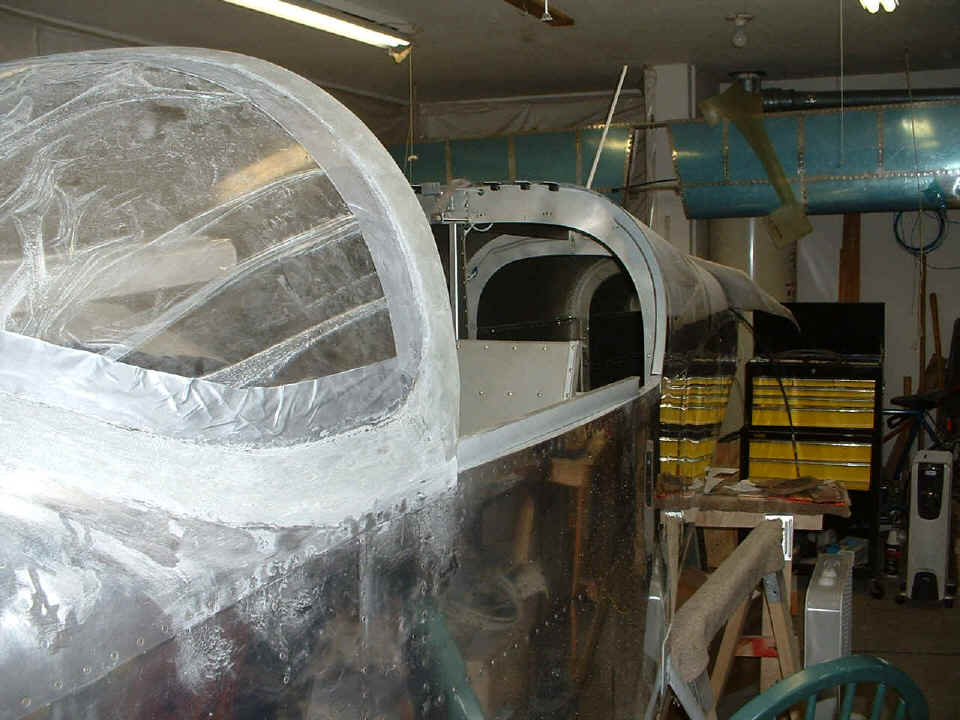
I put the LEFT aileron back on the wing, set up the aileron alignment tool at the
bellcrank, and my chord line extension angle. Once the aileron push rod end bearing
was properly adjusted to align the aileron with the extended chord line, I started to work
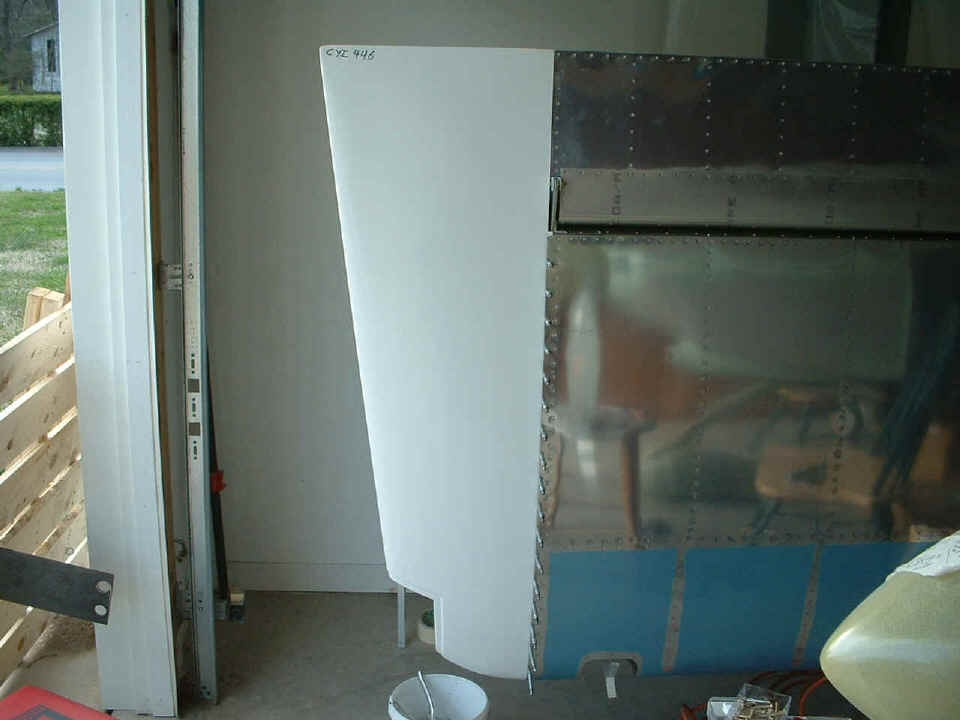
on the LEFT wing tip. I opened the garage door, set up my white work table at the
entrance, and ground away with the Dremel sanding tool on the fiberglass wing tip. I
realized I could put the box fan in a chair blowing across my work table to blow the dust
out the garage door as soon as it was ground off the wing tip. The photo above shows
the result of all that grinding as I had to teach myself how to get the aft edge of the
wing tip to go where I wanted it -- aligned with the aileron. I still have to put
two aluminum ribs in the aft section of the wing tip.
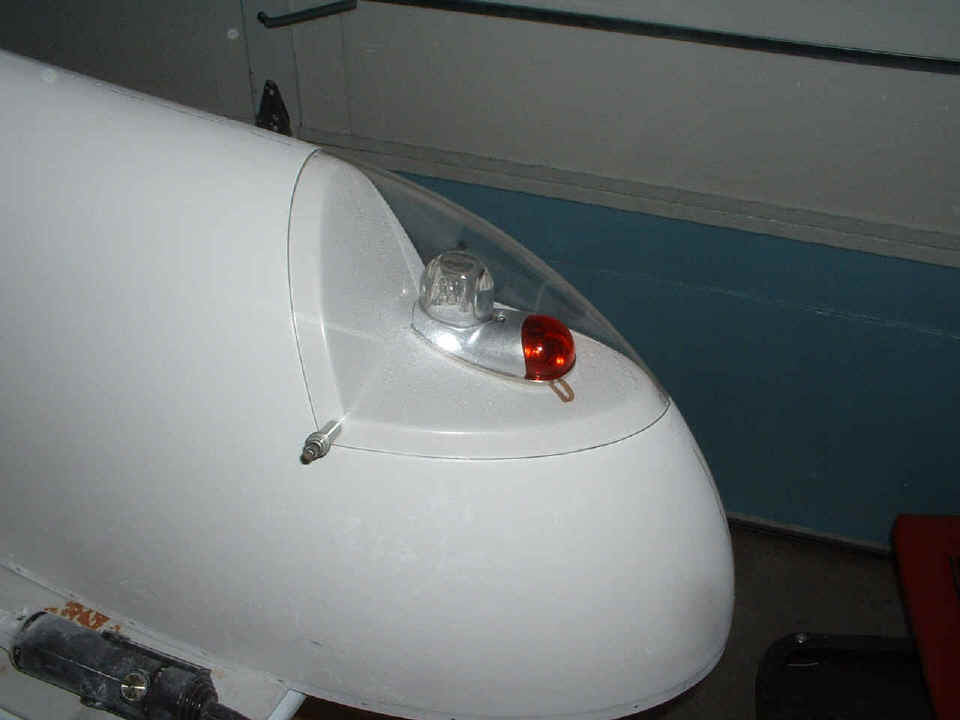
When I came back for a second session after dinner and the evening news, I cut
the wing tip clear lens in half and shaped the LEFT one to fit on the wing tip. Then
it was time to install the Whelen wing tip marker/strobe light assembly. That mark
near the red lens is some brown ink that was on the white gel coat when the wing tip
arrived from Van's Aircraft. I will have to see if I can clean it off with some GOO
GONE or something like that. I still have to put the platenuts in the corners of the
lens mounting area and countersink the large clear plastic lens to accept #6 screws.