FINISHING KIT - Page 47.
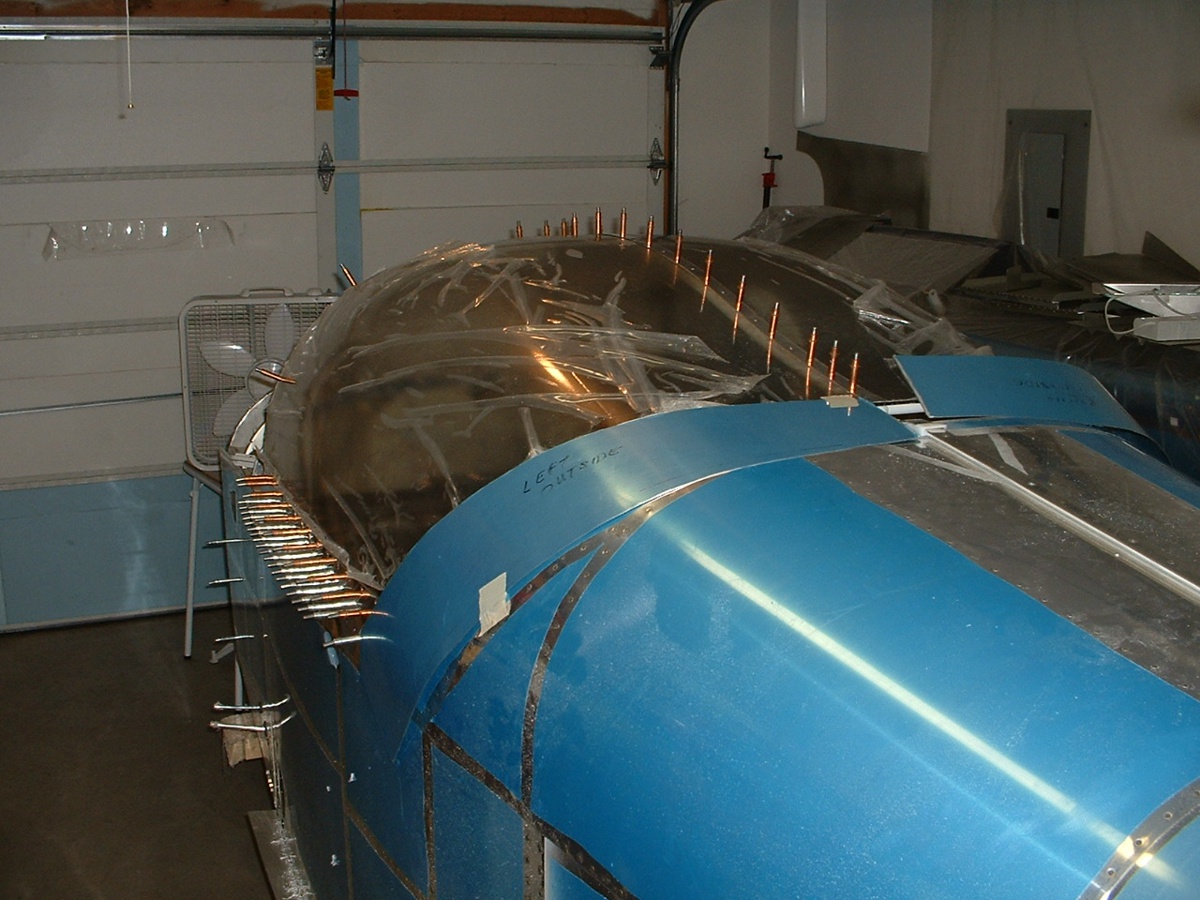
July 4, 2004: This shows the side skirts
clecoed to the supports and the screws in the plexiglass for the first of many times it
seems. I had this thing apart at least two times today, maybe three. I did cut
away more excess plexiglass from the aft edge on both sides of the canopy center line.
If you look on the left side of this photo, you can see both the inside support
pieces clecoed to the slider frame.
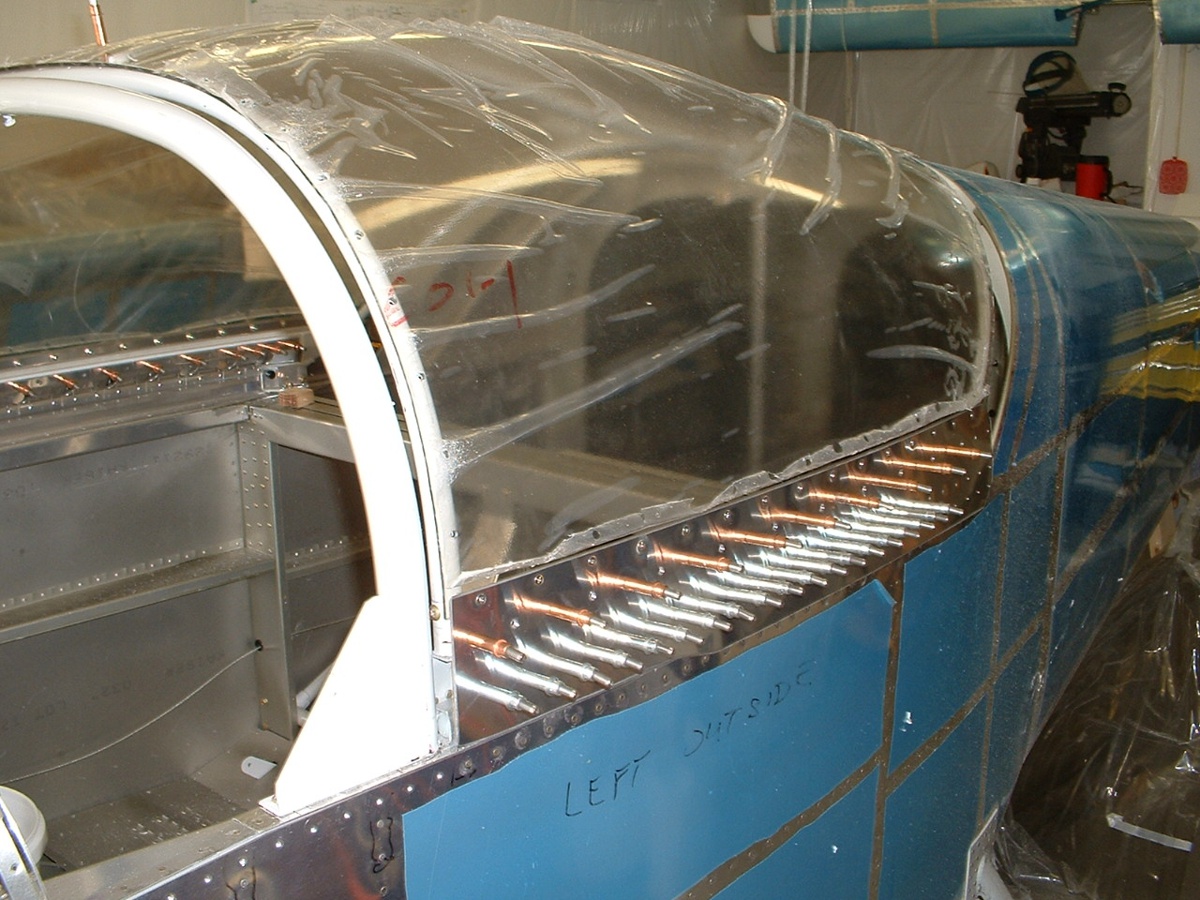
Here is a close-up view on the inside of the canopy on the pilot's side.
You can see the nuts on the 6/32" screws that hold the plexiglass to the brackets that
are clecoed to the frame.

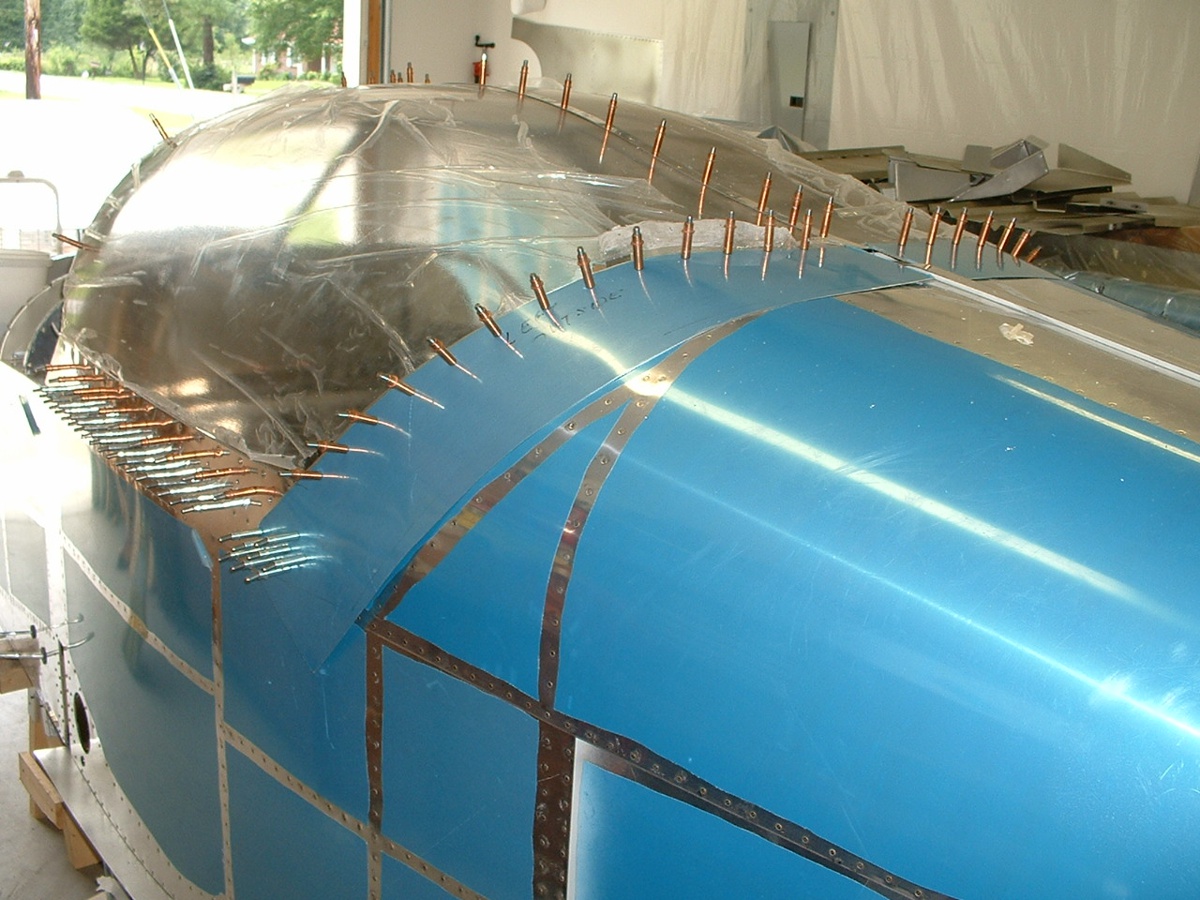
This shot shows my taped-up positioning of the aft canopy skirt on the LEFT
side. I need help to proceed further with an extra pair of hands and a special tool
that I don't have. Richard Nadig has agreed to
come over to help me on July 5th with what to many builders is the toughest part of the
slider canopy models.
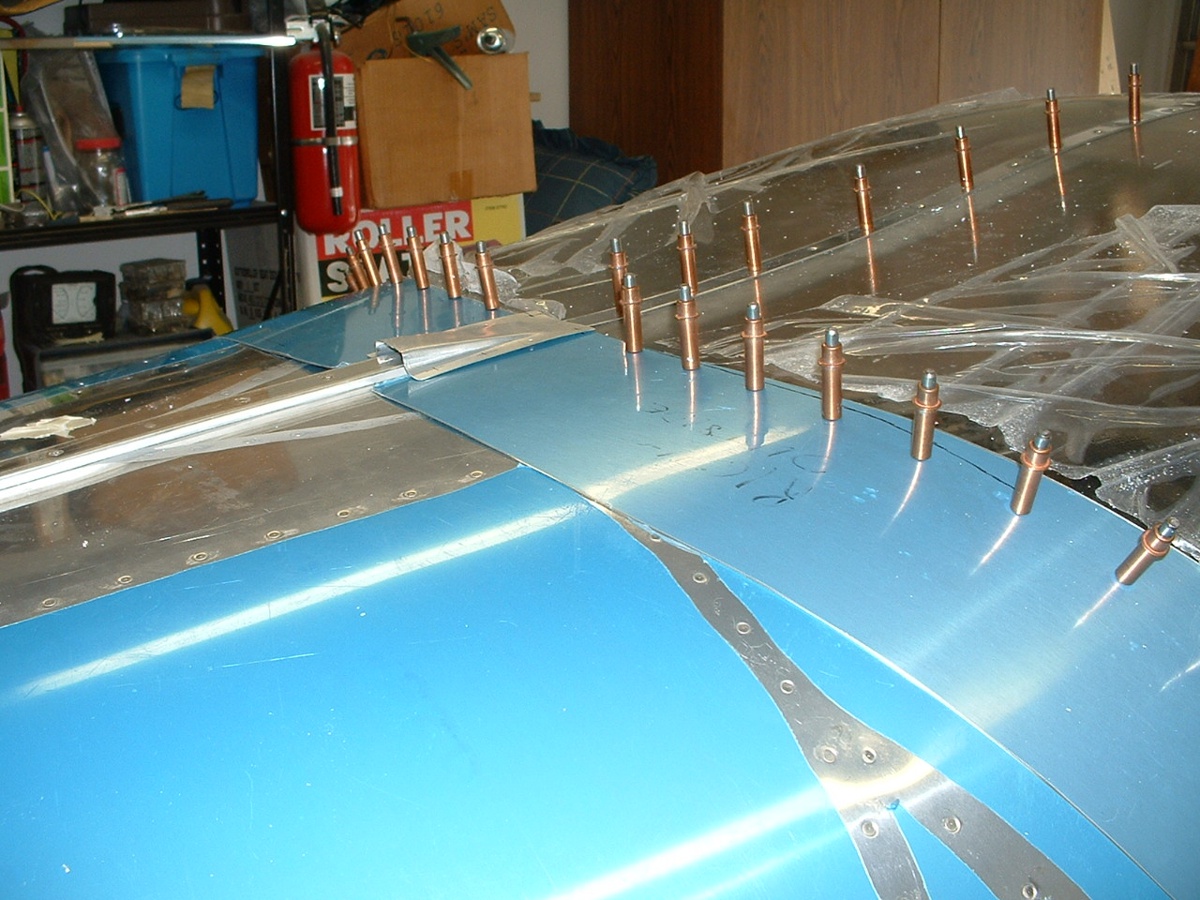
July 5, 2004: Here are the results from
today's session with Rich Nadig. It may not look
like much, but much labor and energy was expended to get those two aft skirts match
drilled to holes that already existed in the plexiglass and the slider frame underneath
everything. Some of the holes were less than perfect and the LEFT aft skin
"walked" a bit off the intended path, but not so much as to require a new piece
of metal. The right side also walked a bit, but not as much.
This view shows the "dog house" laying on top where the two aft
skirts will be joined after some additional metal trimming and match-drilling with the dog
house. When completed, the aft edges of both skirts should be even with the rear
edge of the dog house. The plans said to leave the skirts as large as possible to
allow for the best fit, etc. I still have some shaping to do before I get everything
ready for priming. The holes underneath the aft skins have to be countersinked, then
enlarged to 5/32" with a unibit. The holes in the skins have to be dimpled
carefully since they are not perfect and I want to be sure the dimpling is centered at the
correct place in the holes that came out "oval-shaped". The tool that Rich
brought was a hole finder, but that still induced errors in the placement of holes in the
area of most curvature on both sides of the aft skins.
My total work time on the airplane stands at 1101.6 hours for construction and another 69 hours in other preparations of the shop, for a total of 1170.6 hours since the beginning of the project.
After lunch, I went over to the Collegedale Airport to see the Harmon Rocket project that Rich Nadig has started to build. He sold his RV-3 about two months ago and is re-building the fuselage of the Rocket. He found some things that were done in error from the person who sold him the kit. As a payback for his help with my canopy today, I will be helping him to rivet his wings together when he is ready. His kit is a Rocket II based on Van's RV-4 airframe with extensive modifications to accept a Lycoming 540 cubic-inch engine of 250/260 horsepower. We are talking about an airplane that can easily exceed 260 mph! It will be smaller than my RV-9A and it will be capable of some aerobatics.
| CLICK HERE for finishing kit page 48. | RETURN to MAIN MENU |