PREPARATIONS for the FUSELAGE KIT - Page 17.
August 9, 2003: Today is Saturday and
here is the status of affairs on the RV-9A project.
The fuselage kit is in the ABF freight depot in Atlanta
awaiting unloading and shipment to Chattanooga. The metal work on the wings
is now completed. I have taken down the wing construction jig and reorganized the
shop. The photos below give the details.
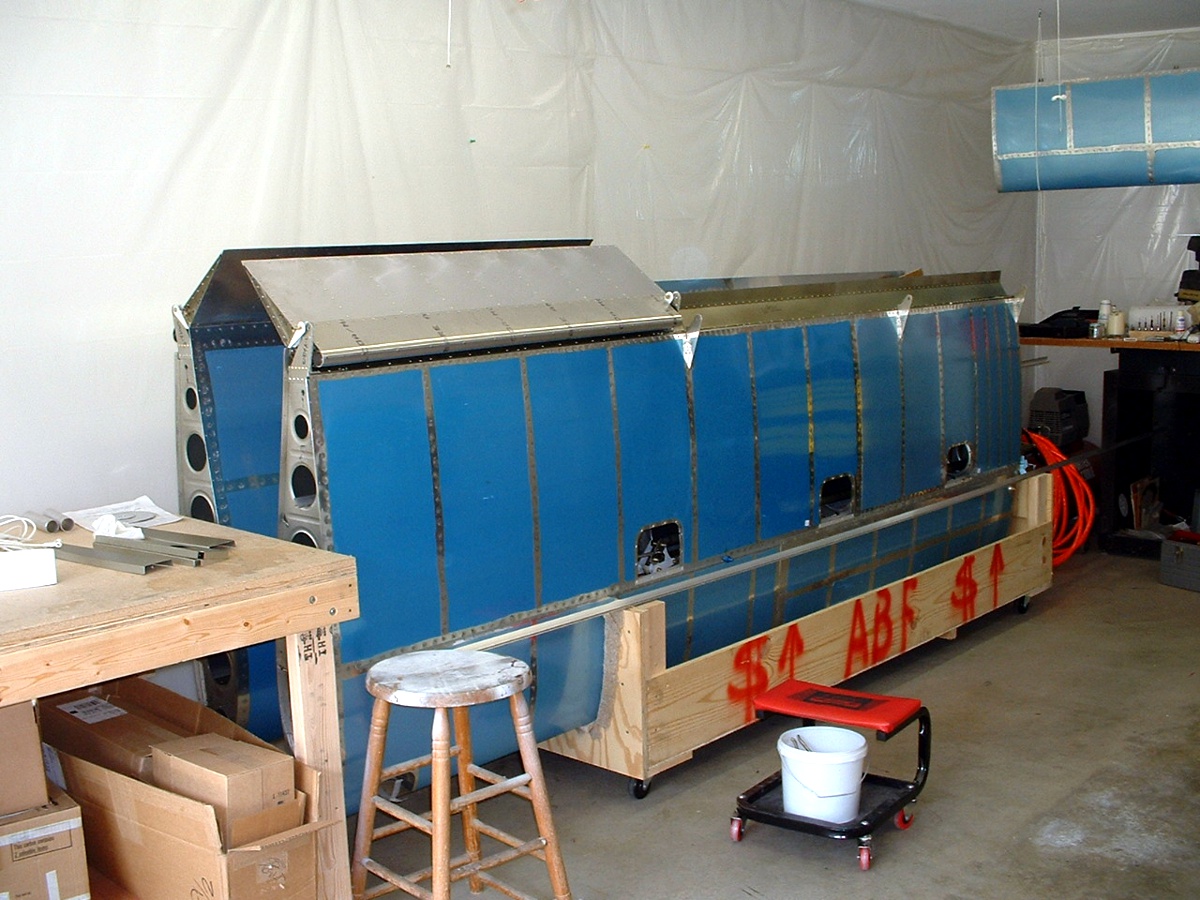
The wings are in the storage cart and I have placed the ailerons on the wings, but
not installed them. This is just a good place to keep them that gets them out of the
way. I have also picked up the long aluminum angle stock for the fuselage that
shipped with the wings and placed the pieces inside the wing lightening holes for storage
up off the floor. You can see now why I wanted the storage cart and the work tables
on wheels, to get things out of the way as needed with minimum effort to make way for
construction of the new components.

I have moved the drill press, band saw, and grinder table down to the other end of
the shop to make room for access around the fuselage and tail section as they are
assembled in the months to come. I can roll the work table out as needed to get
extra work room off each end.
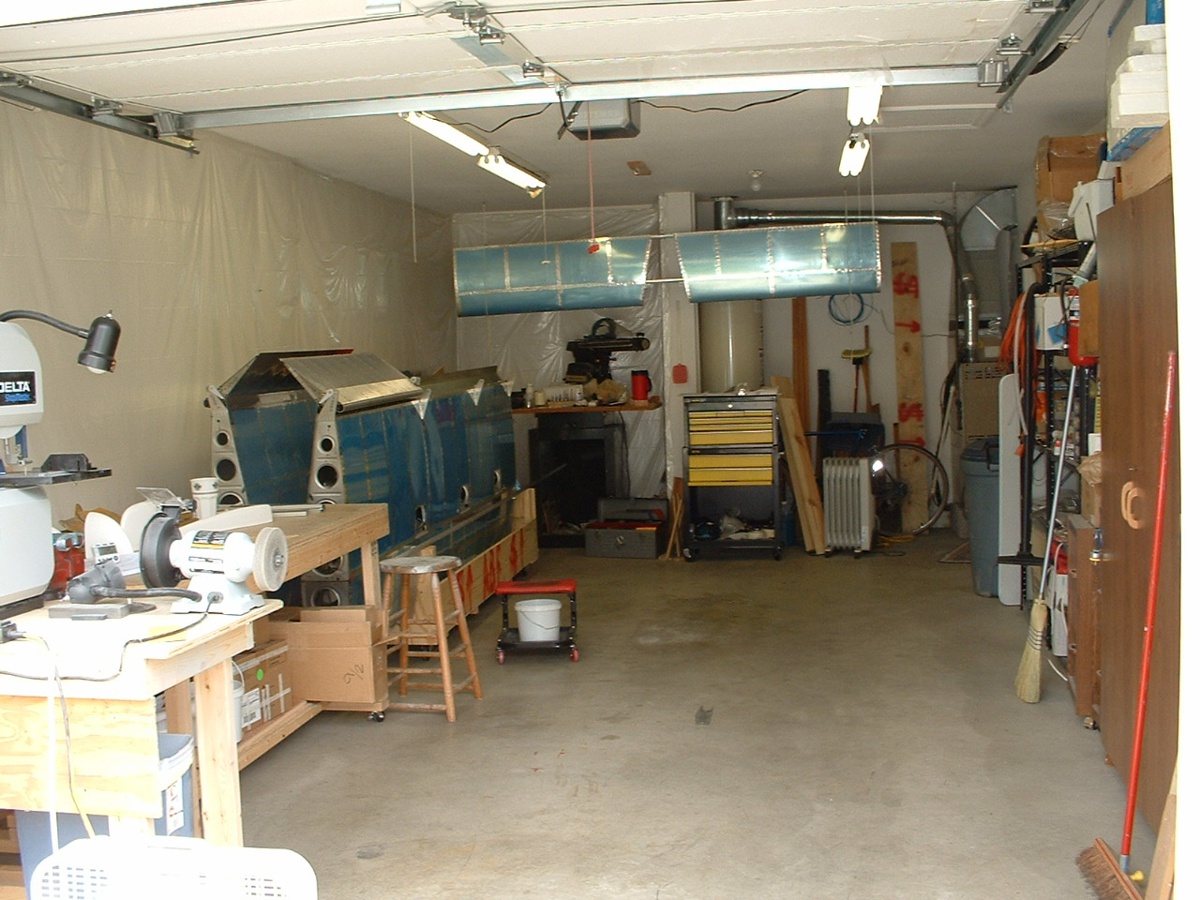
That white "bowed" area to the right of this photo is the edge of the
garage door. It is bowed due to the wide angle setting of my digital camera.
As you can see, there is enough room to receive the fuselage crates and start to sort
things out. I may again resort to hanging some parts on the wall of the garage as I
did with the tail section parts.
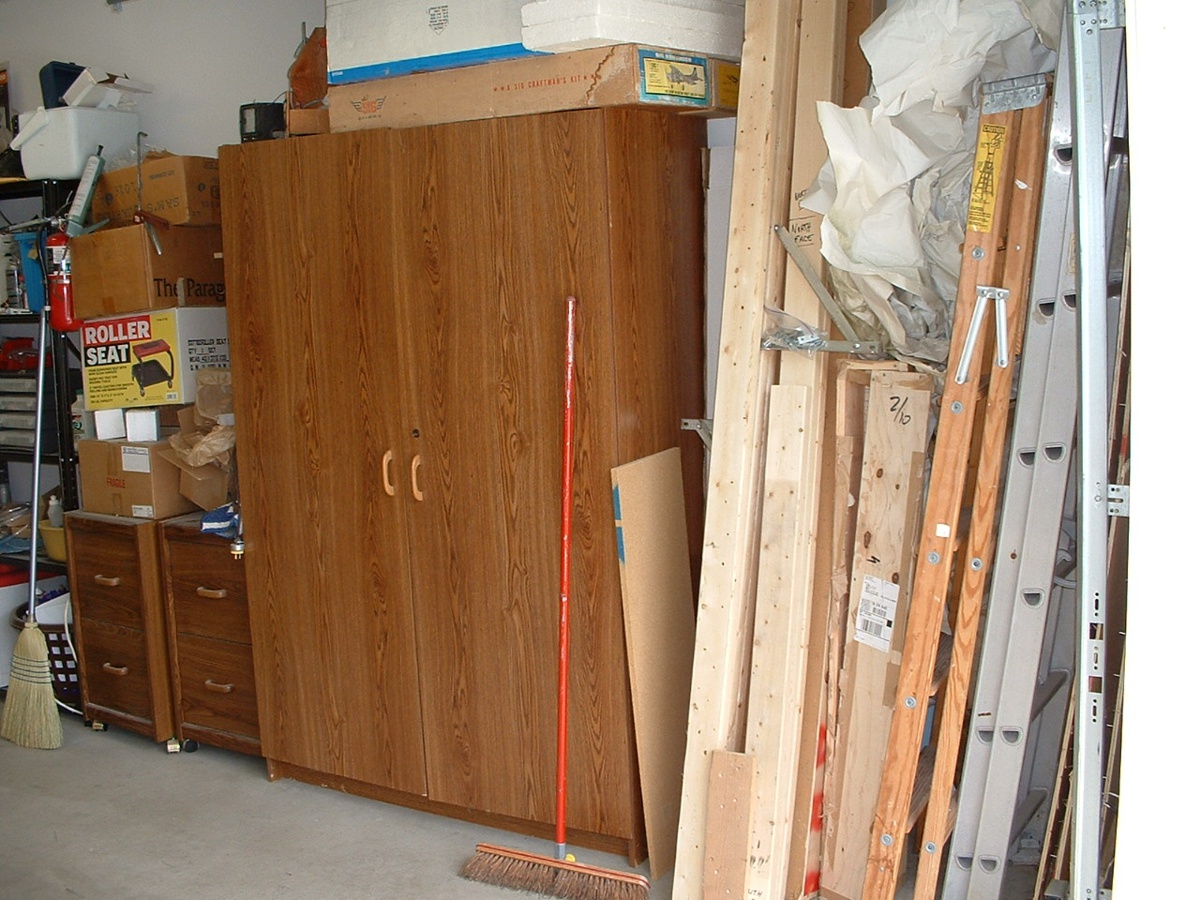
The edge of the garage door is again visible in this photo showing the wing
construction jig stowed in the corner of the garage along with some of the paper packing
materials from the wing kit that kept the primer over spray off the driveway during wing
kit preparation of parts. Buried behind the 2x4's of the wing jig is the flap and
aileron construction table, which has the red paint of the shipping crate board just
visible. The big brown cabinet holds my primer solutions and paint thinner in a cool
place.