Wendell Folks RV-8 Project - Page 24.
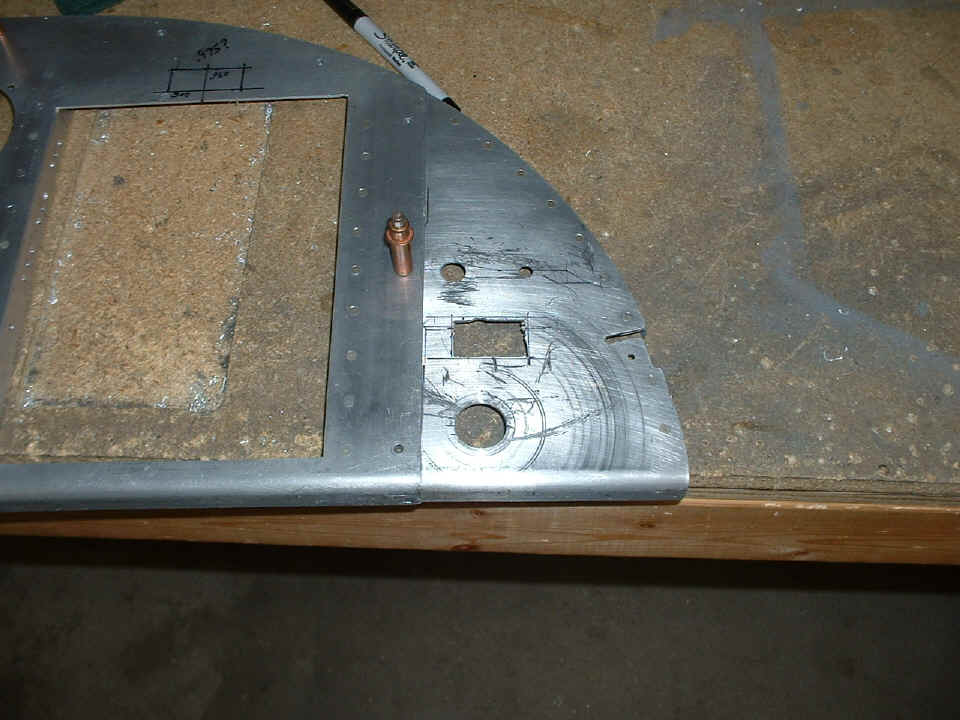
August 12, 2006: The work on Saturday was
about the instrument panel again. Some holes were drilled to size, and others rough
cut for later finishing to size. The rectangle drawn above the radio stack cutout is
for the ELT test/reset control panel. the large round hole at the bottom right side
of the panel is ready to accept the ignition/starter switch. When this hole was
being drilled to 3/4" with a unibit, the wood block underneath started to spin and
caused the surface scratches you seen around that hole. The rough-cut rectangle
above that hole is for the Hobbs meter. The two holes above that are for the master
switch and a RED LED indicator showing the master switch is on.
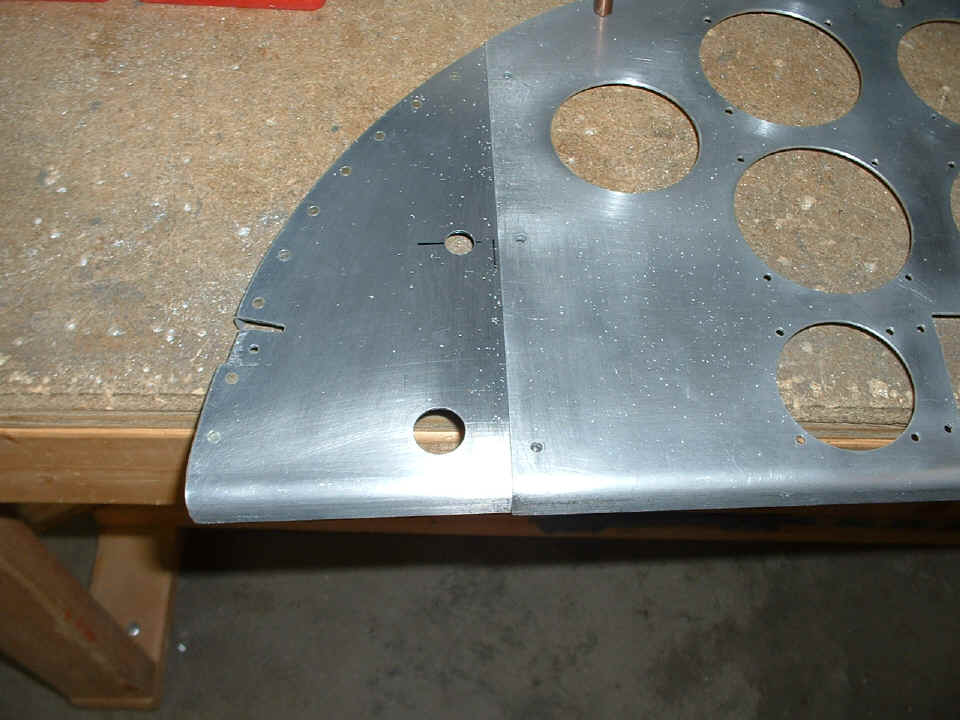
Over on the other side of the panel is the large hole for the manual elevator
trim knob which has been there for some time. The new hole is for the flap switch.
A circuit breaker for the flap motor will be placed near the flap switch. The
decision is still pending about where the breaker should go since a hydraulic brake lock
valve control cable may come up here on the side panel (or not). Wendell has seen
some RV-8's with the brake control cable mounted down below the instrument panel.
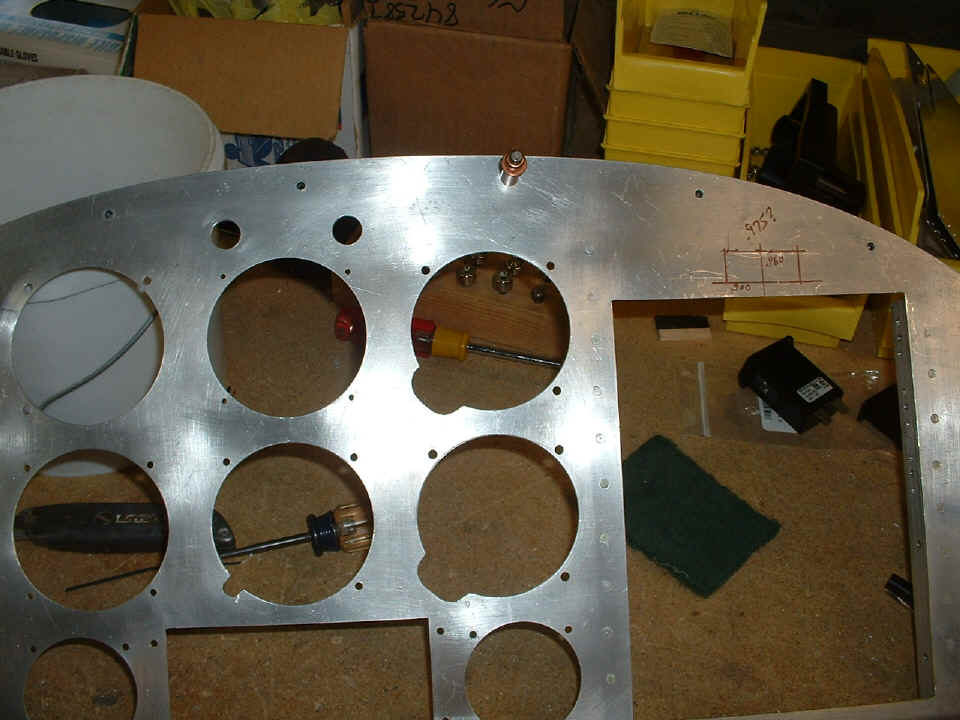
There are now two mounting holes centered above the "Six Pack" for
large red warning lights to indicate low oil pressure and a general fault alarm from the
engine monitor. A small red LED indicator will be added to the panel above the radio
stack to show the COM radio is transmitting. It will help avoid a "stuck
microphone" condition.
August 14, 2006: The Monday night session
was to continue the work on the panel and to get started on some other things inside the
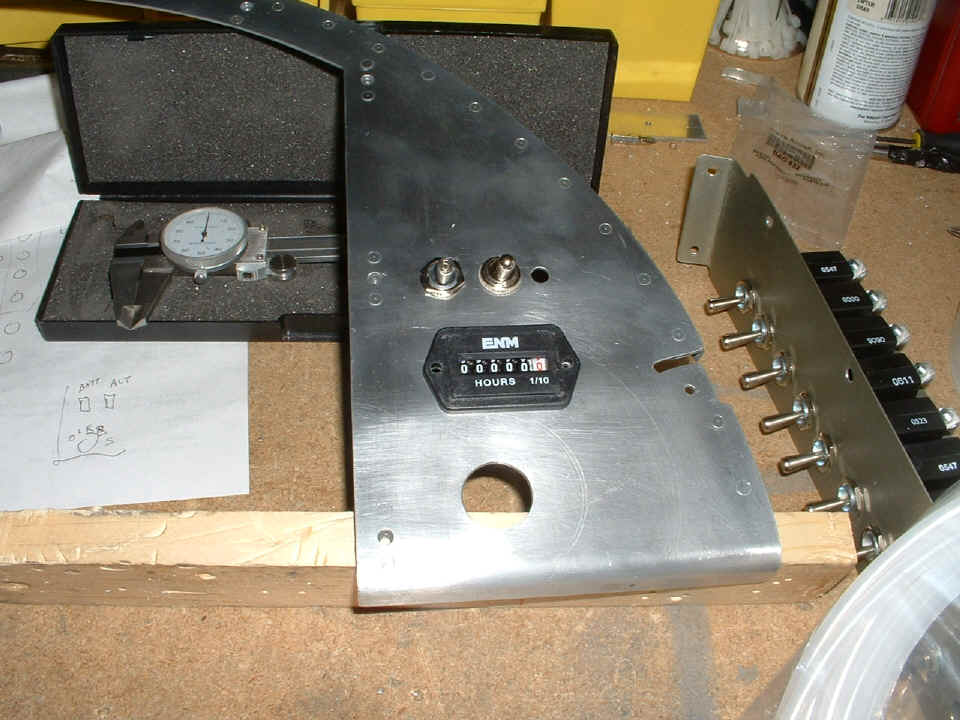
fuselage. Wendell has cleaned up most of the scratches from the panel and finished
the rectangular holes with a file. The Hobbs meter can be mounted on the front of
the panel as shown, or flush from behind the panel. The alternator field
switch/breaker is now mounted adjacent to the master switch above the Hobbs meter.
The 1/4" hole is for a red LED to indicate the master solenoid is engaged.
You saw the main switch panel in the photo above, but here is a better shot
with the half-inch-wide copper bus bar visible. This photo was snapped before we put
in a required twist in the bus bar, and cut it to the proper length. One space has
been left to accept a circuit breaker for an altitude hold controller and servo motor.

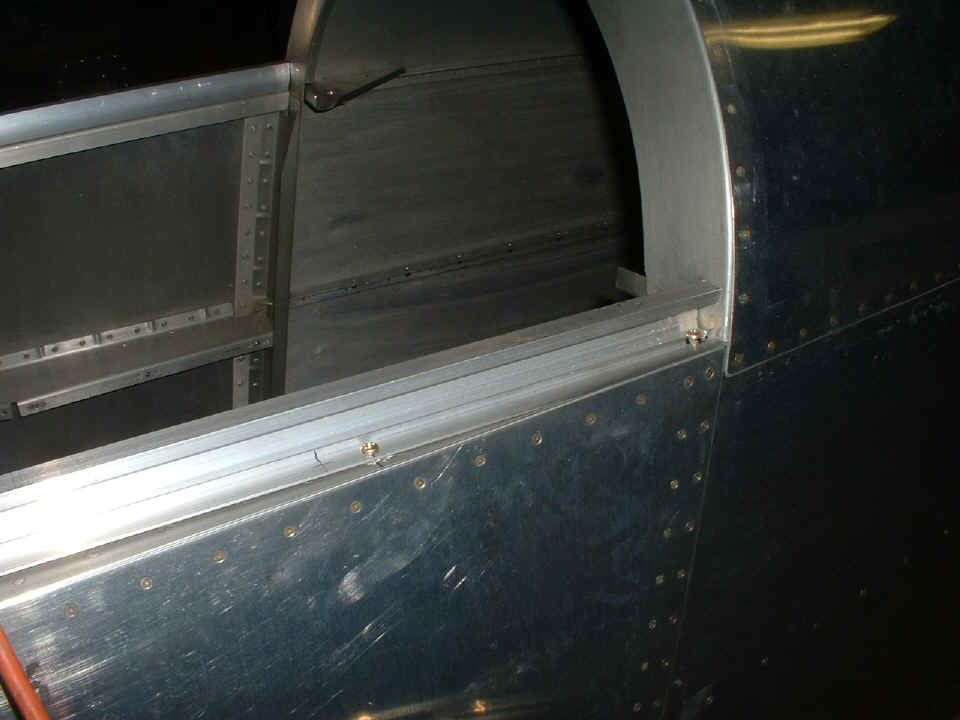
The other minor accomplishment tonight was the drilling of the holes in the fuselage sides for the installation of the static air sample ports. I gave Wendell the demonstration of how the two sizes of tubing from the Van's kit are used to make the static air connection to the instrument panel. We also discussed the route the static tubing would take going to the front of the airplane.
Wendell also had a pilot from Texas stop by while he was visiting relatives in the Chattanooga area. The topic of interest was Wendell's Cessna 182 and the possibility that it might find a new home in Texas. They went for a demo flight over the weekend to give the pilot a feel for the airplane and its interior and equipment complement. If you have been thinking about getting a certified airplane in really GOOD condition, you need to check out the page I have posted, then contact Wendell via email or phone if you are interested in buying his Cessna 182!
August 15, 2006: Wendell
received his Dynon D10-A today and he is really happy! I had already asked him to
put all the instruments into the panel for a final test fit before it goes to the paint
shop. With the timely arrival of the Dynon unit, the panel is essentially complete.
We have a few more holes to drill for the flap circuit breaker which will be
mounted just below the flap switch on the left side panel. A push-pull cable to
engage the parking brake valve may also be installed over there, left of the flap switch.
We had been discussing the benefit of an altitude hold to go with the autopilot.
Wendell decided he would get one on order. That will add an indicator and
push-button switch to the area below the lift reserve indicator on the left side of the
main panel.

The other thing Wendell wanted to put behind him was the attachment of the
extruded canopy rails. We had a short discussion with Gus at Van's tech support,
then after a last fit of the extrusions with the canopy frame and rollers, the holes were
drilled and screws installed. The plans called for the aft two screws to align with
empty "rivet" holes in the canopy deck and longerons on each side of the
fuselage.
The end of tonight's session was a review of the firewall drawings and the tasks that lie ahead for Wendell when I am out of town on business. I outlined the first items that can be mounted on the firewall and their reference points on the large drawings. The easy things to install include the triple manifold for mounting sensors for oil pressure, fuel pressure, and the Hobb's switch. The starter solenoid is also an easy install item. I pointed to the correct drawing with the hole locations for the engine control cables to penetrate the stainless steel firewall on their way to the carburetor and the prop governor. It is getting very close to the beginning of wiring of the fuselage. After much of the interior wiring is completed, the gear legs will go on the fuselage. When the brakes and tires are ready, the engine mount, then the engine, etc. All of that will be documented here in the months to come.
August 17, 2006: I
stopped by Wendell's place this evening before going to the EAA Chapter 150 monthly
meeting at the Collegedale Airport. You can see the firewall now has holes in it as
he begins work there. I gave him the cautions about drilling stainless steel with a
unibit (step drill) and when he can use regular twist drills, etc. Boelube is really
important here and he understands why due to the heat buildup on the drills, etc.
The engine mount is hanging by two bolts only as a psychological "booster" for
today. He has more holes to drill and other tasks to complete before it will be time
to think about the landing gear and mounting the engine mount and the engine to the
fuselage.
The UPS truck delivered a package he ordered when we were at Oshkosh. It was a kit to convert his old David Clark headset to automatic noise reduction head phones. Guess what electronics guy gets to do the work? (Me of course...)
I will be heading off to Florida this weekend to see some old friends before I make my business meetings next week in South Florida and in the Orlando area on the way back toward home near the end of next week. Wendell will be working on the RV-8 project with the tasks I have assigned him to do on the static air system, and the mechanical mounting of parts on and near the firewall. After that, he plans to get the annual inspection completed on his Aeronca Champ while I am away.
| CLICK for Folks PAGE 25 | Return to Other RV Menu | Return to Main Menu Page. |