Wendell Folks RV-8 Project - Page 21.
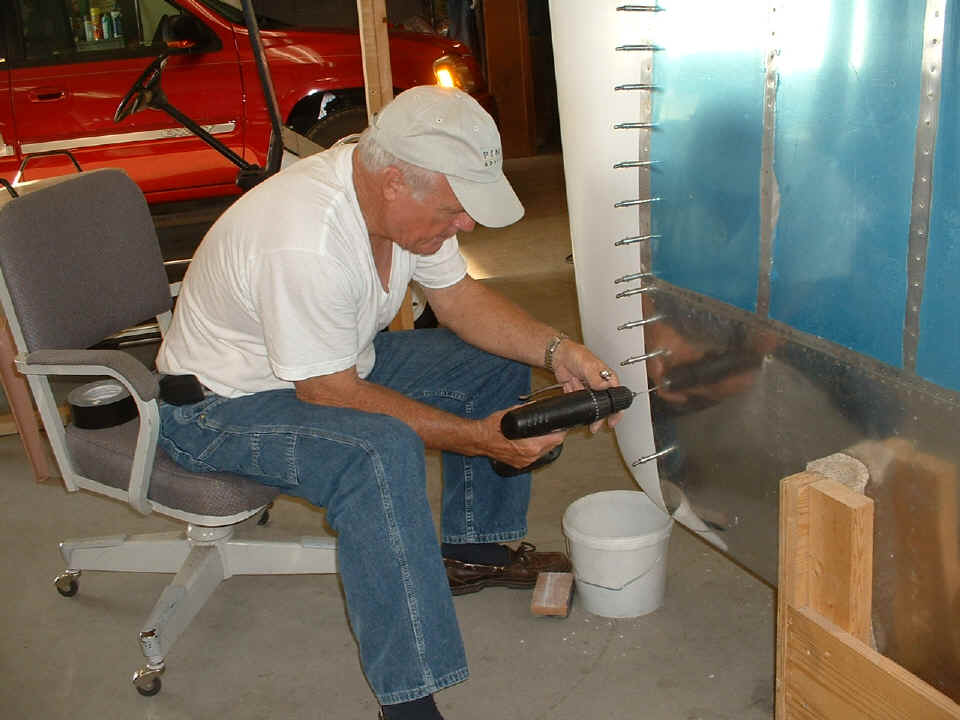
June 15, 2006: Thursday evening and Wendell
is finally getting to drill holes in his first fiberglass wing tip. I helped him
avoid the early alignment errors I made. Here he is finishing the last of the holes
and clecoes on the LEFT wing tip.
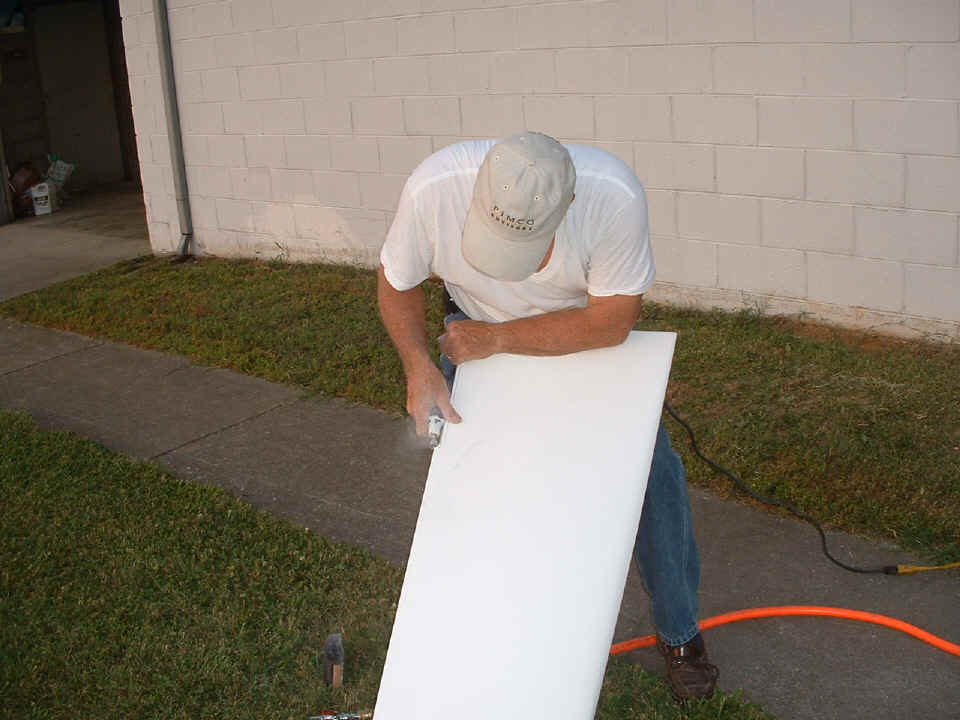
With the Dremel sanding drum going, the excess fiberglass is removed to clear
the aileron near the aft end of the wing tip. He uses a flat sanding block to get
the final edge on the fiberglass. I had Wendell doing this same procedure last night
to the LEFT wing tip shown above. This is a repeat of the same procedure on the
RIGHT wing tip before checking the fit on the RIGHT wing. By the time the trimming
was completed, it was almost 9 PM when we called it a night.
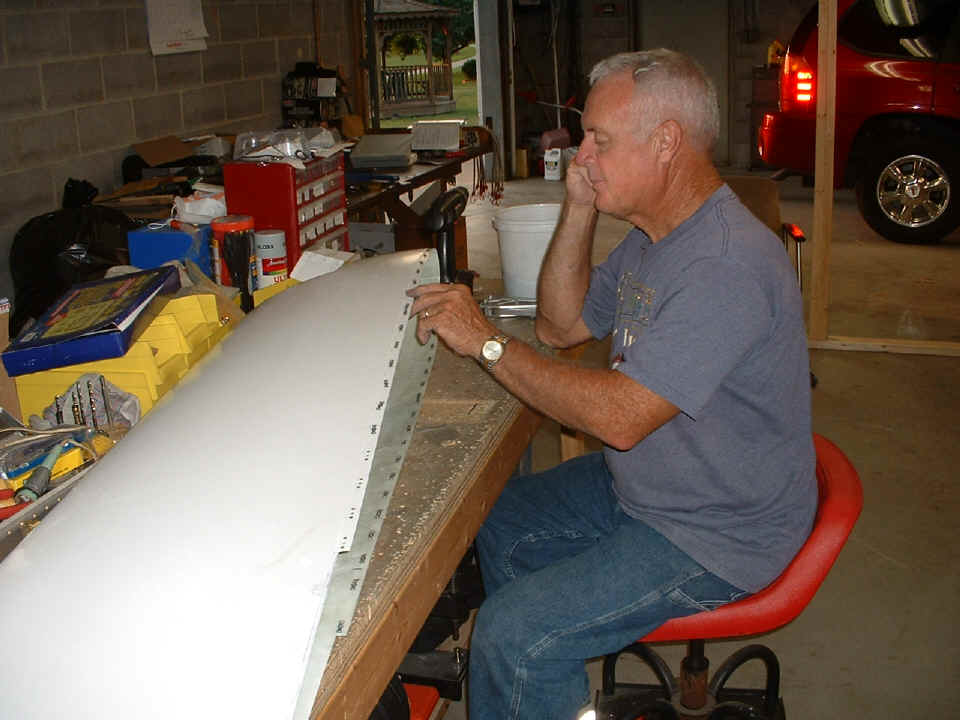
June 29, 2006: I helped
Wendell resume speed on his wing tip installation work. He received the K1000-04
plate nuts and 4-40 stainless steel screws from Cleaveland and wanted to get them
installed. I made sure he would get his holes in the fiberglass properly aligned to
keep the wing tips true to the calibrated center position of the ailerons. After the
screw holes were in the proper position, he brought the wing tip over to the work table to
install the #4 plate nuts.
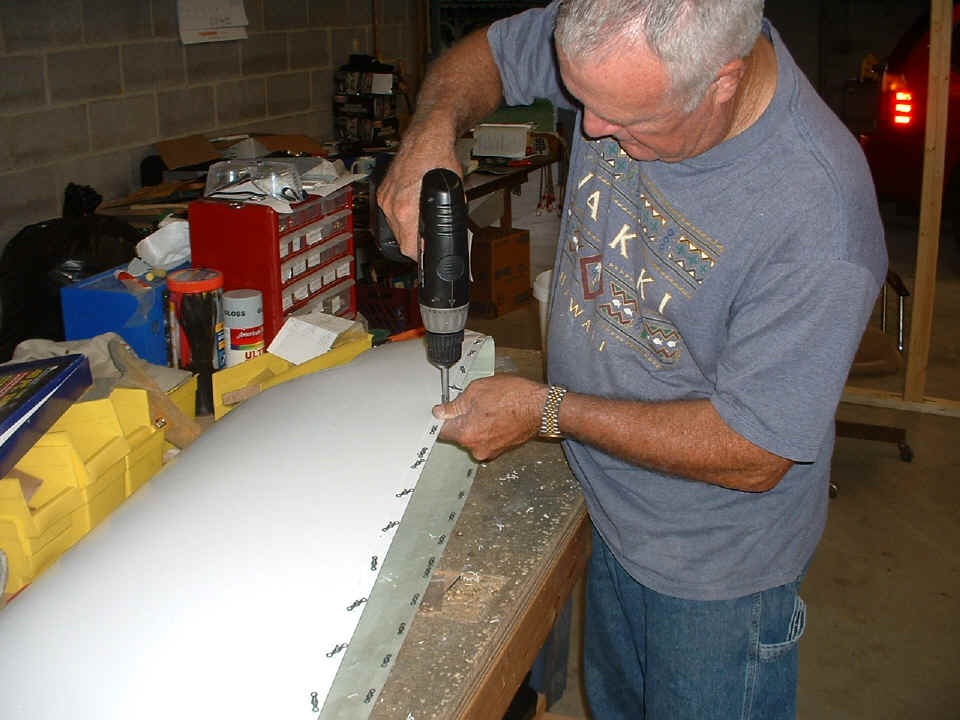
After each rivet hole is drilled, the fiberglass had to be countersinked to
keep the rivets flush. The screws and plate nuts are put on the wrong side to back
drill the #40 holes, then the plate nuts are "swung out of the way" for the
countersinking procedure. Later the plate nuts are put on the inside where they
belong, and finally secured with the rivet squeezer.
The last bit of instruction came with a review of the plans for mounting the
Whelen wing tip/strobe light assemblies and Van's landing/taxi lights.

Wendell is getting excited now about the wiring that will begin next week. His engine will be along shortly since he has sent the final payment to Penn Yan Aero Service. The Hartzell propeller ordered from Van's is still a few weeks away. The avionics ordered from Pacific Coast Avionics via Van's Aircraft are also due in soon. I had Wendell cut out a blank instrument panel from heavy cardboard to do a dress-rehearsal of where each gauge and the engine monitor will be placed. All this will be done before we put the first hole in the real instrument panel.
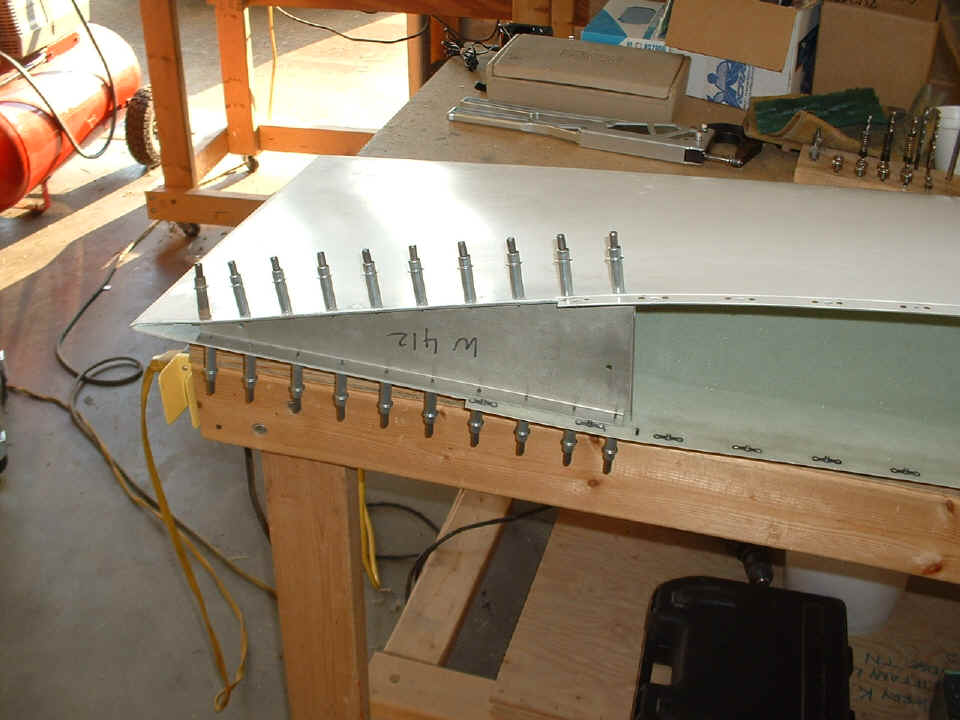
July 9, 2006: I have
been remiss in my postings on Wendell's project in the past few weeks. Let's get
caught up on that now. Here is one of the wing tips getting its rib intalled on the
work bench. The alignment of the rib was confirmed on the wing and a minimum number
of rivet holes were drilled before bringing the work to the bench.
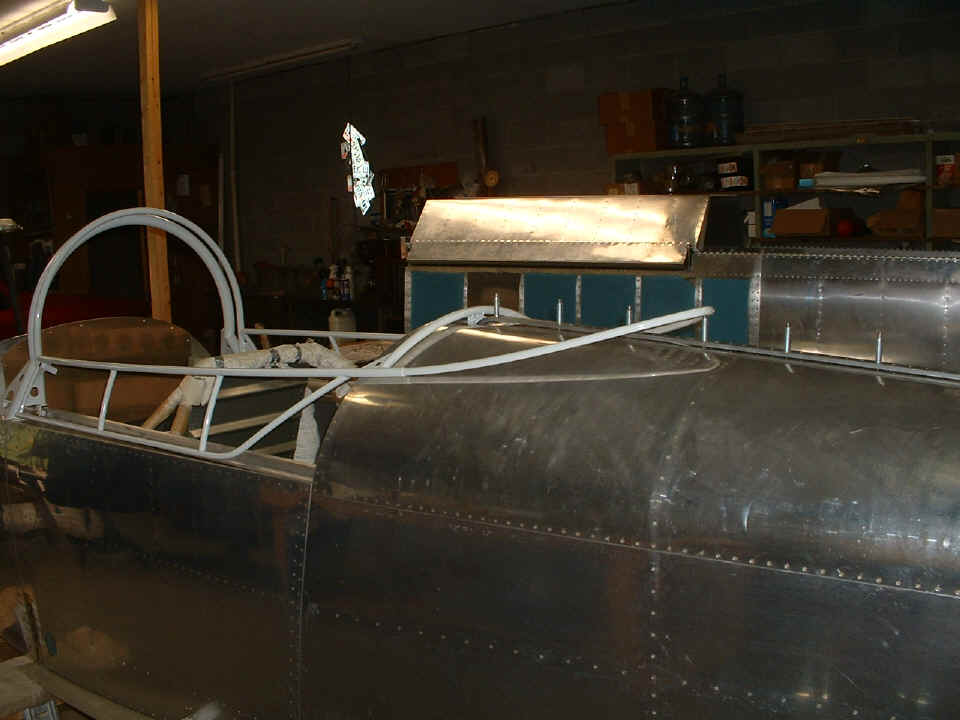
The slider rail for the canopy has been match-drilled with the pre-bent spacer
bar. It is resting in place on the fuselage with the first trial fit of the canopy
frame on the rollers and the extruded canopy rails. There is much to be done here
before this all comes together, but the initial fit is looking good to me!
I had Wendell pose with his handy work before we ended our session on Saturday
evening, June 8th.
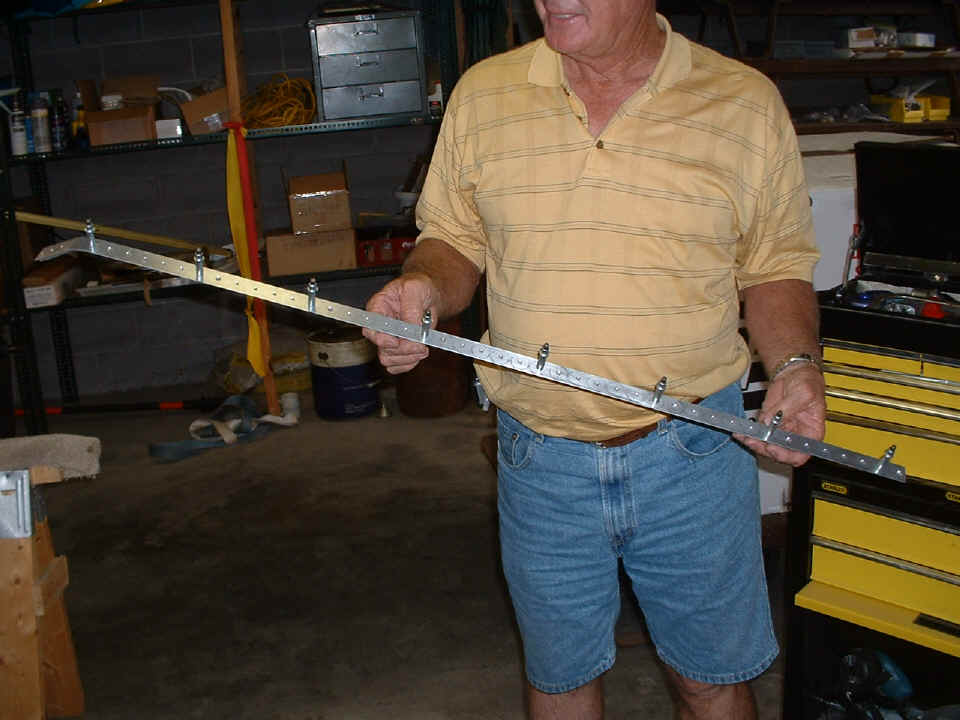
Although you cannot see it plainly in the background, that black and white box behind Wendell and the tool cart contains his 180-horse power, ECI O-360 engine from Penn Yan Aero Service. It arrived on Friday, July 7th. The propeller from Hartzell is due before the end of July.
The avionics package from Van's/Pacific Coast Avionics has also arrived. The electrical wiring comes next before we put the fuselage on the landing gear for engine mounting.
| CLICK for Folks PAGE 22 | Return to Other RV Menu | Return to Main Menu Page. |