A Little "Enterprise" Maintenance · · PAGE 260.
August 9, 2008: A cool front came through
the Chattanooga area and the temperatures went down about 10 degrees F. This was
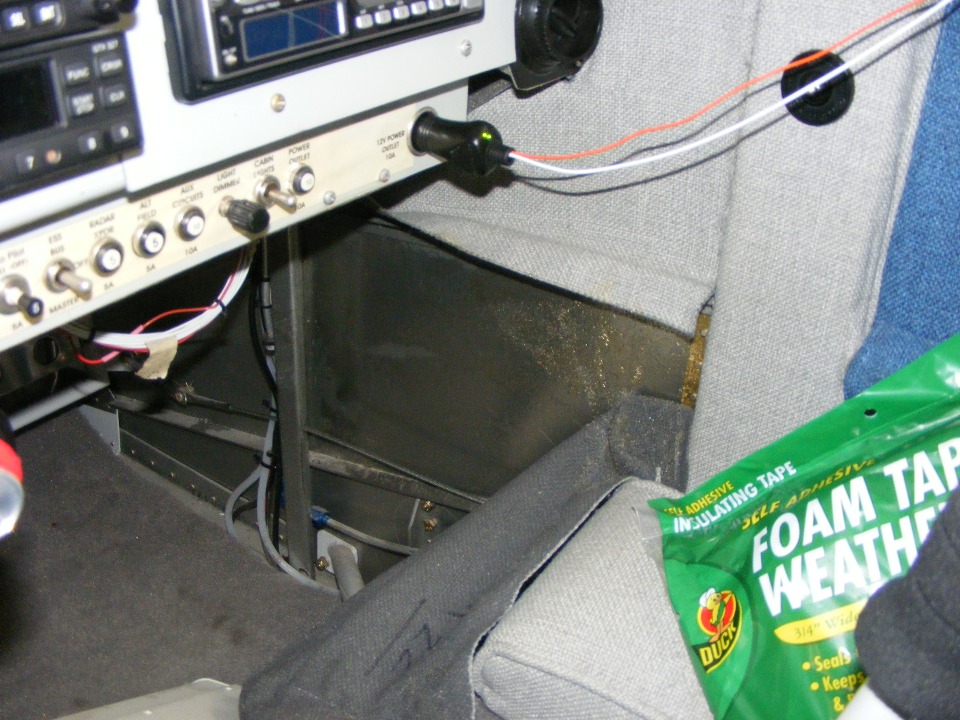
also a good day to do the interior maintenance on "Enterprise" and get the side
pockets secured again. The passenger side fabric panel and storage pocket are pulled
back from the areas where there was virtually no adhesion. I bought a spray can of
contact cement on the way over to the hangar this morning. It did not take long to
peel back or remove the fabric that needed a new coating of adhesive. I also bought
some weather stripping foam to seal the gap between the windshield and the sliding canopy
for those days when it rains and my bird is outside.
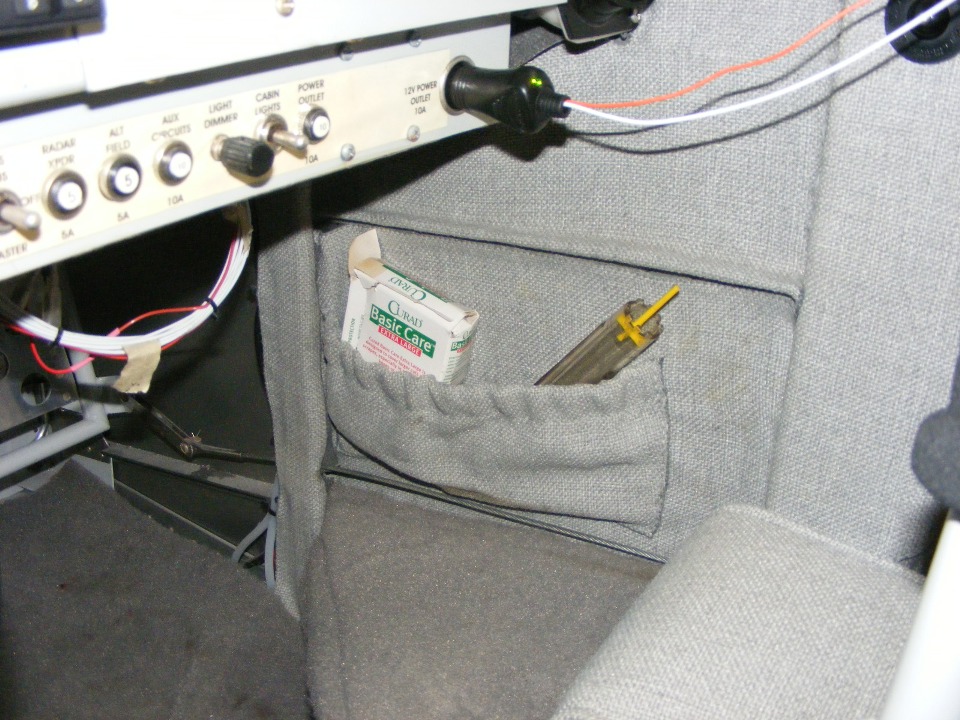
It only required one minute curing time for the adhesive before the fabric
panels are placed in their correct positions. The stuff that needs to live within
easy reach is now back where it belongs.
Next came the peel-and-stick white weather stripping foam on the roll bar where
it will seal the gap when the canopy is closed.
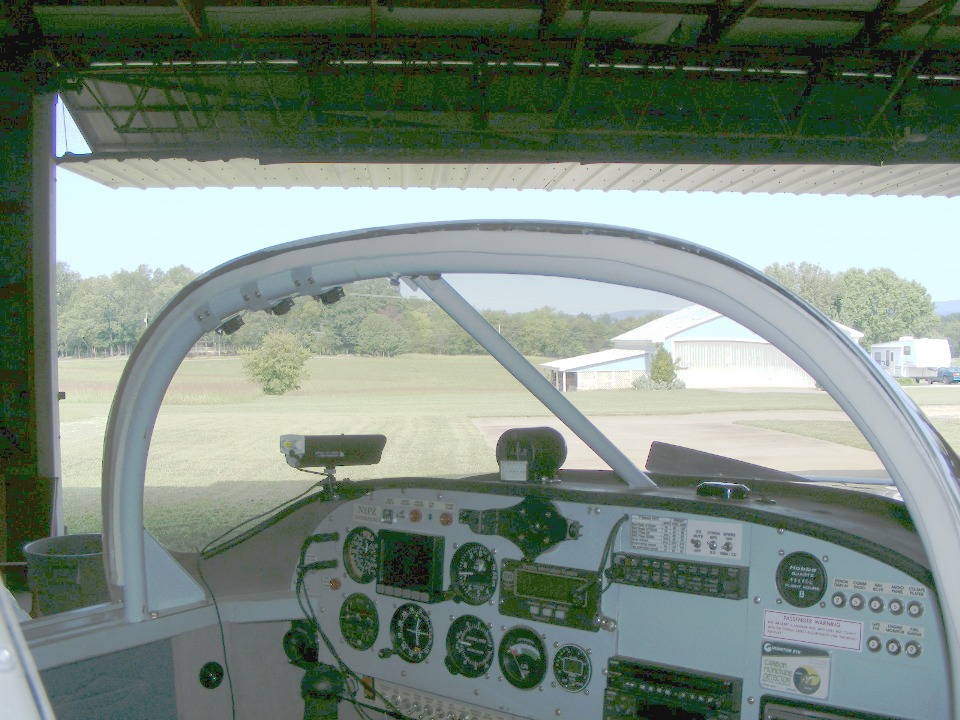
Here is the view of the foam on the left side just above the canopy rail.

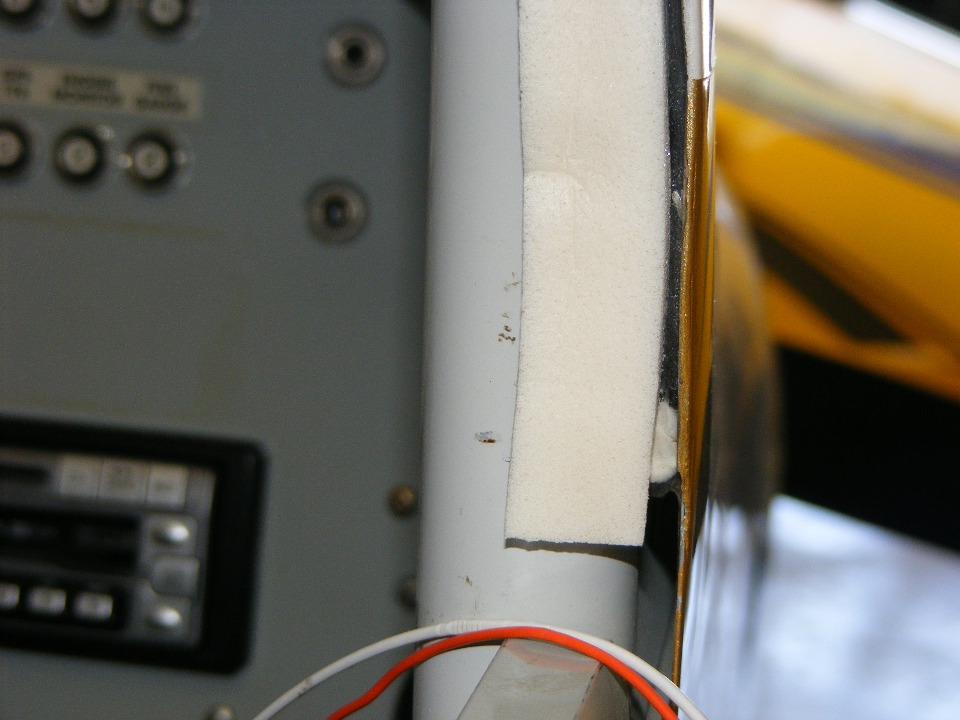
This closeup view on the right side shows the placement of the foam just inside
the plexiglass. The foam contacts the roll bar and the canopy frame when the canopy
is closed and locked. The orange and white wires go from my battery maintenance
charger to the 12-volt accessory outlet on the lower right panel.
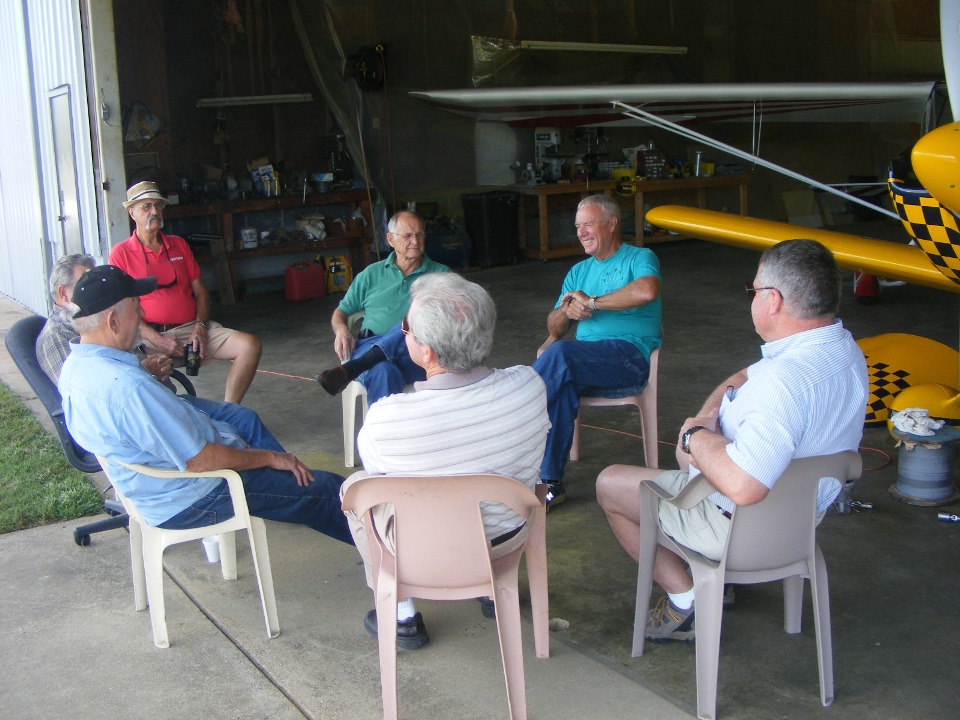
Here are the usual Saturday morning friends and neighbors who stop by for
coffee and donuts at Wendell's hangar. Several are pilots and the talk runs from
aviation to just plain old talk about just about anything.
I arrived first this morning to work with Wendell on his high oil temperature
problems. We extracted his oil temperature thermostat, a.k.a. "Vernatherm"
device and checked it out in a quart of oil on a hot plate. It worked just fine when
the temperature moved above 180 degrees F. The movement was about 3/8" as
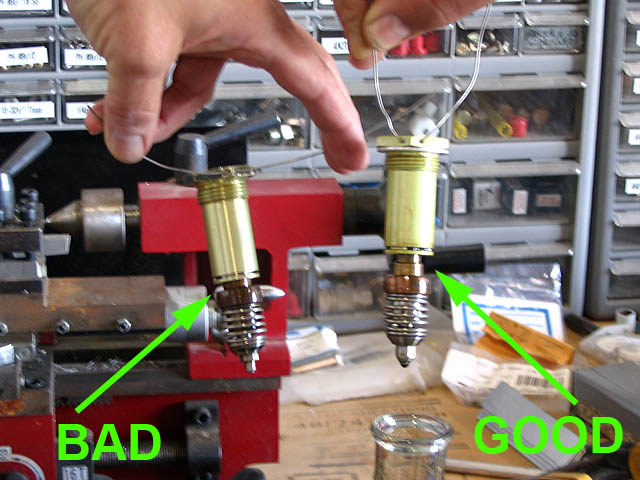
expected. Here is a photo taken by Dan Checkoway and posted on his web site back on
April 9, 2005. You can read about the entire test conducted that day on his web
page: http://www.rvproject.com/20050409.html.
Wendell's unit looked just like the one good one on the right side in this photo
while it was above a temperature of 180 degrees.
After we ran the thermal test above, Wendell put his Vernatherm back into the oil filter adapter and we considered the next steps to improve air flow through his oil cooler. I looked at the shape of the fabric at the top of the engine baffles and realized there were a few places where the air could be leaking outside the baffles before it passes through the cylinders and the oil cooler properly. I made some suggestions about how to secure the rubberized-fabric when the upper cowl is installed. One nylon tie-wrap was installed to keep two sections of the fabric in the proper position as the upper cowl is installed. Wendell will report to me after his next flight to see if the oil and cylinder head temps are lower. If the oil temperature is still too high, then a larger oil cooler or other air flow changes would be needed.
| CLICK HERE for PAGE 261 | Return to MAIN MENU. |