Second Annual Inspection · · PAGE 243.
June 9, 2007: Saturday and a good day to get most of the work finished on the annual inspection. The first thing I did was put the light coat of red-tinted oil on the cleaned air filter. I let that dry about 20 minutes, then I put the filtered air box back on the carburetor and connected the carb heat control cable to the door. Sorry, I did not take a picture of the filter after it was oiled. I did compare the color with Wendell's brand new filter, and they were the same!
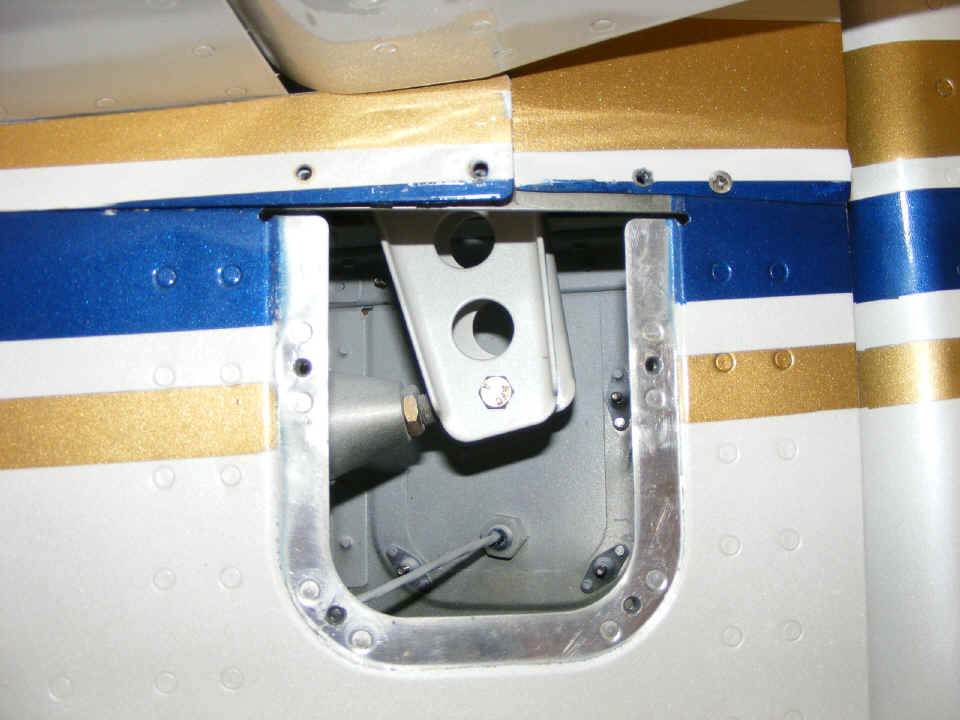
Back at the aft end of the fuselage, the 1/4" bolt that holds the elevator
control horns to the elevator push rod is still secure. The rod end bearings still
move freely as does the control stick in the cabin. I felt the nut on the other side
of the bolt and found it also secure. That electrical cable goes into the outside
air temperature probe (OAT).
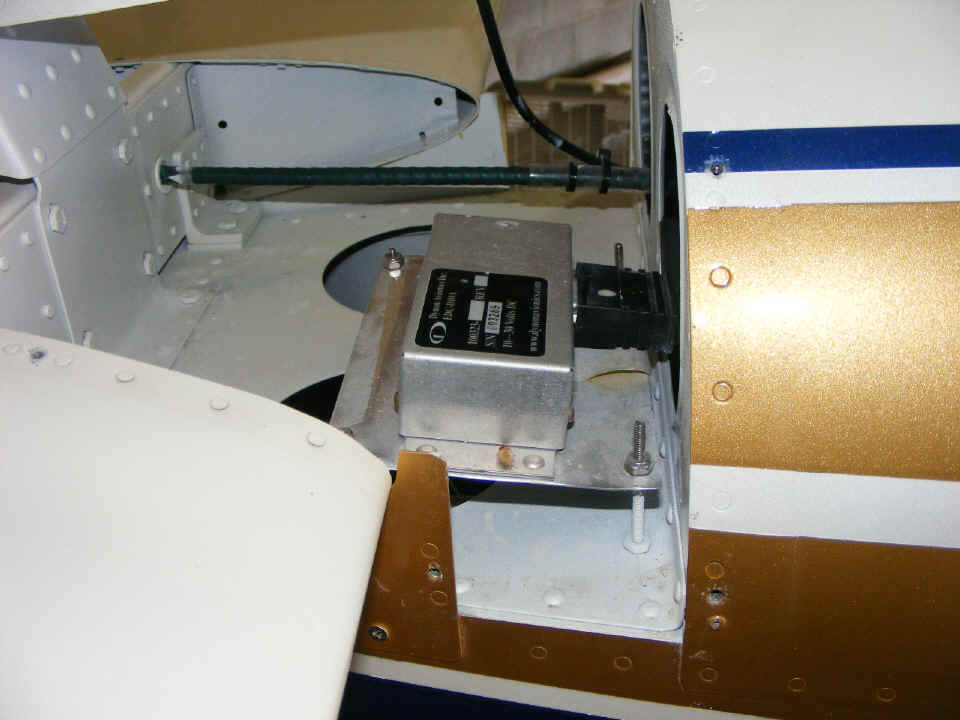
The OAT probe connects as part of the wiring to that DBM-9 connector on the
front of the remote magnetic sensor for the Dynon D-10A. All four stainless steel
screws and their lock nuts are secure as is the electrical connector. I was pretty
sure of that since the Dynon unit is functioning normally with all active features.
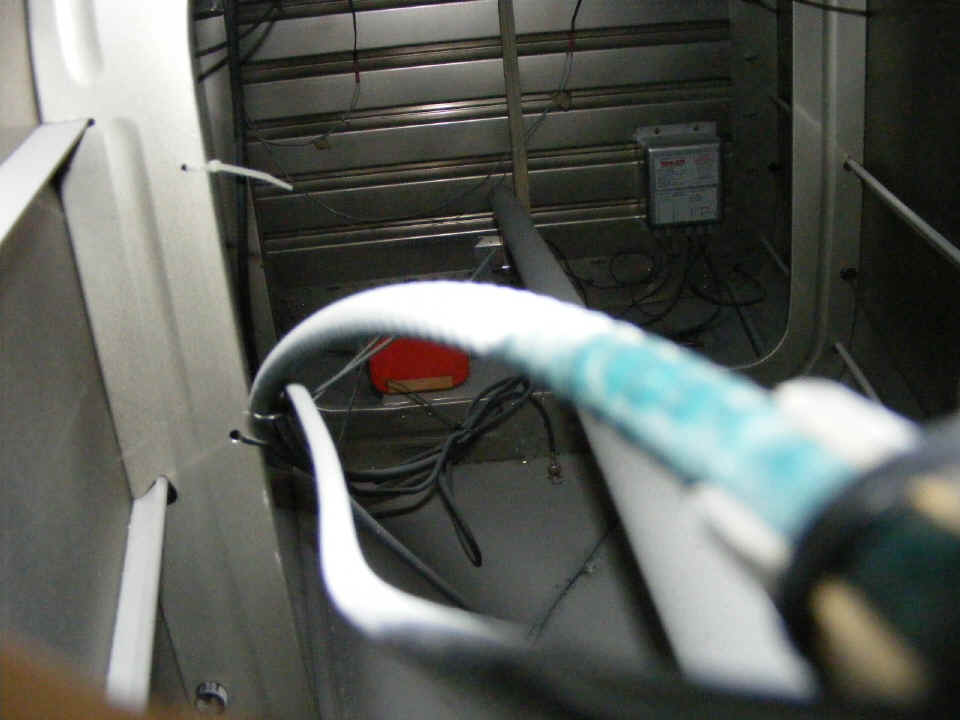
Rather than trying to get my head into a tight spot and shine my flashlight
inside the aft fuselage, it was much easier to put the camera next to the Dynon remote
magnetic sensor and take this photo of the interior. That green cable coming toward
the camera lens is the elevator trim control cable heading aft to the elevator trim tab.
The orange box is the ELT transmitter. The strobe light power supply is still
secured to the aft baggage bulkhead on the right side, down low. That BNC connector
and coax cable connected to the "floor" is actually connected to the 75 MHz
marker beacon antenna on the bottom of the fuselage. I heard signals from it as I
flew back and forth to Florida in May. It is still working.
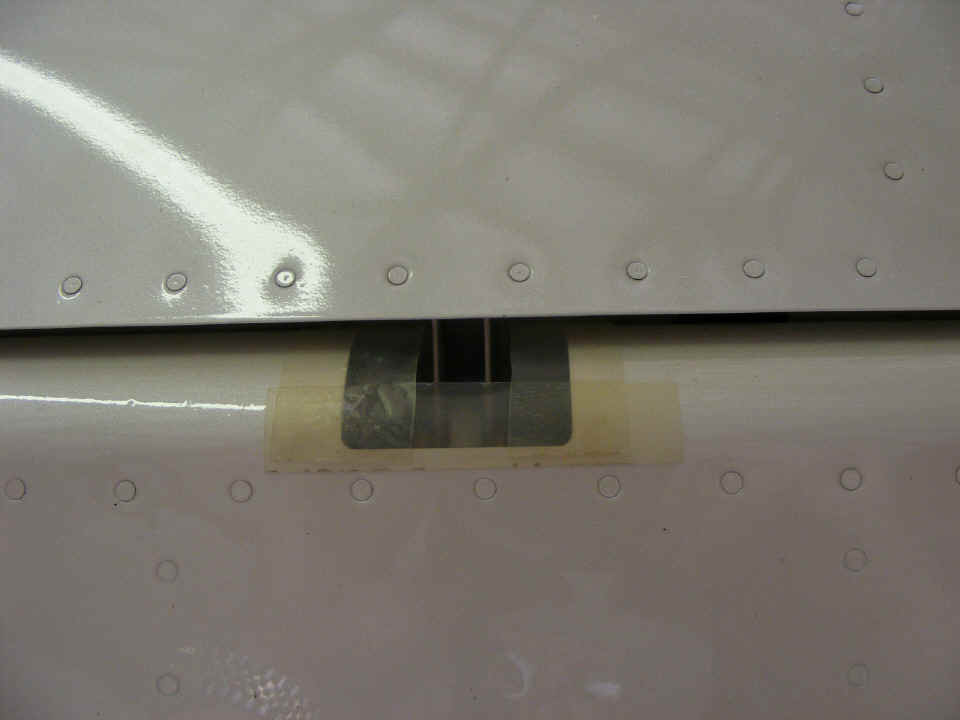
The elevator hinge bolts are secured of course. I had a good look at them
in May when I put on these clear UHMW plastic "tapes" in an attempt to reduce
the size of the openings in the elevator where the hinge bolts are located. The
"whistle" that is known to come from RV-9 and RV-9A airplanes is said to come
from these slots. I still have not had a report from Wendell when I fly over the air
strip as to the presence or absence of the "whistle" since I made these changes.
I just realized my watch band is reflected in the paint clear coat on the elevator.
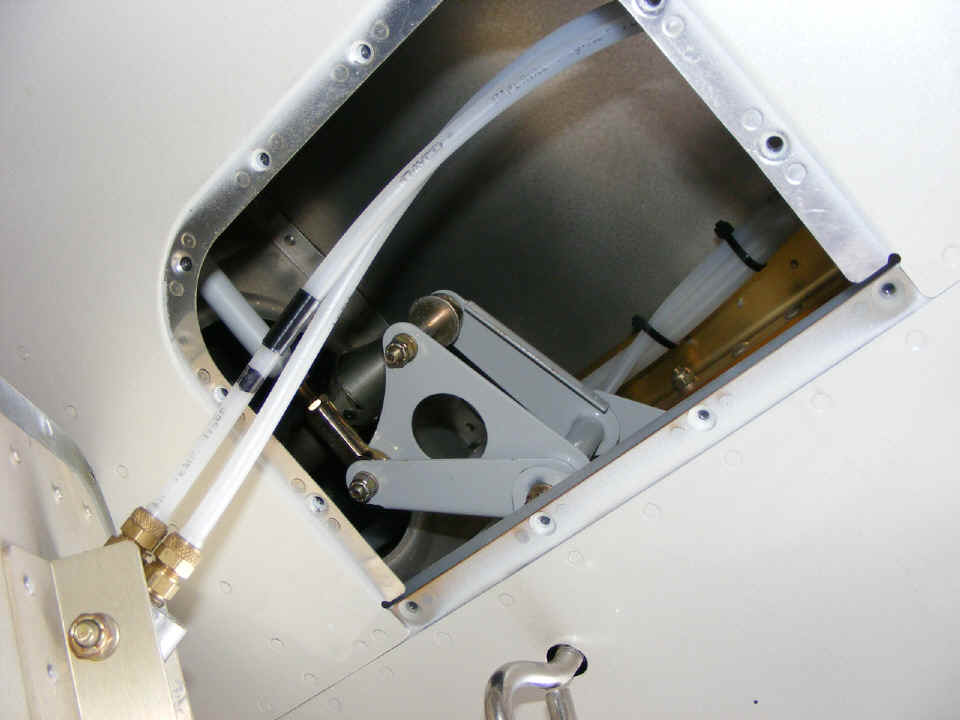
The aileron bracket in the right wing shares space with the lift reserve
indicator. The tubing and the probe are well clear of the moving bracket and the
push rods.
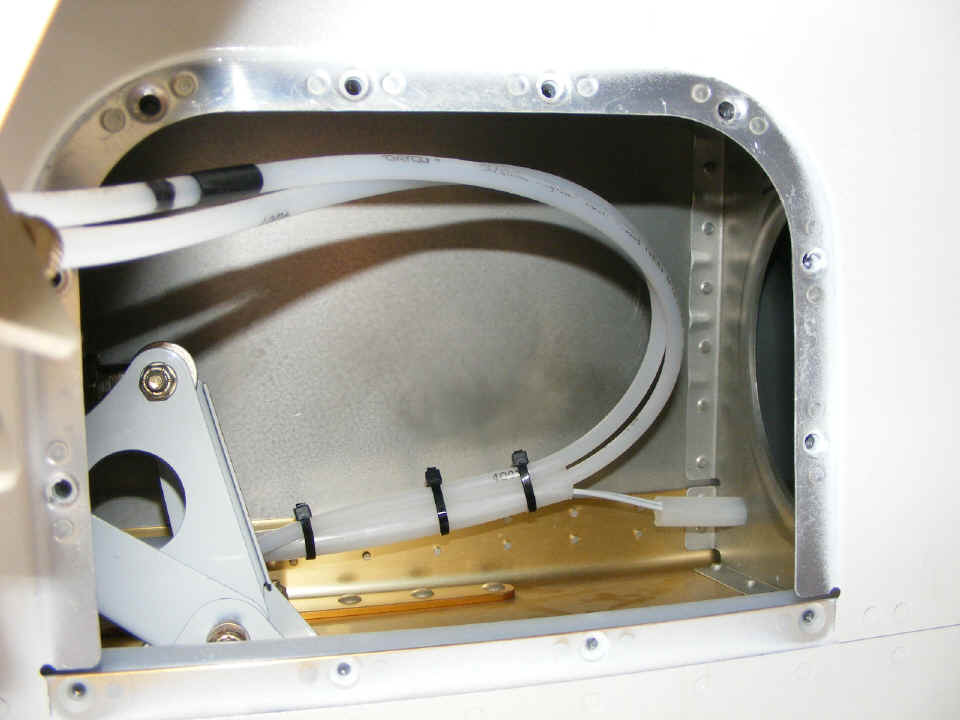
This view shows how the air tubes share space with the wiring heading for the
landing light and wing tip marker light.
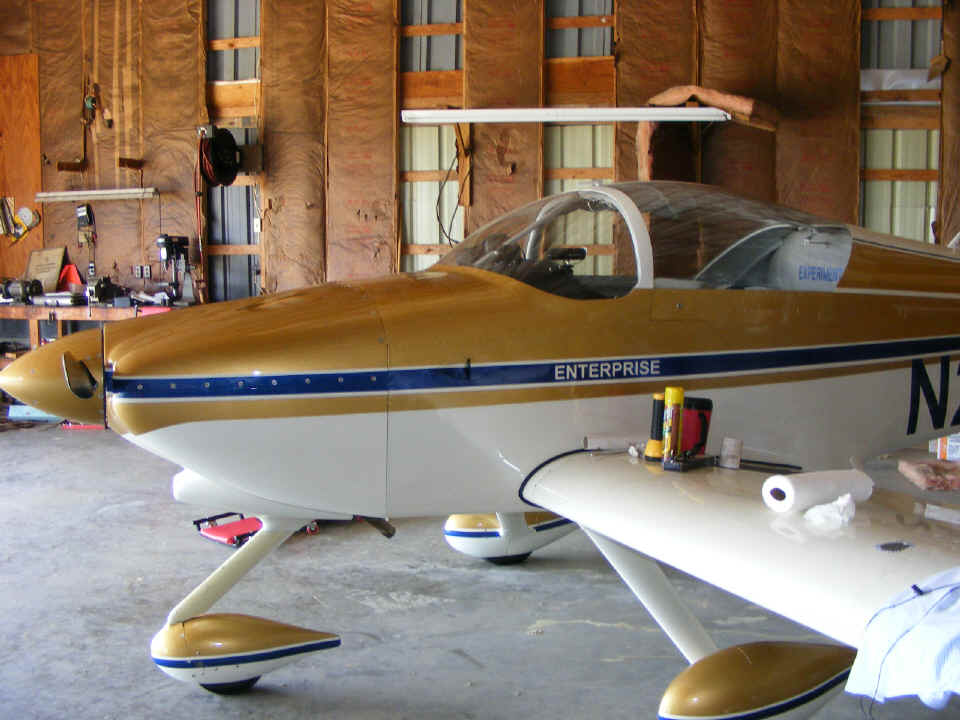
The airplane is all buttoned up on the outside aerodynamically. I still
need to get in the area behind the baggage bulkhead to check the batteries in the ELT
transmitter and the status of the wires and cables there. That will be tomorrow
(Sunday). For now, it is time to get back into the shop and check on the tasks I
have assigned to Wendell on his RV-8 project.
| CLICK HERE for PAGE 244 | Return to MAIN MENU. |