Second Annual Inspection · · PAGE 241.
June 2, 2007: It is that time again. I
have until June 7th to complete my annual inspection of N2PZ. I am doing dual duty
today working on my airplane, and giving Wendell more guidance on his RV-8 project.
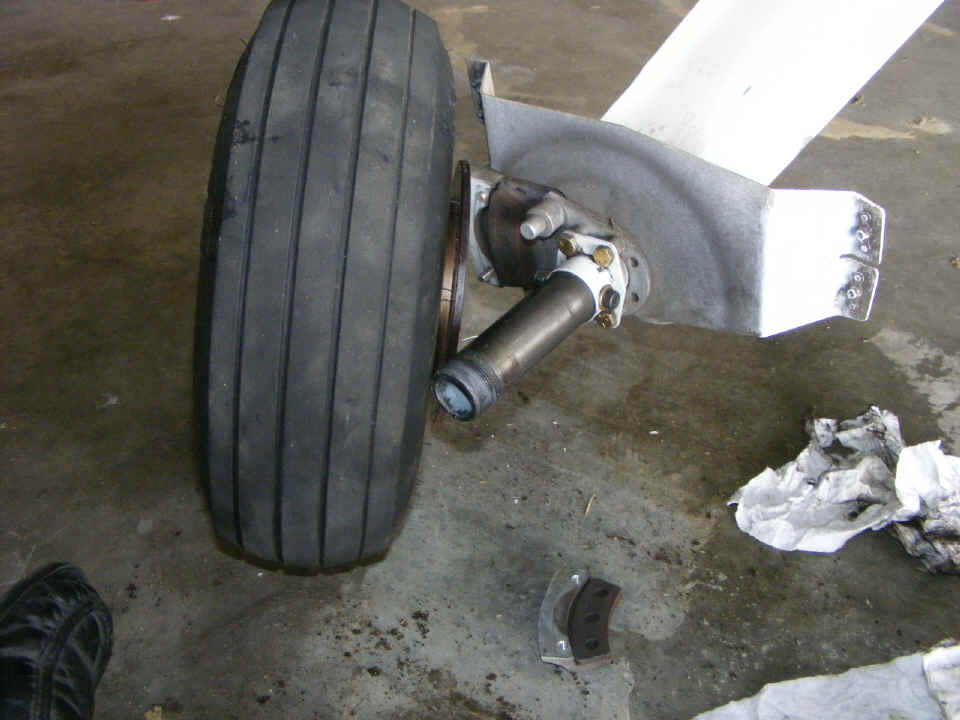
Here is the view of the RIGHT wheel going back on the airplane. I was a bit greasy
during the procedure and did not take any photos during the process. I still have
the LEFT wheel to work on tomorrow.
| The steps taken on the wheel today were: | |
| 1. | Remove the front and rear wheel pant fiberglass fairings. |
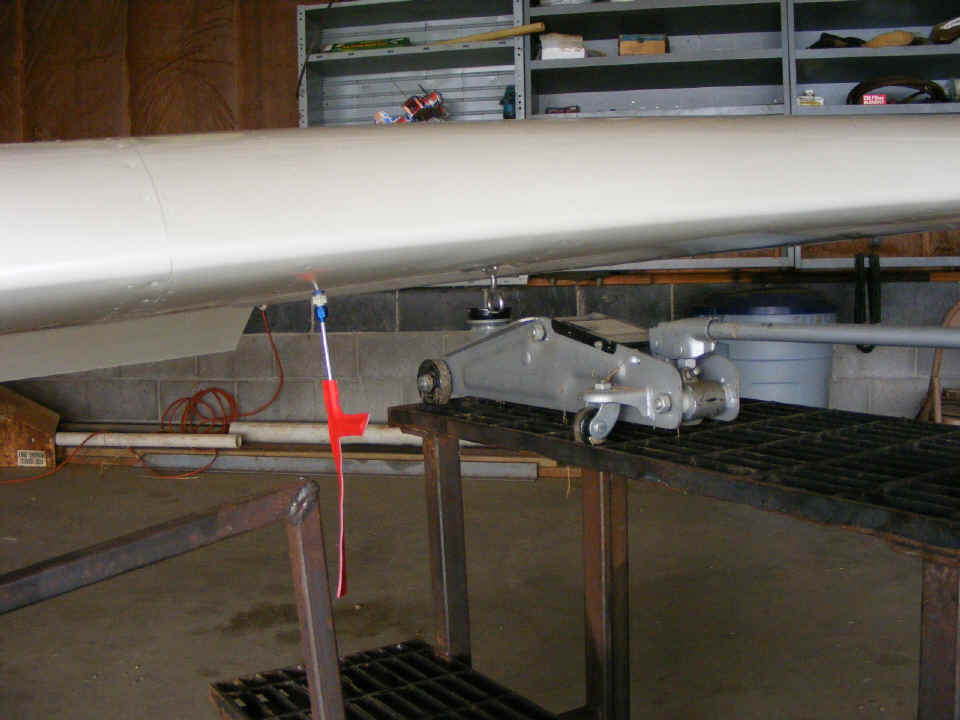
| 2. | Jack up the RIGHT wing at the wing tie down bolt. |
| 3. | Remove the brake pad from the caliper assembly. |
| 4. | Remove the wheel nut and wheel from the axle. |
| 5. | Deflate the tire and remove the three bolts holding the wheel hub together. |
| 6. | Deflate the inner tube enough to remove it from the tire. |
| 7. | Turn the tire over and reinstall the inner tube. |
| 8. | Clean and repack the inner and outer Timken wheel bearings with axle grease. |
| 9. | Bolt the wheel hub halves together and secure the valve stem nut and washer to the hub halves. |
| 10. | Inflate the tire to 30 PSI and install the wheel assembly on the axle. |
| 11. | Insert the large cotter pin in the axle nut and reinstall the brake pad to the caliper assembly. |
| 12. | Lower the airplane onto the wheel and relocate the jack and steel support stand to the LEFT wing. |
Tomorrow I get to do the same thing to the RIGHT wheel assembly, then put all the safety wire back on the brake caliper bolts and the axle nut to the aft wheel fairings. Wendell was advising me today on the best way to clean and lubricate wheel bearings. I was amazed that after I had cleaned away all the dirt, the felt washers on each side of the wheel bearings were in such great shape! It must be all the time I spend in the air compared to the amount of time I am in ground operations.
June 3, 2007: My Sunday
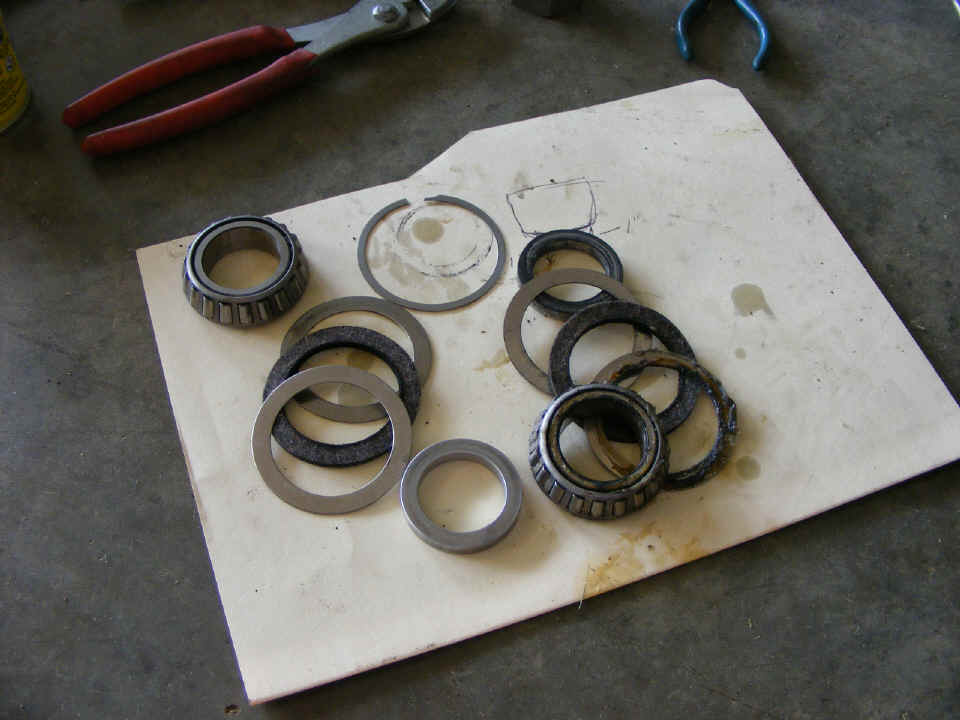
afternoon work session was about cleaning and repacking the wheel bearings on the LEFT
main landing gear. The bearing and the parts on the left have been cleaned.
The group on the right just came out of the wheel assembly. After I get those
parts cleaned, I will pack both bearing with new axle grease.
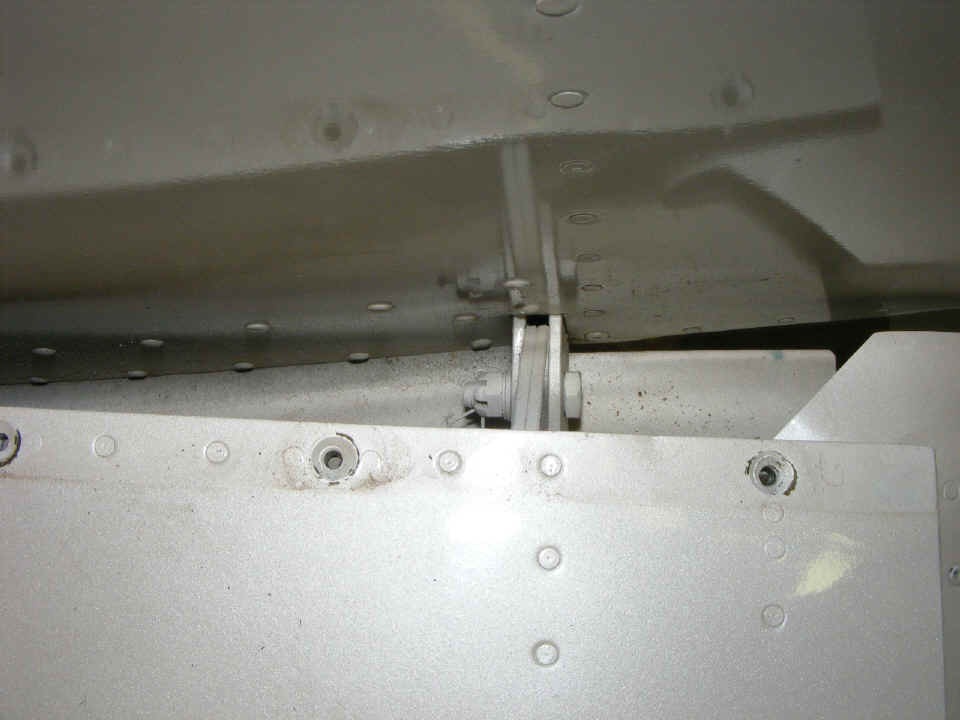
After the wheel was put back on the axle and the wing jack removed, it was time
to move on to the inspection of the wing root attachments, fuel lines, and electrical
connections. Everything inside the left wing root fairing was just like I left it
last year: No leaks, no shorts, no loose bolts.

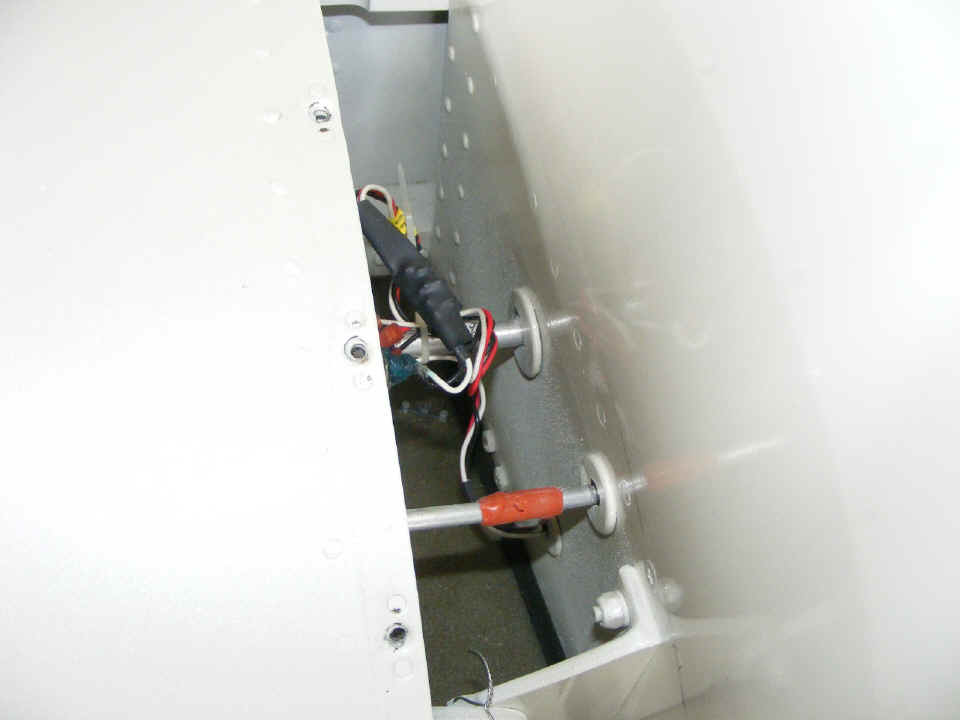
The electrical connections for the lights and wing-mounted aileron servo are
just fine.
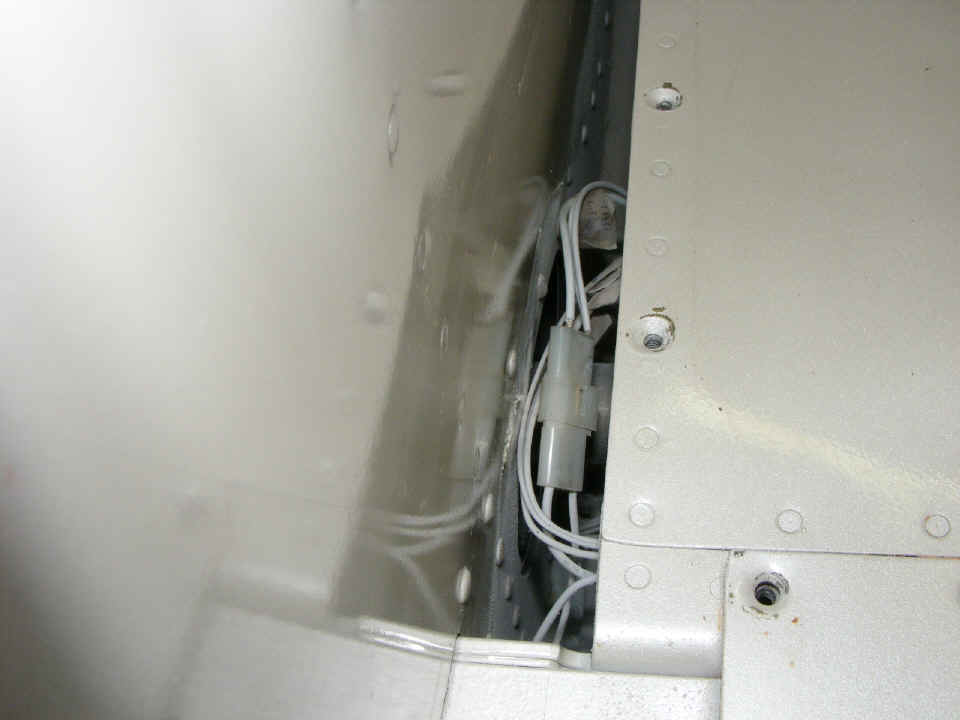
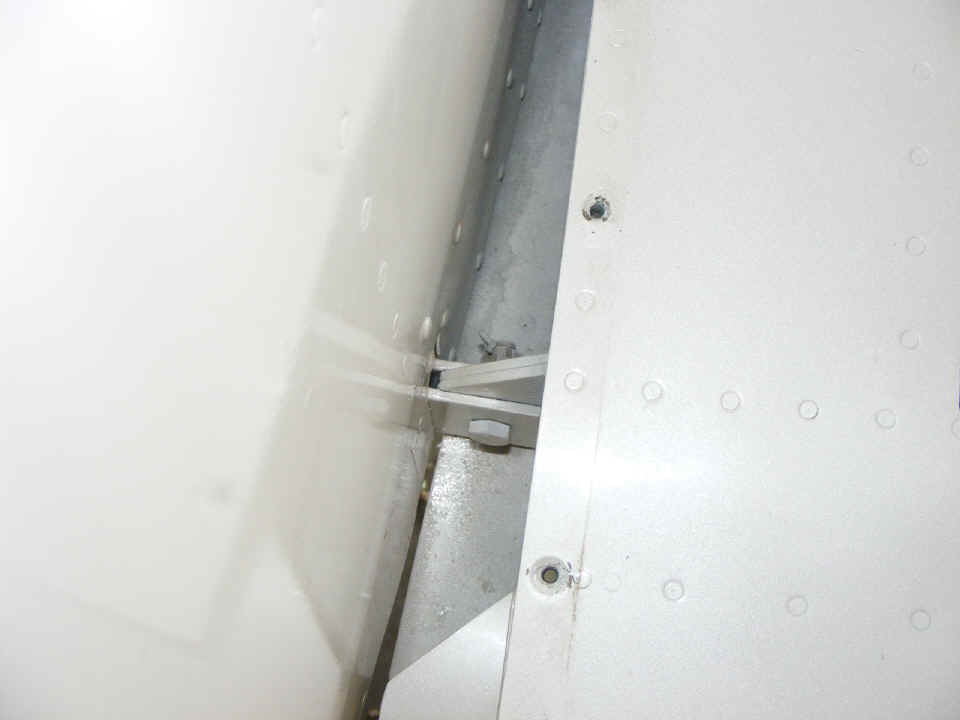
The left wing rear spar and doublers are still properly secured to the
fuselage. I cleaned the overlap area of the wing root before putting the wing root
fairing back in position.
The RIGHT wing fuel sensor wiring, fuel line, and fuel vent line are all still
secured as I left them last year. I have not had any intermittent fuel tank sensor
readings since the repair to the BNC connector I made last year.
The right wing rear spar is also secured properly with no signs of movement.
| CLICK HERE for PAGE 242 | Return to MAIN MENU. |