Airport Assembly - Page 126.
May 12, 2005: I did not get to the airport
until 5:30 PM, but I stayed until 10 PM to get another milestone behind me! The
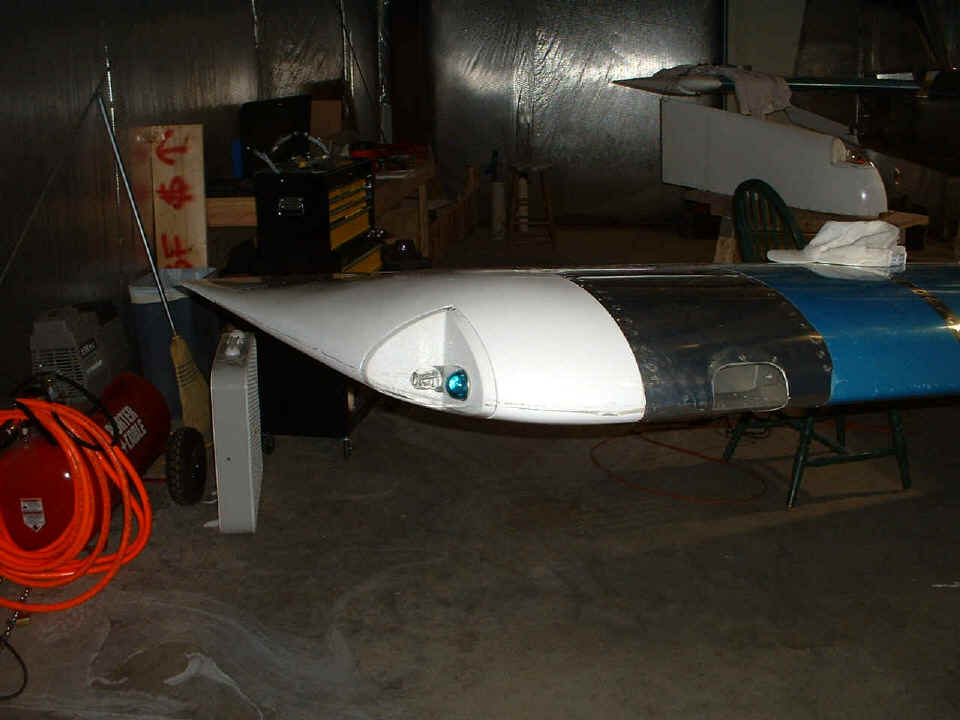
first wing tip assembly to go on the airplane was on the RIGHT side. Yes, the clear
plexiglass lens is on there!
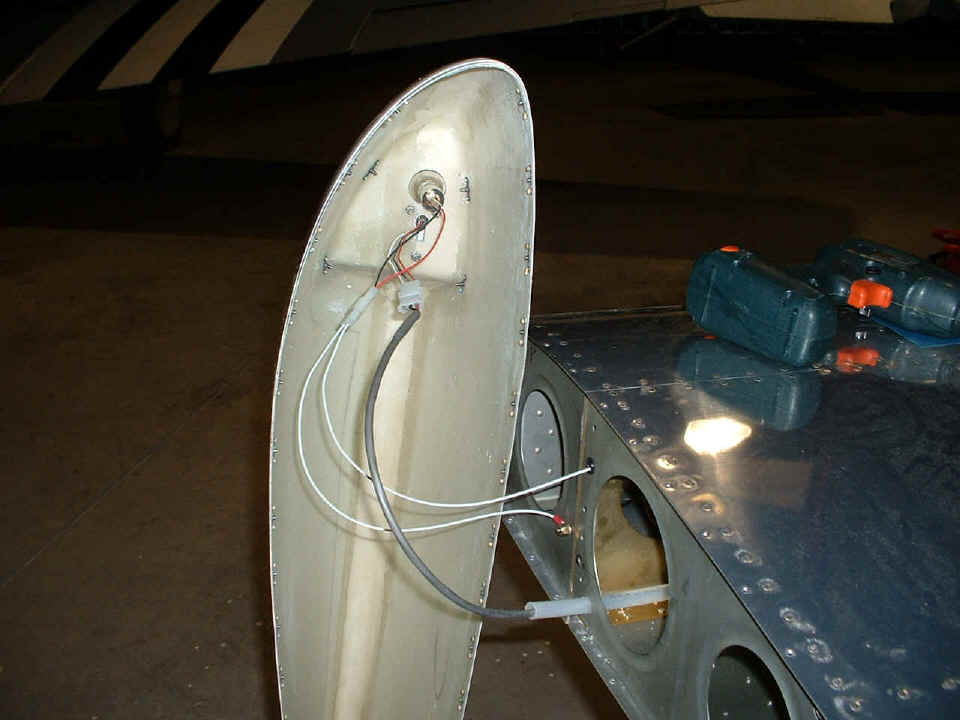
Round TWO on the LEFT side shows the connections just before attaching the wing
tip using 4-40 screws and the platenuts you see inside the fiberglass wing tip. ALL
the exterior lights are now connected and working!
And here is what I have been waiting to see: Wing tip aligned with the
aileron, aligned with the flap in the up position. The same thing happened on the
other wing simultaneously! Yippeee! I think it is time to remove all the
remaining blue plastic.
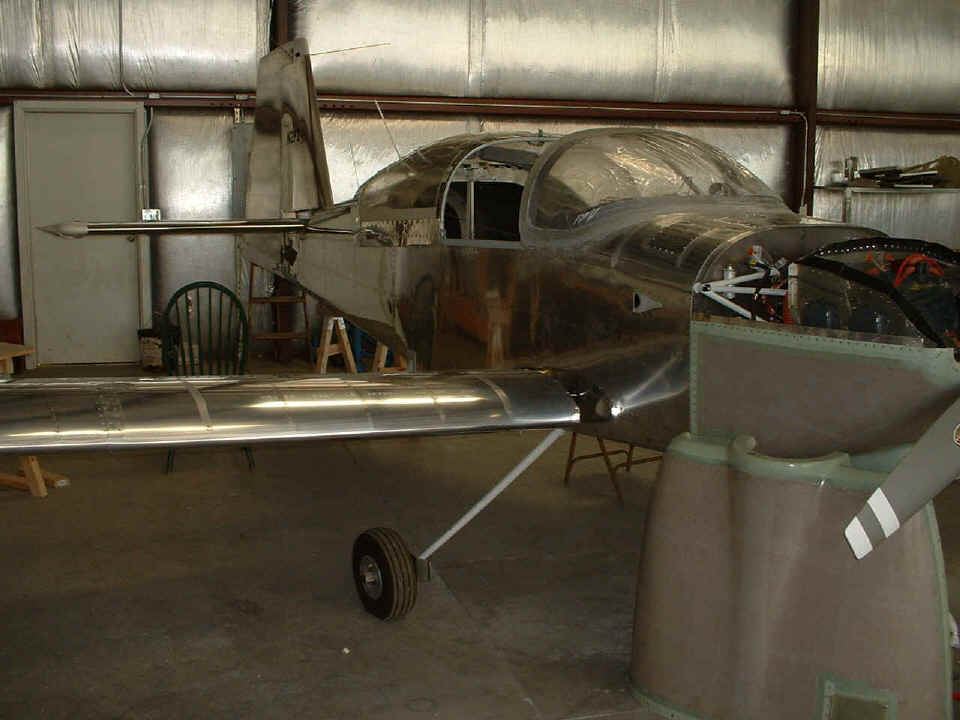
During the ride home from the airport after 10:15 PM tonight, I thought about the tasks that remain. It is time to put back the brake lines and get them to the final shape that will clear the gear leg fairings and wheel pants. I also have some fiberglass work to attach the intersection fairings to the wheel pants, and to reinforce the top of the gear leg fairings where they are secured to the gear legs with hose clamps. I still have to wire up my interior lighting up front, and a second string of white LED's in the baggage area. The GPS 296 data/power cable has to be installed, and the prop bolts will have to be properly torqued. I made a call to David Edgemon about that tool he made. I will be off to Lowe's to pick up the stuff that I will sacrifice to the welding God in search of the correct tool.
I also spent 53 minutes on the phone tonight with an RV-9A builder in St. Paul, Minnesota before posting these photos. The main topic of the call was the ECI Titan engine I bought from Penn Yan Aero Service. Good night all....it's now 12:35 AM.
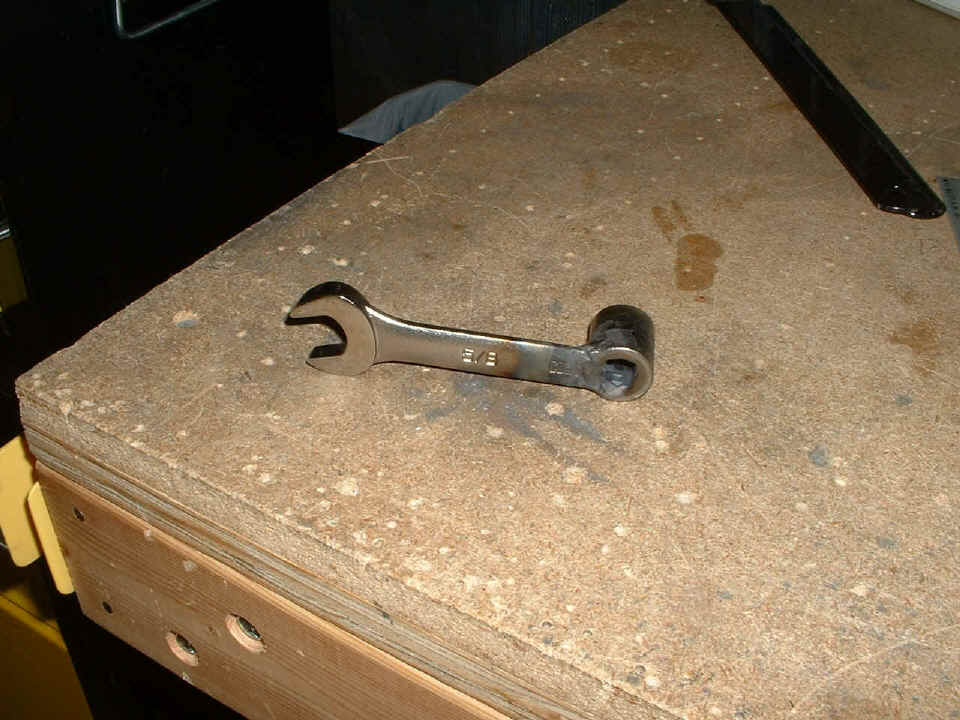
May 13, 2005: Friday had
a short 2.5-hour session at the airport after stopping at Lowe's to pick up the tool
components to build a torque wrench extension. My Dremel tool easily cut through the
center of the 5/8" combination wrench. Rich Nadig used his welding torch to
finish this job for me up at his hangar at the other end of the flight line here at the
Collegedale Airport.
Another visitor stopped by today to see the airplane. I showed it to him
and answered his questions while I peeled off the blue protective plastic that remained on
the wings and the horizontal stabilizer. I spent the rest of my time at the airport
installing eight more 1/4" diameter close-tolerance bolts in the wing spars inside
the cabin area. I discovered that I had received FOUR AN3-13 bolts from Van's
instead of FOUR AN4-13 bolts. I made a call out there and the bolts are on the way
via the US Mail. When those bolts arrive, there will be 10 bolts in each wing spar
securing them to the wing bulkheads that pass through the fuselage just in front of the
seats.
May 14, 2005: An interesting Saturday. I had a couple of visitors during the day, but not for long. I managed to get in 3.8 hours of work on the airplane and get home at a reasonable time. I tried out that torque wrench extension and it worked on ONE prop bolt, then the weld failed on the second bolt. When the wrench slipped, my arm scraped the corner of the lower cowl. I seem to be putting in a lot of blood, sweat, and tears on this project. I also finished putting the two remaining close-tolerance bolts into the left wing spar and the wing bulkheads, but did not want to bore you with pictures of that. You have seen those bolt locations before.
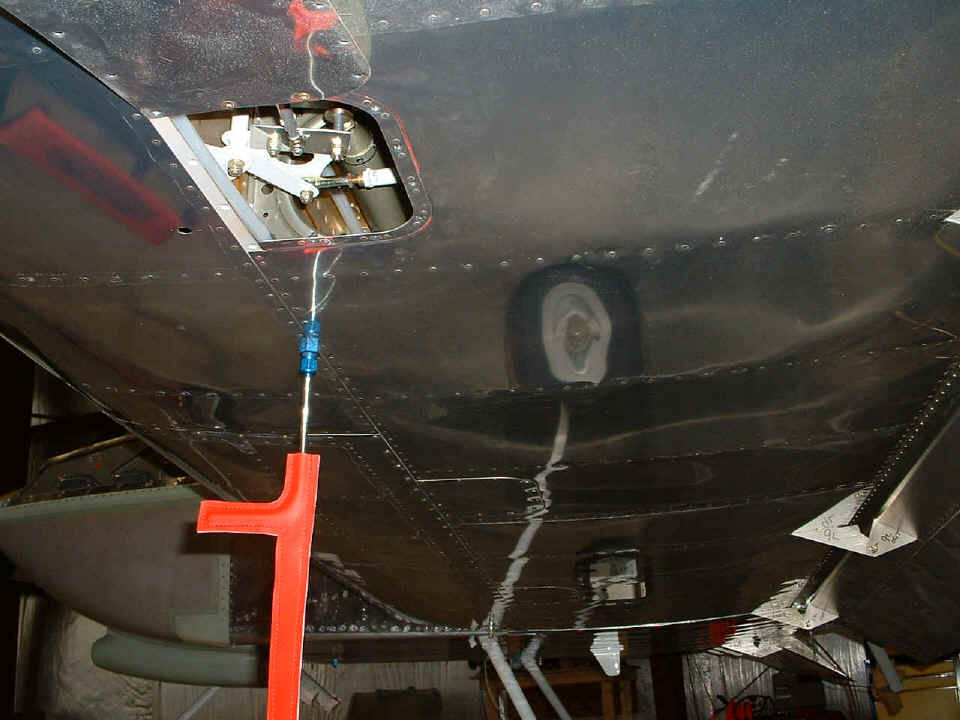
Here is something new, the inspection plates are starting to go in place.
I put this one on the tail of the fuselage under the elevator on the RIGHT side
since it has the outside air temperature (OAT) probe mounted on it. I left the one
on the other side off since it needs to be off until the designated airworthiness
representative (DAR) gets finished.
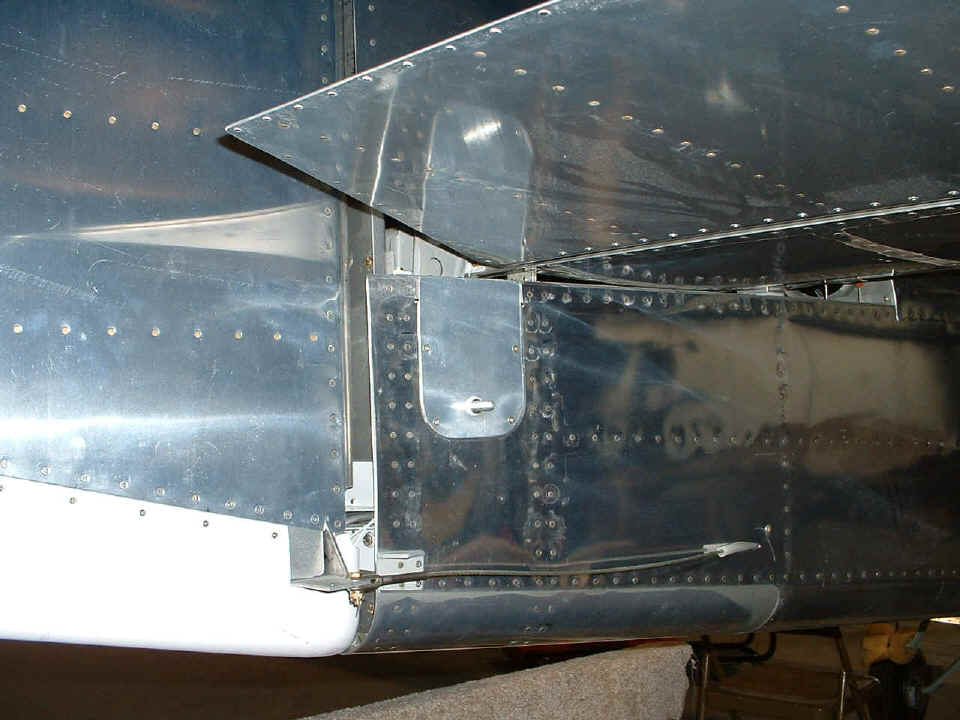
Four of the six inspection plates under the wing are now mounted in place,
except the two under the aileron bellcrank locations. I put two screws in this one
on the left wing to "store it" here, but again left it open for the DAR.
This is also the location for the wing leveler (autopilot) servo.
The theme of the next two pictures is going to be a bit different, so let's GO to Airport Assembly PAGE 127 to see those photos.
| CLICK HERE for Airport Assembly PAGE 127. | RETURN to MAIN MENU. |