Airport Assembly - Page 125.
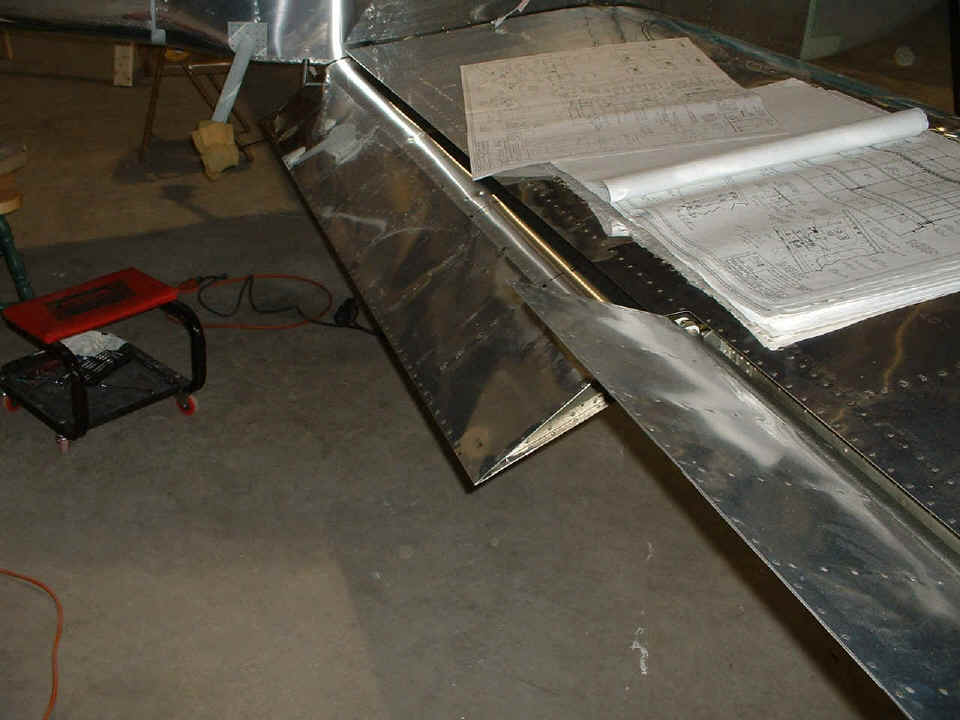
May 9, 2005: With the control stick pushed
to the right, the right aileron comes UP. The flap is still shown fully extended.
The last picture for this posting was just as I quit for the evening.
The LEFT aileron is mounted to the wing, the aileron jig plate has it centered, and the
large aileron push-rod is connected to the aileron bellcrank and extends into the
fuselage, but is not connected to the control stick at this time. That comes
tomorrow, along with the removal and lubrication of the four wing bolts holding the LEFT
wing. The LEFT FLAP is ready to be connected and adjusted the same way the RIGHT
FLAP was done today.
I am not logging any of the 30-minute rides to drive each way to the airport, or any of the setup time when I first get to the hangar and pack-up time before I lock the hangar door and leave each evening. Today is the first day that I have put the running construction time on the home page.
May 10, 2005: I crawled
under the fuselage to drill, deburr, and dimple the holes in the fuselage skin that
overlaps the LEFT wing root where the platenuts are located. I also installed all
the screws on both sides to secure the bottom skin to both wings. I also changed one
washer (thicker) on each of the six bolts that hold the flaps to the wing. I put in
the cotter pins through the drilled bolts and castle nuts to safety the flap bolts.
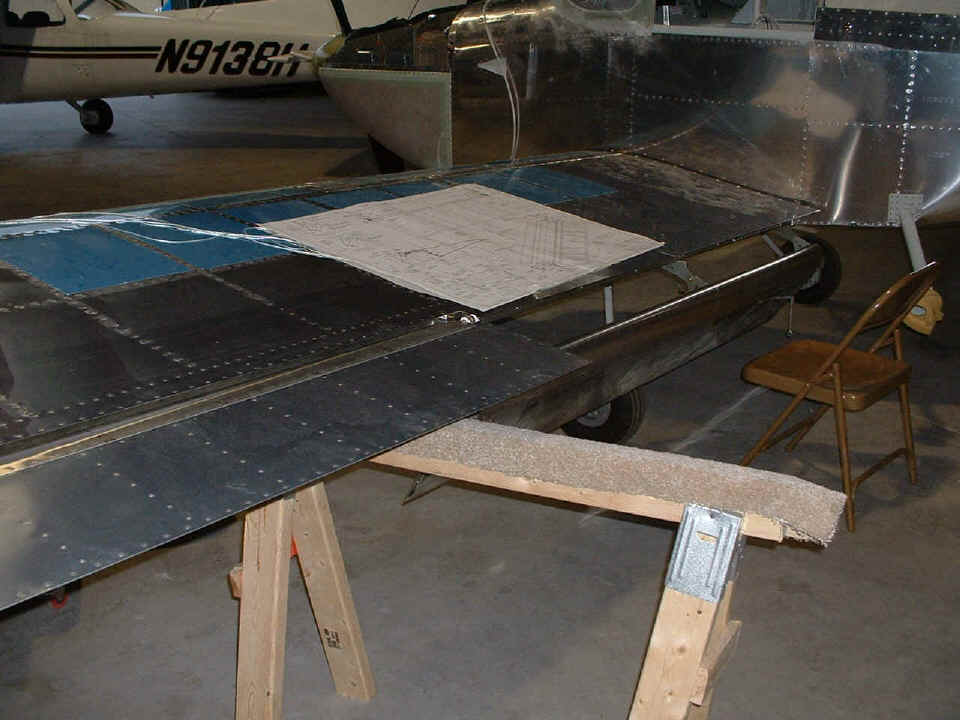
I then connected the LEFT flap linkage to the flap and set the proper angle on the LEFT
flap. The photo below shows the left flap at FULL DOWN.
I started removing and lubricating the wing bolts one at a time holding the
LEFT wing to the wing bulkheads inside the fuselage. Three are completed and one
more will be done in the next session. I also started to disassemble the fuel valve
assembly in order to either re-shape the fuel line from the left fuel tank to the valve,
or replace it with a longer line. This was the fuel line that is currently too short
to connect to the fuel fitting on the left fuel tank.
A thunderstorm with large hail came to Collegedale when I was packing up to come home tonight. Add another 4.5 hours to the log book for today's work on the RV-9A. It has now been 14 days since I moved the airplane to the Collegedale Airport (3M3). I have only missed one day of working on the airplane in that time.
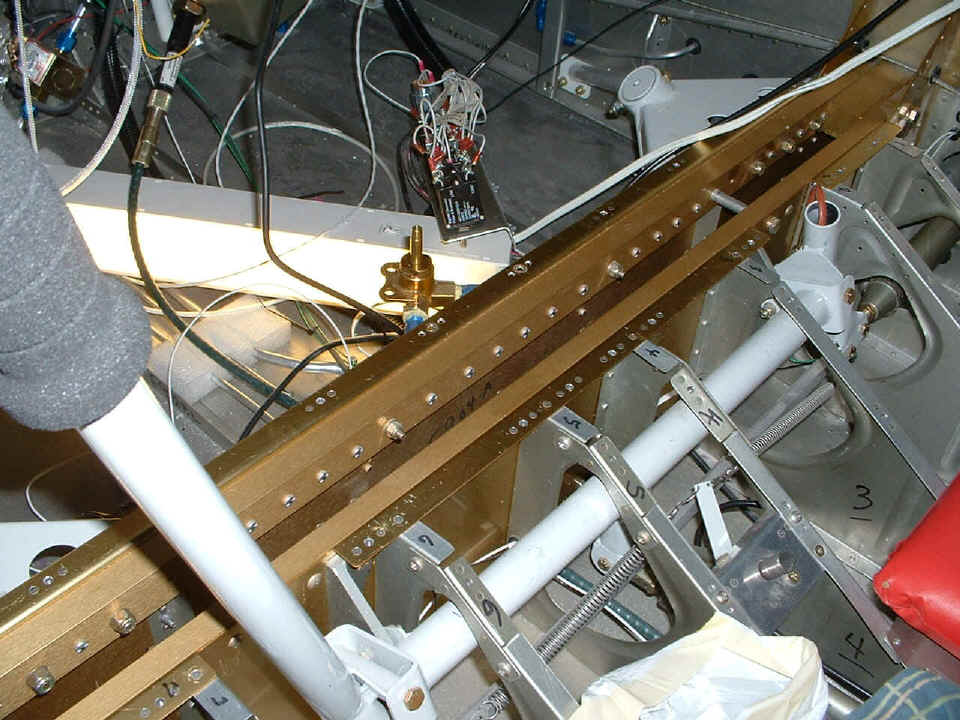
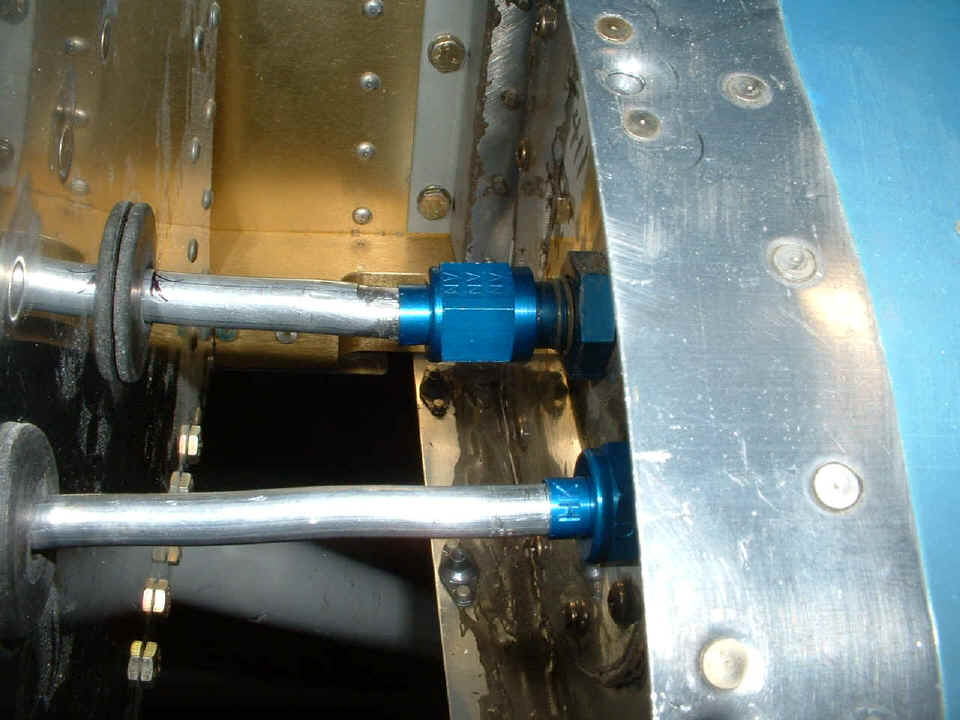
May 11, 2005: I took the
fuel lines off the selector valve and connected the fuel line to the LEFT fuel tank. After that I re-shaped the bend in the line where it comes up to the fuel selector
valve from the LEFT tank. I put fuel lube on the threads of the flare fittings and
secured all three fuel lines to the selector valve and the problem of the short fuel line
was put behind me. The fuel vent line is the smaller of the two aluminum tubes
connected to the tank in the photo below. Now I have to wire up the fuel level
sensors.
I finished the removal of the last large bolt holding the LEFT wing to the wing
bulkheads in the fuselage. I lubed up the shank of the bolt and put it back in its
proper position and torqued it down. The aileron alignment jig was placed on the end
of the wing via the chord-line holes in the end rib.
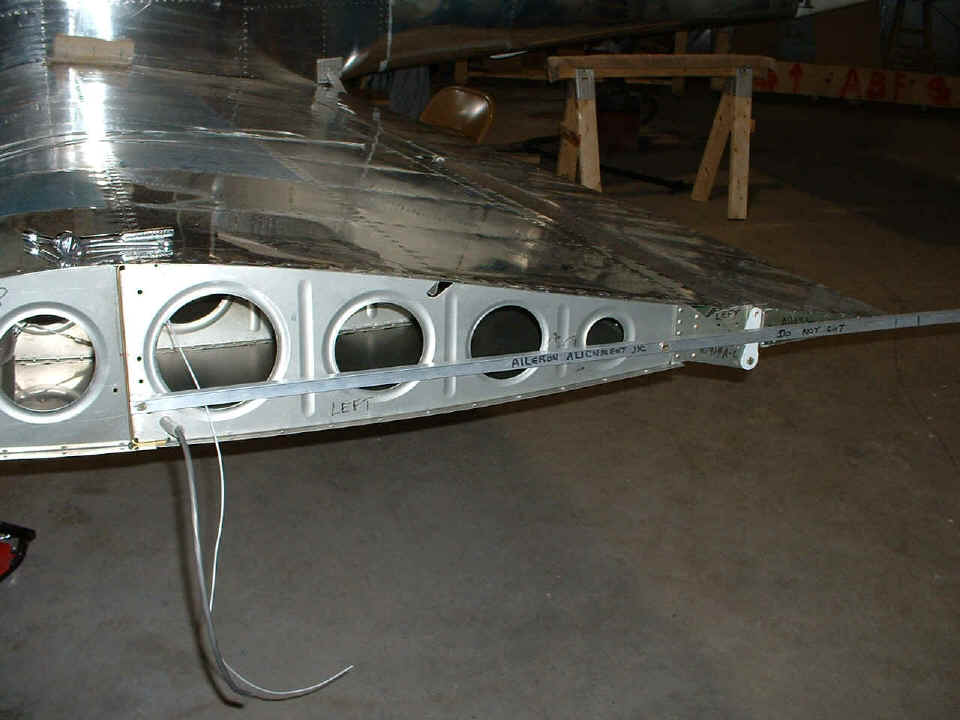
I connected the large aileron push-rod inside the LEFT wing from the bellcrank
to the joy stick. I made a final adjustment to the rod-end bearing at the joystick
end to insure that the stick is perfectly centered vertically. I had already set the
linkage between the two sticks to make them parallel to each other in the cockpit.
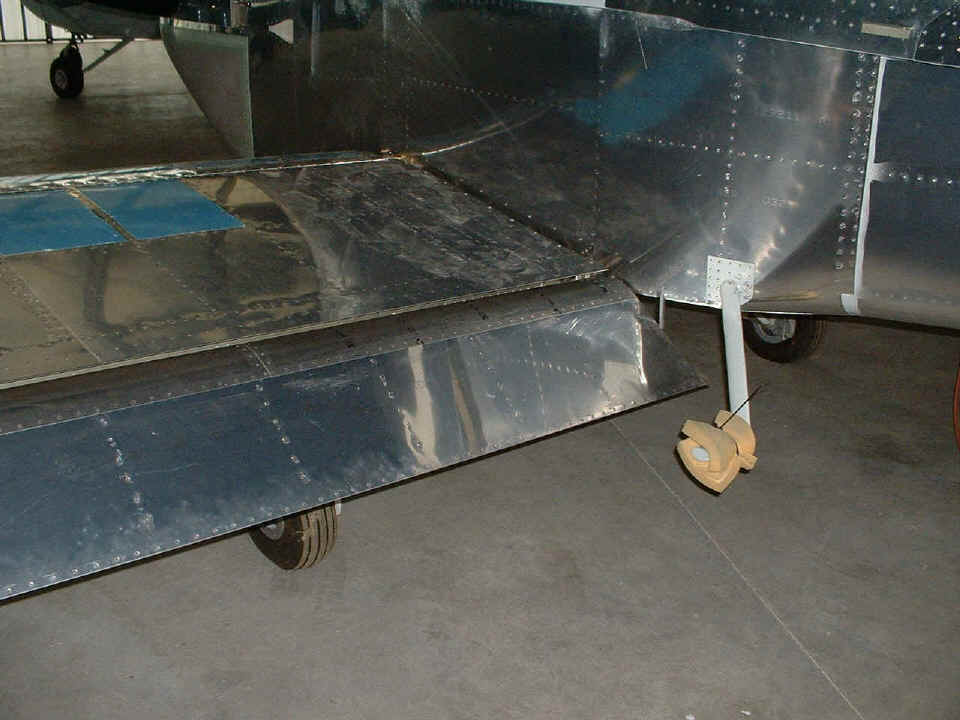
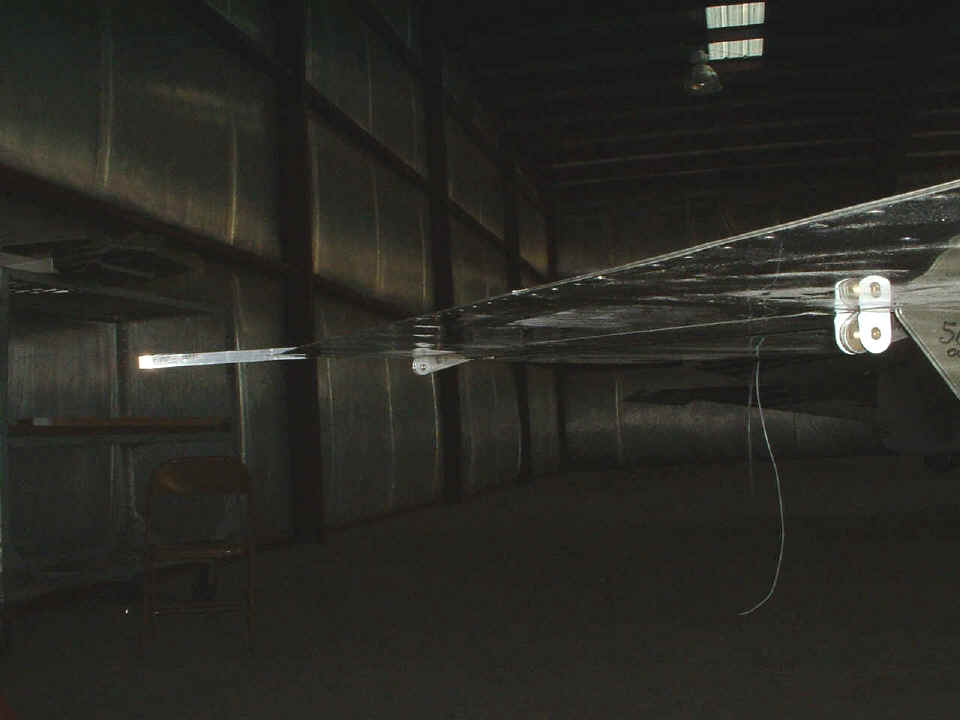
The photo below shows the resulting alignment of the aileron at the end where you see the
angle that is shown in the photo above. If you look near the center of the photo,
you MAY be able to see the trailing edge of the LEFT flap where it is adjacent to the
inboard trailing edge of the LEFT aileron. The nice part of all this: The
RIGHT flap and aileron are also in alignment. The rigging of flight controls is
complete.
In amongst all this work, I also moved the flaps from limit to limit and realized I needed some additional trimming of the flap linkage exit holes in the bottom corner of the fuselage. I had a place on the RIGHT side where the linkage rubbed the skin at the full down setting. I also trimmed a bit on the side of the fuselage to allow the LEFT flap to come all the way up without the linkage ball hitting the side skin of the fuselage.
I had been crawling around under the instrument panel when I was working with the wing bolts and had accidentally flipped the circuit breaker switch for the strobes to the ON position. The next time I turned on the master switch to cycle the flaps up and down, the tail light strobe flashed! I guess I have those wires connected properly. I should get a chance to wire all the wing lights and put on the wing tips in my next session.
My visitors today were fellow RV-8 builder Larry Champion, A&P Rich Nadig, and Collegedale Airport manager Frank Zarski. Rich had a chance to see my prop bolts and he realized neither of us has the correct wrench to properly torque the bolts that hold the prop to the crankshaft flange on the engine. A "crow's foot" on the end of the torque wrench does not fully engage the bolt head. The proper tool was shown in the Hartzell propeller manual on a page near the torque tables for various types of propellers.
| CLICK HERE for Airport Assembly PAGE 126. | RETURN to MAIN MENU. |