Airport Assembly - Page 121.
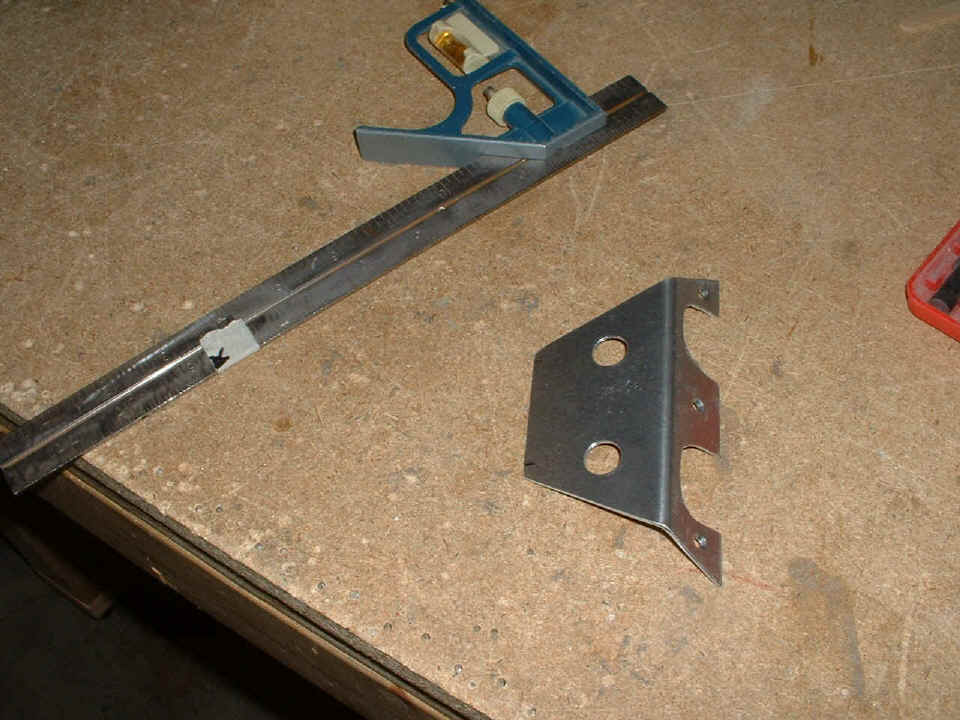
May 2, 2005: This is a bracket I made for
the installation of auxiliary microphone and headphone jacks to be mounted under the
throttle quadrant. I have to add this piece to the primer session I am planning
soon. The other pieces to be primed include the wing root
fairings, the aluminum fairings that go under the horizontal stabilizer, and the filler
plates that go behind the propeller blades.
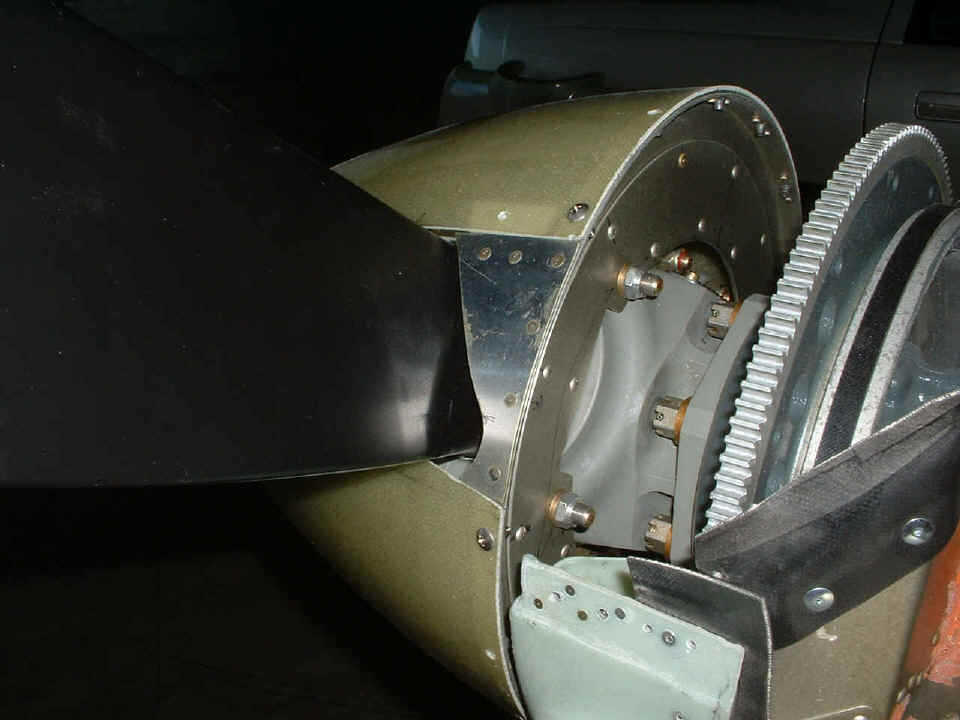
And here is where it will go. There is one more rivet hole hiding behind
the throttle. The metal plate in the photo above will be angled down and back from the
throttle quadrant plate seen in the photo below.

The session today was 3.9 hours before I started cleaning up at 8 PM to leave the airport. I passed through the airport gate at 8:19 PM.
May 3, 2005: Tuesday
morning saw a bit more work on my commercial web project. I had the last 1-hour
priming session on the driveway after lunch and then packed up my air compressor for the
ride to the airport. The photo below shows the two filler plates that will be
installed behind the propeller blades in today's session. As you can see, only the
inside was primed in today's session at home. I got to the airport around 4 PM again.
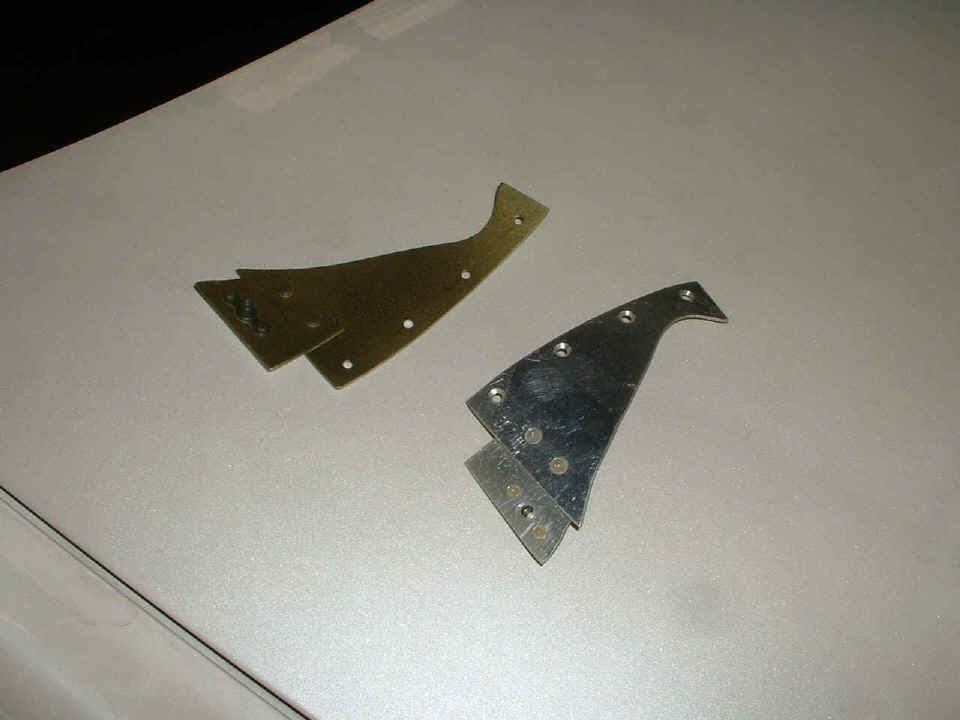
Four big rivets in each is all it takes to secure them to the spinner plate.
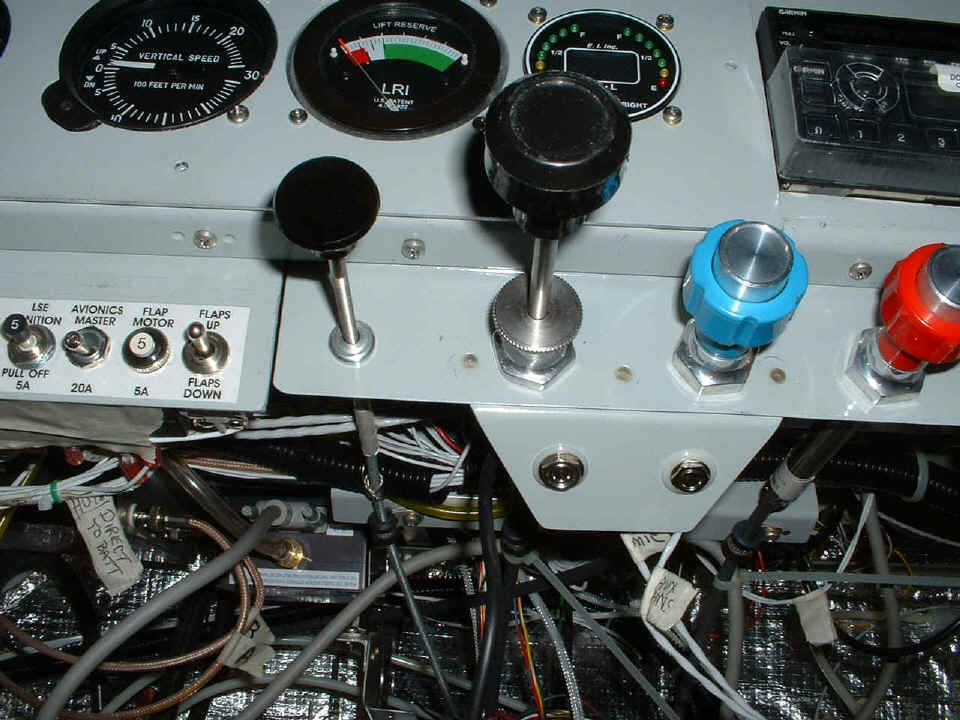
The auxiliary microphone and headphone jacks are now firmly in position.
I had to remove the engine control panel from the main panel in order to squeeze
the rivet in the center. I realized that I have to label all the controls, so I will
make up the labels and place them over the rivets and avoid additional painting of the
engine control mounting panel. I also have to get under there and secure a number of
wires with tie-wraps. I primed the bracket on both sides, then painted the outer
surface that can be seen from the cockpit.
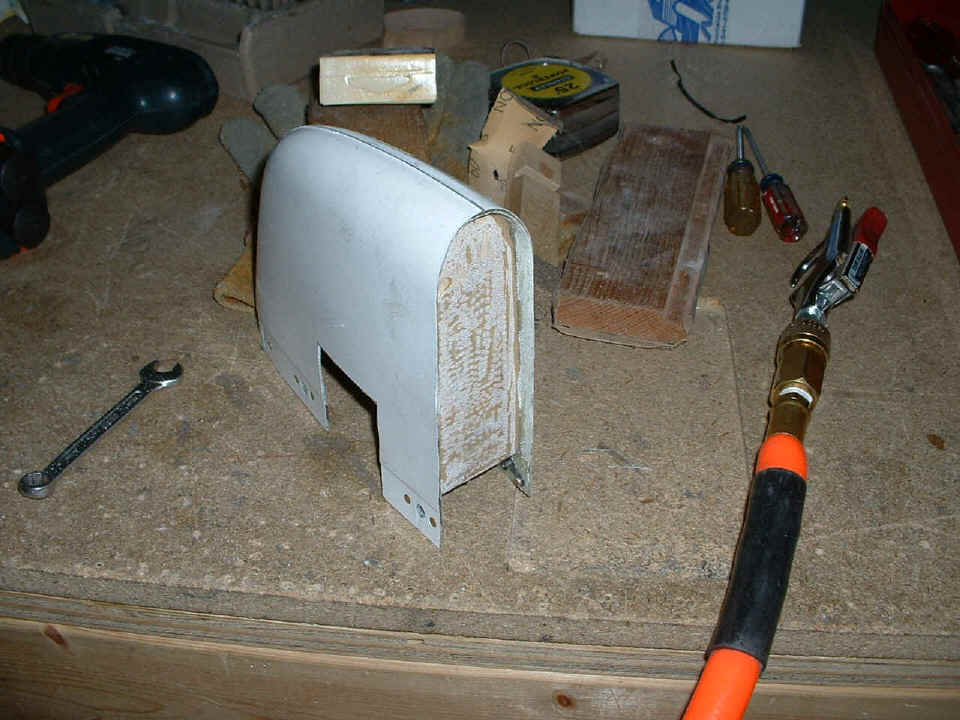
The fiberglass cap to the vertical stabilizer was sanded and trimmed of excess
fiberglass and epoxy resin from the first session that fitted the balsa plank to it
yesterday. This is in preparation for today's fiberglass session on this same part.
And there is the evidence that the air compressor is at the end of the work table.
I stopped at ACE Hardware on the way to the airport to get a 10-foot length of
chain to secure the compressor tank when I am not in the hangar.
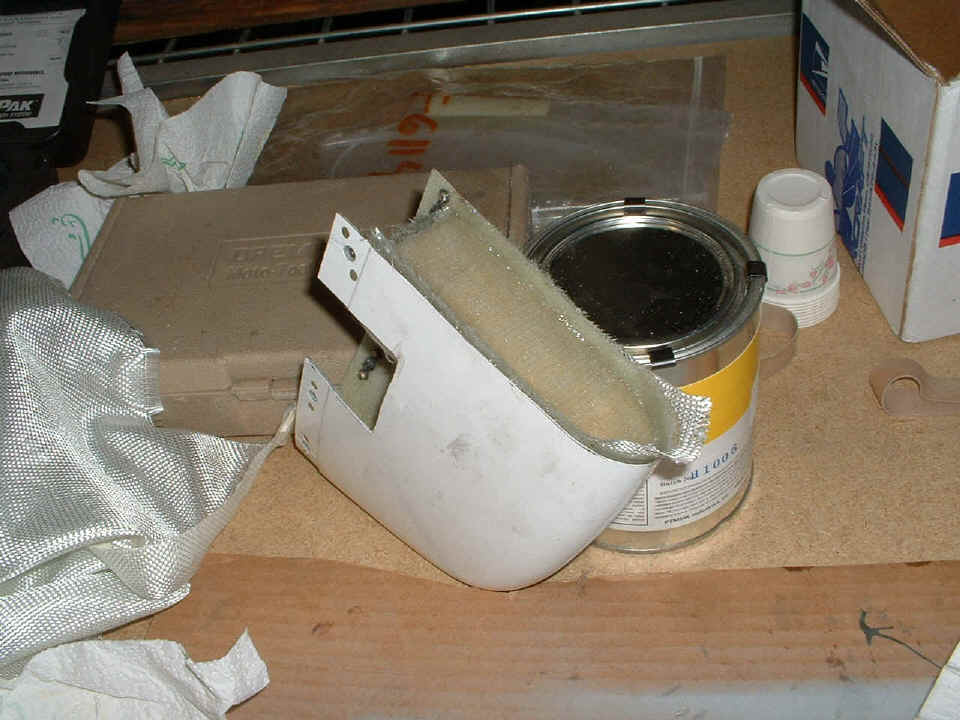
I put in three thin strips of fiberglass cloth in the corners where the balsa
meets the fiberglass shell, and two layers of fiber glass cloth across the full surface of
the balsa plank. I will be cleaning the excess material off with the Dremel sanding
drum tomorrow.
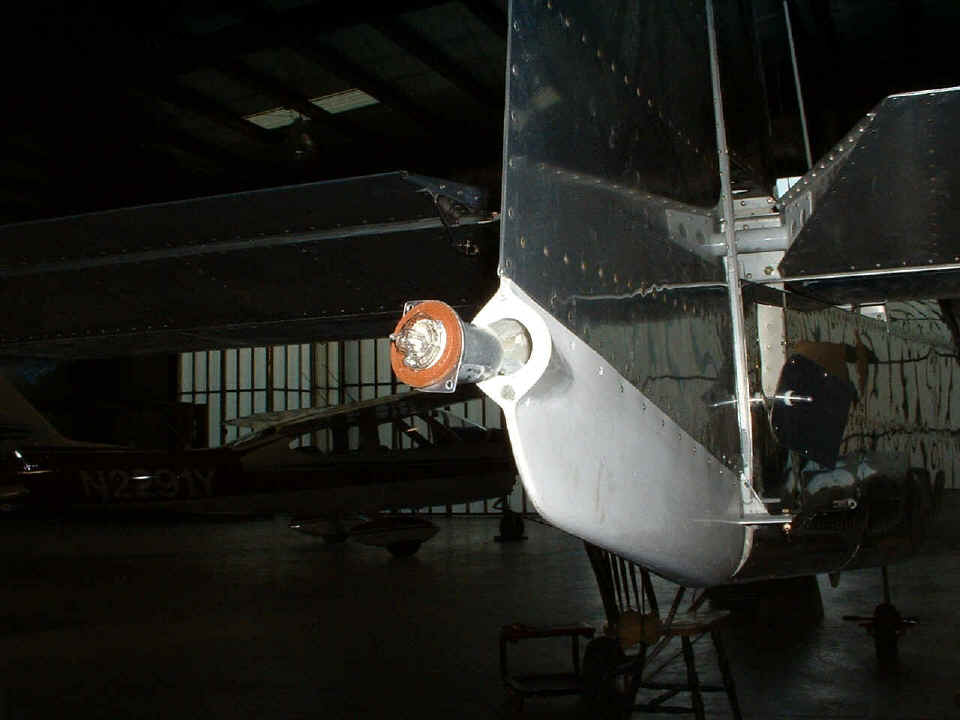
I also picked up some long 4-40 screws at ACE to secure the tail light assembly
in the rudder bottom cap. The top screw went in just fine, but the bottom screw
sheared off just below the surface of the fiberglass shell. I guess the epoxy soaked
tissues I used as filler in there worked very well indeed. I had to drill out some
of that epoxy/tissue mix to remove the remaining screw. I then put some tissue in
the remaining epoxy mix from the work done in the photo above. I used a tooth pick
to push the mixture into the enlarged hole and cleaned away the excess before cleaning up
the bench of the epoxy and other waste from the fiberglass work. I will drill and
tap another 4-40 screw hole in the epoxy/tissue filler after it is fully-cured and hard
enough to drill. Since the clear tail light lens is GLASS, I have put it safely away
until this process is completed.
| CLICK HERE for Airport Assembly - Page 122. | RETURN to MAIN MENU. |