FINISHING - Page 114.
April 16, 2005: With the wing cart out on
the driveway, it was not too bad switching the wings out from the table to the cart to the
table, then begin the platenut process/wing root fairing process again. I have
already drilled the original empty rivet holes to accept #8 screws and placed the two
types of platenuts in the first two positions prior to drilling any rivet holes on the
bottom side of the wing. I just realized the aileron pushrod did not slide out of
this wing when I moved it to the work table. The pushrod is stored inside the wing
lightening holes, not connected to anything.
I did not previously take any close-up shots of the process of drilling these
platenut rivet holes. Before drilling the first hole through the steel platenut, I
align the platenut to put the rivets in a line parallel to the edge of the metal. A
center punch is used to put a drill starting point in the surface of the aluminum wing
skin. My thumb holds the other end of the platenut to assure the drill stays
centered on the punch mark. After the first hole is drilled, a cleco is inserted to
insure the platenut does not move while the second rivet hole is drilled.
I did not take a picture of it, but the rivet holes in the wing are now
countersunk to accept the rivets. That was when I ended this session for a dinner
break, which turned out to be the end of the day. I got out my Star Trek
"Generations" DVD and viewed the extra features on the second DVD in the set.
I enjoy learning what goes on behind the scenes of a movie that I have seen and
appreciated.
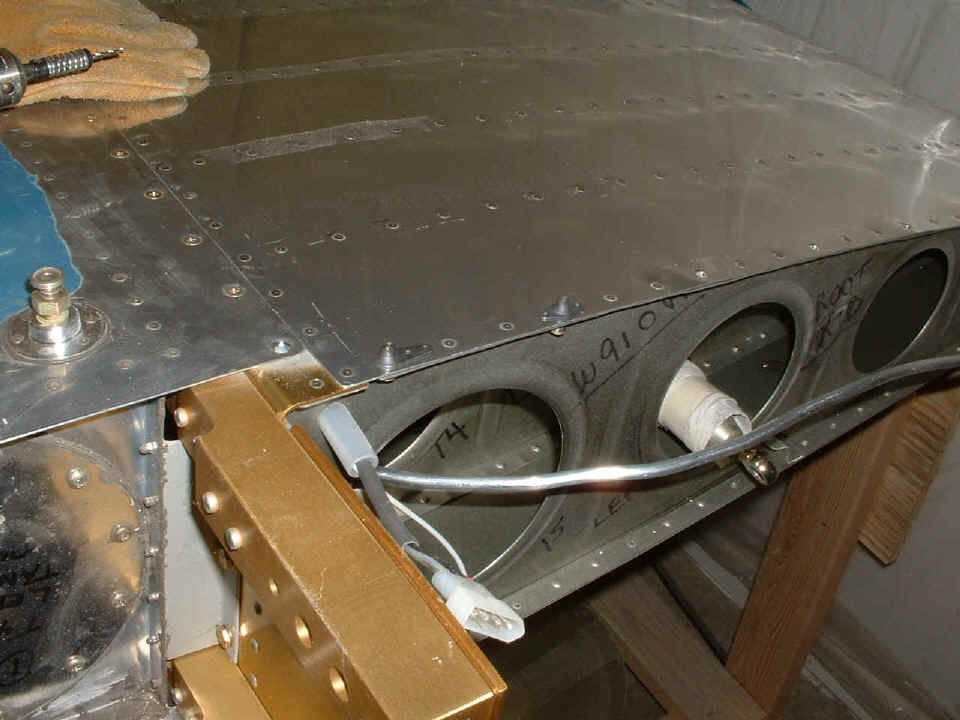
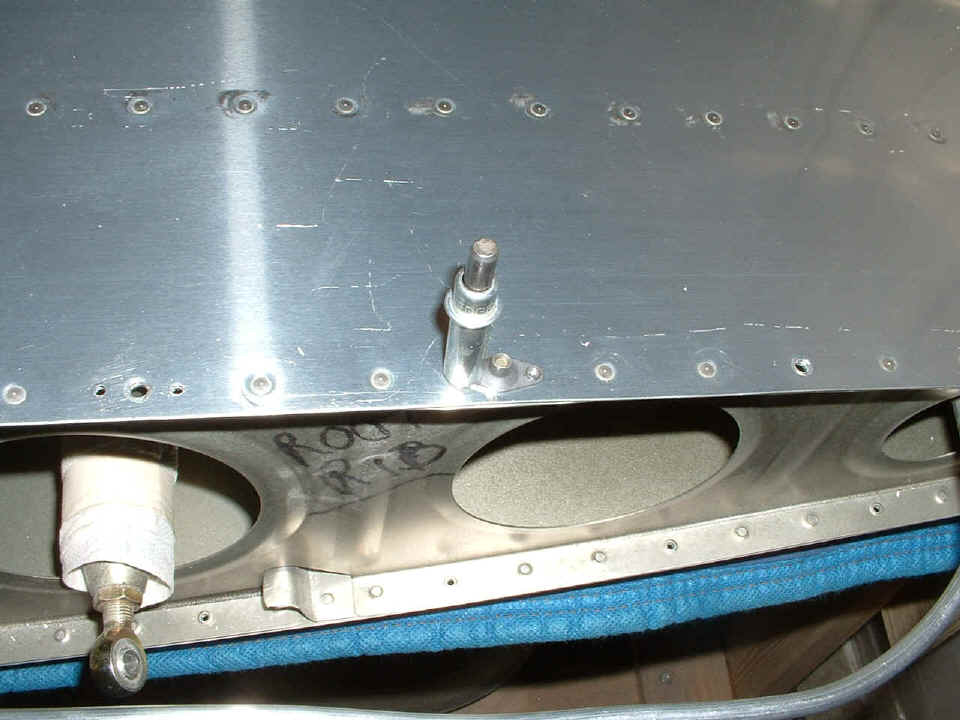
April 17, 2005: I
completed the drilling and attachment of the platenuts on the LEFT wing, then attached the
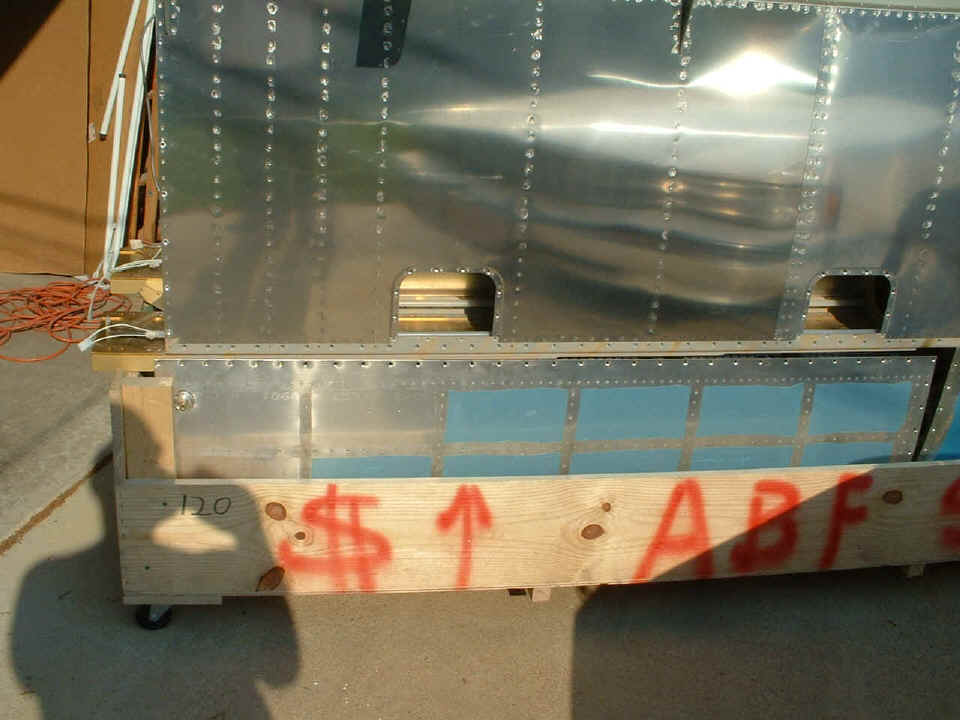
wing root fairing and drilled all the holes in the flange of the LEFT fuel tank. You
can see the platenuts that I have installed on the LEFT tank and the dimpled #8 screw
holes on the flange of the tank. All those screw holes on the wing were countersunk
due to the multiple layers of metal on the wing. Since there was only the fuel tank
flange skin, I dimpled these screw holes. I also put the platenuts on the RIGHT fuel
tank. Both tanks needed a small amount of sealant removed from the flange where the
platenuts were riveted in place.
When I was removing the screws holding the LEFT fuel tank to the wing spar, two of
them were seized and could not be removed with a screw driver. I had to drill off
the heads of the two screws. After getting the tank out of the way, I drilled out
the rivets of one of the platenuts and replaced it. The other platenut was saved by
using a pair of pliers on the screw threads inside the wing where it was accessible
from
an inspection panel. I was finally able to extract the remains of the screw without
damaging the platenut.
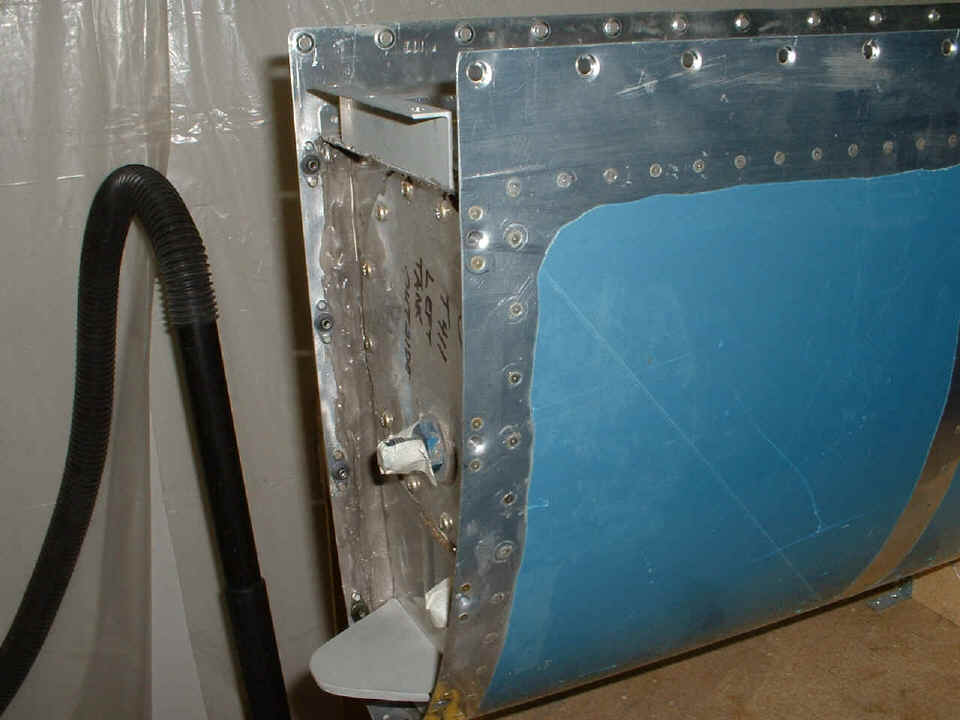
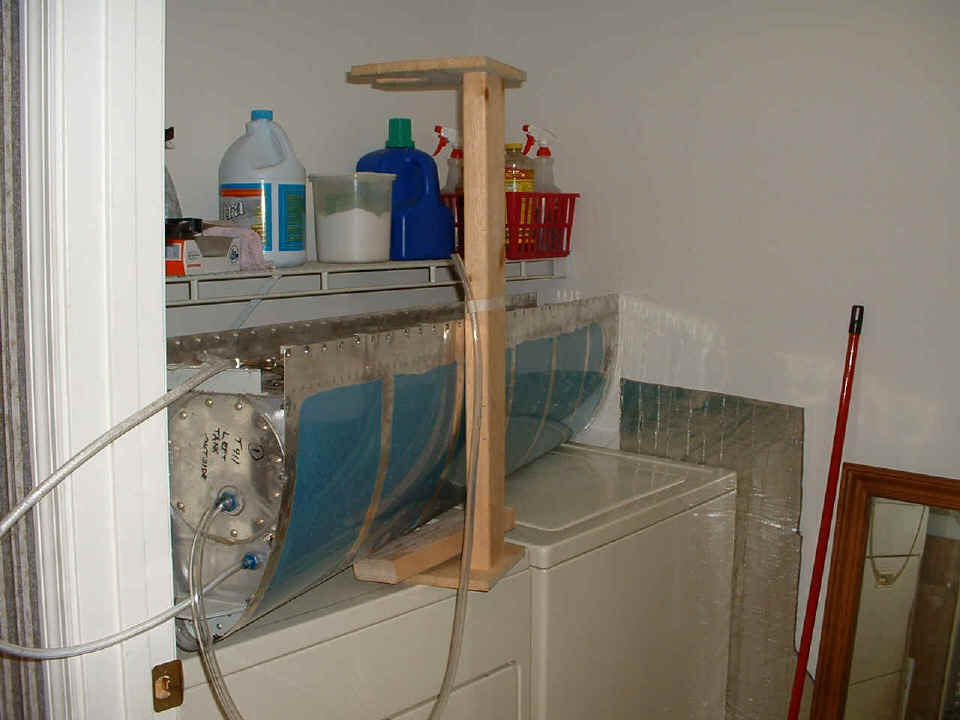
Here is the LEFT fuel tank undergoing a pressure test on the work table.
I reviewed my log book entry from the day I had last tested the tank in August 2003.
I feel there may still be a slow leak. I started this test in the garage around 6
PM. When I came out to check on it after 11 PM, I remembered that for this test to
be meaningful, I needed the tank in a controlled temperature environment. The
temperature had dropped 10 degrees and so did the pressure inside the tank.
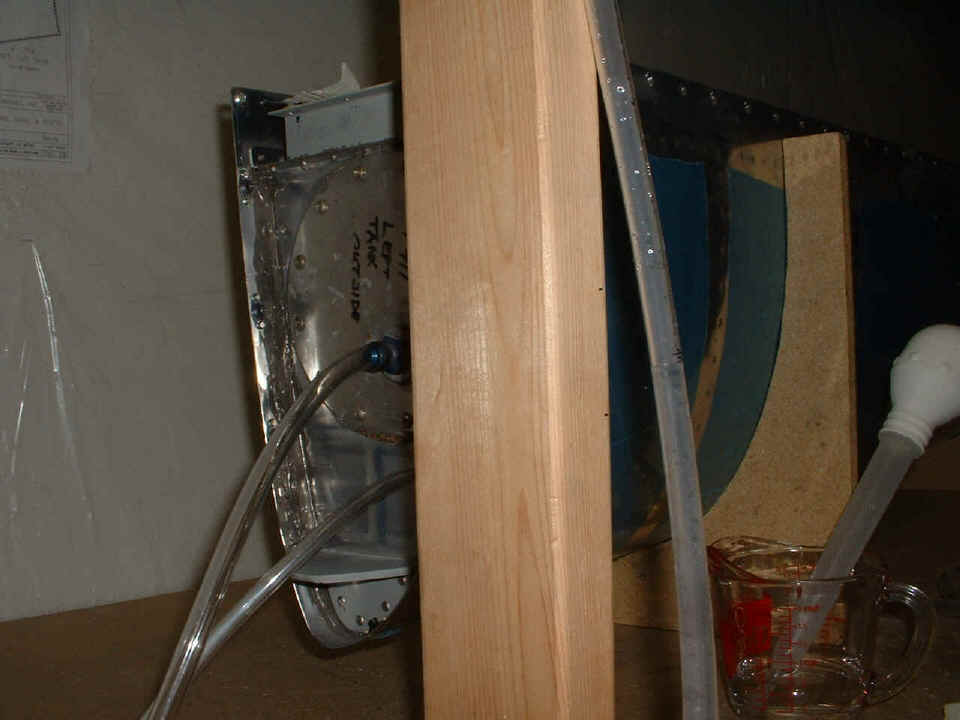
So, the tank came inside to my laundry room and a new calibration mark was put on
the tubing at 71 degrees F.
I shall see how it is doing in the morning. All totaled, it was a six-hour
work session today on the airplane. Both wings are back on the wing cart without
their fuel tanks installed.
I also called two names on the list of FAA designated airworthiness representatives (AB-DAR). I left a message for one and talked with the second one earlier this evening. I am considering calling a third one. I got some answers to some of my questions, and a possible date to get an airworthiness inspection. I have some documents to get ready before that date.
April 18, 2005: I called the other nearby DAR in Georgia and found the same costs reported from the first one who lives near Knoxville, TN. I have one more to call later in the week. I also got a call from Aaron Wedge of Nationair about my builder's insurance before I head to the airport, and the aircraft insurance when the RV-9A is ready to fly. I should know later in the week how the quotes are coming on that.
I checked the pressure on the fuel tank when I got up and found it slightly
lower. By noon, it was back to the "normal" level. I must conclude
that it is sealed, and I have a nice thermometer. I decided to be more cautious on
the blind rivets on the back of the tanks. I mixed up the remaining tank sealant I
have on hand, then put it on the blind rivets on the back of the tanks liberally.
After that, I placed the tanks in the wing cart beneath the wings. I will bolt them
onto the wings later, possibly at the airport. My shadow and the reflection of the
car on the wing panel confirms the movement of the cart out of the garage to the driveway,
making way for my next chores.
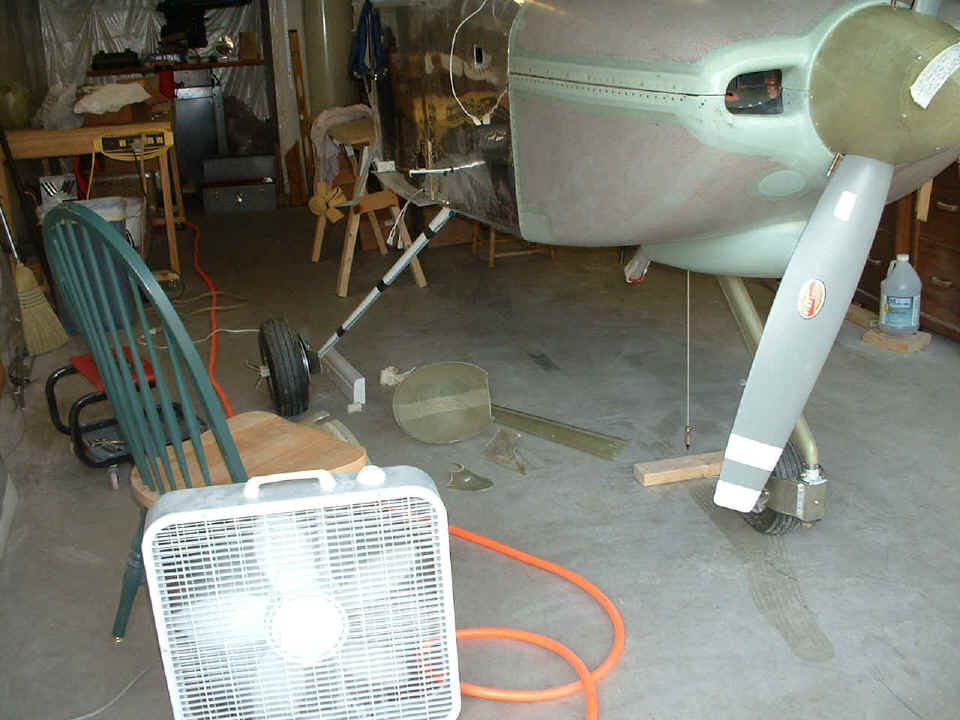
I put the tow bar on the airplane and moved it around a bit in the garage.
The nose gear wheel pressure was increased to 40 PSI to level the longerons at the
cabin for proper wheel fairing alignment. The plumb line is hanging from the center
bolt on the bottom of the firewall. I dropped a second one from the tail tie-down
eyebolt, then stretched a string under the aircraft centerline. The fan blows the
fiberglass dust out the door when I am trimming the wheel pants.
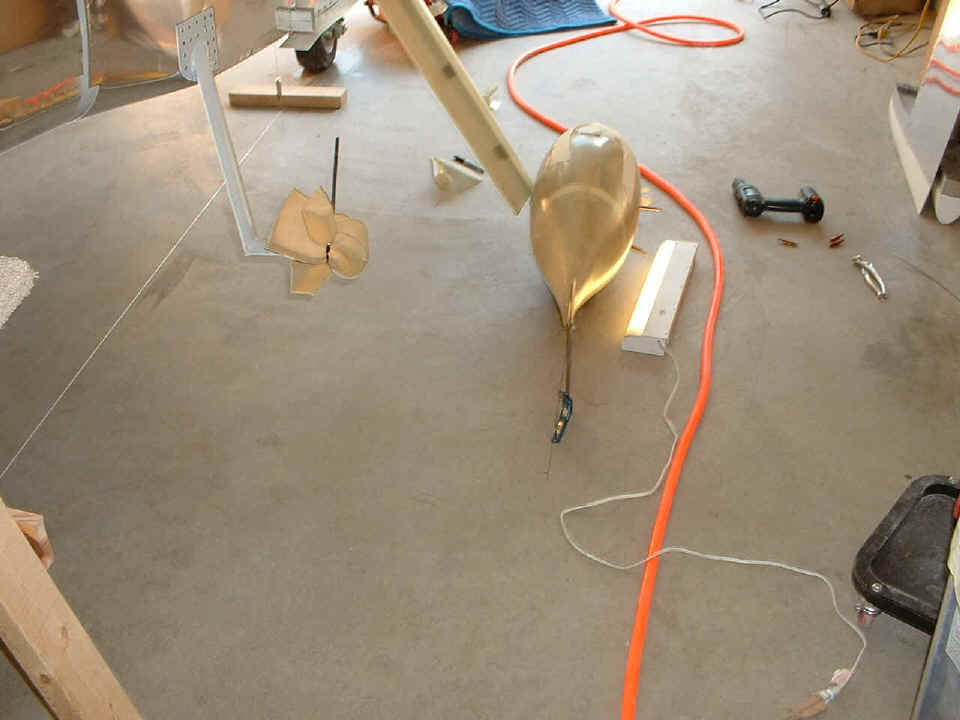
There are parallel lines drawn 41 inches from the centerline of the airplane
near both wheels.
| CLICK HERE for Finishing Page 115. | RETURN to MAIN MENU. |