FINISHING - Page 113.
April 15, 2005: We had another gorgeous day
with a cool wind out of the north. The high was about 76F today, but the breeze made
it feel almost like air conditioning. I drilled out the holes that were left open
when I riveted the RIGHT wing together. I put a #8 screw through the holes and
matched a platenut to the screw, then drilled the new rivet holes to secure the platenuts
on the rib at the wing root. The object here is to get the wing root fairing ready
to go on the wing. I want to do all the stuff that is going to generate metal
filings and fiberglass dust while I am still in the garage, not in the hangar with four
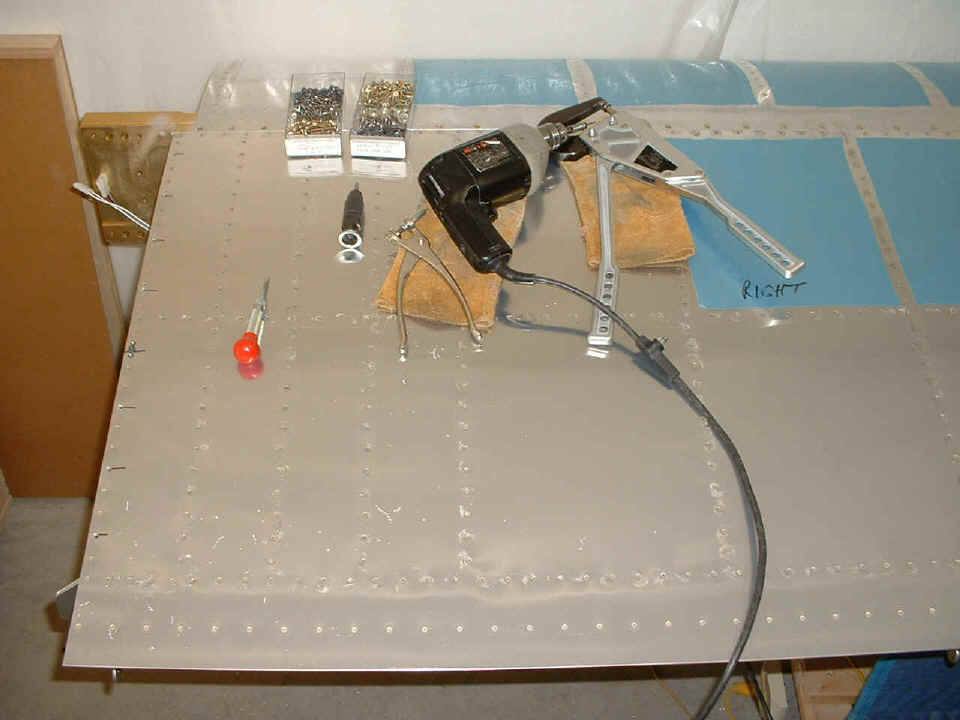
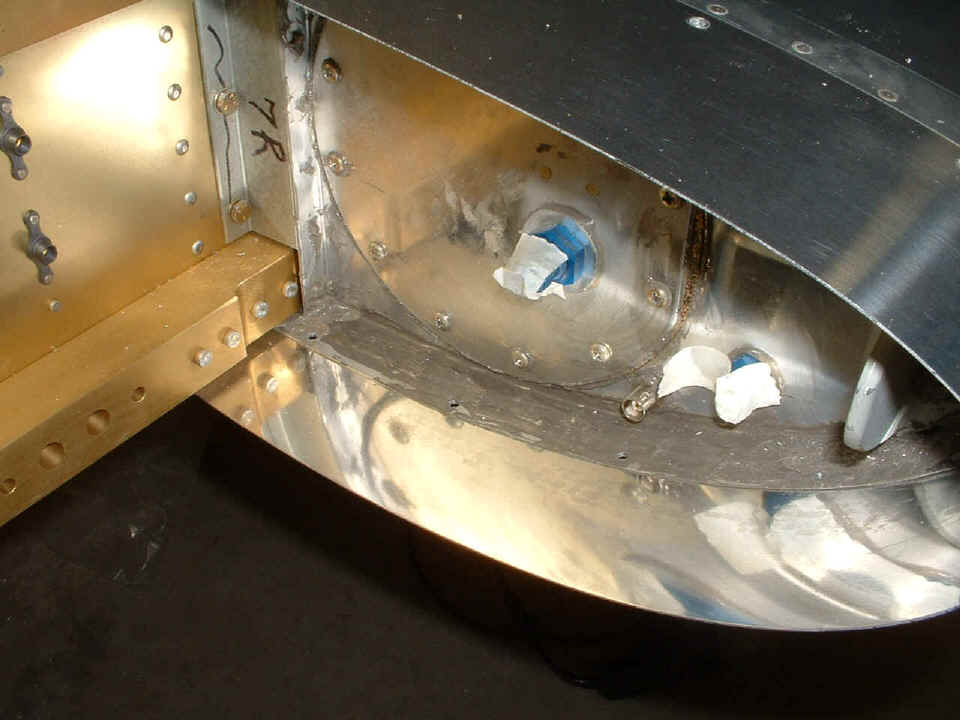
other airplanes. This is the top side of the wing in this first photo. The
Molex connectors for the landing light and wing tip marker light are visible on the left
side of the photo with the wing spar behind them.
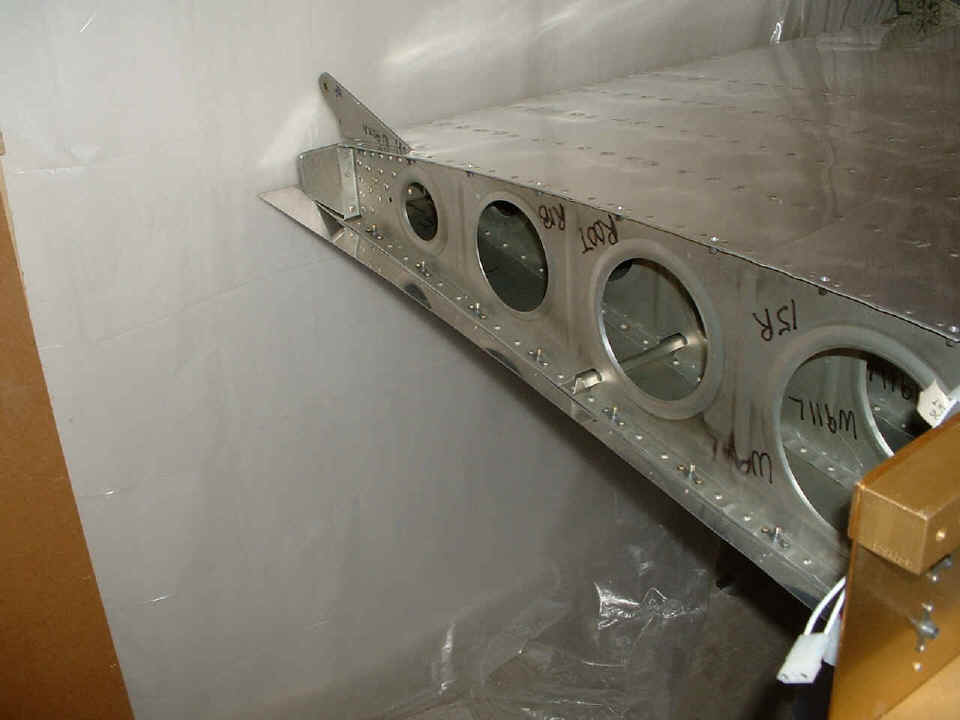
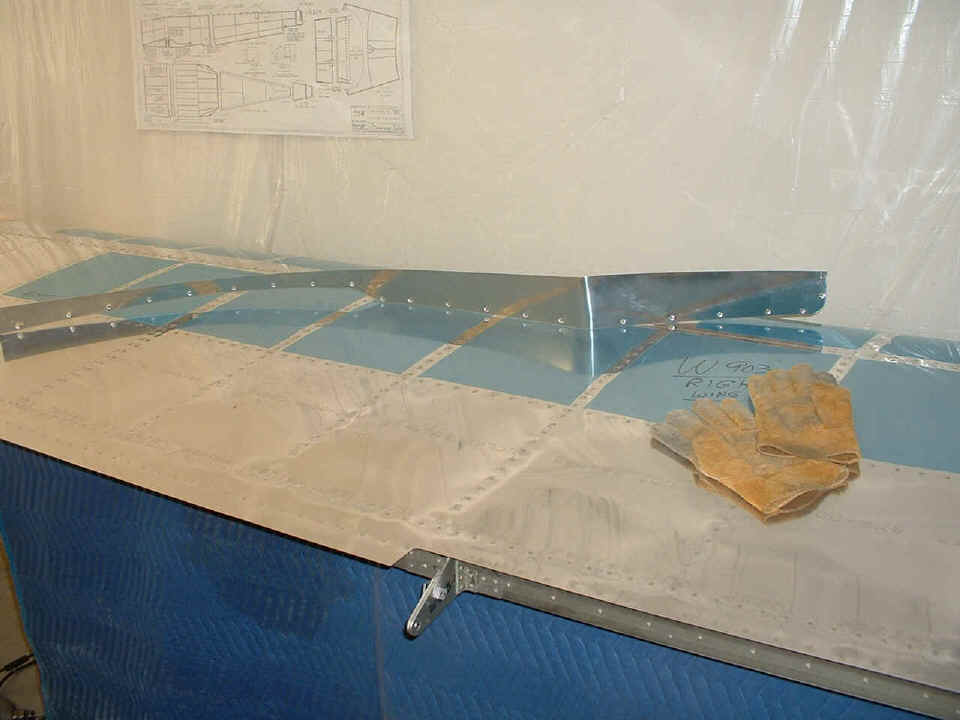
This photo has the wing flipped over with the trailing edge toward the wall.
I have already deburred the edge of the wing fairing, countersunk the skin,
doubler and rib as needed to align with the 1100-08 platenuts, dimpled the wing fairing
screw holes, and installed the #8 flat head screws to secure the wing fairing on the top
side of the wing. That shiny, tapering aluminum strip this side of the rib is what I
am talking about. I was very pleased to see all the pilot holes in that wing fairing
line up perfectly with the platenuts in the wing root.
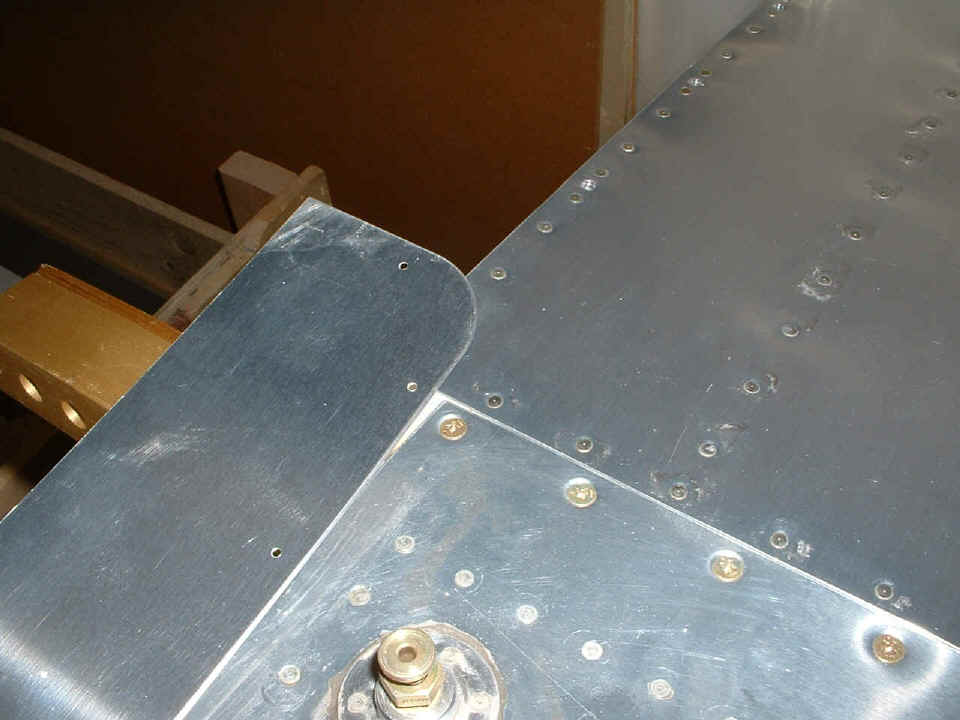
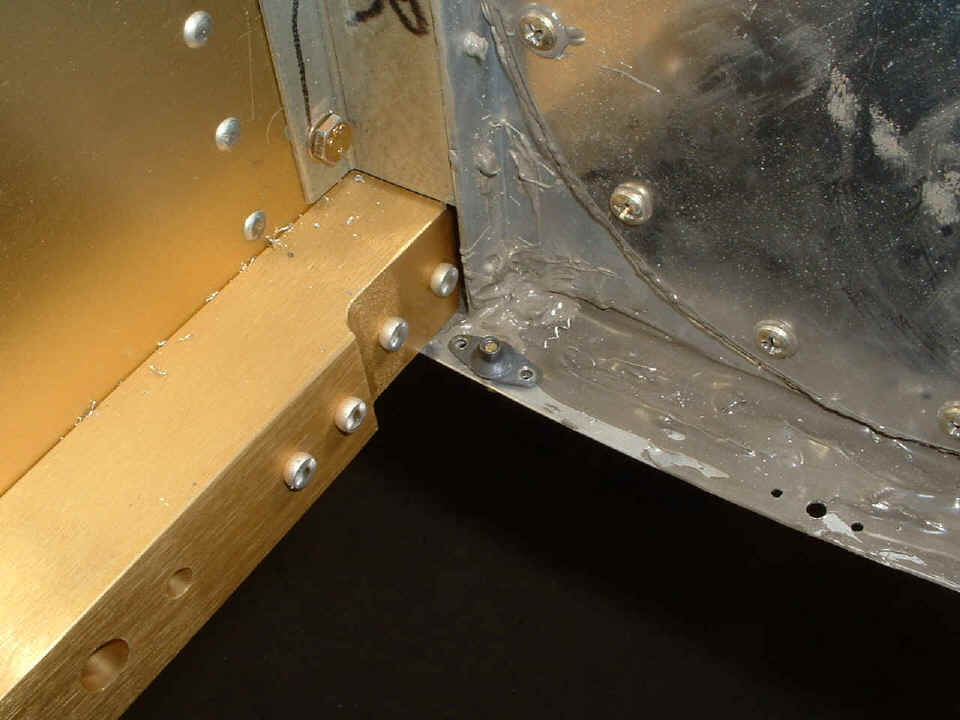
Here is the last picture of the day, showing the wing fairing wrapped around
the leading edge of the fuel tank to check the alignment with the screw on the bottom of
the spar. I held the fairing off to the side slightly to show the screw that will
eventually be going through that skin when I enlarge the pilot hole to accept the #8
screw, then dimple the fairing. That other pilot hole near the fuel drain plug is
one of many that go around the edge of the fuel tank. They point the way to drill
holes for more #8 platenuts to completely secure the wing root fairing in position.
Add 2.7 hours to the log book on this Friday, when errands and chores took some my time today.
April 16, 2005: I
drilled, deburred, and dimpled the first two holes near the end of the RIGHT wing fairing.
I then secured the fairing on the under side of the wing at the spar and the first
hole in the rib behind the spar. I then drilled all the other holes around the edge
of the fuel tank to accept the #8 screws.
Next came the realization that the excess tank sealant will need to be removed
where the platenuts are being installed. Van's manual talks about trimming away the
edge of the wing fairing to clear the side of the fuselage as needed. That will have
to wait until I get the wings bolted to the fuselage at the airport. Since putting
these platenuts on has to be done with the wings OFF the fuselage...well, you know why I
am doing this now.
The other thing I realized when I put the platenut in position near the wing
spar: I don't have room to rivet it in place. That means I get to take the
fuel tank off the wing.
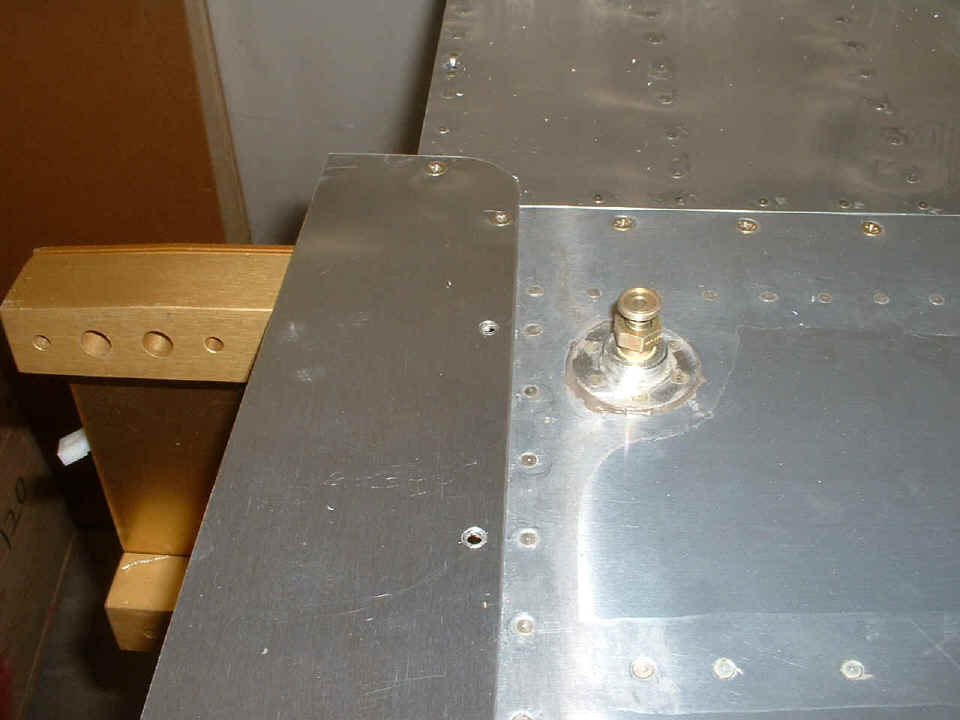
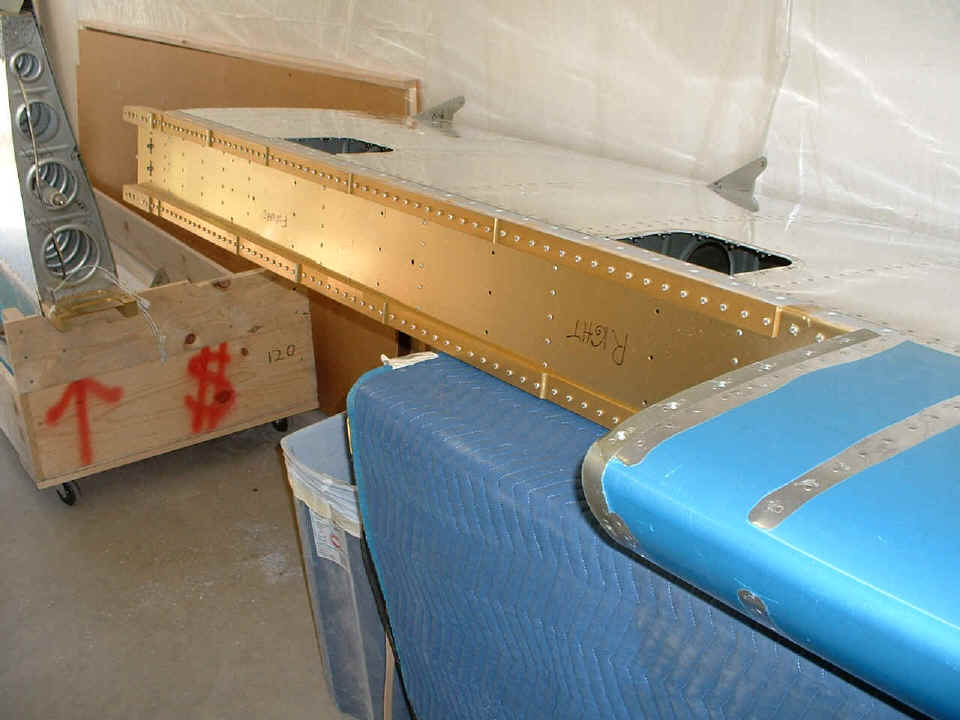
Here is the finished wing root fairing for the RIGHT wing, fully dimpled and
ready for priming on the inside. There is certainly no doubt where the chord line of
the wing is located on this thing.
Next task, remove the fuel tank, then put the right wing back on the cart to
make way for the LEFT wing on the work table.
| CLICK HERE for Finishing Page 114. | RETURN to MAIN MENU. |