FINISHING - Page 101.
March 8, 2005: This was a day for catch up
chores and a visiting pilot wanting to learn about Van's RV-9A. The visitor was
Wendell Folks, a pilot who lives near the Chickamauga National Battlefield Park across the
state line in Georgia. Wendell has a 2500-foot grass strip behind his house, a
Cessna 182, and an Aeronca-7AC Champ that was featured on the cover of the EAA September
1996 issue of Sport Aviation. He was at the Collegedale Airport the other day
talking with Rich Nadig, who gave him my number and web site URL. It was a good way
to spend the afternoon cleaning up the garage for the visit, and reviewing all that I have
done over the past 28 months. Wendell is ready to begin the project and asked if I
would mentor him as he gets started. What can I say? Pay it forward applies
here. Plus he asked me to go flying with him soon. This is how friendships
begin - with common interests.
While Wendell was here, I asked him to help me twist the prop again to verify
the clearance of the blades from the spinner cone and the filler plates. I
discovered the filler plates need a little more trimming on the Scotchbrite wheel.
That will come tomorrow afternoon in my next session.
And if that was not enough, I went by the Collegedale Airport and spoke to the
airport manager about hangar space. He indicated there will be space for me there in
a larger hangar as one of several airplanes in there. Things are looking up! I
will be back tomorrow with some pix of the next tasks accomplished on the airplane.
March 9, 2005: Wednesday!
I worked on some commercial web site files this morning and after lunch the focus turned
to the airplane project when the temperature in the garage reached the high-60's. I
had a short visit from local RV-8 builder Larry Champion before he headed back to his
office. He wanted to see the project personally, not just on the web. He
helped me twist the prop after I trimmed the filler plates using the Scotchbrite wheel on
the bench grinder. Both the plates needed one more dimensional tweak at one place
near the aft spinner bulkhead. After he left, my focus turned to the fiberglass gear
leg fairings.
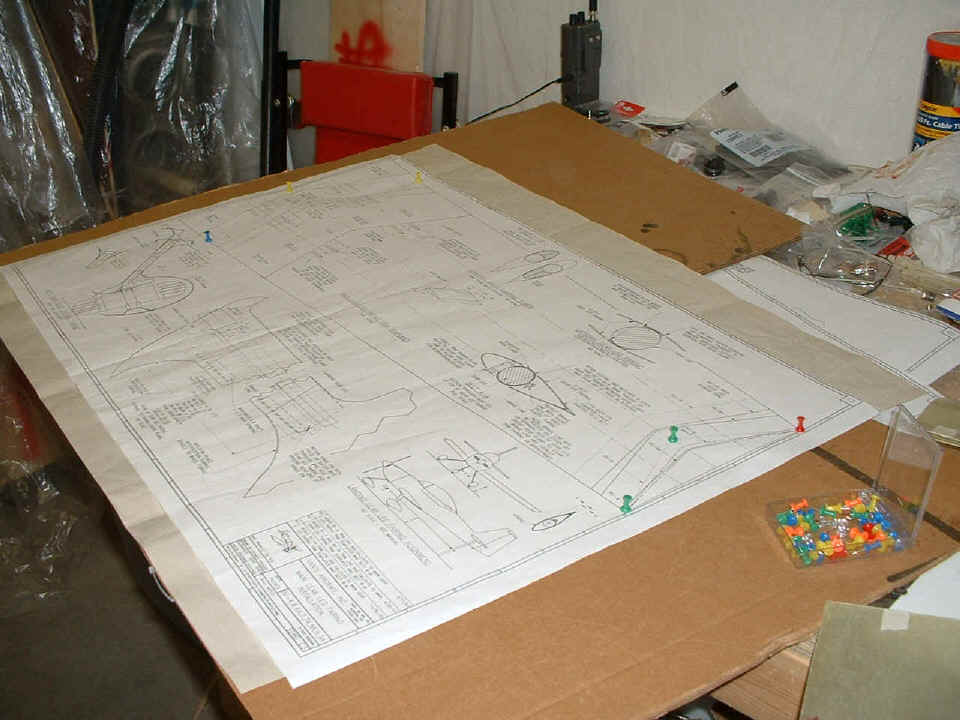
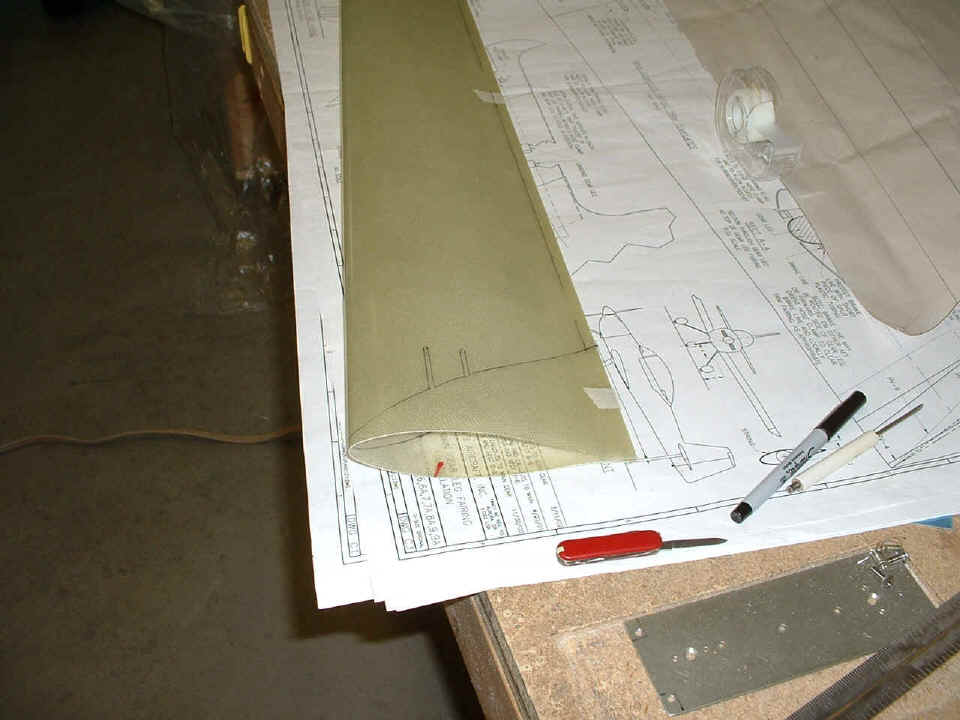
The first step was to create a template from the large drawing C2. I put a
large plain piece of paper behind the print on a piece of corrugated card board and used
push-pins at the key points on the drawing that also went through the plain paper
underneath. Both the cardboard and the paper were received as packing material with
the airplane kit. Think about how you can use that stuff before you give it to the
garbage man. Right now, I can see ONE more aluminum priming session coming to a
driveway near me using that paper to catch the over spray.
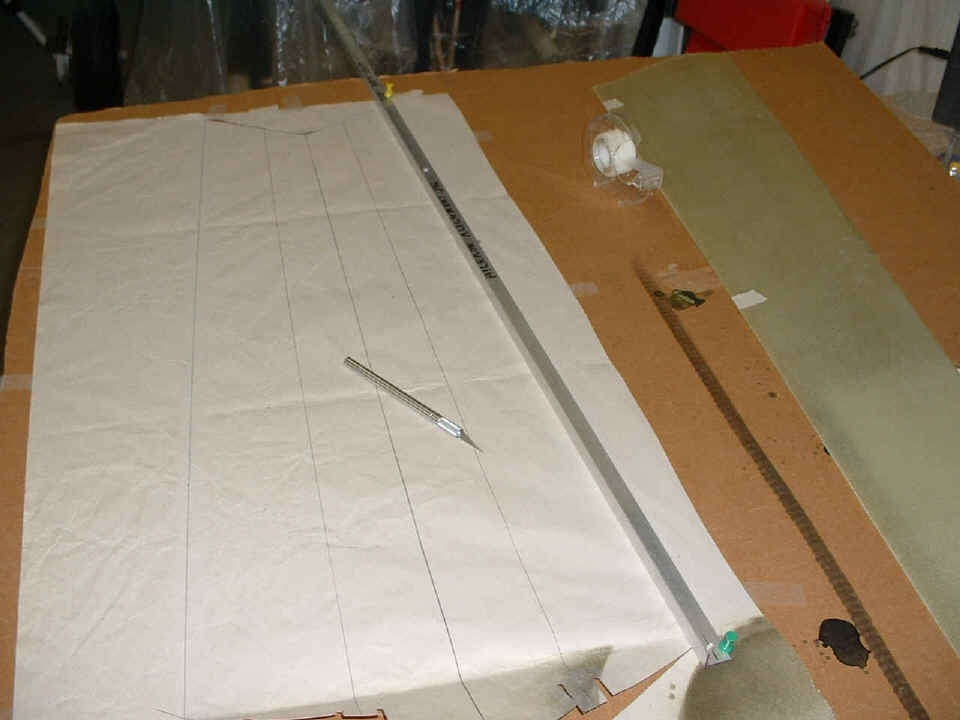
Next is connect the pin holes with a ball point pen and a straight edge to
finish the template. It will be used to cut the fiberglass gear leg fairings to the
correct size.
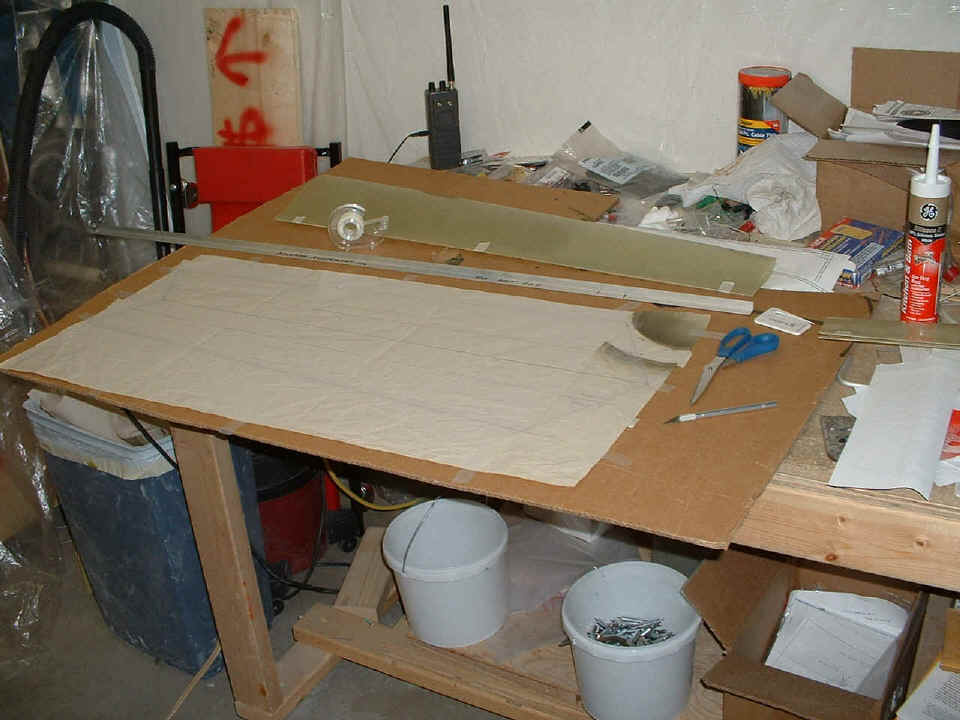
Since the paper used was light weight, I reinforced all the borders with clear
Scotch tape before cutting out the template. The push pins also helped to keep the
straight edge in the correct position when cutting the paper template with an Exacto
knife. With the clear tape on all the cut lines, there was no tearing of the paper
as the blade tracked its outlines.
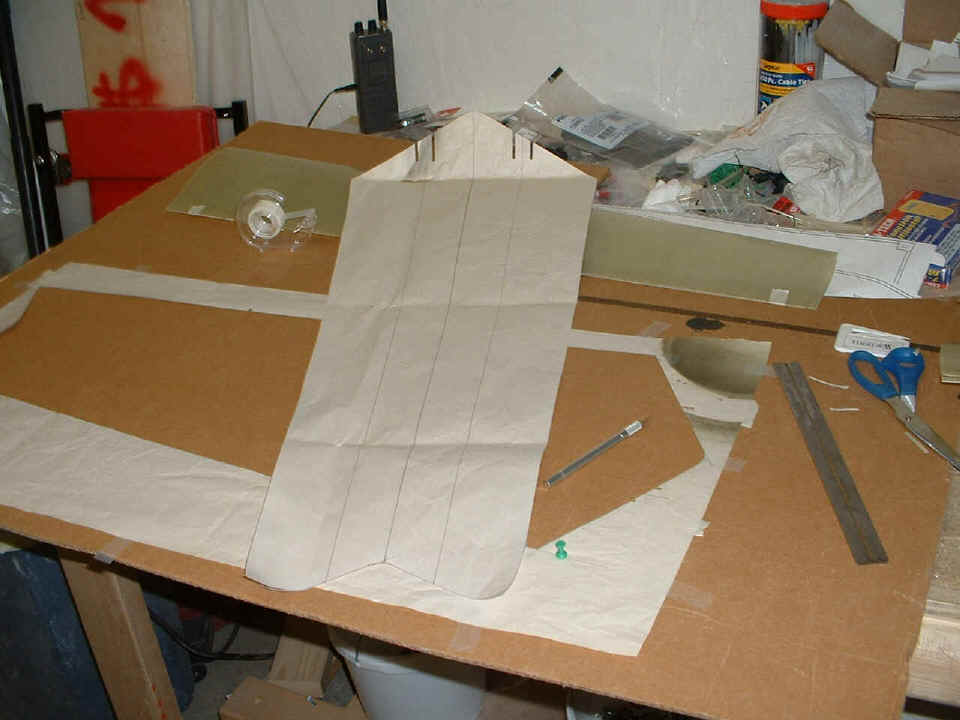
Here is the template, ready for use on the main gear leg fiberglass fairings
from the kit. The centerline is used as a guide to where the template gets taped
onto the fiberglass.
Masking tape was added to the fiberglass fairing before the template was put
on. That insures proper alignment (no twist of the fiberglass) before tracing the
trim lines from the template. The notches will have a hose clamp to secure the
fairing to the steel gear leg at the fuselage end.
The tin snips came next to cut "way outside the lines" since the
snips fracture the glass fibers and the epoxy resin.

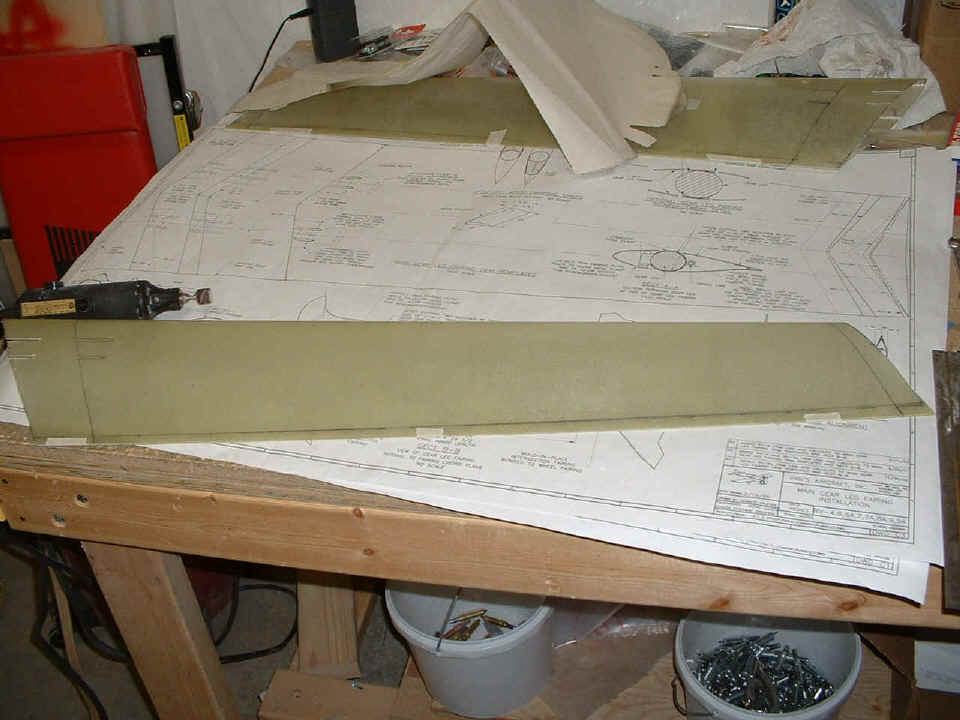
The Dremel sanding drum makes short work of the excess fiberglass. I
tried the fairings on the main landing gear legs for size and realized I made RV-9
fairings, instead of RV-9A gear leg fairings. Since the main landing gear legs are
shorter on the RV-9A, the fairings had to be shorter. I considered the first try a
good practice and quickly cut the template down to the correct size and repeated the
process.
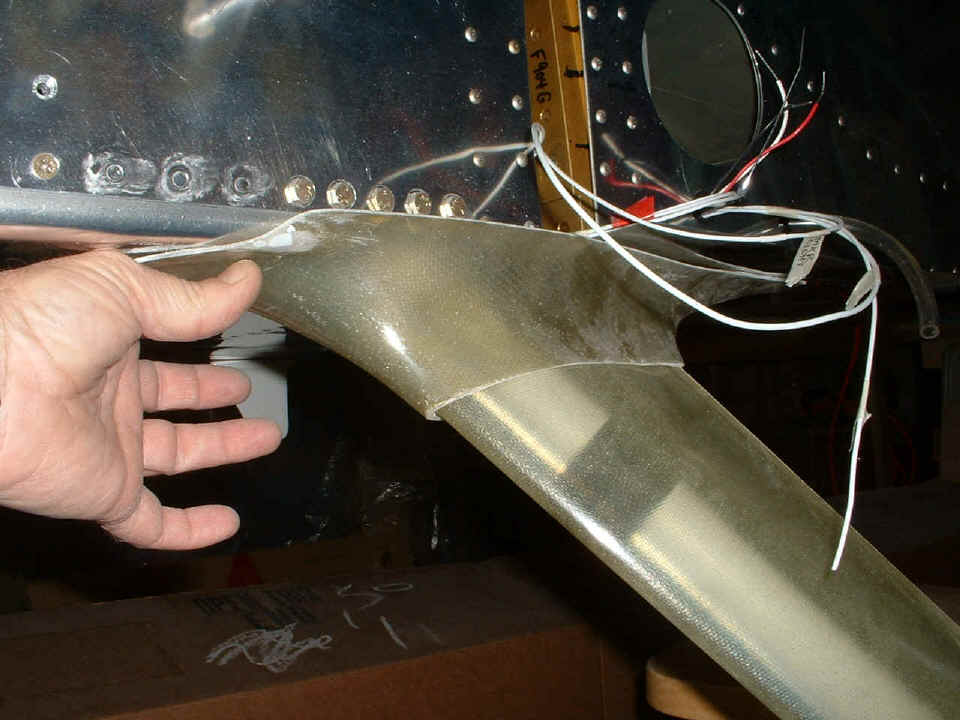
Here is the first fairing on the gear leg to discover just how much I needed to
reshape the brake line for clearance.

The second fairing went on the LEFT gear leg and I got out the
intersection fairings from Fairings-Etc.
to try one on for size. I won't be able to attach the upper gear leg intersection
fairings until the wings are attached. This quick fit confirmed that I do not need
to trim the aft edge of the gear leg fairings, just the lower end to clear the wheel
pants. Yes, I got out the wheel pants and took a look at them, but since they need
some trimming before they will clear the tires, I figured that was a good place to stop
for the night. More tomorrow!
Nine pictures today, all about gear leg fairings, etc. Although I did a
few minutes work getting the final trim on the prop filler plates, I did not think we
needed another picture similar to the one on page 100 under the March 7th heading.
And yes, I keep putting off the fiberglass work on the windshield hoping for better
temperatures needed to open the garage door for ventilation. Let's see what happens
tomorrow on page 102.