FINISHING - Page 100.
March 6, 2005: I made another trip to ACE
Hardware to get the screws and Nylok nuts to mount the compass on the "dash
panel" inside the windshield. I also drilled a 1/4" hole beneath the
compass base, inserted a rubber grommet, and threaded the compass light wires through the
top skin behind the instrument panel for connection to the light dimmer circuit. The
windshield was put in place for the final time. All the windshield screws are in the
roll bar, and the seven clips that hold the bottom edges to the F7106 skin are secured
with pop rivets.
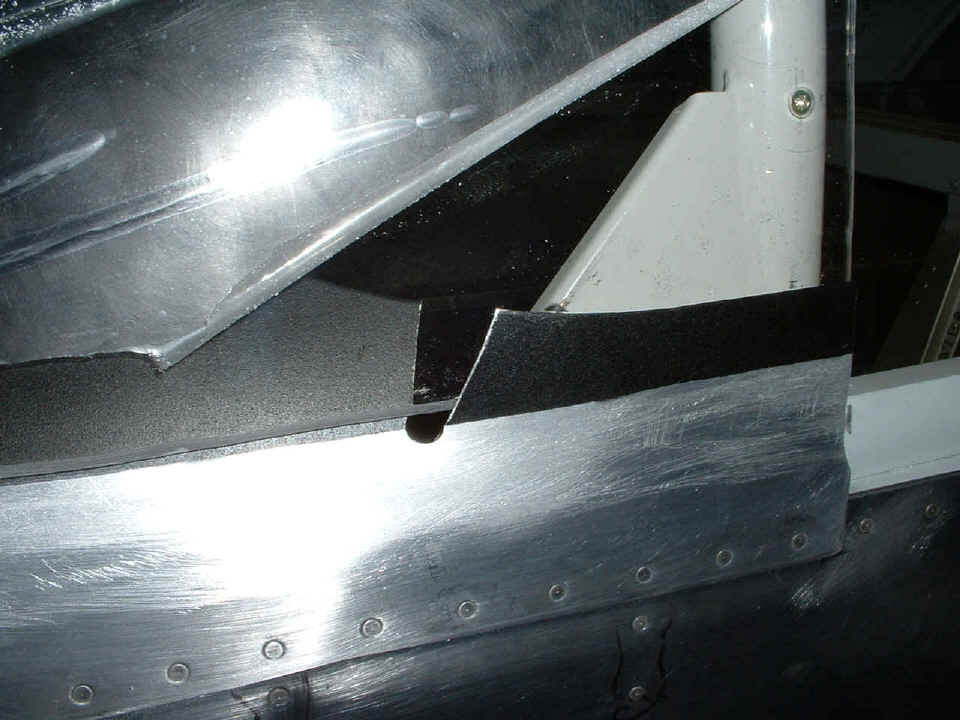
When I was talking with a technical adviser at Van's a few days ago, he
mentioned a slot cut in the F7106 to let the plexiglass come inside the rear aprons of the
F7106 adjacent to the roll bar. Nowhere in the prints does it show this, but it is
mentioned in the text, but not shown in the black and white photos in the manual.
Here is what I presumed they have done with the F7106 and the windshield in that
area. I used my small unibit to put in a hole, then tin snips and a deburring tool
along the edges of the slots on both sides of the forward top skin. I have to scrape
off the black paint on the outside section of the F7106 before doing the fiberglass
lay-ups.
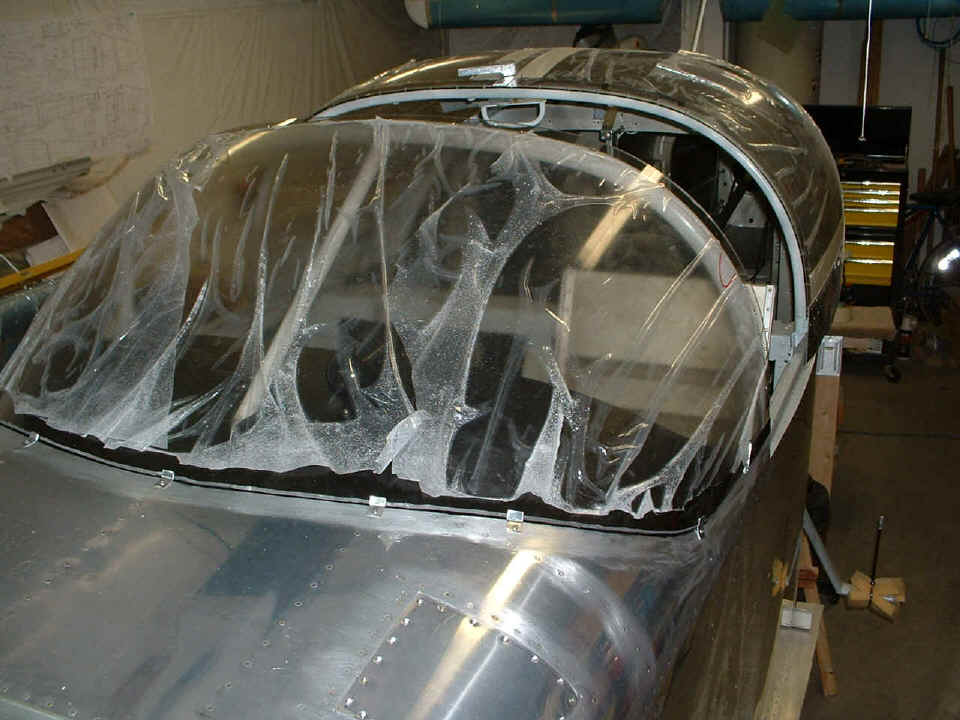
The last picture of the day comes from the evening session after I came back
with fresh vinyl electrical tape to protect the "visible" portion of the
plexiglass when I am sanding the portion of the windshield that will be buried under
layers of fiberglass and epoxy resin and bonded to the F7106 forward top skin. I
went all around the boundaries of the windshield measuring the edge location of the layers
of tape that will define the edge of the fiberglass layers when that is completed.
Last job of the day was to use my 1-inch wide Xacto sanding block to rough-up the edges
of the windshield that will be bonded to the fiberglass and epoxy layers. The bottom
layer of tape is 2-inch wide masking tape for easy removal when the fiberglass work is
completed. The black vinyl electrical tape is on the top to resist the sanding of
the plexi now, and the epoxy and glass layers in prep work for painting the fiberglass for
ultraviolet ray protection of the fiber glass.
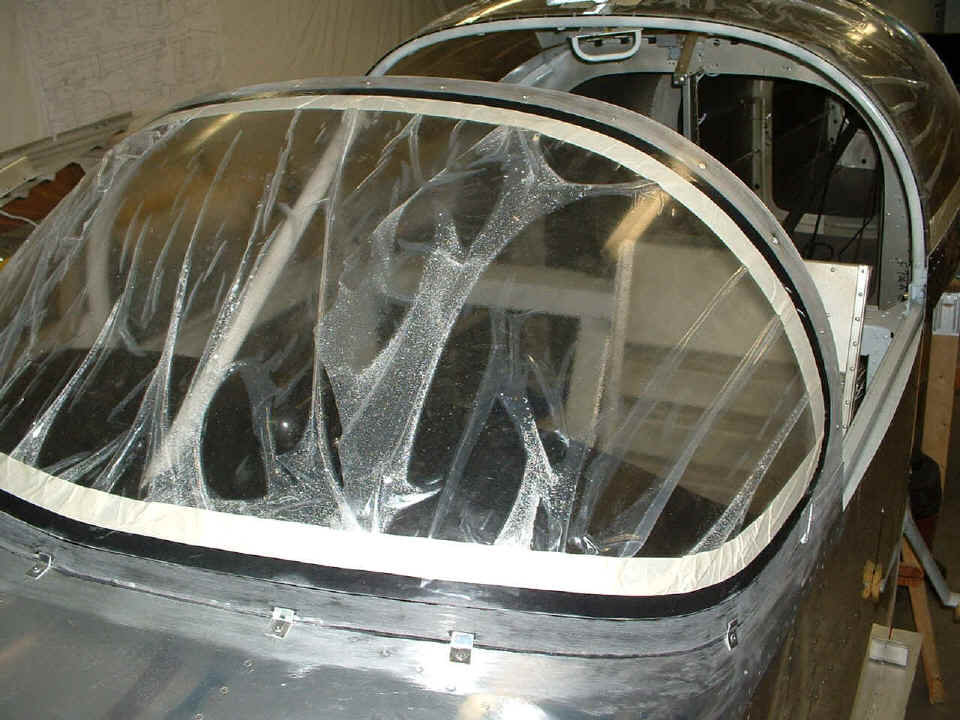
The windshield is now ready for fiberglass laminations to be added in the next
work session. And one more item of note today: The
construction time now totals 1702.7 hours.
March 7, 2005: Today was
about finishing up two metal parts needed on the spinner and some other preparations for
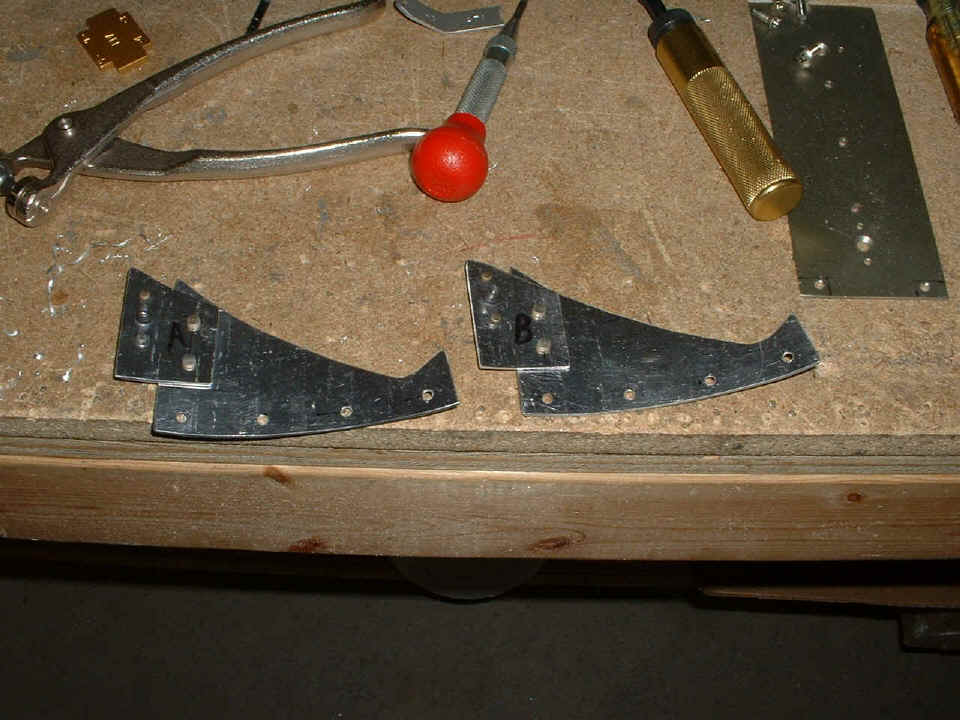
the fiberglass session. More about that later. This is the first filler plate
that goes behind the Hartzell variable pitch propeller blade. I neglected to mention
the visit I had late on Sunday afternoon from Maurice Garner, a local pilot and
RV-want to
be builder. Maurice wanted to catch up on the status of my airplane and stopped by
before heading to the airport to get in an early evening flight. I used Maurice to
my advantage and had him help me twist the propeller blades to full pitch for verification
of blade clearance with the fiberglass spinner cone and spinner back plate.

Here is how the first one looks with the doubler and platenut that is used to
brace the long open cutout side of the spinner cone. I had to bend both plates
gently in my bench vise to match the curved shape of the spinner back plate.
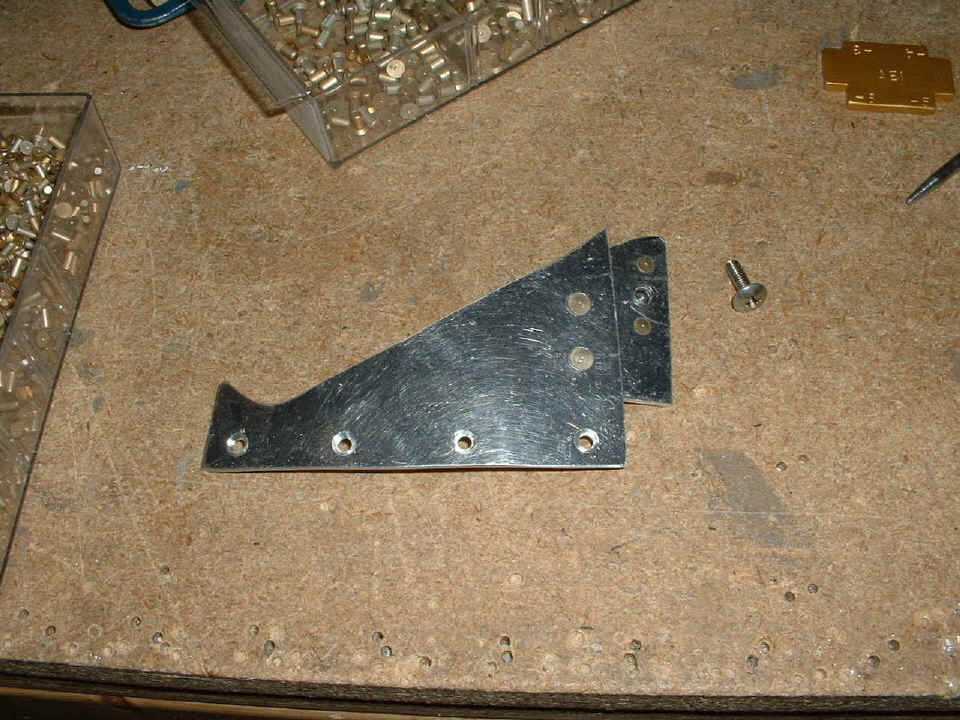
After building the first one, the job was to do it all again for the other
propeller blade. This piece of 0.063" aluminum plate is cut from scrap from the
original instrument panel supplied by Van's. You can see the outline I drew with my
black Sharpie pen for the next filler plate. The ragged band saw cut is plainly
visible from fabricating the first filler plate.

Here is the new filler plate assembly beside the first one. Each one is
marked to fit behind only one of the two propeller blades since the mounting holes to the
back plate are match-drilled. Both of them will be riveted to the spinner back plate
eventually. I will twist the prop one more time while these plates are clecoed in
place to double-check the blade clearance before riveting them in place.
I was thinking of winding down for the day, when I called Ken Scott at Van's
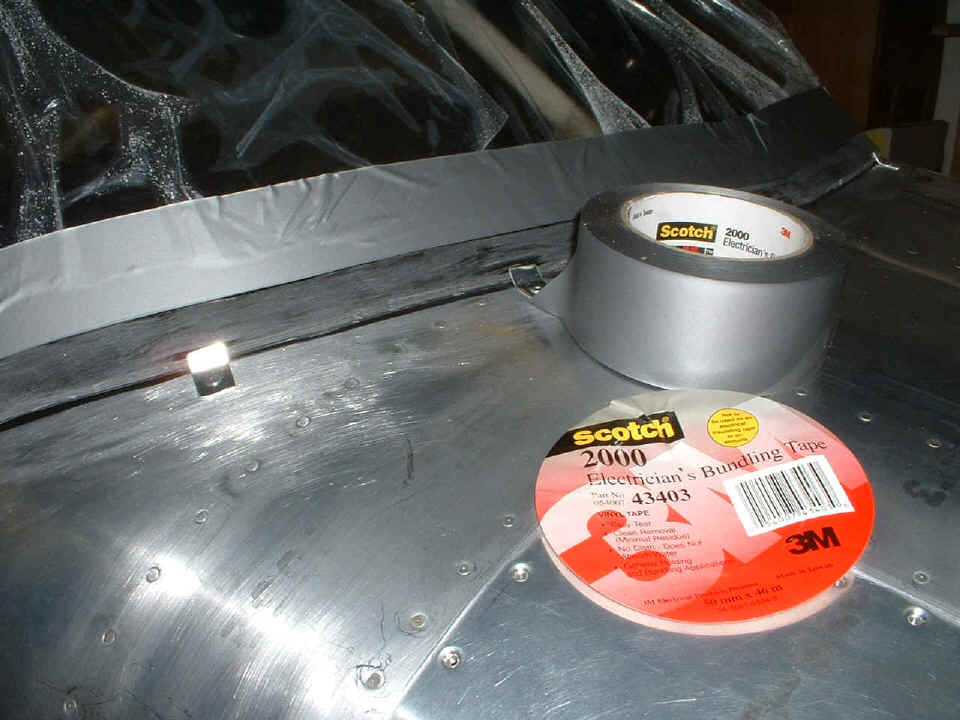
technical help line for one more bit of advice. When I described to him the tape
layering I had done further up this page, he advised me that the masking tape could
"wick the epoxy resin" up under the tape onto the visible area of the
windshield. He described the vinyl electrical tape you see in the photo below, which
I found at Home Depot, just as he said. There are now three layers of this tape
directly on the plexiglass and the other two layers are in the trash. I also started
building a sanding block with the correct shape to work on the glass layers that will go
in front of the windshield.
Today had two work sessions. I put in 3.2 hours working on the propeller parts and some other cleanup work, then after the call to Van's late this afternoon, I put in another 1.5 hours this evening putting on the new tape around the windshield and repairing two pop-rivets on the canopy. Those two rivets were not properly seated and were up out of the countersinked holes in the plexiglass canopy. I found them when I put on the very slick packaging tape Ken recommended for easy release from the fiberglass overlap layers along the back of the windshield and the roll bar. I also picked up a full cartridge of white RTV Silicone to caulk the area on the aft side of the roll bar where the spacer washers are under the aft edge of the windshield.
| CLICK HERE for Finishing - Page 101. | RETURN to MAIN MENU. |