FINISHING - Page 94.
February 19, 2005: Saturday is usually a
good day to catch up on something new in the project. This was the day to do some
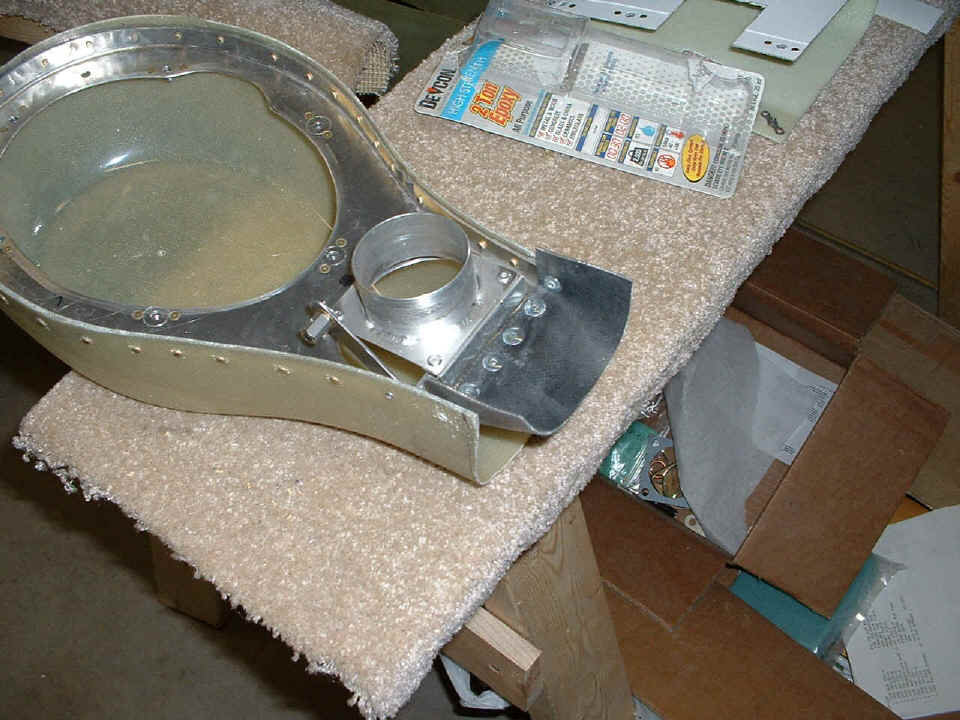
fiberglass work on the lower cowl air intake to the filtered air box (FAB). I used
more silicone tape and finished the clean up of the spark plug wires on the LEFT side of
the engine, then put the upper and lower cowl sections in place. I verified the
space between the cowl air inlet and the front of the FAB. The fiber glass work
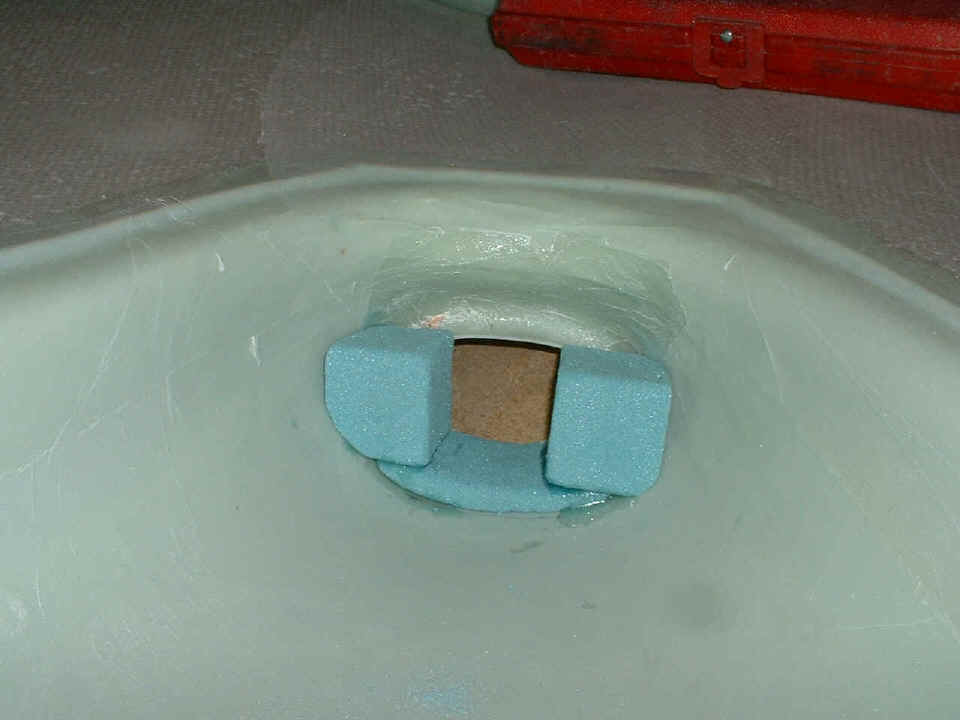
starts by putting in some soft foam blocks and shaping them to transition from the cowl
opening to the size of the opening of the FAB. Here are the first foam blocks going
in with some epoxy.
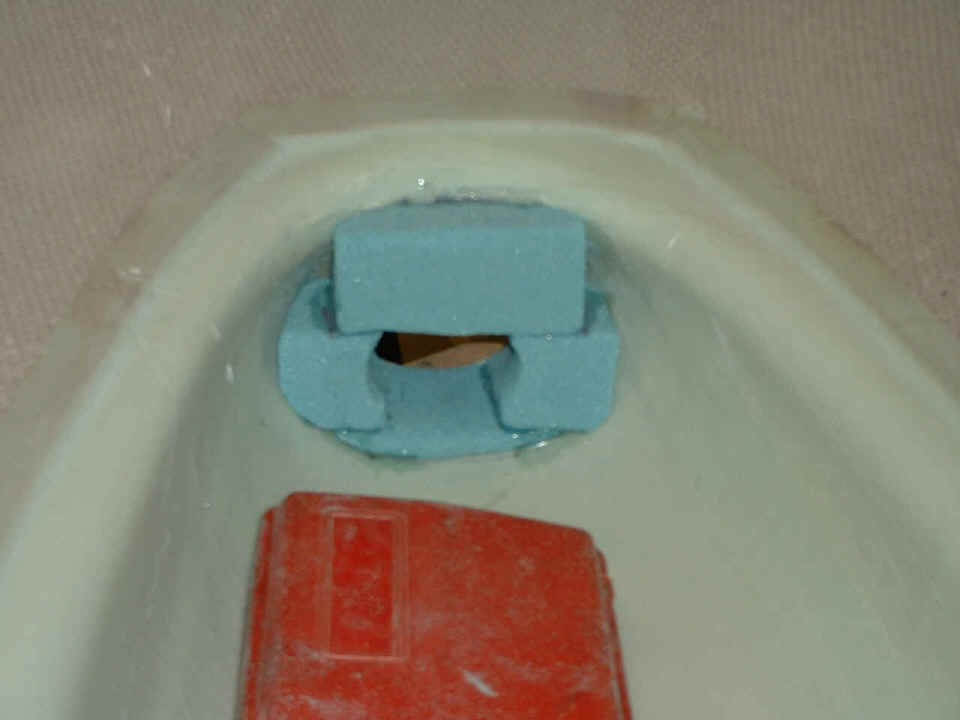
This photo has the last block in place and some preliminary shaping I did on
the first three blocks. The socket set case is providing some ballast to keep the
cowl balanced properly on the work table while the epoxy dries.
After dinner, the front side of the cowl was fitted with a couple of layers of
glass cloth and epoxy resin. I had to go to Walgreen's to get balloons to be sure the
layers of cloth and resin would be shaped to the inside of the foam blocks. I bought
a "pizza cutter" knife to cut the glass cloth when I ordered all the fiber glass
supplies from Spruce. It worked really well on one of the boards from the shipping
crates.
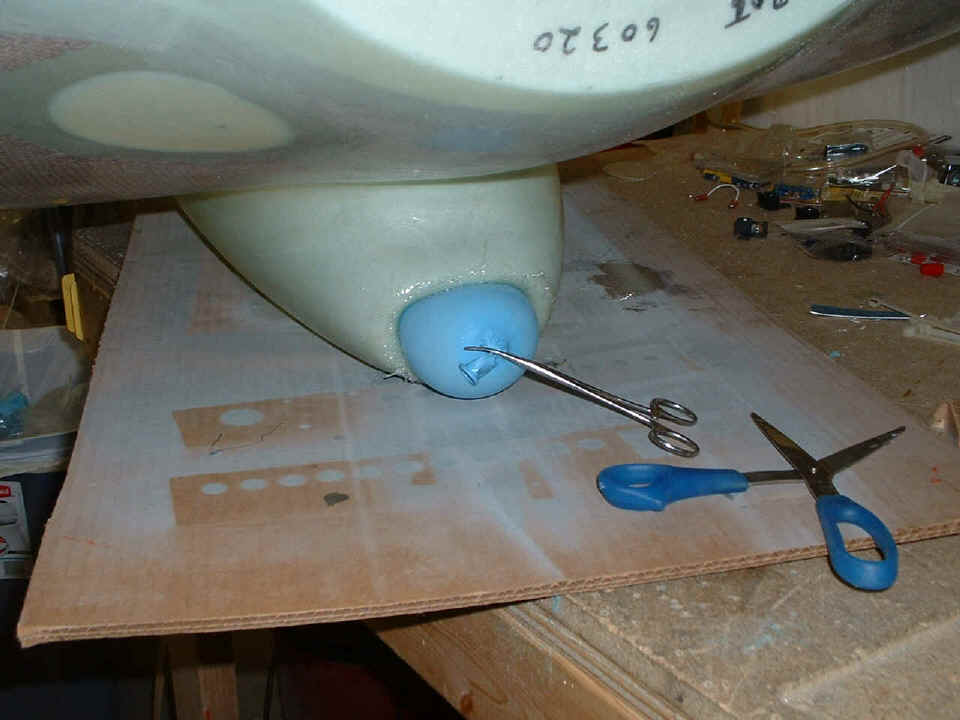
The balloon also extends to the inside of the cowl air inlet. The excess
cloth will be cut off when it cures properly. That will be tomorrow night if all
goes as planned. The instructions also talked about one more layer of cloth and
resin after the balloon is removed and the first glass layers are trimmed to the proper
length. I will have some sanding to do on the outside around the opening to smooth
up the transition from the existing cowl opening to the layers that form the inlet
"throat".
I may have been a bit premature on this step, but it is done already. I
put the upper layer of air seal fabric on the front of the FAB. The layer that
surrounds the fiberglass box will be put on later when I have finished my fiberglass work
on the cowl.
I will be going out for lunch and a movie with my youngest son tomorrow afternoon
and should get in an evening session tomorrow night.
February 20, 2005: Two
short sessions today with lunch and a movie with my son in between those sessions. I
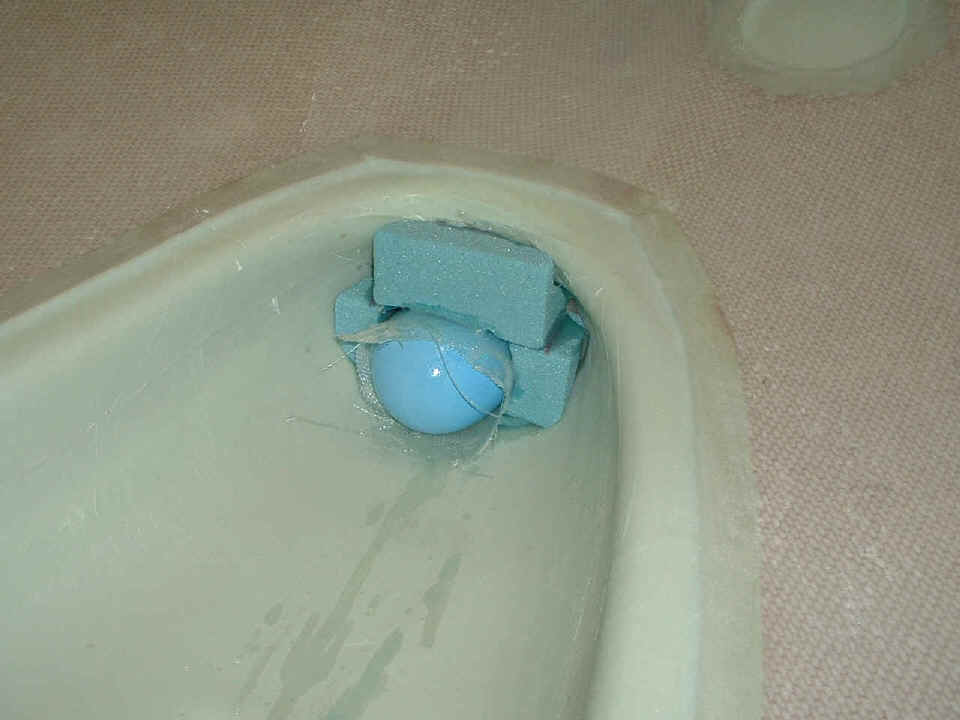
pulled that balloon out in the morning session and cut part of the fiberglass away to get
it near the proper length to fit the front of the filtered air box. When I got home
tonight, I finished up the removal of the blue foam around the new layers of fiber glass
and resin, but it still needs a bit more trimming to be the way it needs to be.
I used a razor cutter to remove excess fiber glass and resin on the front of the
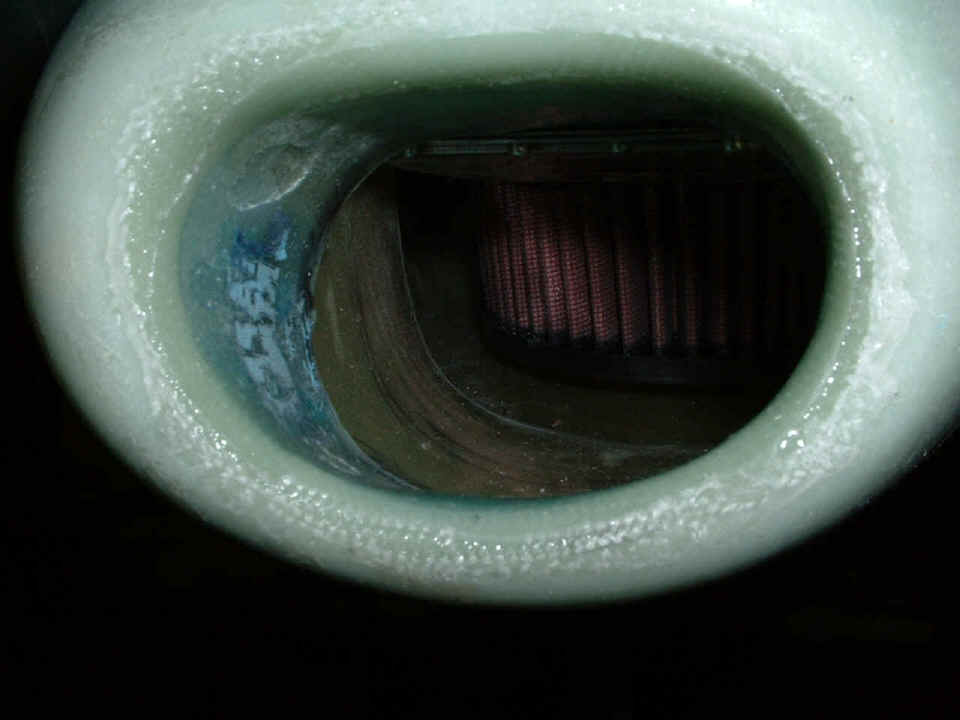
cowl inlet, and the Dremel sanding drum to remove the excess on the inside to get the
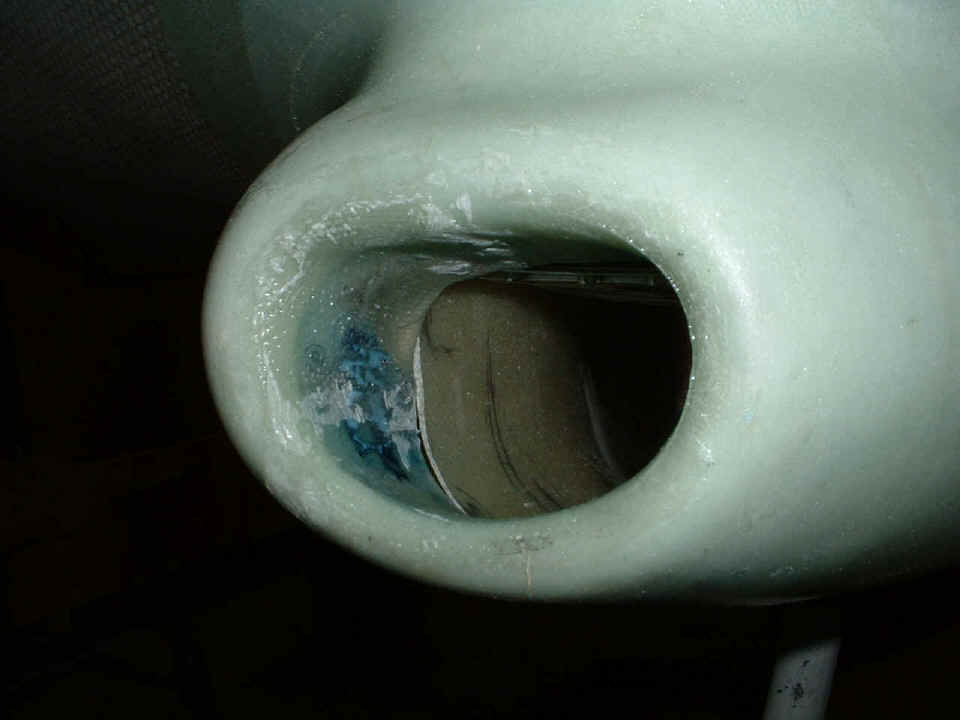
length of the opening near to the correct dimensions. You can see part of the blue
balloon still sticking to the inside. Van's instructions also talked about the need
to put another layer of glass in there to get the final finish now that the basic shape is
established. The balloon stuck to the resin more where the "Happy
Birthday" writing was printed on it. Oh, well! Some fine sand paper
should get rid of it before I put the next layer of glass and resin in there.
These pictures were taken with both halves of the cowl properly secured to the
fuselage. Putting the top half of the cowl in place raises the bottom half to the
alignment you see in the photos above. I had to open the carb heat door to get good
pictures. The flash reflected so much with it closed that the pictures were washed
out!
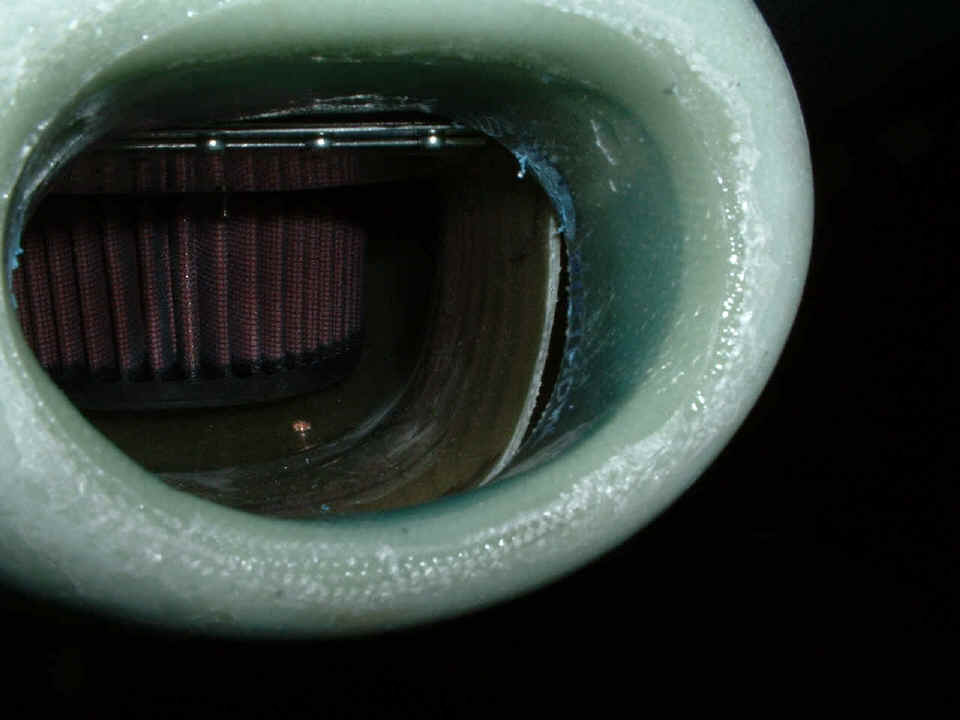
February 21, 2005: The Dremel sanding drum
cleaned out the inlet areas that needed to be reworked and I put in new glass layers and
resin as you can see in the photo below. As seen from this angle, the upper right
quadrant of the opening has been shaped to more closely match the inlet to the filtered
air box. In the process, I put in some glass layers to overlay what was already
there to further bond the inlet to the inside of the cowl.
position.
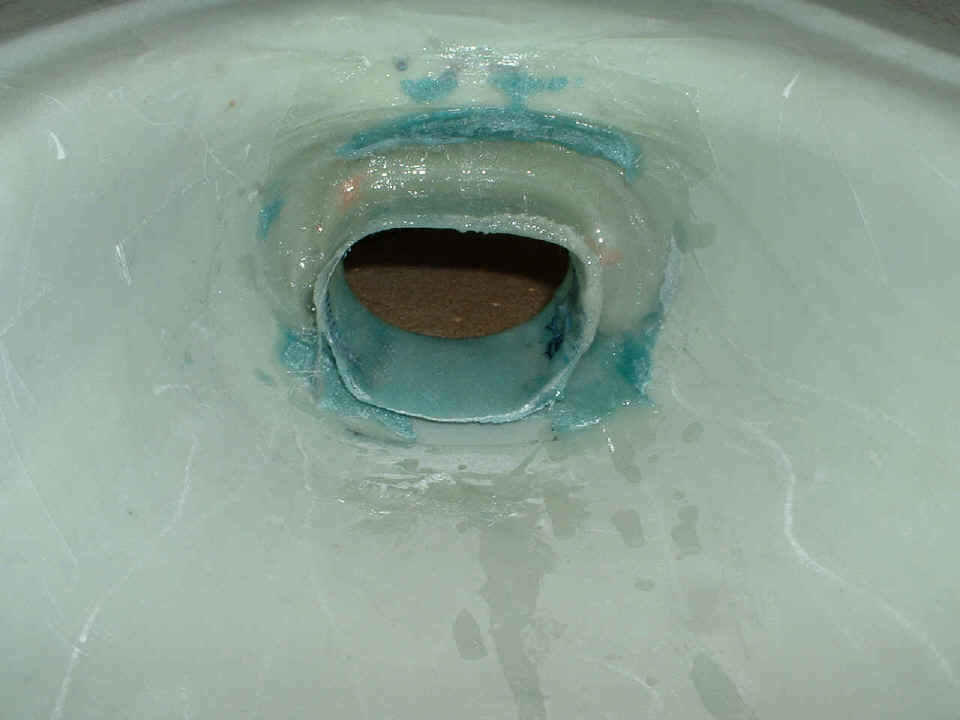
Here is the view of the FAB from the outside of the cowl after putting the
lower half on the fuselage again. I still have some sanding and smoothing to do, and
may have to put on a layer of just resin to get the finish I want. Compare this
photo to the one that is at the February 20 date line.
I still need to put on some air seal fabric around the opening at the front of the
fiber glass box before this work is completed.
| CLICK HERE for finishing page 95. | RETURN to MAIN MENU. |