FIREWALL FORWARD - Page 70.
November 27, 2004: I went to see David Edgemon on this rainy Saturday. The temperature was in the mid-40's F and I wanted to see some details of his airplane since he was working in the hangar today. CLICK HERE to see those two pages of photos.
November 28, 2004: This was a long day in
the shop working to fit the upper cowl to the lower half and the fuselage. I also
used a new hair dryer I bought last night to seal some heat shrink on the EGT & CHT
wiring on one side of the engine mount. No pictures of the wiring work. I put
the forward top skin and the cowl mounting hinges in place before grinding away at the
trailing edge of the upper cowl.
Then I trimmed the upper cowl to length with tin snips and then used my Dremel
sanding wheel and a sanding block to get just the right shape to the aft edge of the upper
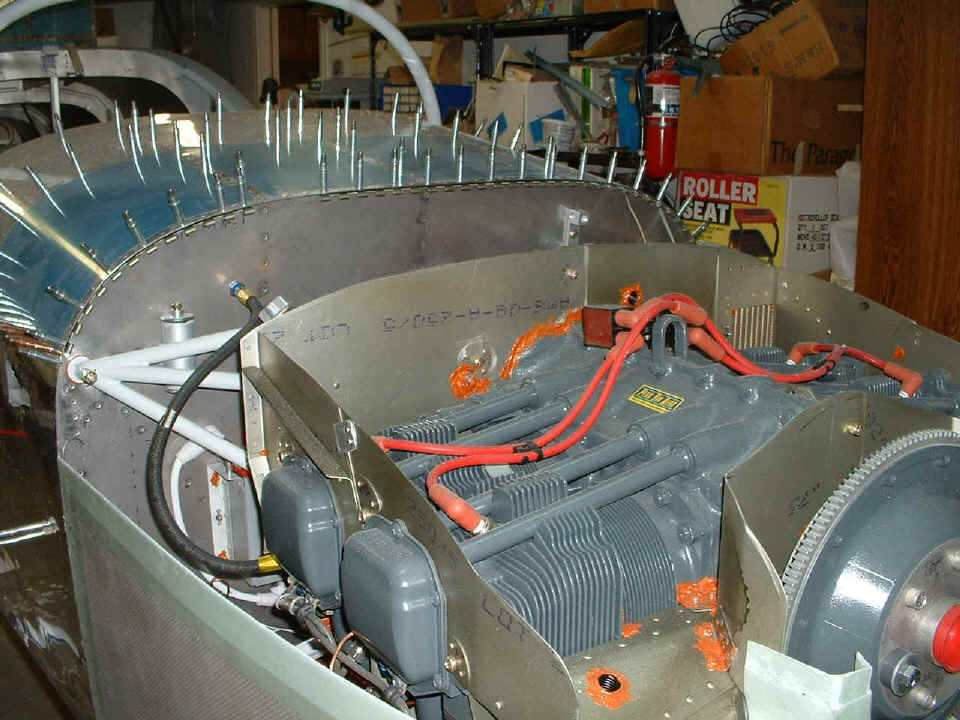
cowl. I had put a light inside the engine compartment before making the first cut to
get a beginning point before sanding, and sanding, and sanding...you get the idea.
That white power cord goes to the light in behind the engine.
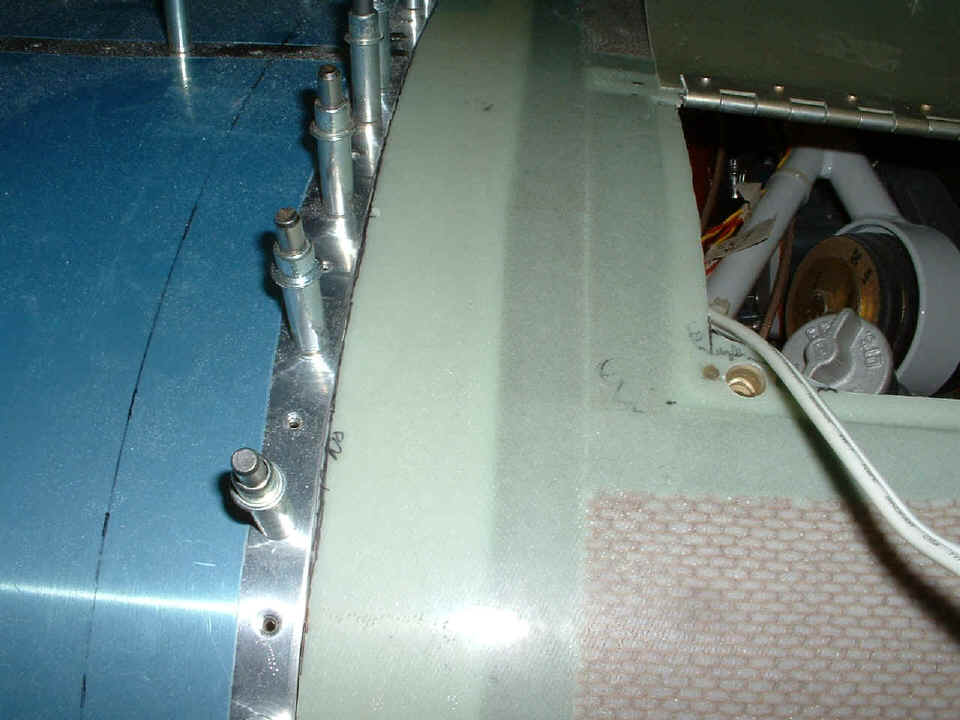
This is an early fit test after cutting off the overlapping flange from the
lower cowl. The only place the flange still exists is near the spinner where three
number-eight platenuts will be installed on each side of the spinner opening.
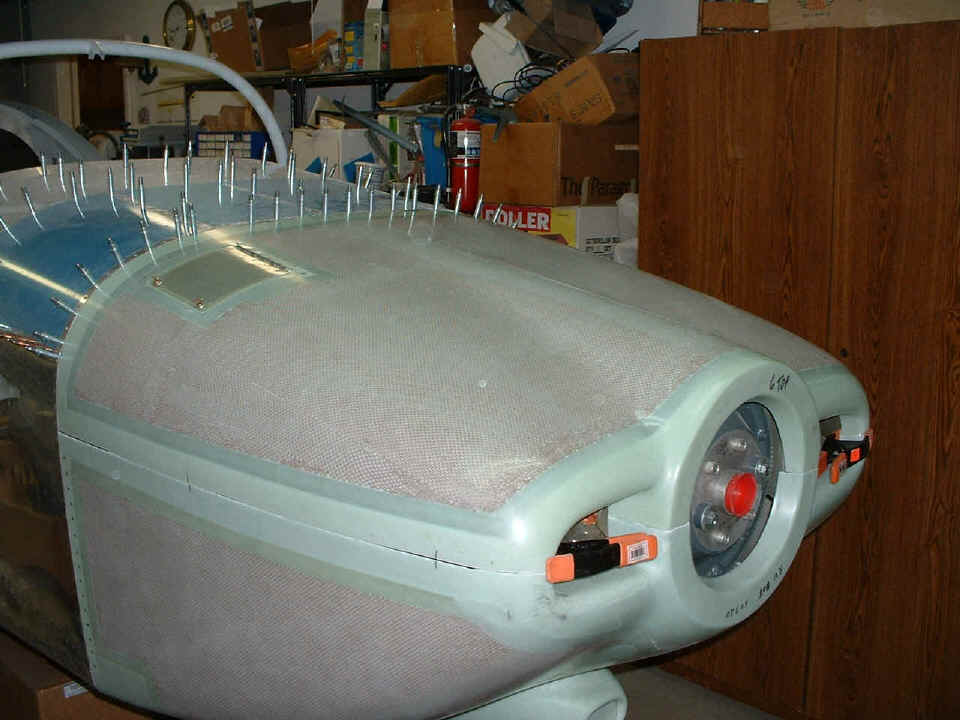
The last shot of the day is the 1-inch spaced layout markings before drilling
hinge rivet holes in the upper cowl. I still have to install the hinges on the sides
of both the upper and lower cowl sections before I drill these holes and then match-drill
holes in the hinges that will go underneath these layout marks below.
What you did not see in these photos is all the dust that was created with the Dremel tool when sanding the edges of the fiberglass cowl. I am headed to the shower before bedtime to get rid of it. I just looked in the mirror and noticed that the top of my head is still white with the dust. And yes, I wore my respirator mask and protective glasses during all that work. Add another 7.6 hours to the construction log book for today. The total construction time is now 1370.7 hours, with an additional 69 hours for cleanup, shop prep work, etc. Total project time stands at 1439.7 hours.
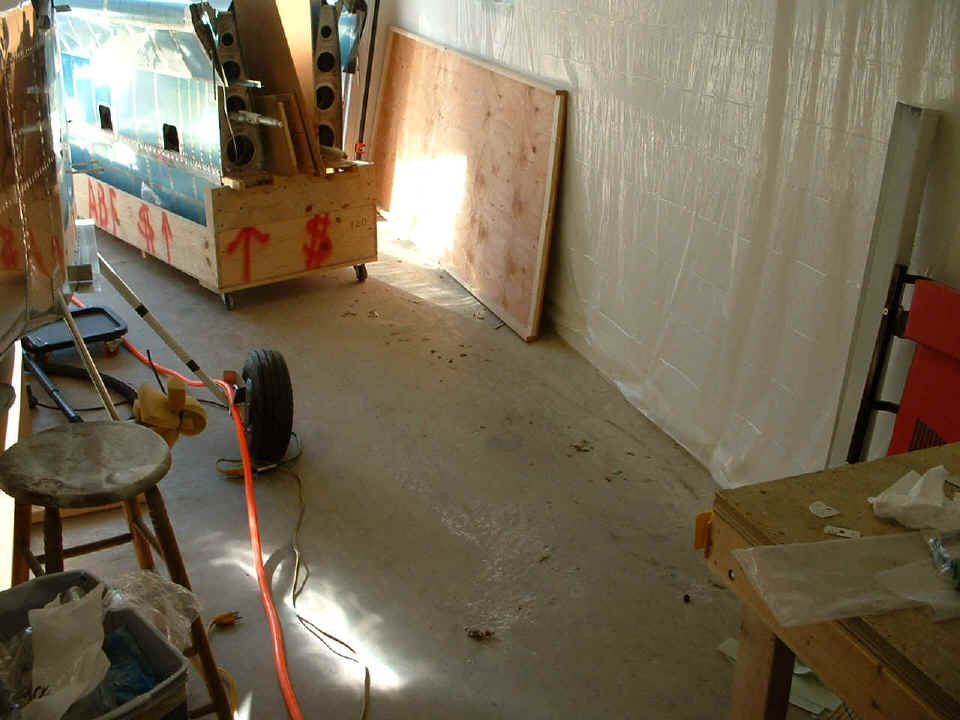
November 29, 2004: I had a chance to clean
out the shop today before the sun went down. There was plenty of dust from grinding
the fiberglass cowl with the Dremel sanding drum, etc. Here is what it looked like
during the cleaning of the garage. When I rolled the wing cradle out the door, I
found two clecoes under the crate and of course some dead inch-worms, leaves, etc.
The white powder on the floor is the last of the fiberglass dust.
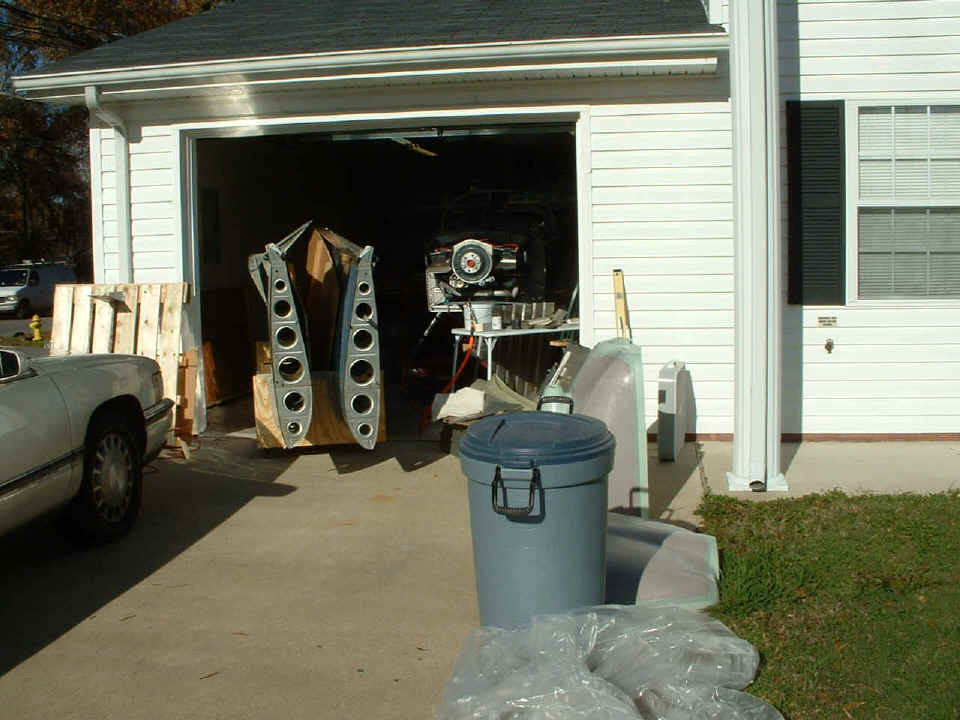
Here is the view from the street with everything blown off from my air hose and
ready to be put back inside. I even put the air hose to the box fan and cleaned all
the dust from it. The big sheet of plastic was rolled up with the powder in it, then
taken out beside the house to let it blow free before taking it back inside to cover up
the wings once more. That wooden skid in front of the car was used to ship the
engine from Penn Yan Aero.
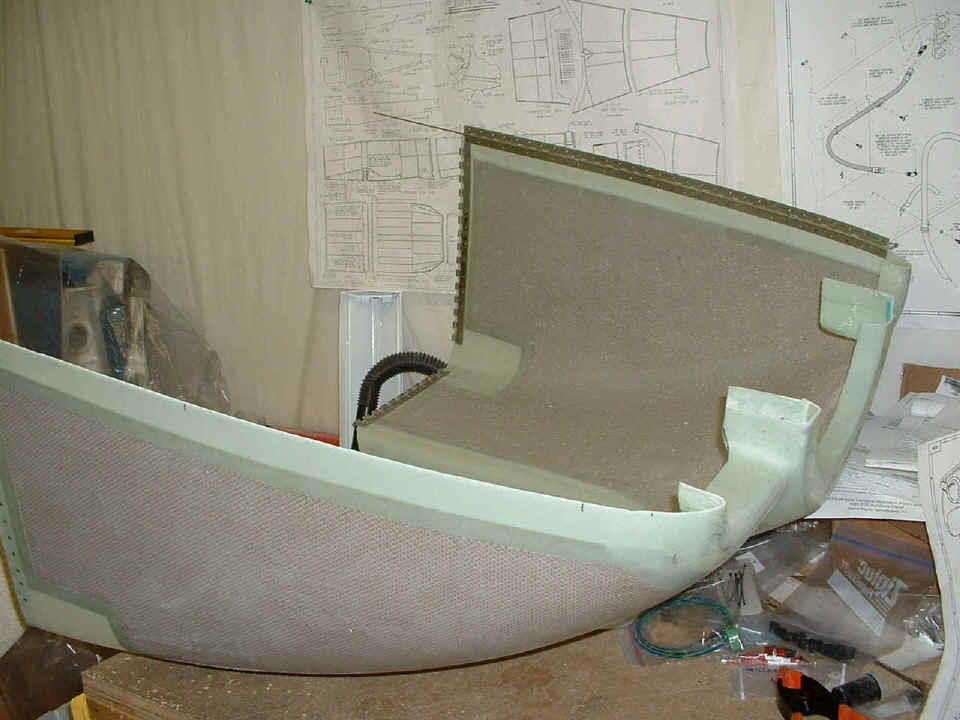
This is the lower cowl with the first of the side hinges drilled and clecoed
into proper position when I finally got to start my work session this evening.
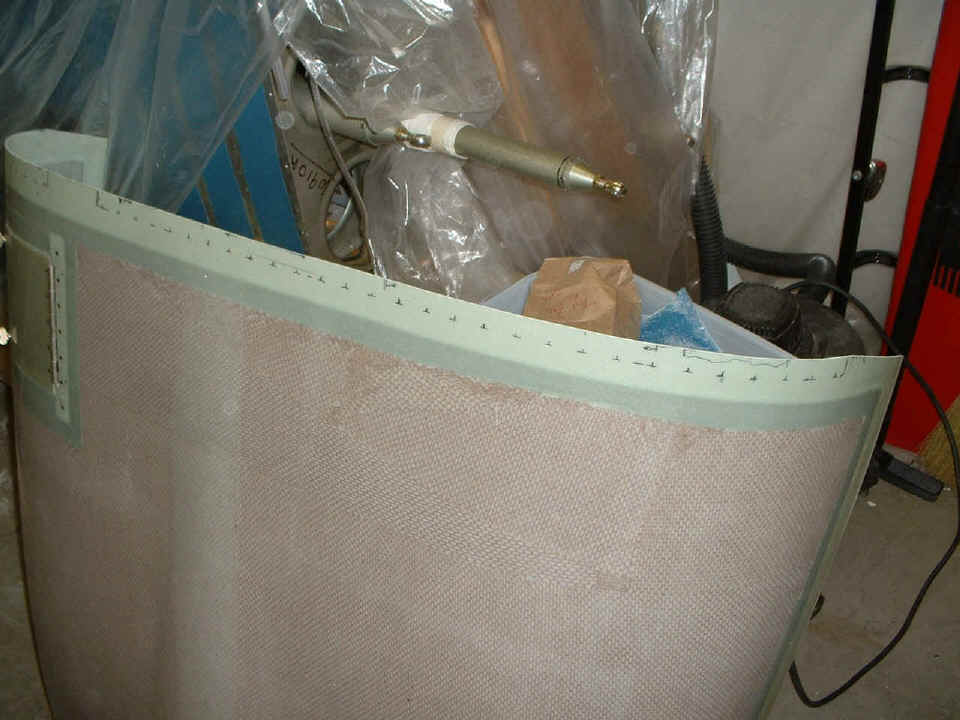
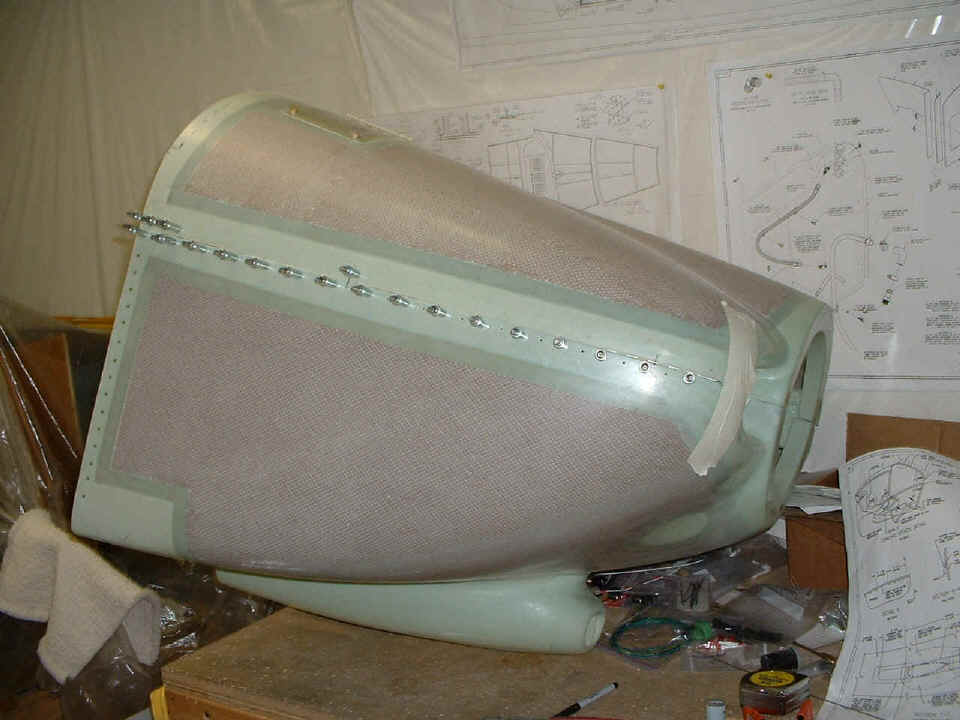
This shot is more impressive since it is the first time the top and bottom
cowls have been joined. When I aligned both on the fuselage yesterday in the third
photo from the top of this page, I knew how they would fit with each other when I got the
two pieces up on the bench tonight. The other thing I discovered is the seam between
the two halves is NOT straight. You have to get up close to see it, but there is
some work to be done there when I start mixing up resin and hardener, etc. I
finished match-drilling all the rivet holes through the hinges into the fiberglass shells
on both sides before calling it a night. I had to "get inside" the shell
to drill from inside the cowl for that process.
Other items of importance today: I called the FAA in Oklahoma City at lunch time today to get the form 8050-1 for aircraft registration sent to me. ONLY an original form 8050-1 from the FAA may be used for aircraft registration. This is one of the documents that is not available for download from the FAA web site. I also ordered some items from Van's Aircraft online ordering service. They include the carb heat muff and air vent that goes on the filtered air box, an oil pressure switch to run the Hobb's meter, and the tachometer sensor to drive my EIS engine monitor.
I would have to rate this as another "Milestone Day" with the FAA sending me the registration form and the cowl coming together for the first time, even if it was only on the work bench. I still have some fiberglass holes that have to be countersinked before riveting the whole thing together. That may be a few days yet since I have to order the fiberglass cloth, resin, and hardener I will be needing for some of the next steps. I may have to do some electrical things in the next work session while waiting for more items to arrive from Van's Aircraft and Aircraft Spruce & Specialty.
| CLICK HERE for Firewall Forward Page 71. | RETURN to MAIN MENU |