FIREWALL FORWARD - Page 66.
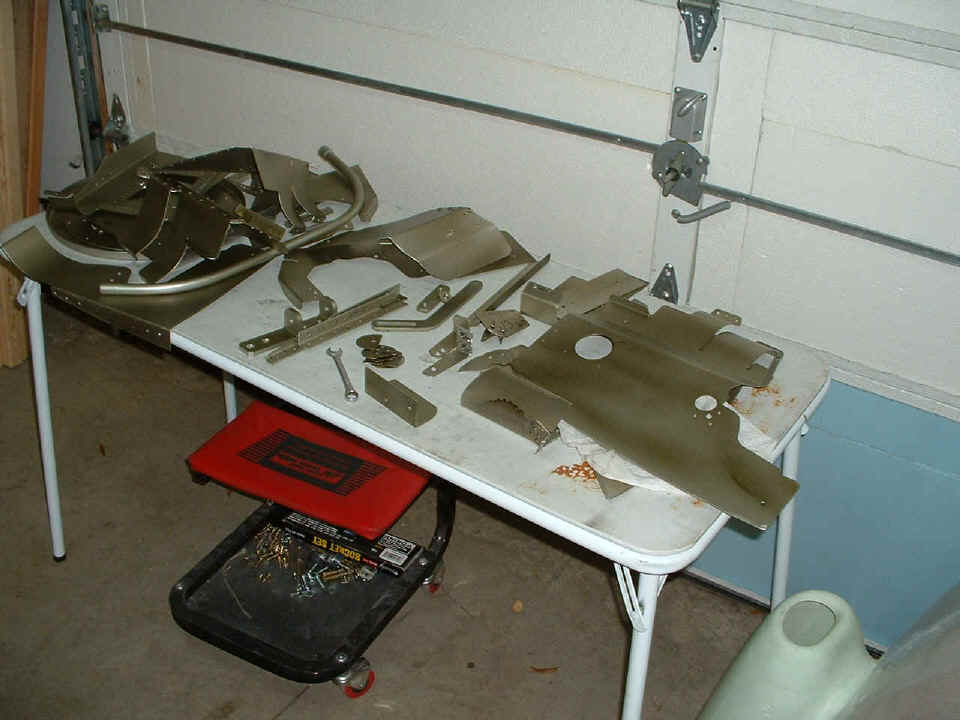
November 18, 2004: This may be another
milestone day, I think... I won't know until I am absolutely sure there are no
more aluminum parts that need to be spray primed. I looked around the shop and could
not find anything else aluminum that would become a permanent part of the airplane.
Looking at this photo, you can see the whole pile of stuff that got sprayed green this
afternoon.
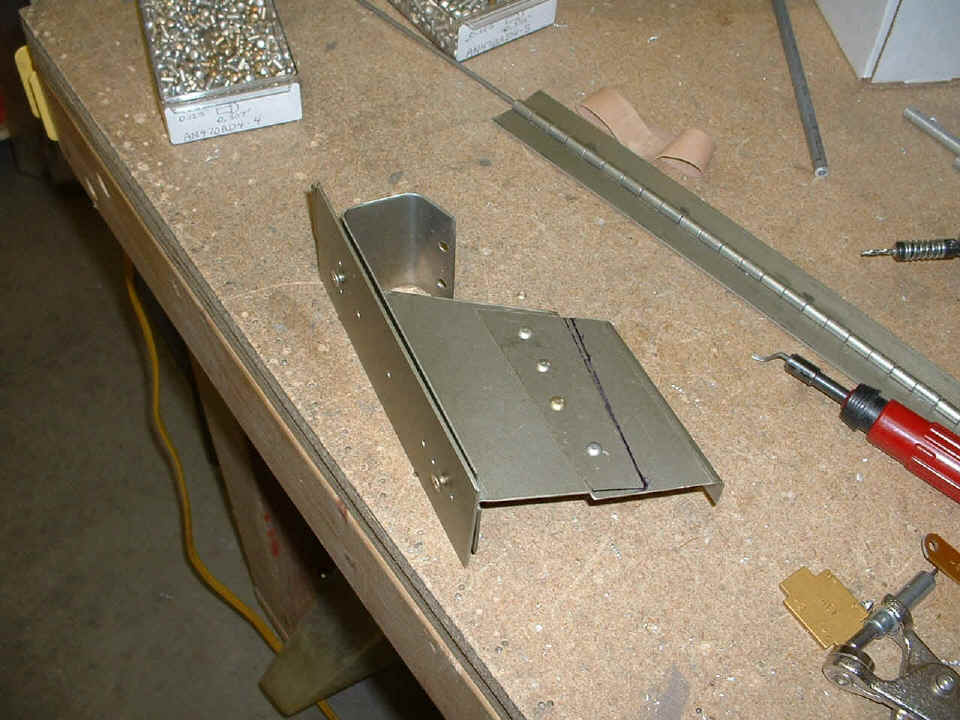
The evening was spent riveting this stuff together. Most of it is baffle
components for engine cooling except for this assembly. This is the brace that
secures the bottom of the fiberglass cowl between the firewall and the lower engine mount
area right behind the nose gear leg. We last saw this piece on PAGE
62. The two flat head screws hold the bottom plate up against the rest of the
assembly with the fiber glass cowl captured in between the plates and spacer.
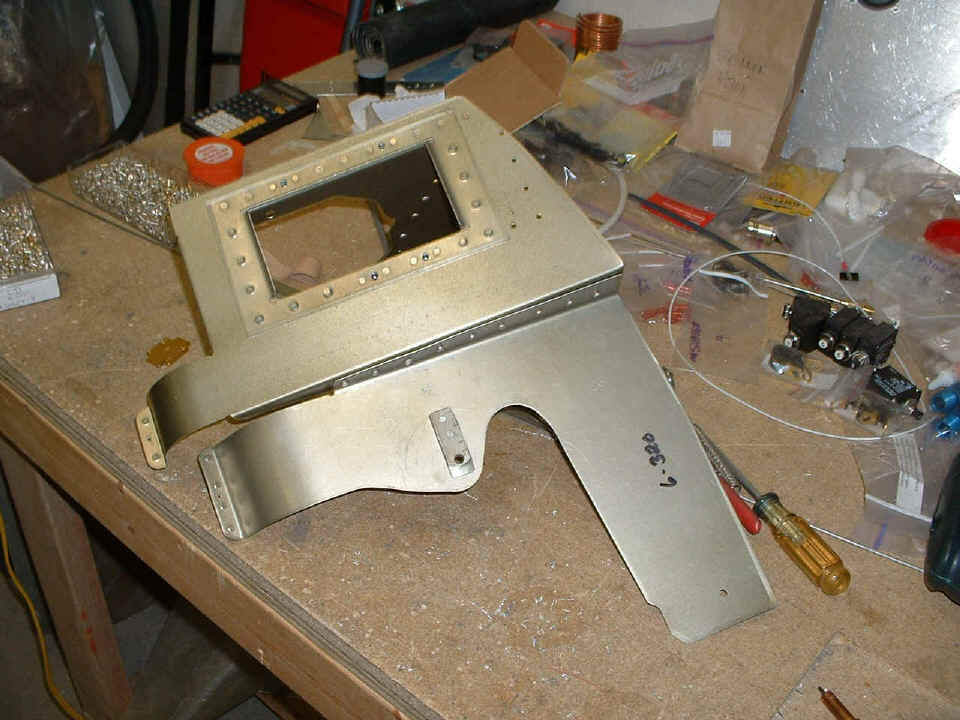
The aft left baffle and oil cooler mounting plate riveted together without any
real grief. I used my rivet squeezer as much a possible, then got out my rivet gun
to hit the rivets the squeezer could not reach. I even put a rivet to nowhere in one
of the extra holes left over from an earlier erroneous mounting of the oil cooler.
The other holes will get used or covered when the flexible air seal material is added
later.
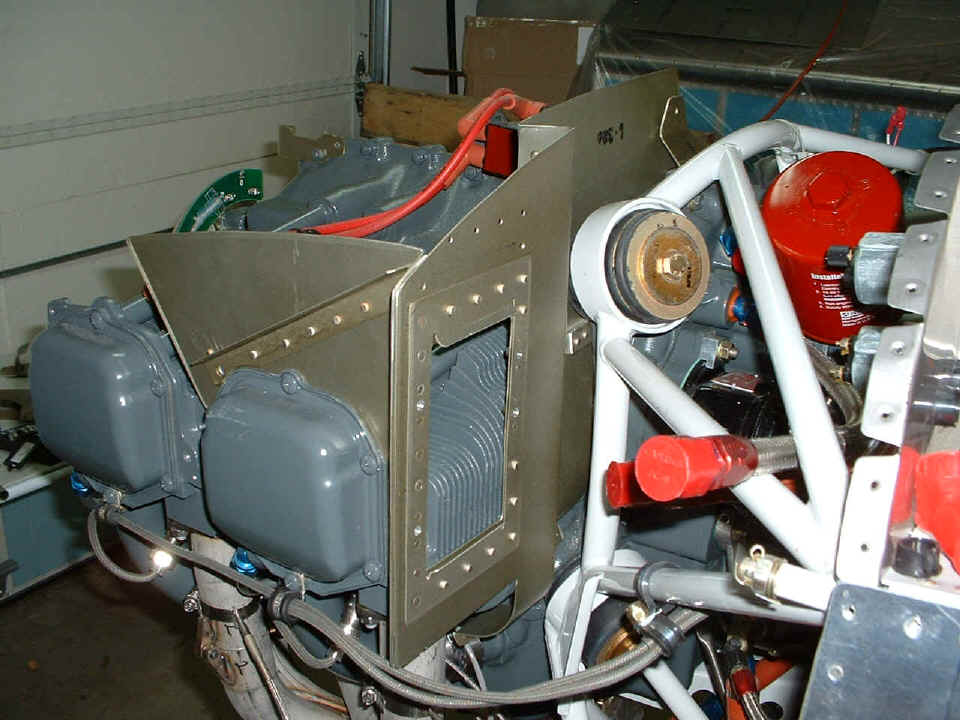
Next stop for that assembly was another check to see that it would still go on
the engine easily before trying to secure it and add the RED high-temperature RTV to seal
the cracks. This photo shows the absence of the sensor wires for CHT/EGT. I
marked the ones that I had already connected and pulled them back through the firewall.
I did this since I had discovered that I would have to re-route some of them now
that I have the baffles in place and see where things should go.
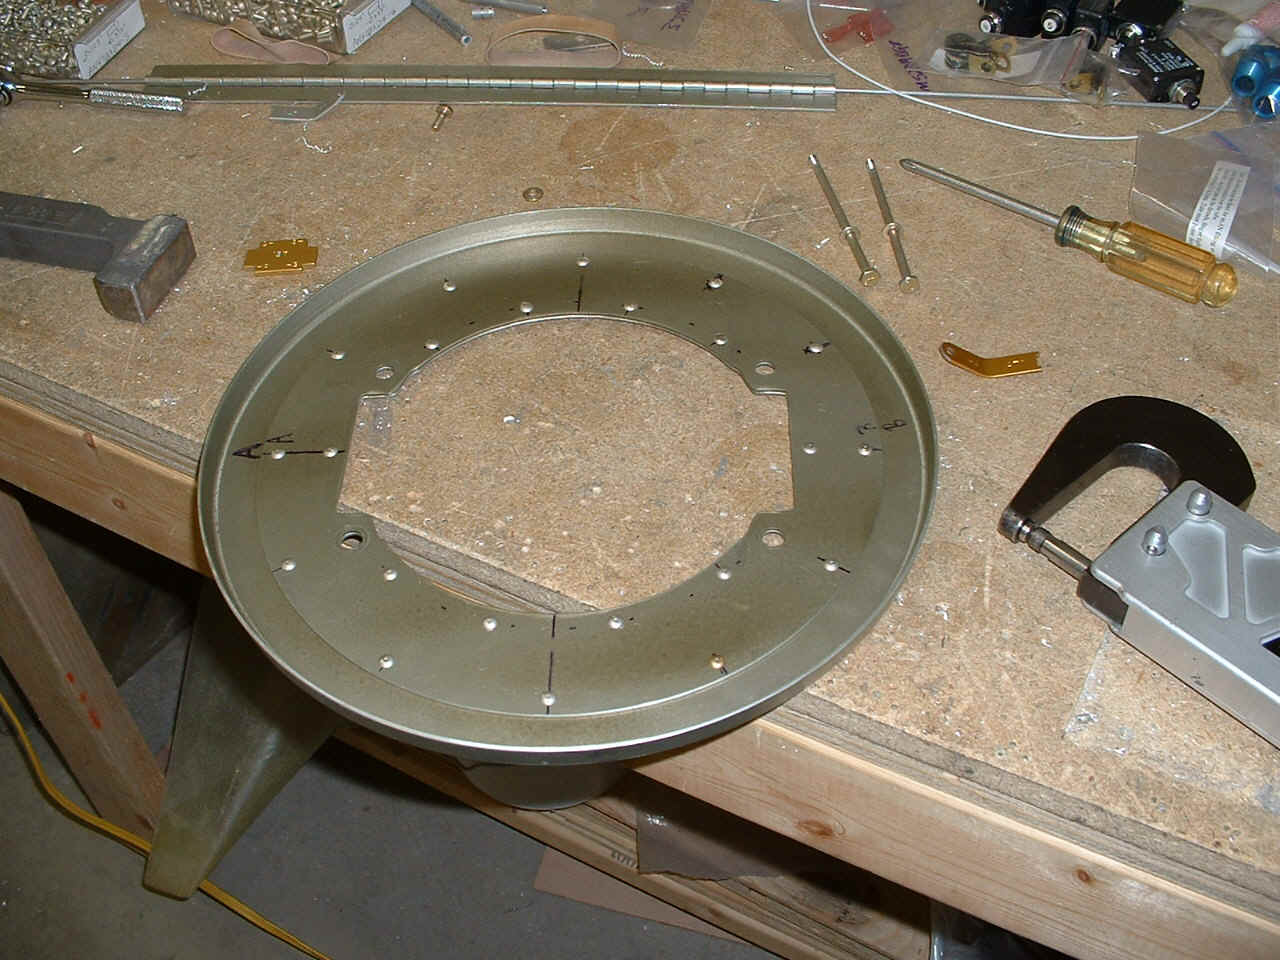
Things are moving right along when you get to the propeller back plate to mount
the fiberglass spinner cone. All 22 rivets are now in place to secure the doubler to
the main back plate/flange. And yes, every rivet was easy to squeeze.
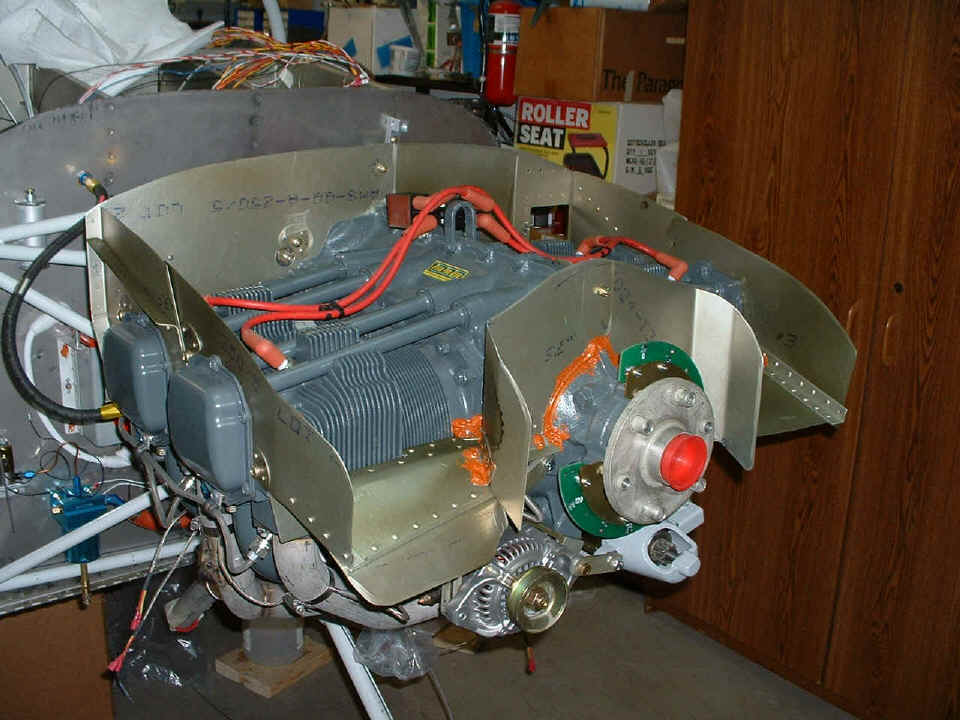
The last photo for tonight is the milestone photo showing the baffles going on
for the "last time" if I have done my chores correctly. I have to
drill some access holes to bring the ignition trigger cables through to reach the
solid-state high-voltage modules on top of the engine. That will happen in the next
few days as the emphasis will start to go back toward the wiring and other things away
from the engine.
Speaking of other things, I received a package of precision molded fiberglass gear leg intersection fairings from Fairings-Etc. The good work done by Bob Snedaker is much better than my meager fiberglass skills. It will save me some time when I am ready to put the wheel pants on and get things streamlined for top speed. That's ALL Folks! (for tonight anyway)
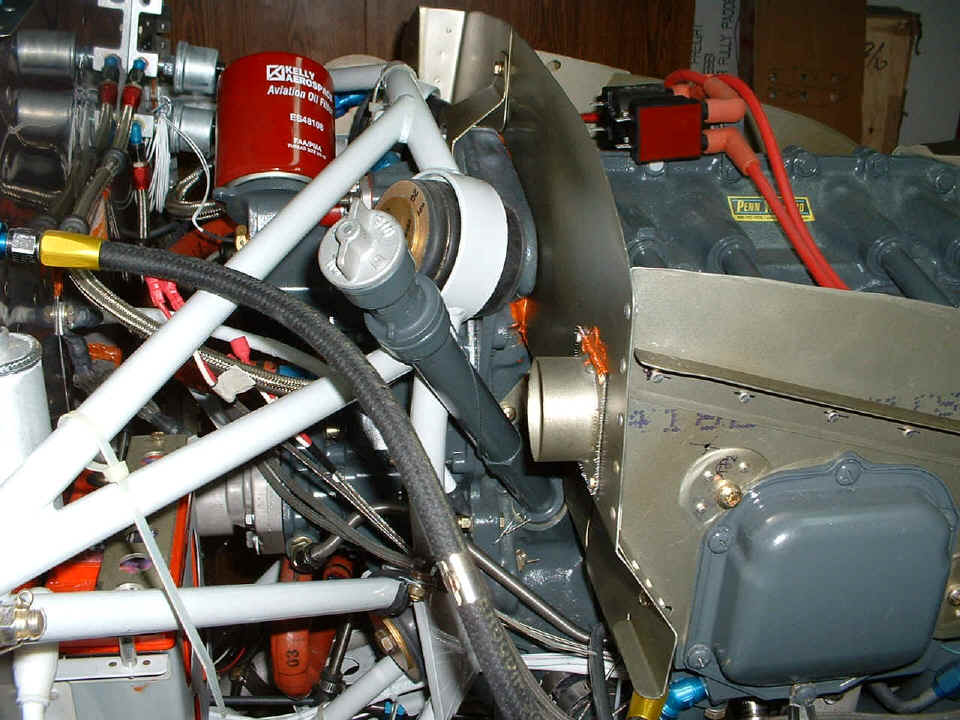
November 19, 2004: There is a milestone, the
oil filler tube and dipstick are now mounted and secured with safety wire. You can
also see that I have started to seal the screen wire gap in the air duct mounting tube on
the aft wall behind cylinder number 3.
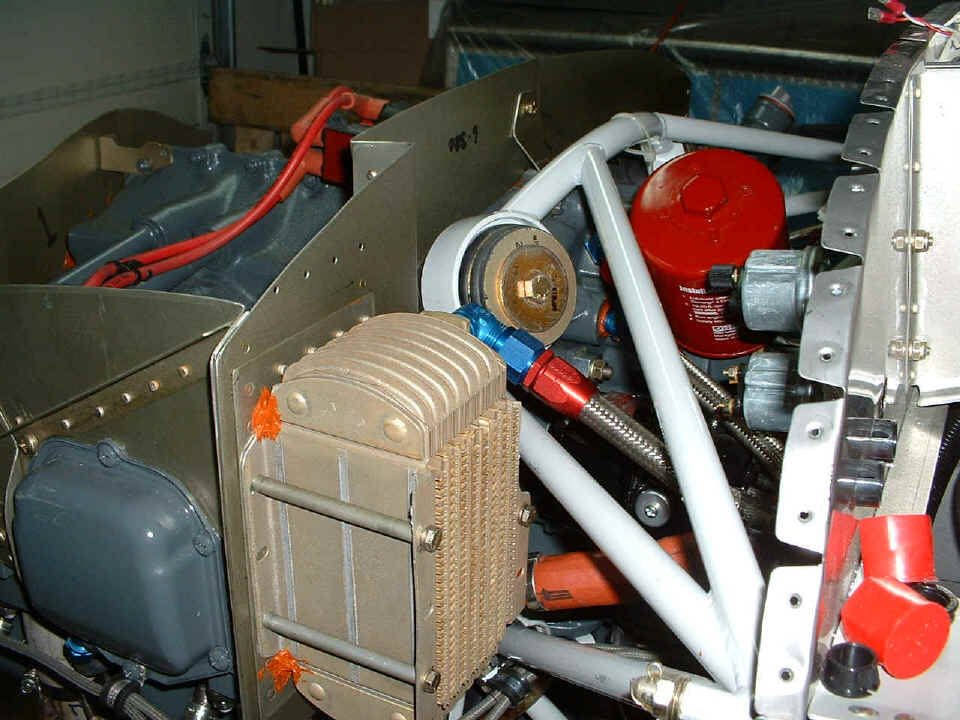
Here is the oil cooler on the other side of the engine mounted to the baffle
behind cylinder number 4. The oil lines are secured to it and I have put the RED RTV
in the corners to close some air leaks there.
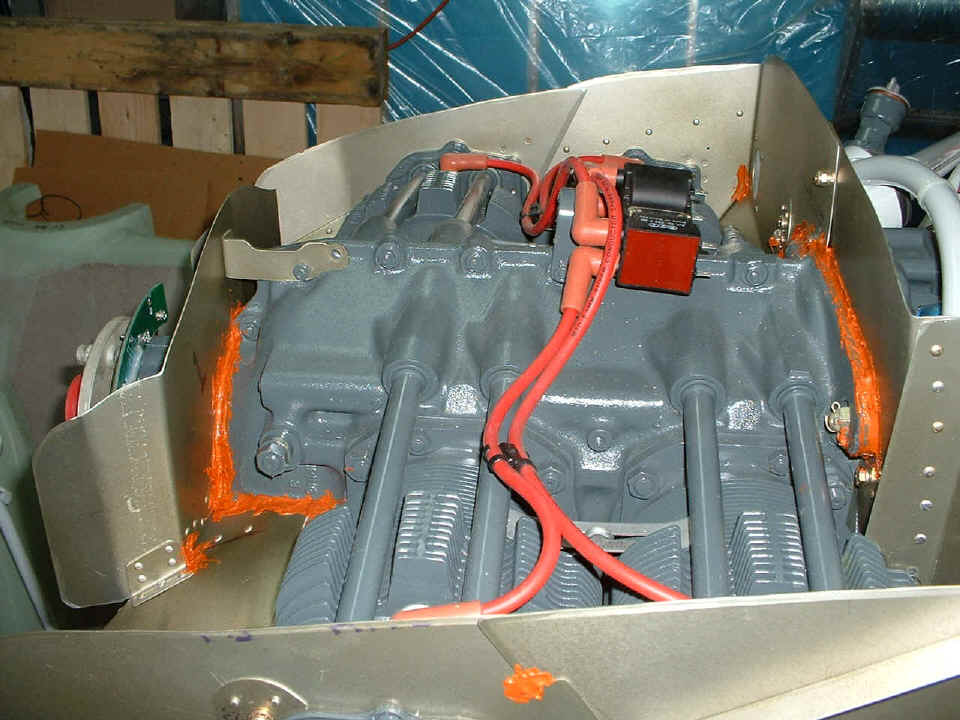
The last photo for today is the view looking across the engine from the LEFT
side baffles showing the RED RTV that has been "slathered" on the various
cracks between the baffles fore and aft to seal around the crank case. I am running
out of the stuff and will have to pick up another tube when I go to buy the alternator
drive belt tomorrow.
Nine pictures on this page is enough for you guys using dial-up internet access, so let's move on to page 67.
| CLICK HERE for Firewall Forward Page 67. | RETURN to MAIN MENU |