FINISHING KIT - Page 45.
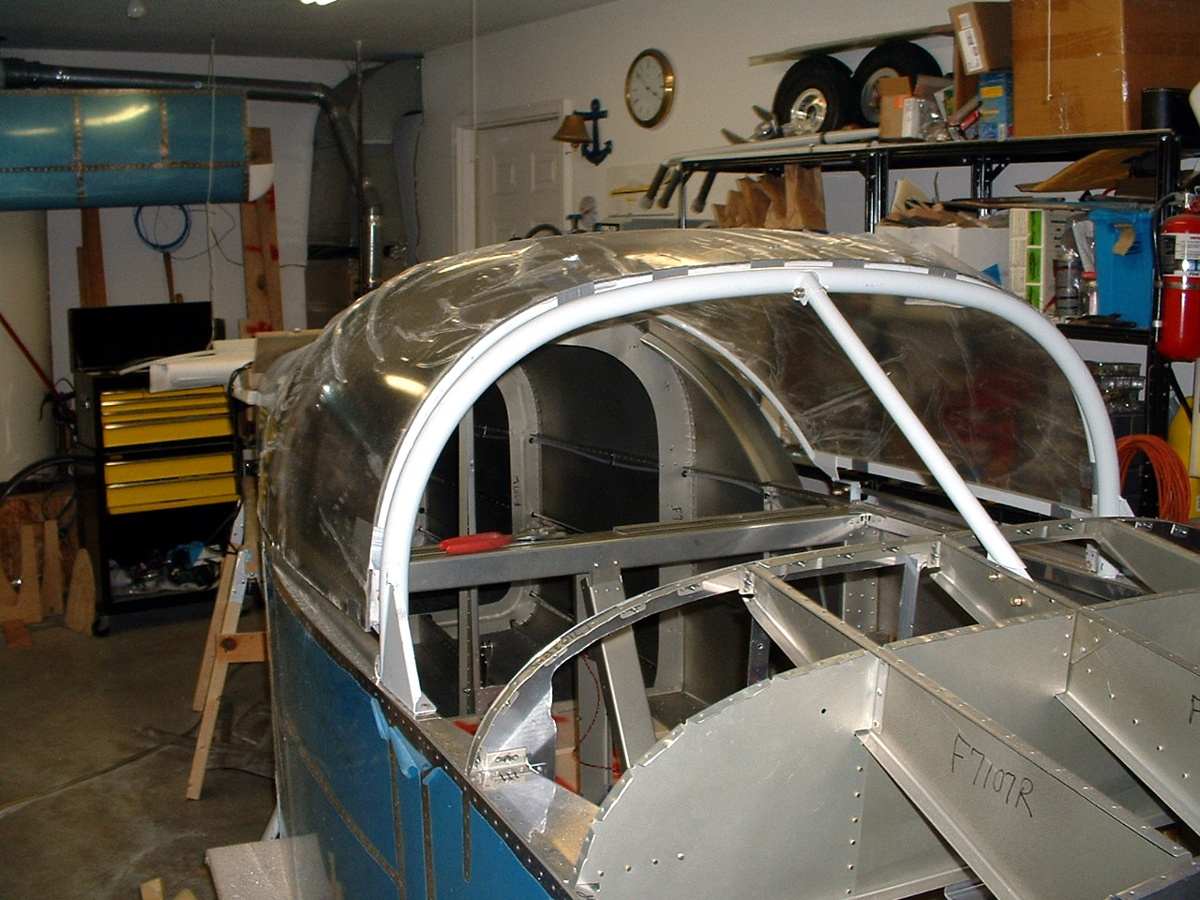
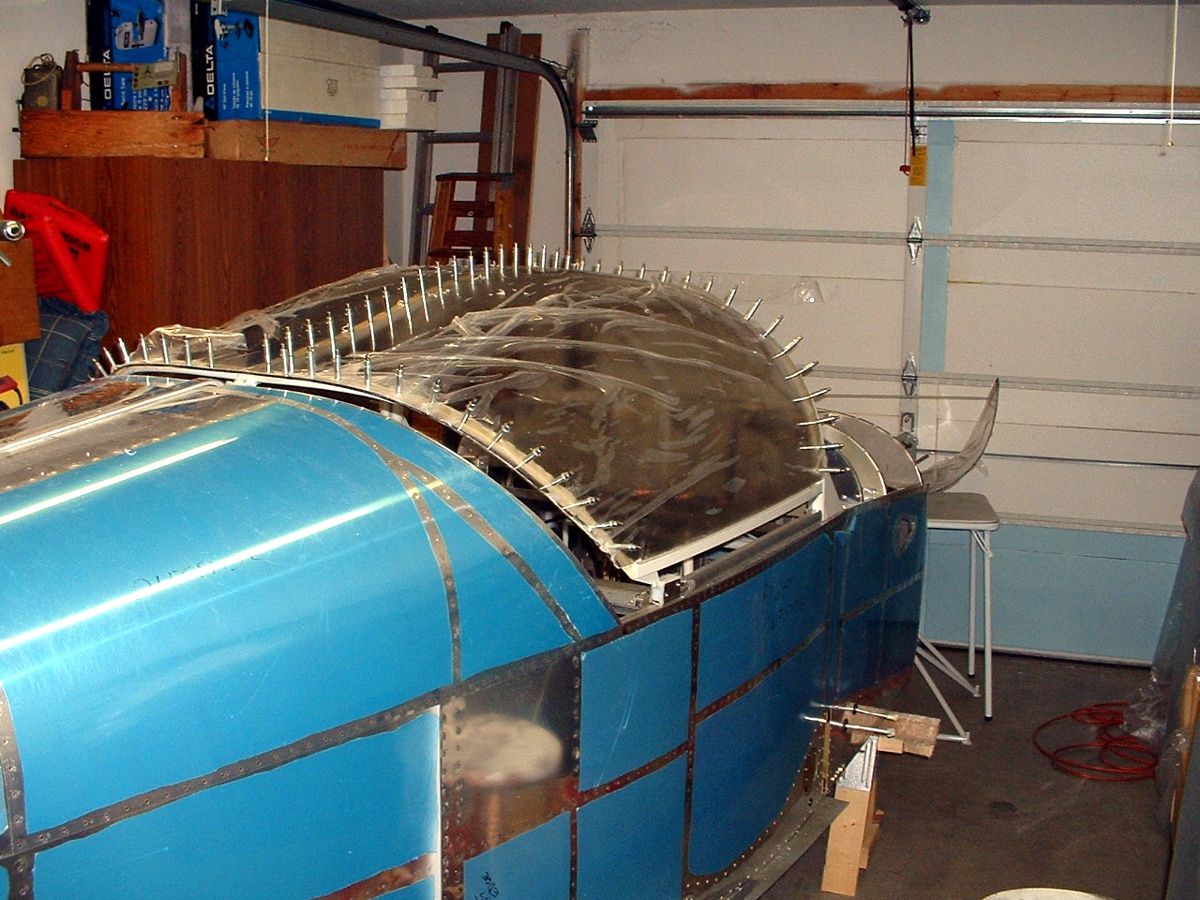
June 5, 2004: The time has come to go on
another business trip, but I leave with another milestone day behind me. Not much
work today, but a photo moment that says so much. The plexiglass canopy is taped to
the canopy frame and in place on the fuselage and it feels GOOD! I still have some
trimming of the bottom edges of the plexiglass before I start drilling the holes for
rivets and screws that will hold the plexi to the steel frame.
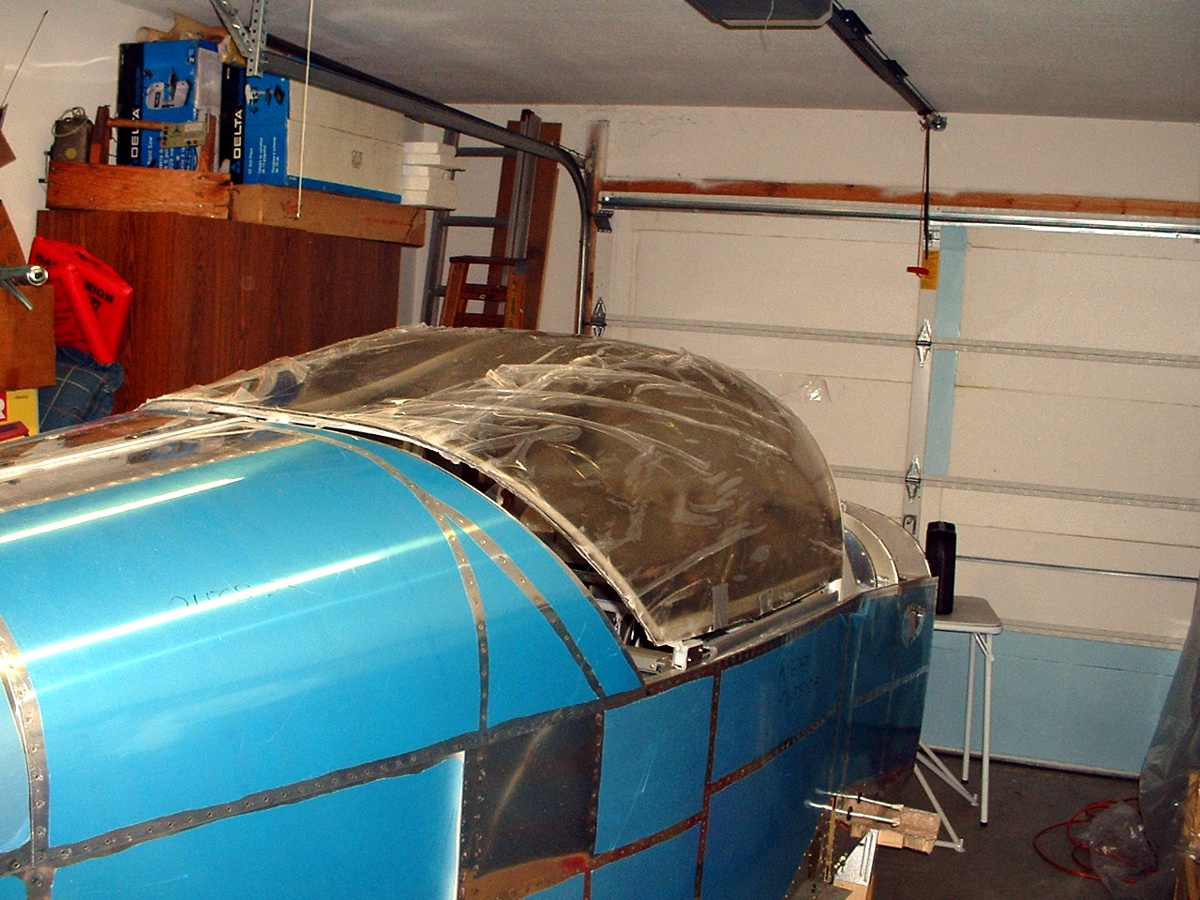
Here is the view from the rear looking forward. The final work will have
to wait for two weeks until I can return from my business trip to Florida and a cable
television industry trade show. The big open gaps around the plexiglass will be
covered with aluminum sheets that will seal the whole mess against the outside world.
That is just part of what I will address in my next work sessions.
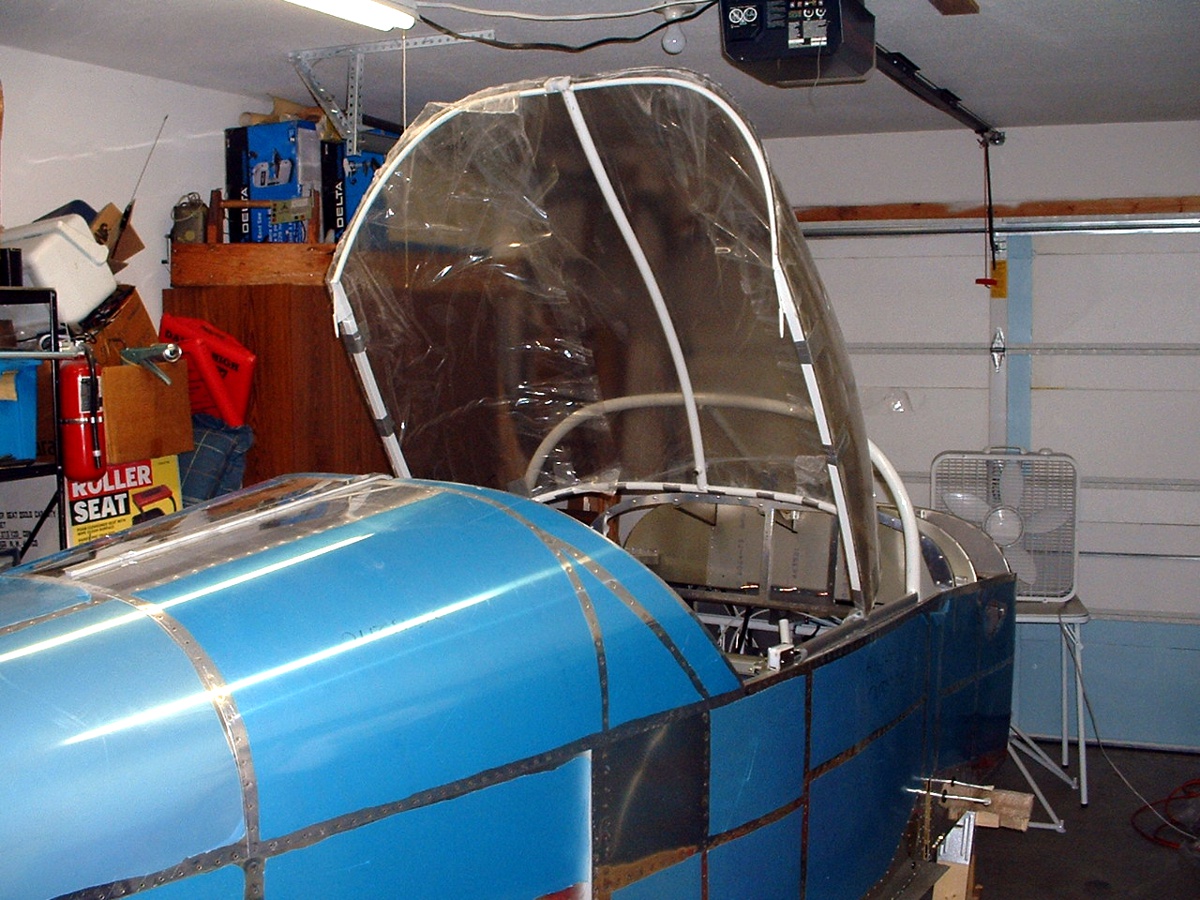
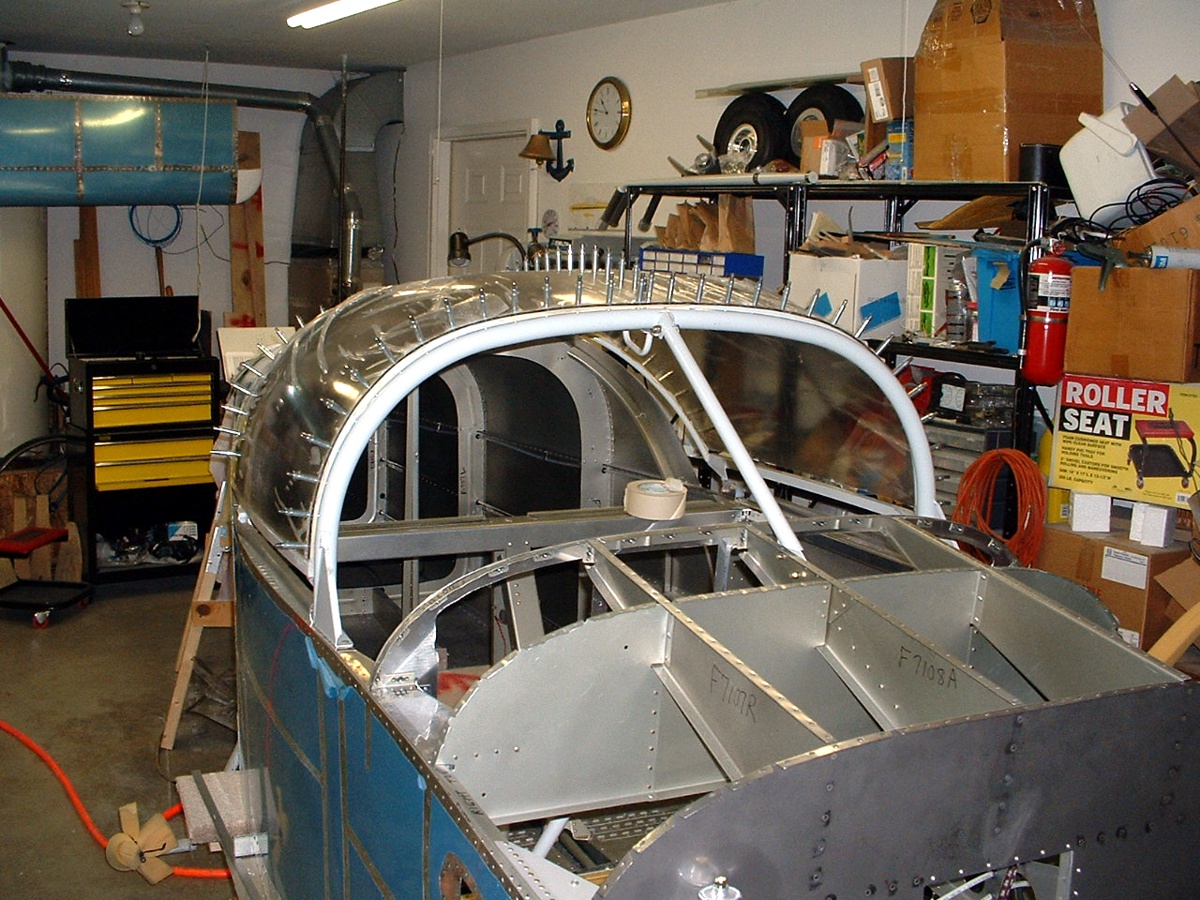
Here is that Meske tip-up modification
showing easy access to the baggage area behind the seats. The weight of the
plexiglass puts the balance of the sliding canopy just enough forward that the canopy will
sit like that without the brace which has yet to be installed. When the remaining
aluminum sections are installed, the CG of the raised canopy will surely move aft again,
but then the Meske brace will be installed to keep things stable during loading and
unloading of baggage.
June 20, 2004: I have returned from a long
business trip and resumed work on the canopy installation. I managed to get in 6.7
hours today and here are the results. In the photo above, the plexiglass extended
below the frame on the sides, which is the way the instructions said to make the initial
cut. The first photo below shows the canopy after the first cut this morning to
bring the plexiglass above the square tube at the sides of the frame.
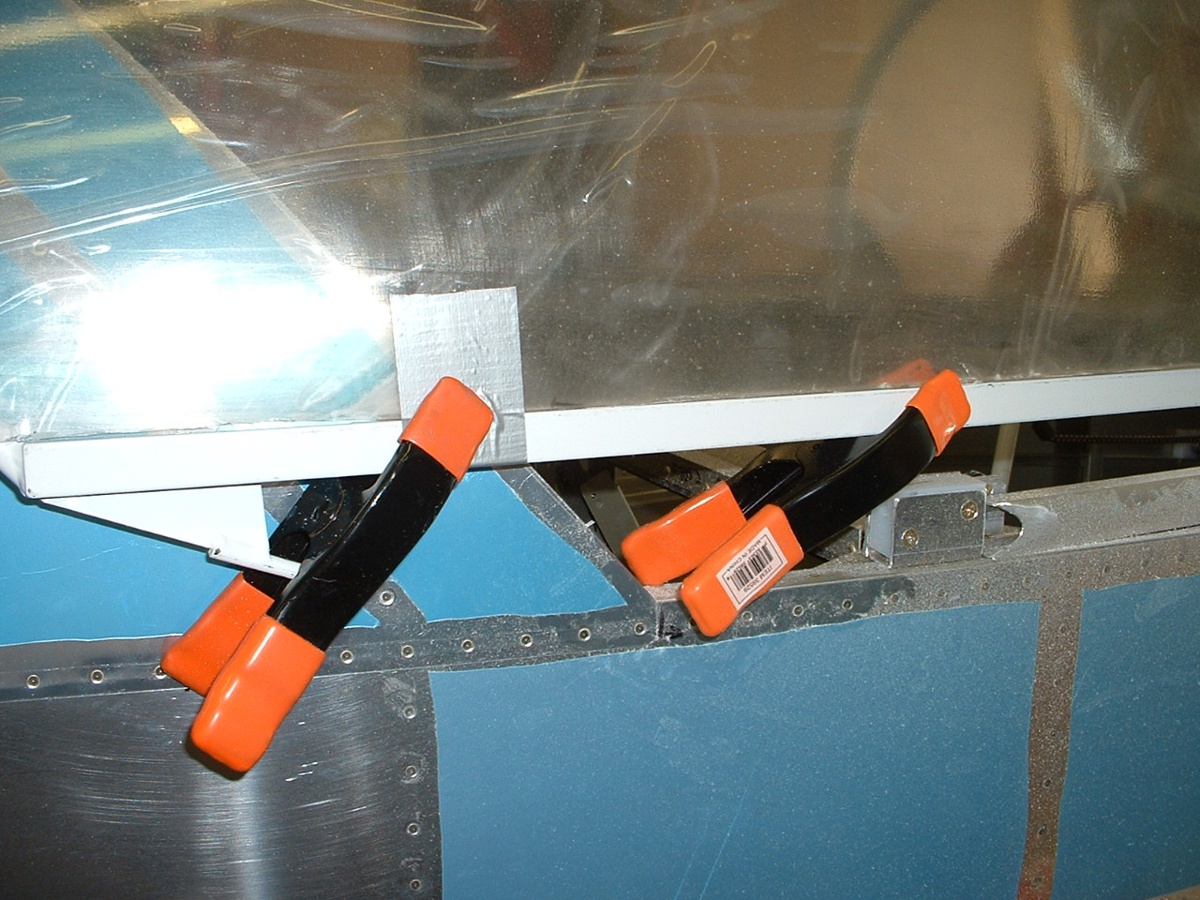
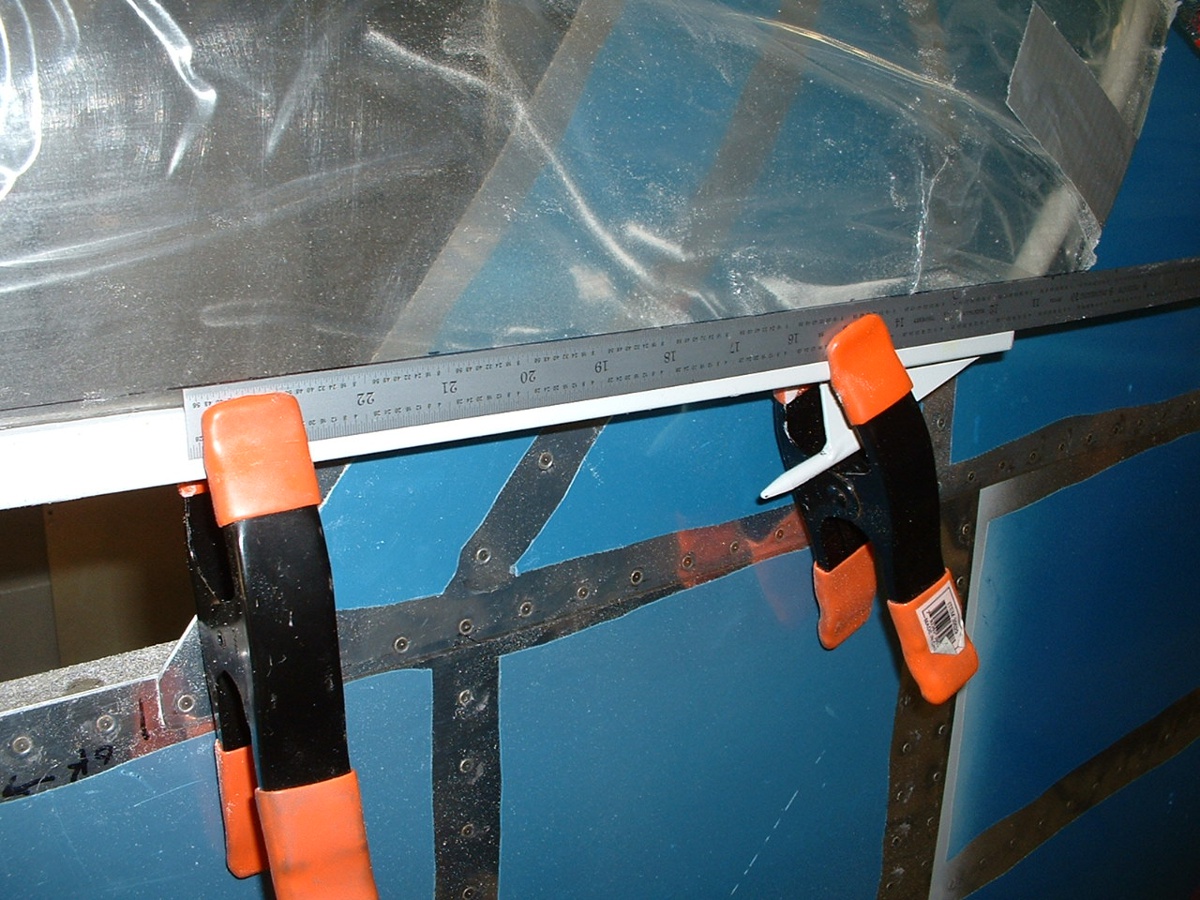
After securing the canopy to the frame with clamps and duct tape again, I laid
out the final cut lines which will allow the plexiglass to match up with the aluminum side
skirts.
The canopy has been cut to the final dimensions along both sides and
match-drilled to the canopy frame. I won't know if I have to trim the plexiglass
along the rear of the frame until I get the aluminum skirts fabricated and ready for
assembly. The plexiglass is currently held in place with 3/32" clecoes at this
time.
In my next session, I will be removing the plexi from the frame and enlarging
the holes in the frame and the plexiglass to the final sizes to accept the rivets. I
have removed the protective plastic from the inside of the canopy and installed the
masking tape on the frame as mentioned in Van's instructions. The masking tape is
only temporarily used to help find the drill line along the round tubing of the canopy
frame. I also finished fitting the latch handle to the correct dimensions with the
canopy assembled as you see it below.
| CLICK HERE for Finishing Kit page 46. | RETURN to MAIN MENU |