FINISHING KIT - Page 46.
June 24, 2004: This week has had some time
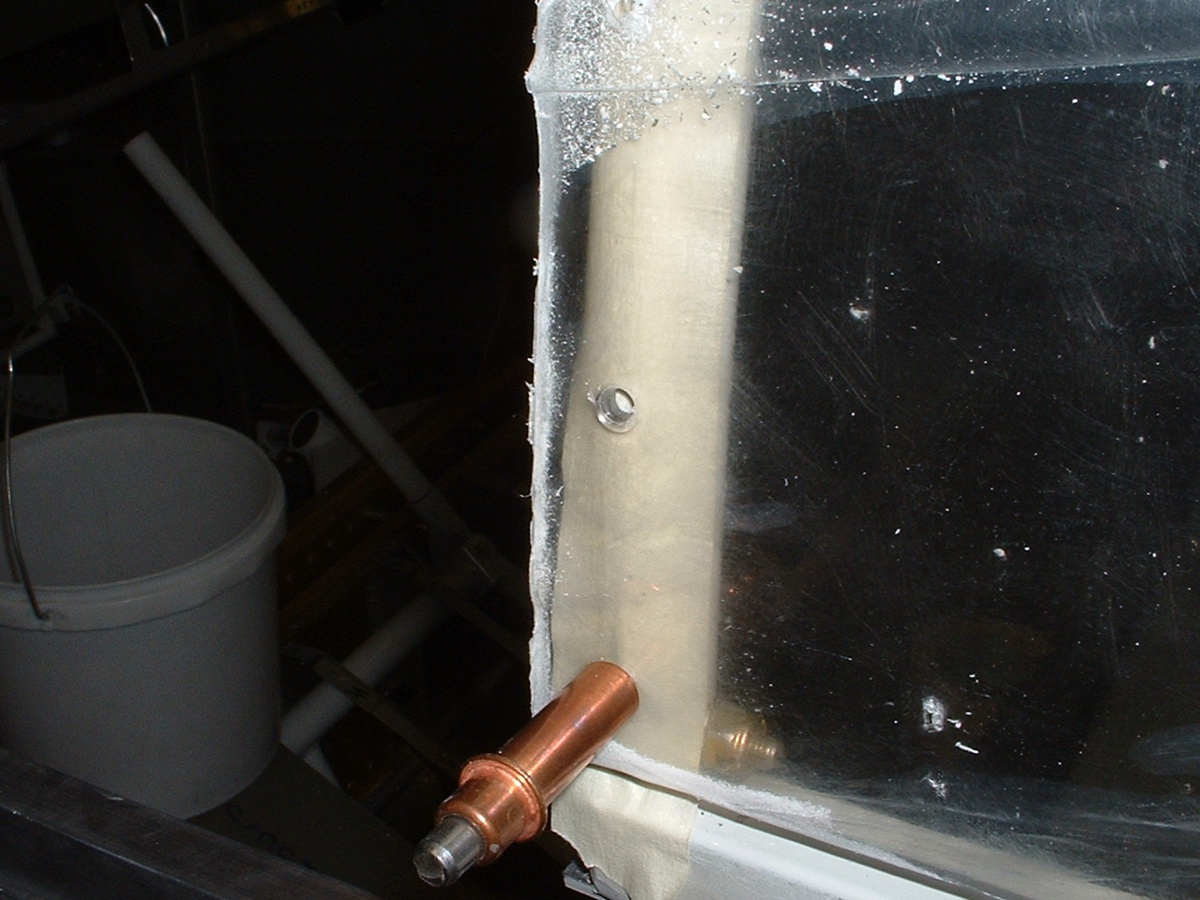
for me to work in the evenings when I was not on day trips for the company. I have
countersinked and enlarged most of the holes in the plexiglass to 5/32" as you can
see in this close up photo. That is not a crack in the plexiglass near the top of
the photo, but an overlay of the protective plastic layers. There is plenty of
plexi-dust that clings to everything. The angle I have used to prevent the flash
from reflecting back to the camera makes that countersinked hole look offset. There
is masking tape between the plexi and the canopy frame forward bow shown in this picture
to prevent scratching of the canopy. The inner protective plastic sheet was removed
for a closer fit during the match drilling of the canopy to the frame.
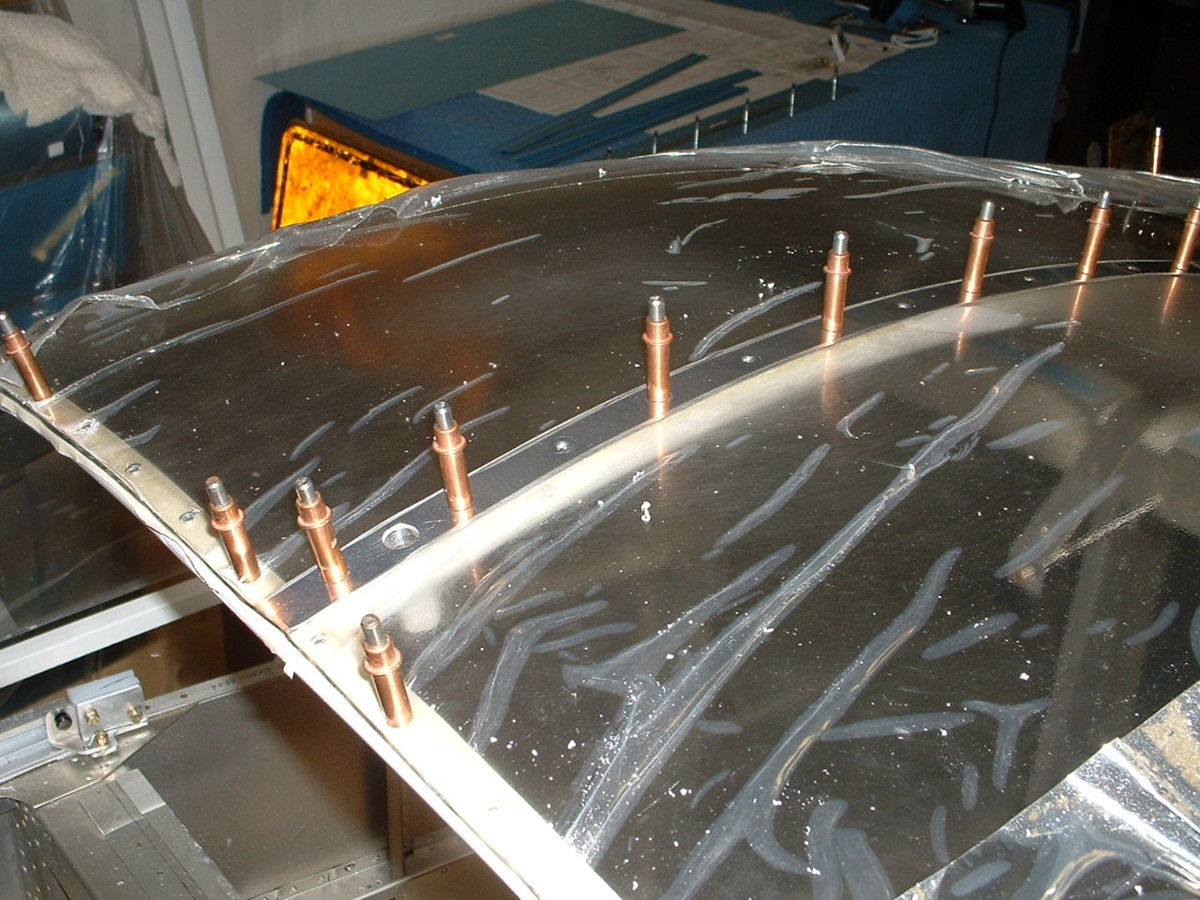
The C-653 top strap is shown in the photo below with the hole for the latch
handle shaft to come through the frame. You can also see my less-than-perfect cut
made when separating the slider section from the wind shield. It will be hidden
under a fiberglass overlay later in the construction. The overlapped layers of
protective plastic show up really well in this photo, along with the ever-present
plexiglass dust. In the background one of the cheap aluminum highway signs that I have is
also lighting up from the camera flash.
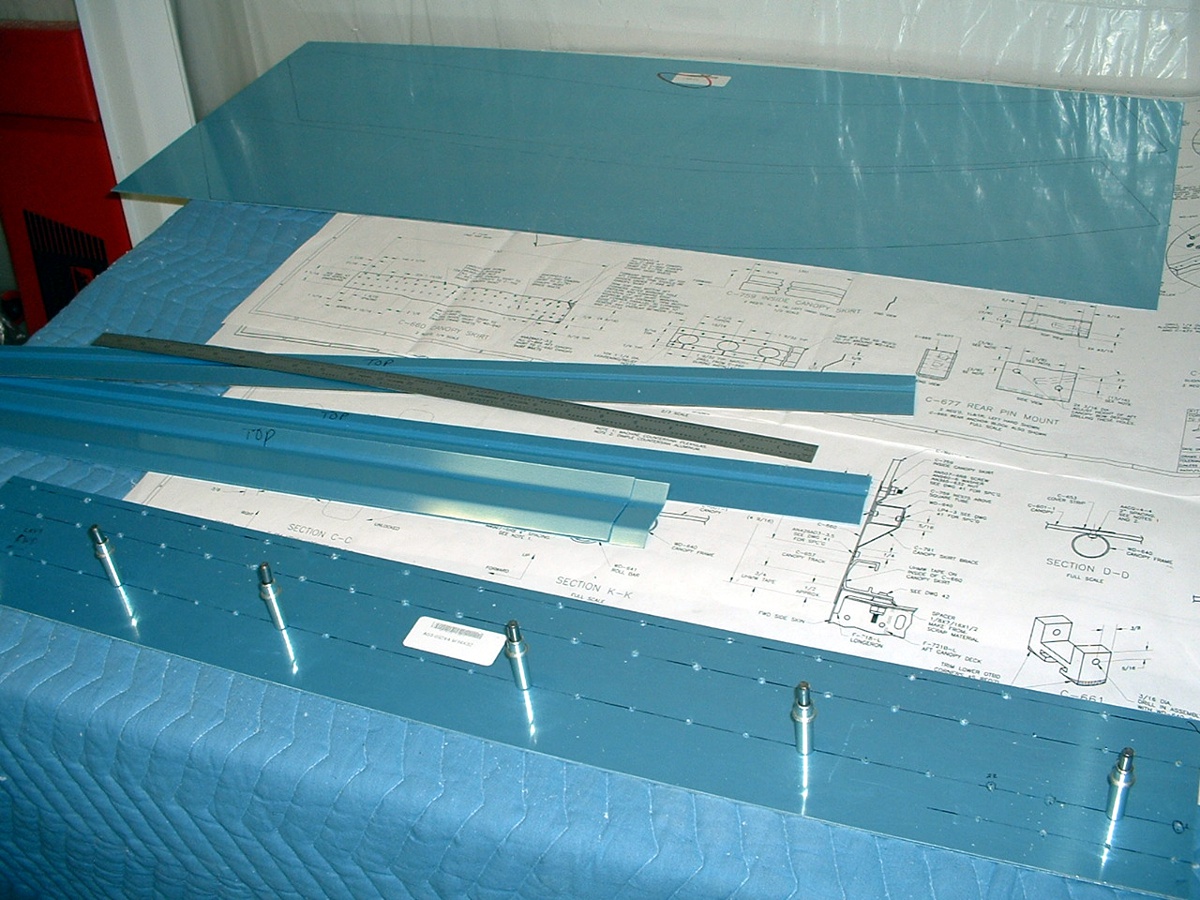
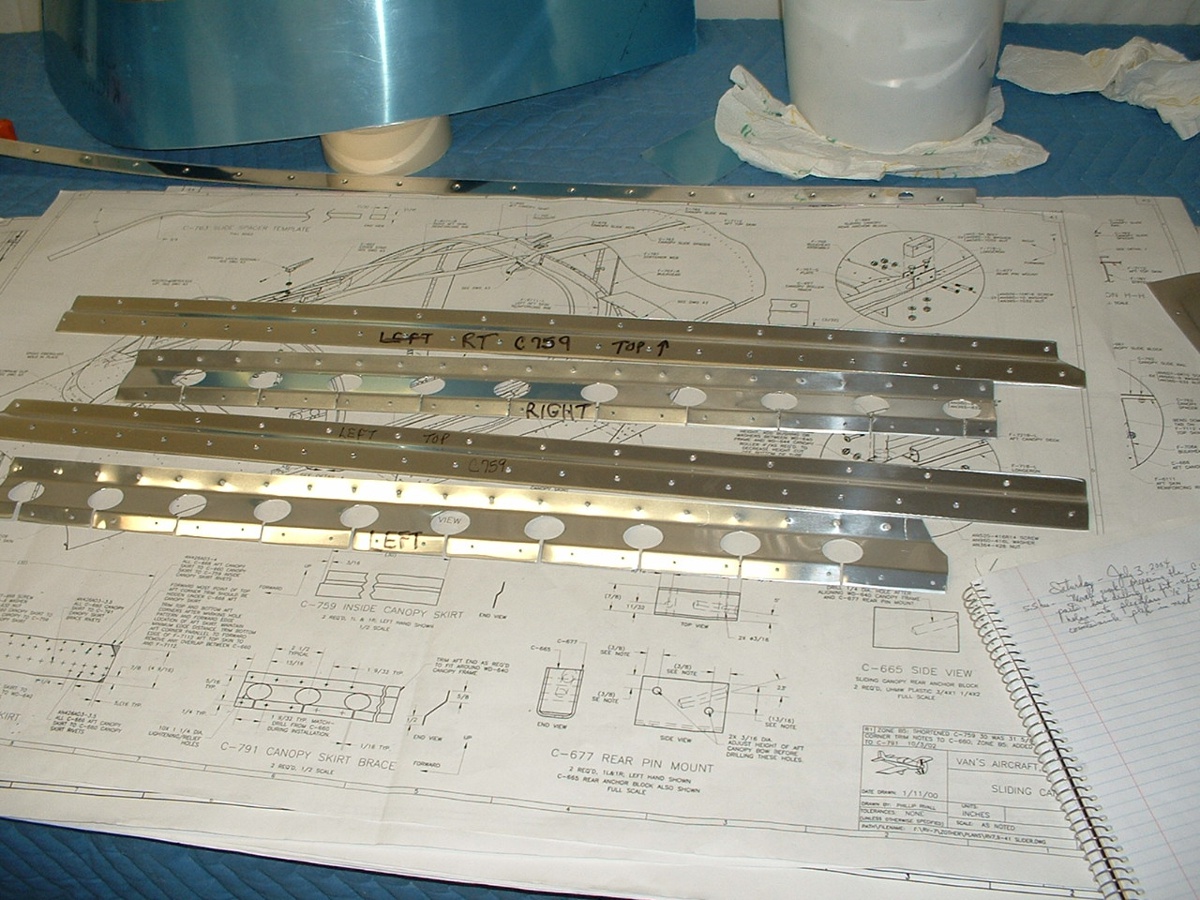
Here you can see that I have begun to work on the aluminum side skirts by
drilling both of them together using clecoes to maintain alignment of both aluminum blank
panels. The aft skirts will be cut from the large aluminum sheet in the top of the
photo below. The templates were already drawn on the aluminum sheet when it came
from the Van's Aircraft factory. You can also see that I have left my padded blanket
on the work table since I have had the plexiglass canopy over there several times lately.
June 27, 2004: This past Sunday was a day with some work, but nothing to photograph as a must-see moment. I finished notching the C-677 aft canopy hold down blocks to get the final fit of the canopy frame at the rear and against the windshield roll bar in front. I also cut apart the C-666 aft canopy skirts from the blank aluminum panel. I also finished drilling the holes in the side canopy skirts shown above.
As a special note: I had two visitors -- pilots both. Maurice Garner and Mark Devlin are both considering building an RV-7. Whether they build one as partners or each build one is yet to be decided. As with many newcomers to home-building, they had many questions. We had a mini-riveting class during their visit. I reviewed many of the plans and how the manual is written in the early steps vs. the finishing kit area where I am working now. Sorry, no pictures of them at this time.
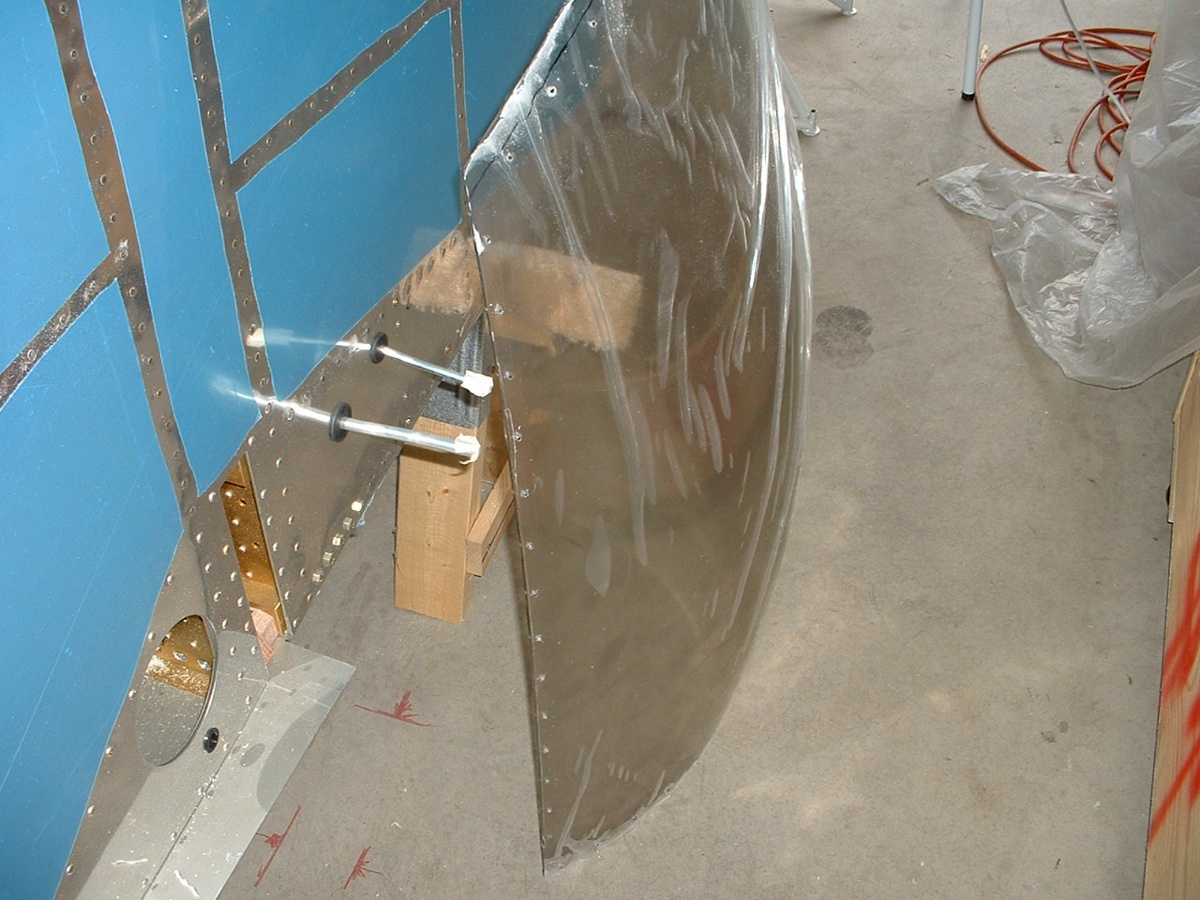
June 29, 2004: I managed to get in 2.5 hours
this evening to trim the excess plexiglass from the aft edge of the canopy. I also
got the left side canopy skirt match-drilled to the canopy frame as you can see in the
photo below. I also did the first fit of the C-666 aft canopy skins to see just how
they are going to overlap the side skins and meet at the top with the "dog
house". You will learn more about that later if you are not already an RV
builder. More later...
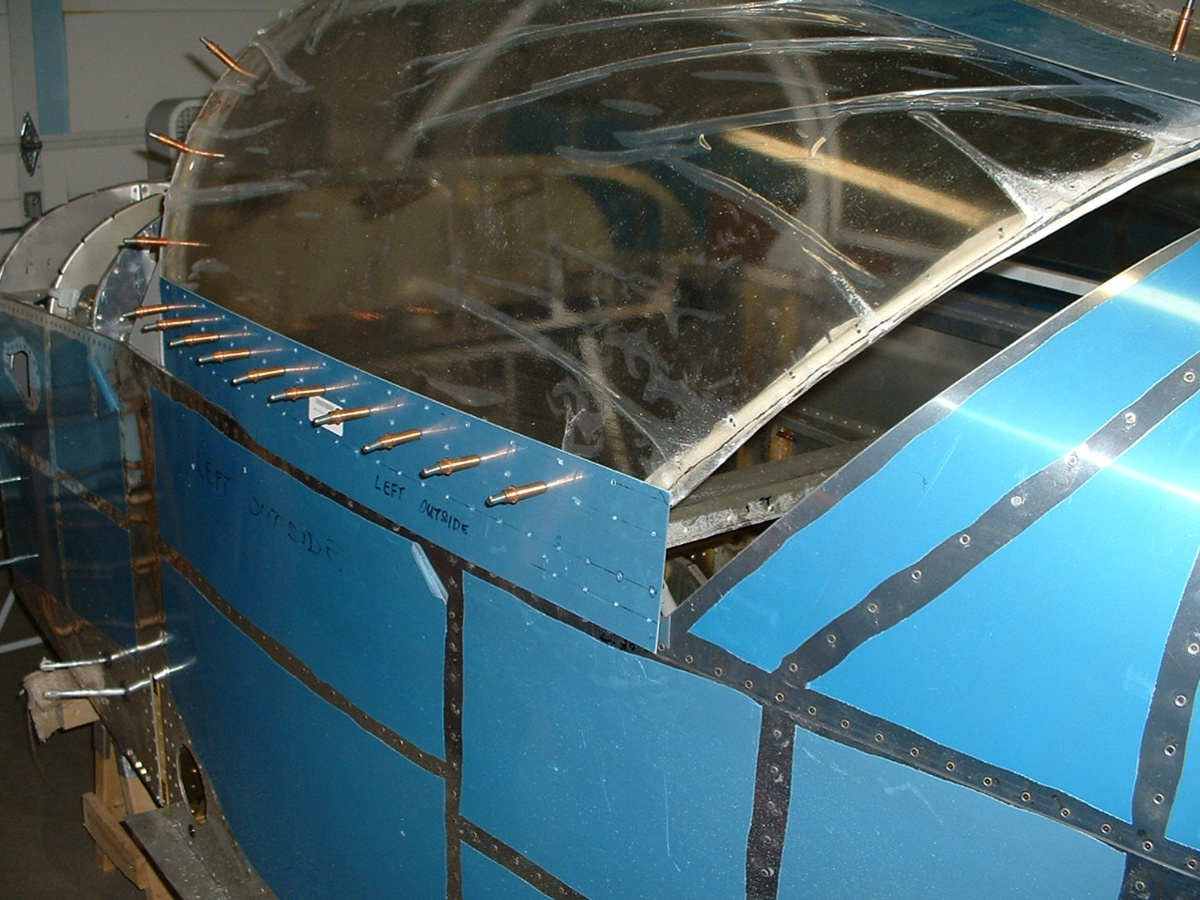
June 30 & July 1, 2004: No pictures today, just more work in short sessions to shape the aft skirts to interface with the canopy and the aft fuselage skin (turtle deck to some pilot/builders). If you look at the top edge of the photo below, you will see one of these skins bent to the approximate shape it has when installed in place.
July 3, 2004: Saturday was a day with a lot
of tedious work on the backup parts behind the plate seen above. There are two
pieces for each side. The ones with the big holes keep the side skirt shown above
stiffly aligned with the fuselage sides. The other piece (C759) is used to grip the
lower side edges of the plexiglass bubble to the sliding steel frame.
Here is the canopy after yet another trim along the aft edge and enlarging many
of the rivet and screw holes. I get the feeling that I will trim it one more time in
the next few days.
| CLICK HERE for finishing kit page 47. | RETURN to MAIN MENU |