FINISHING KIT - Page 44.
May 31, 2004: The past few weeks have had
business travels as my main endeavor. The past three days have been mine to work on
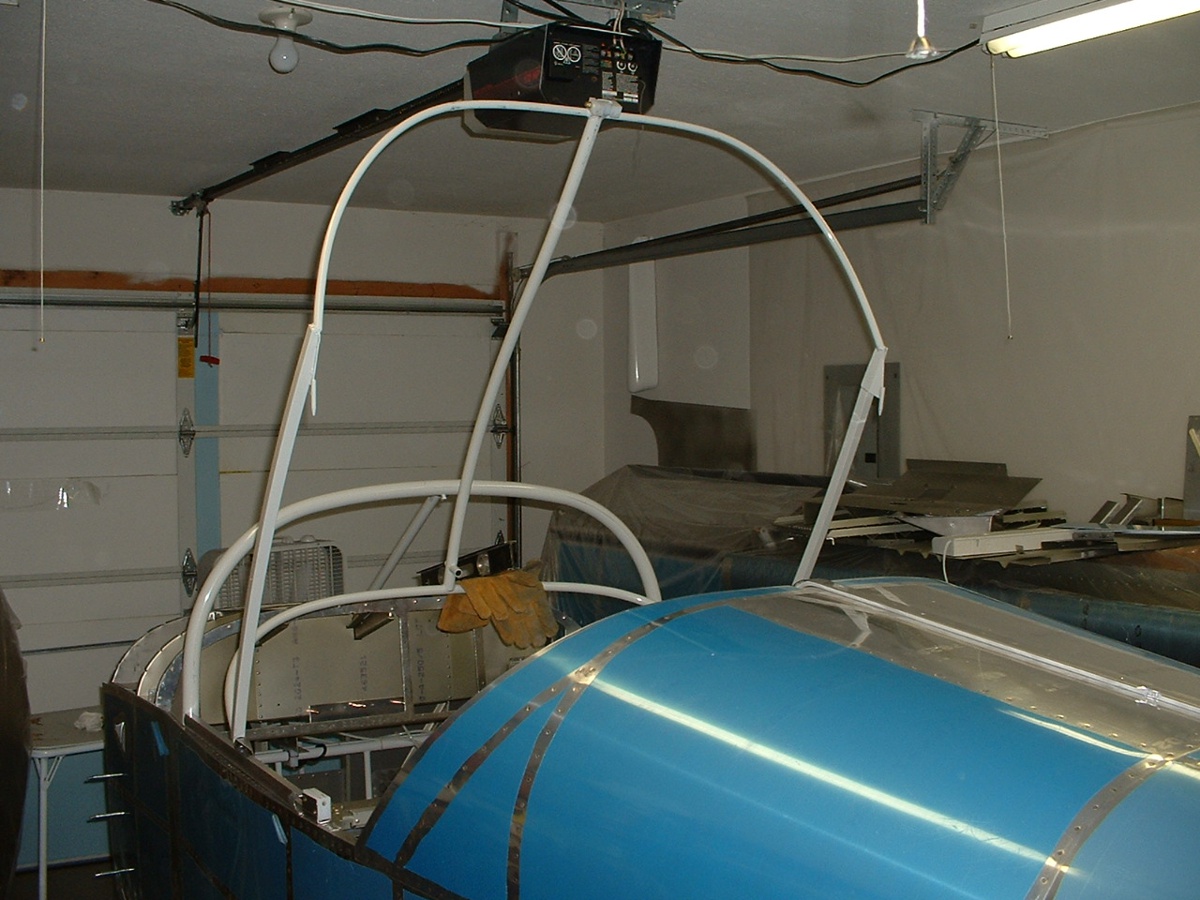
the airplane with some success in small ways. I took a few pictures and have reached
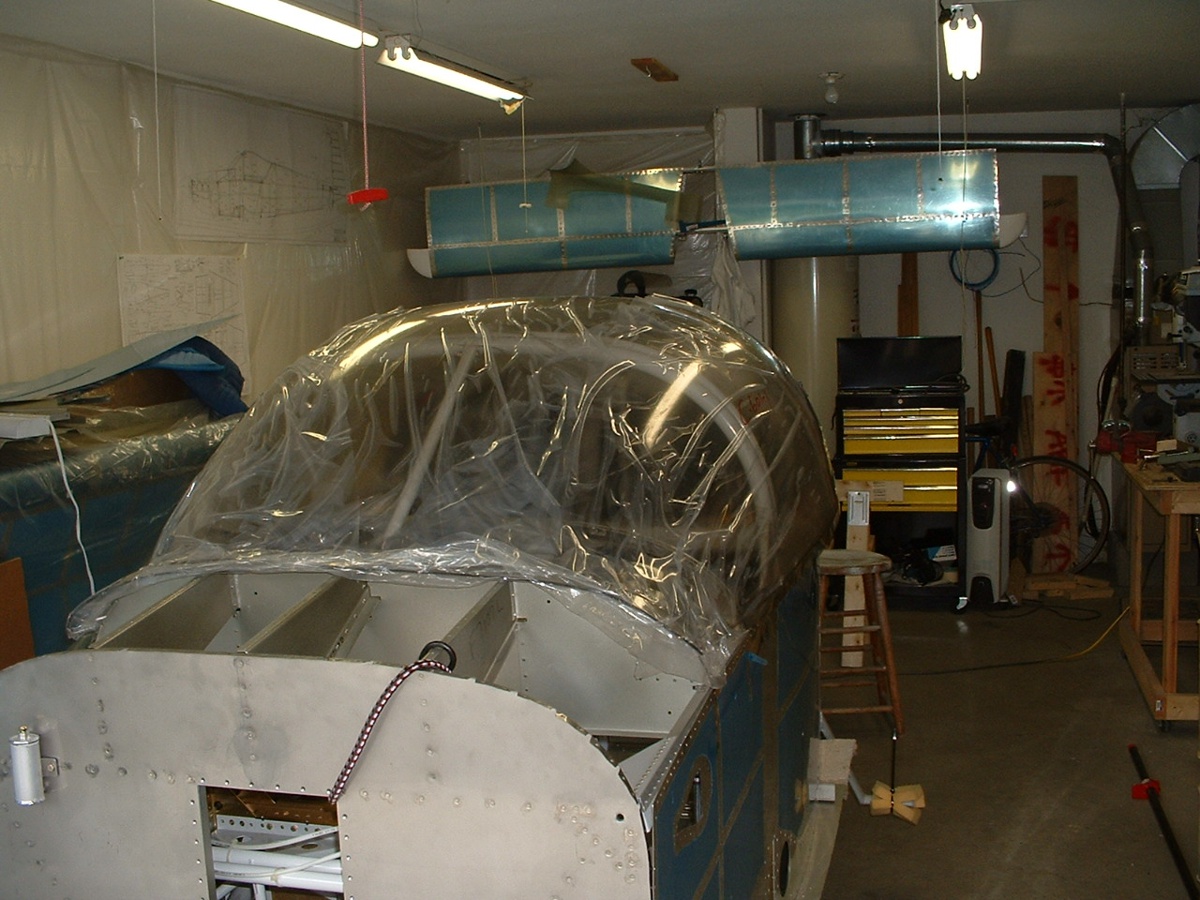
a minor milestone or two. Here is a picture to get my morale up! The
canopy is now out of the living room and in the warm air in the garage. As you can
see the protective plastic is still in place and will be for quite some time to come.
I just had to see this thing up there on the roll bar and canopy frame for a quick
picture. It now lives up near the garage door on end until it is time to start
trimming on it, etc.
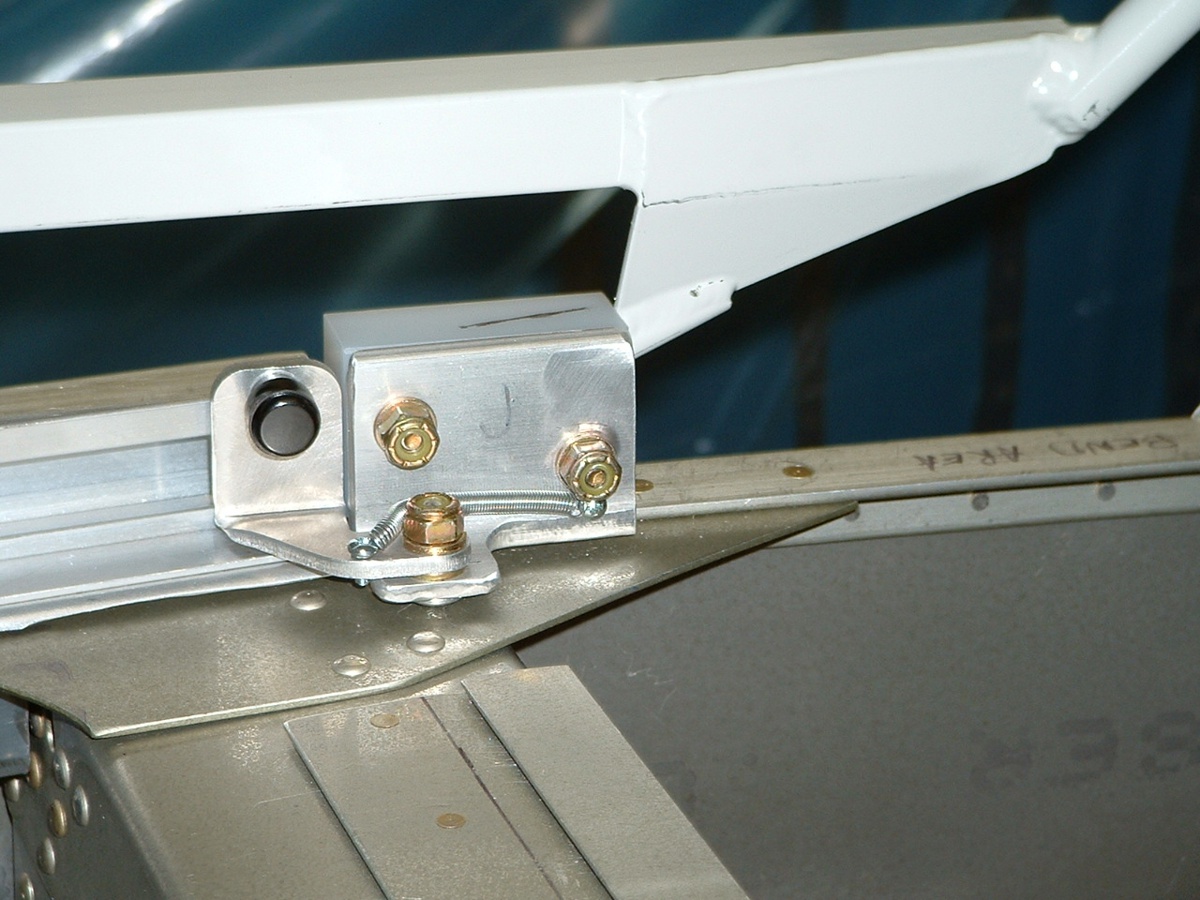
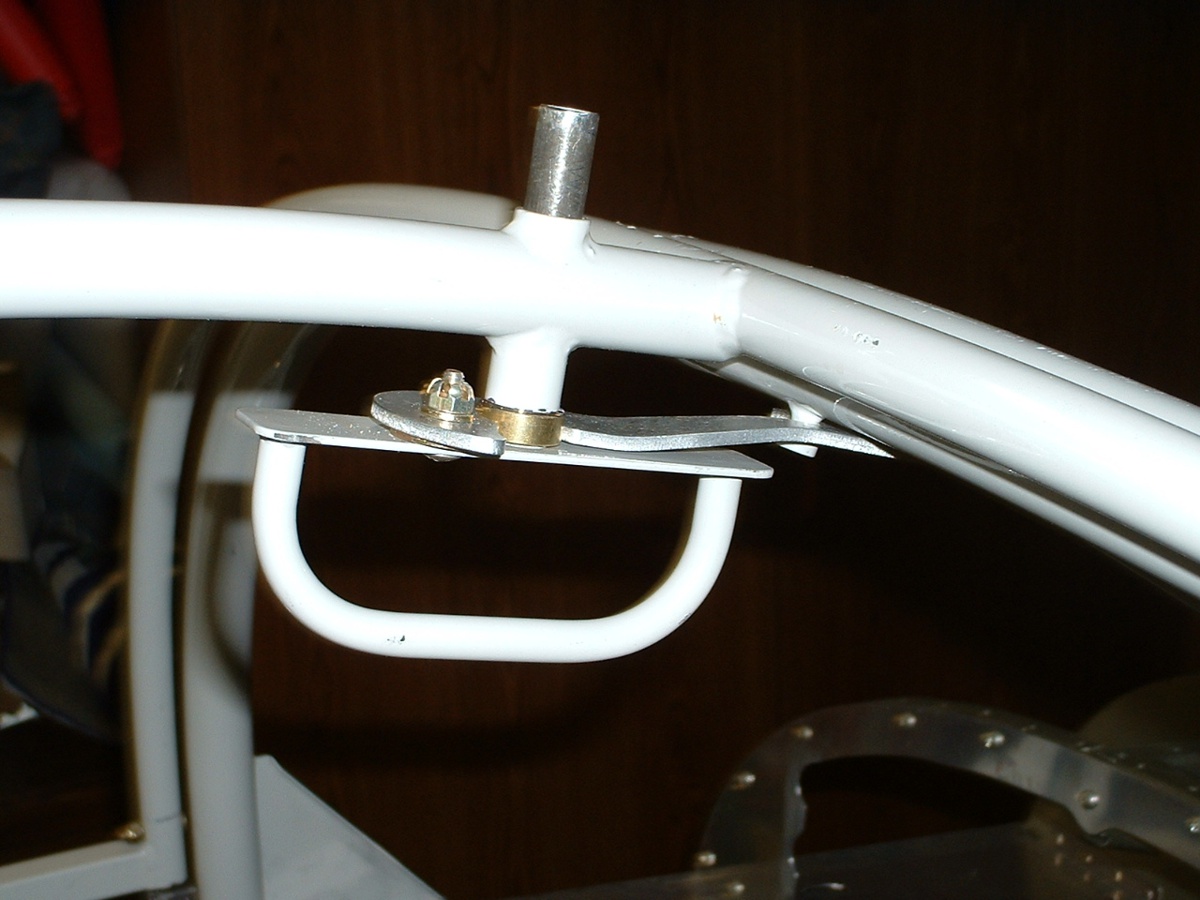
This is the passenger side rear anchor block for the canopy frame with the Meske tip-up modification part in place.
There really is a steel rod from the canopy frame buried in that hard plastic
that is clamped down to the longeron below.
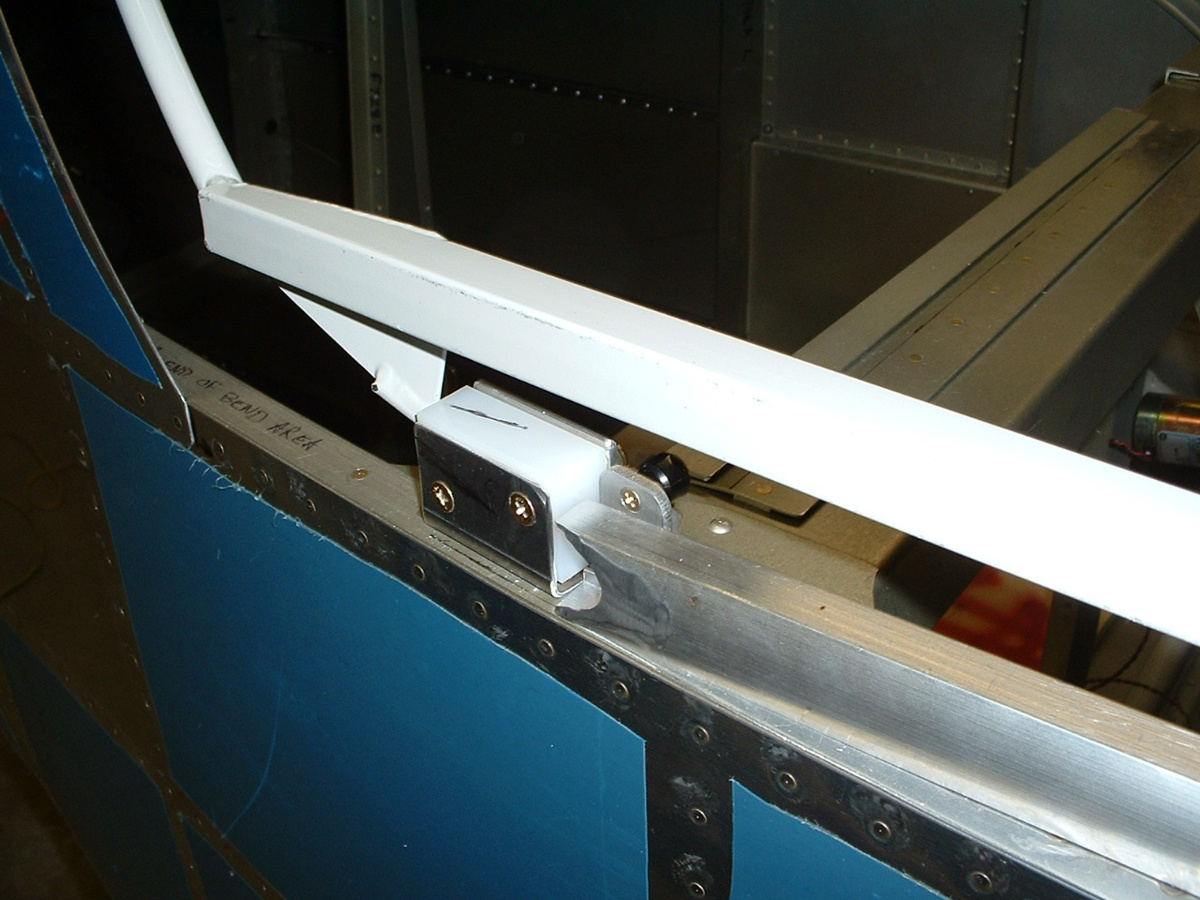
This is the inside view of that same assembly. That latch that is pulled
inward by the little black knob will release the canopy to slide backward an additional
1-inch. Why you ask? That is the subject of the next photos. The notch
in the slider rail below allows the slider block to come off the rail when that tab above
is moved out of the way of the canopy roller on the passenger side.
And of course the reason for doing this is to allow the rear of the sliding
canopy to tip up and make the 12.5 cubic feet of cargo space behind the seats easy to
access from either side of the aircraft.
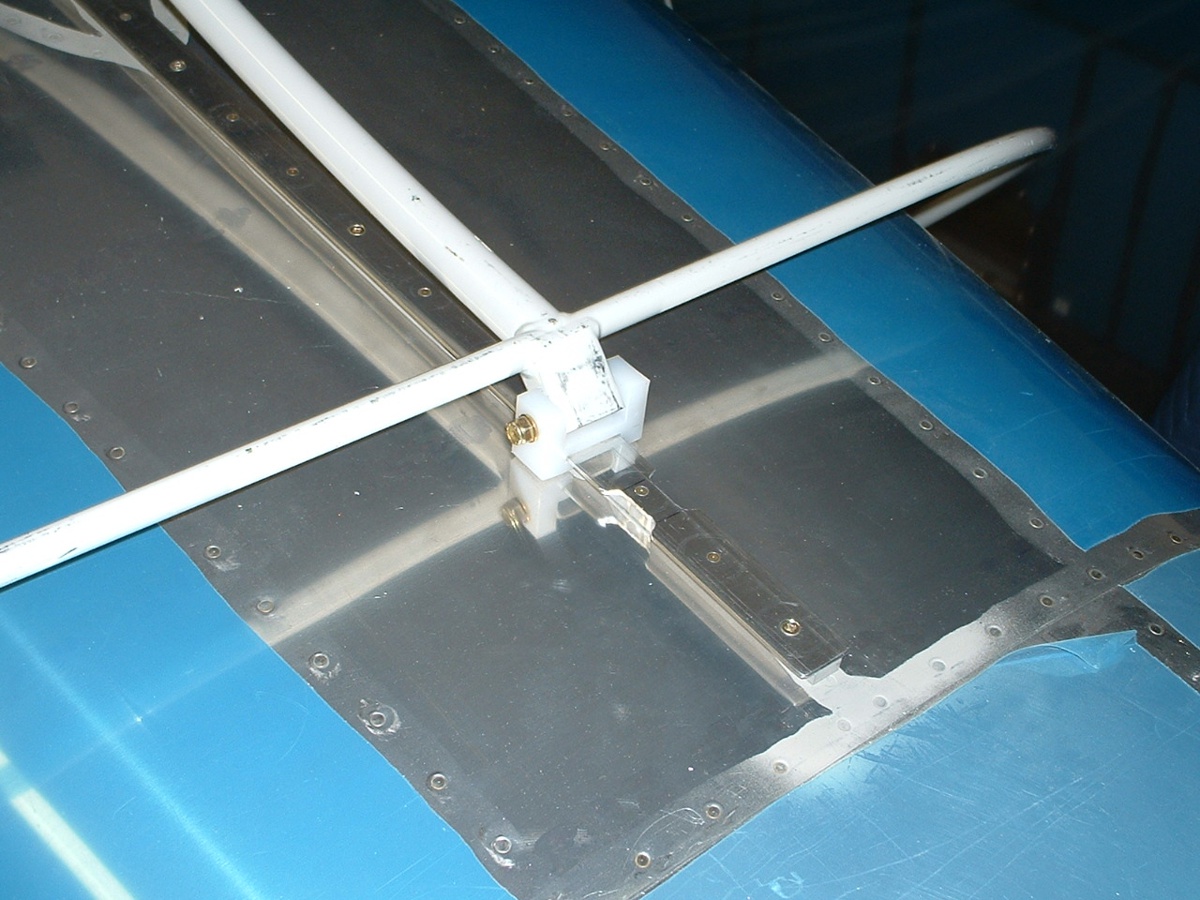
Here is the handle that secures the canopy to the windshield roll bar. I
had to cut off some the tube that is there and reshape the aluminum clamp slightly to
interface with the steel peg on the roll bar. It is looking more like an airplane is
going to really come out of all these little jobs.
Total construction time in the past three days is 17 hours. The total time for actual construction stands at 1062.4 hours.
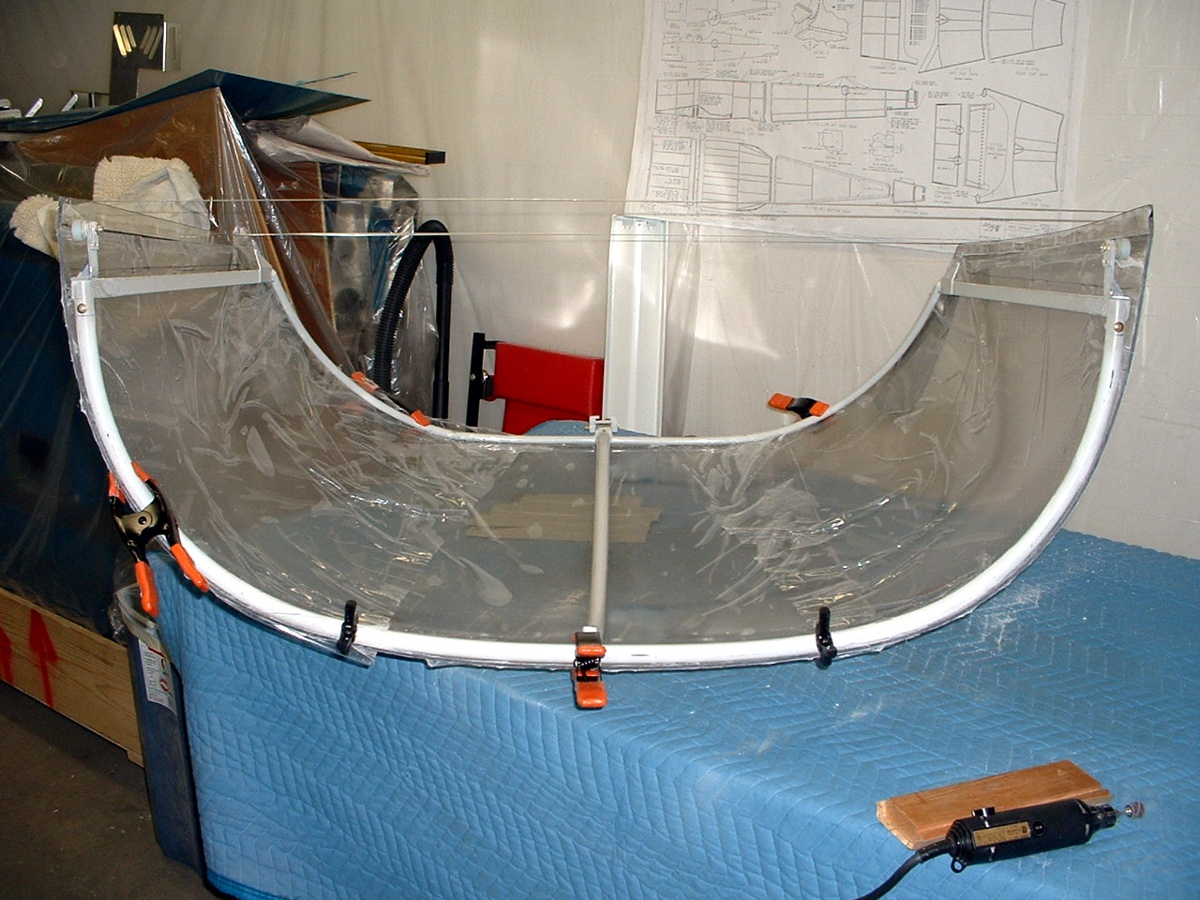
June 2, 2004: This was the day to begin
cutting the Plexiglas canopy. I bought an air-powered die grinder and set to work
cutting off a little corner of the plexi to see how it would go. I realized when my
arm started to feel "hot" debris that the Plexiglas was being melted away by
the cutoff wheel. I drilled the hole in the canopy for that handle you see in the
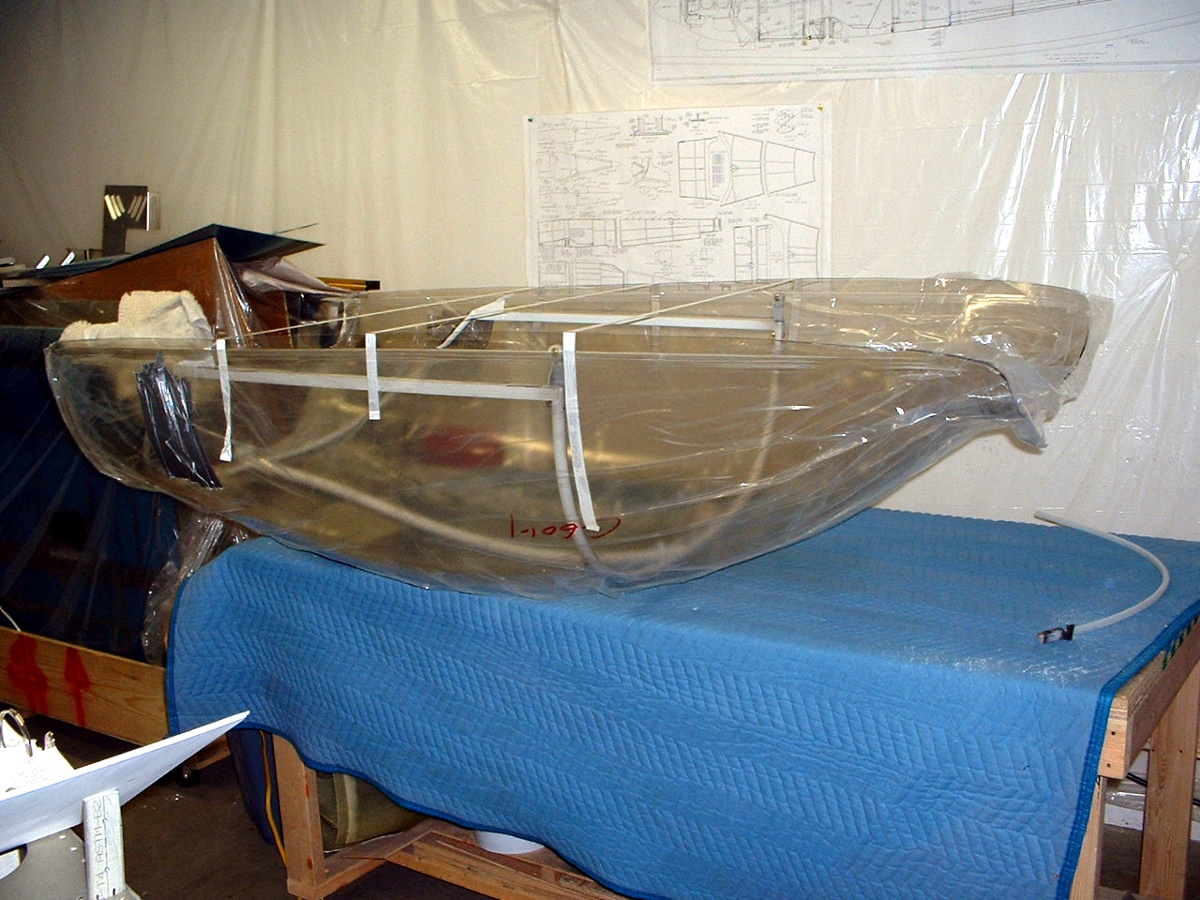
photo above for external access. The canopy is shown below on my padded work table
after marking the cut lines in a conservative location. I used three pieces of
filament tape to hold the canopy close to the frame while checking for the correct
placement of the frame in the curve of the canopy. The forward end of the canopy is
at the right side of the picture.
And here is the result of the first cut along the aft end of the canopy.
I put a new piece of sand paper on the sanding block and started to deburr the edge after
the cut. That was when I realized one of the reasons for doing this as I cut the end
of one of my fingers on the plexi. I will wear leather gloves while holding the
sanding block when I resume work in my next session. Today was a total of three
hours including some finishing work on the canopy frame modifications before I started to
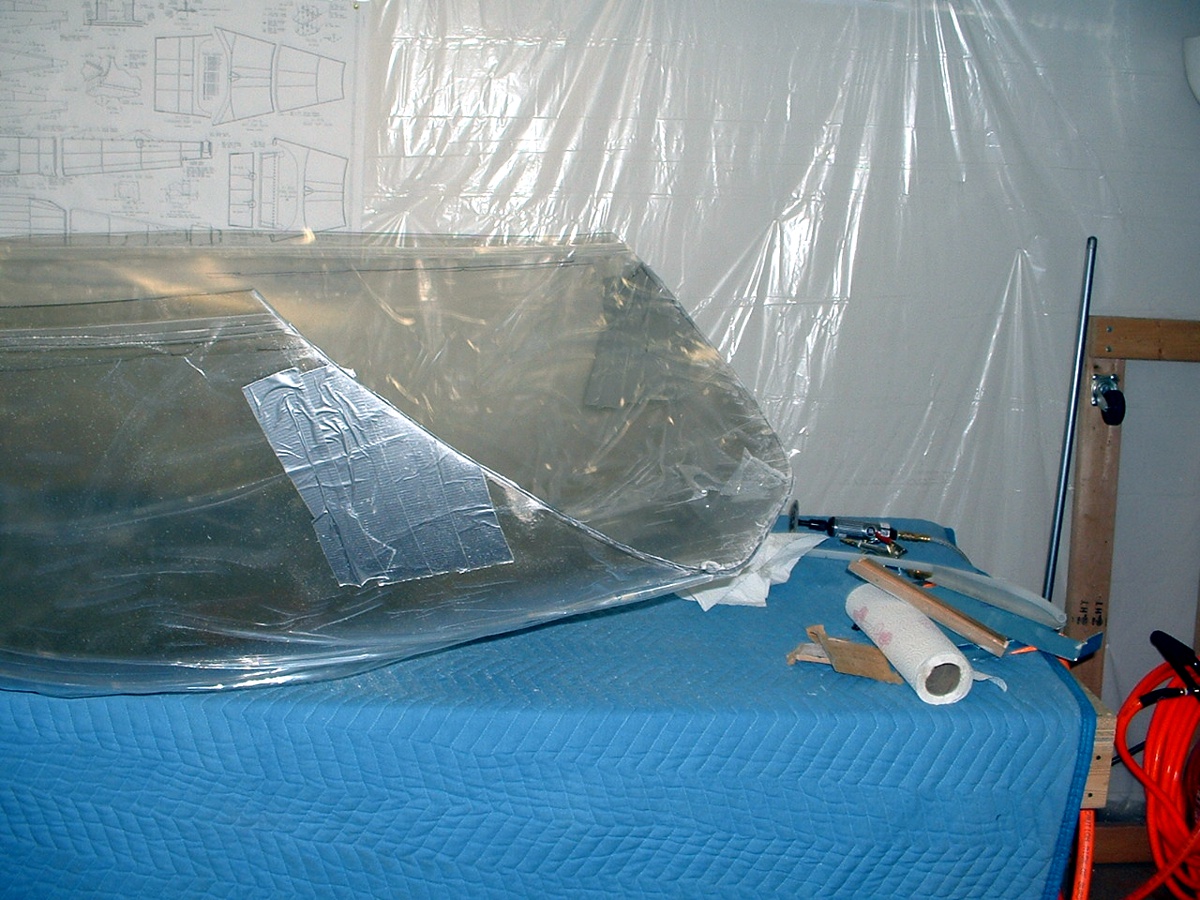
work on the clear canopy itself. The plexiglass is covered with a layer of plastic
sheeting on both the inside and outside of the canopy. The gray duct tape was there
during shipping to prevent chafing against the canopy frame which was over the canopy in
the shipping crate.
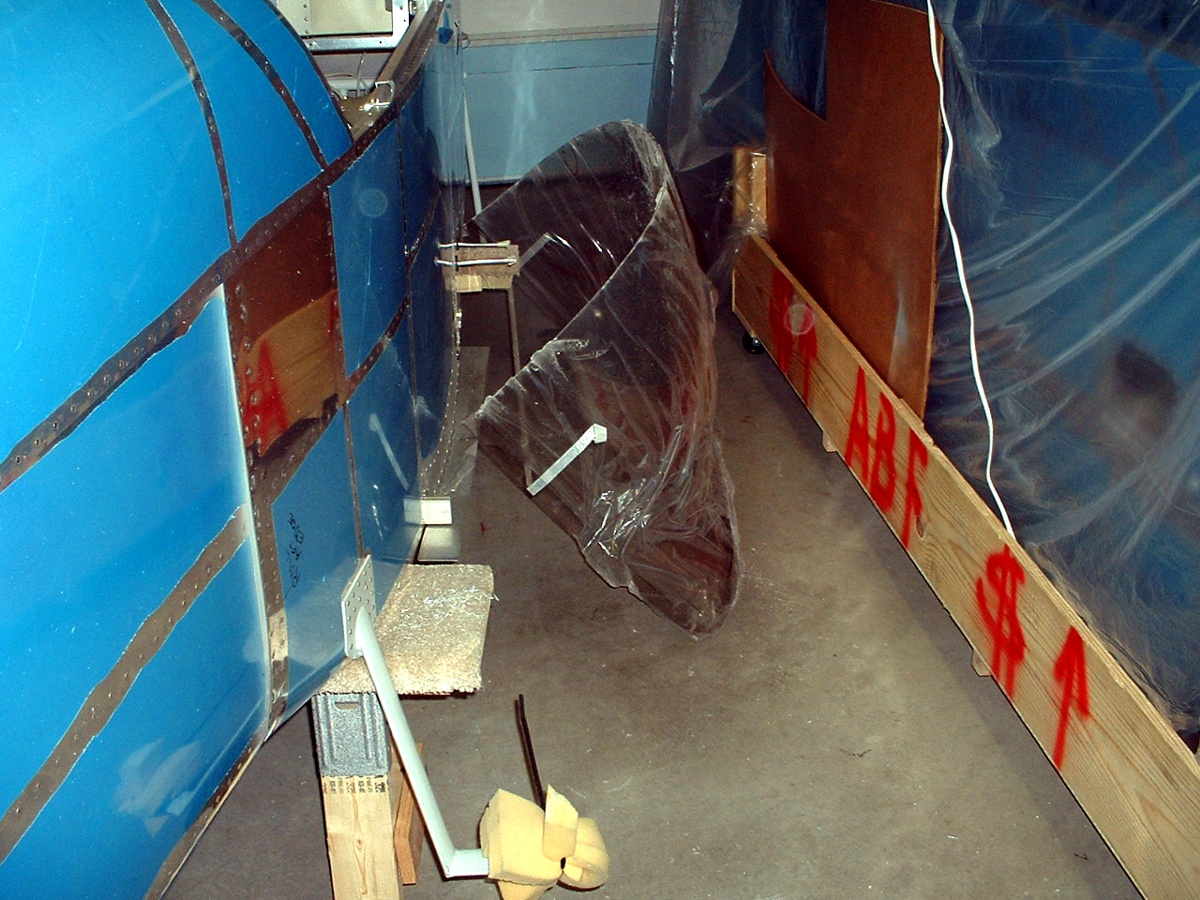
June 3, 2004: All is well and the windshield
and the bubble canopy are now separated. I have only had time to sand the front edge
of the canopy and have not yet touched the cut on the windshield with any sanding device
(Dremel, sanding block, etc.).
I have opened the hole in the plexi to allow the tube for the latch handle to pass through
with a good close fit. You can see the clamps to get a good fit similar to the way
it was when I cut the main edge. The glass tape is visible helping to hold the sides
in something of a "normal" position while I was double checking the fit of the
frame with the canopy after the cut.
The windshield is stored out of the way for now and will be cleaned up in the
next work session. The temperature in the garage was around 80 degrees F this
morning when the cut was made. No cracks or problems with either piece since the
temperature was "just right" for the work. That piece of glass tape that I
had on the front of the plexiglass is still in place on the windshield section. You
can see the dust under some of the protective clear plastic sheeting that is on both sides
of the plexiglass.
| CLICK HERE for Finishing Kit page 45. | RETURN to MAIN MENU |