FUSELAGE CONSTRUCTION - Page 27.
October 19, 2003: I did not want to make
page 26 too long to load for you dial-up users, so I thought I would continue with a few
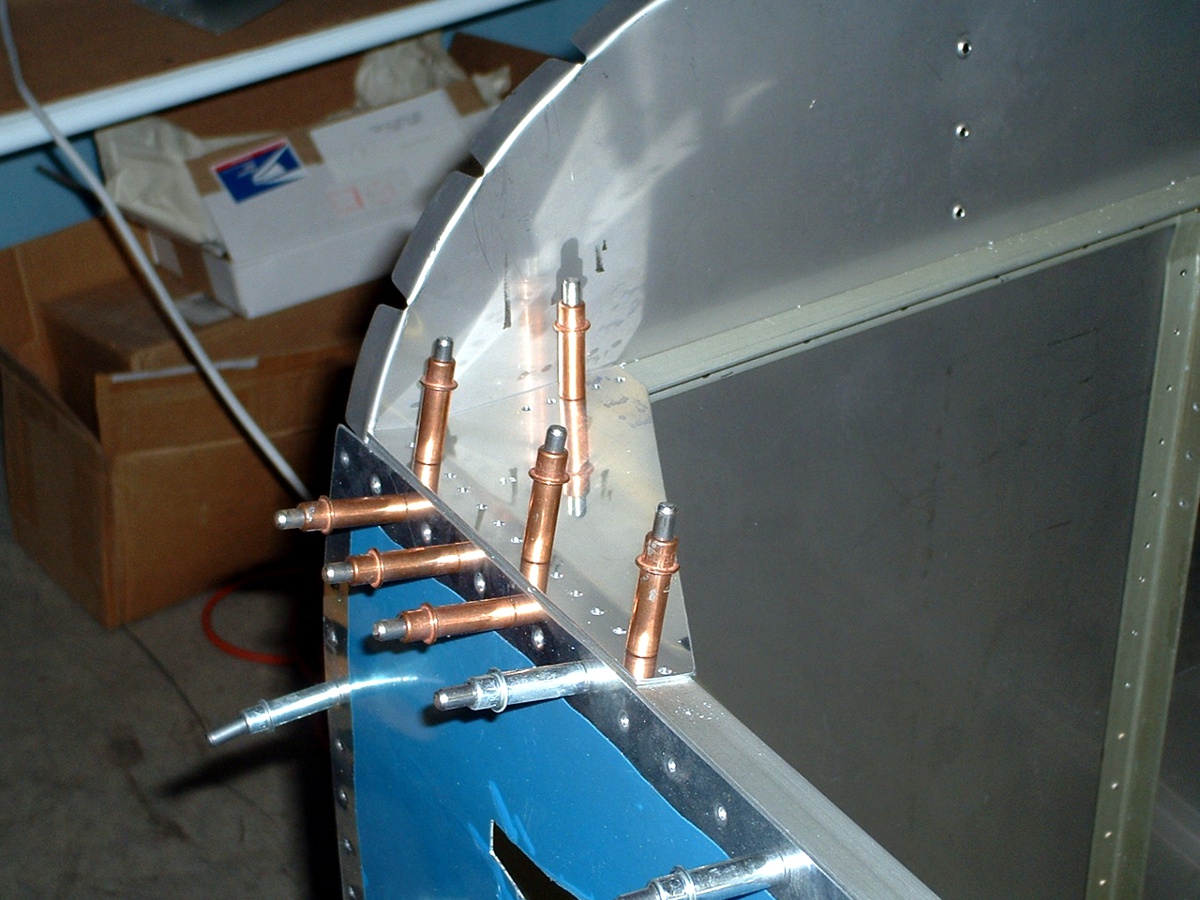
more pictures here on page 27. Here is the F-795L gusset at the firewall and the
left main longeron. This is at one of the main hard points where one of the engine
mount bolts will be attached to the firewall.
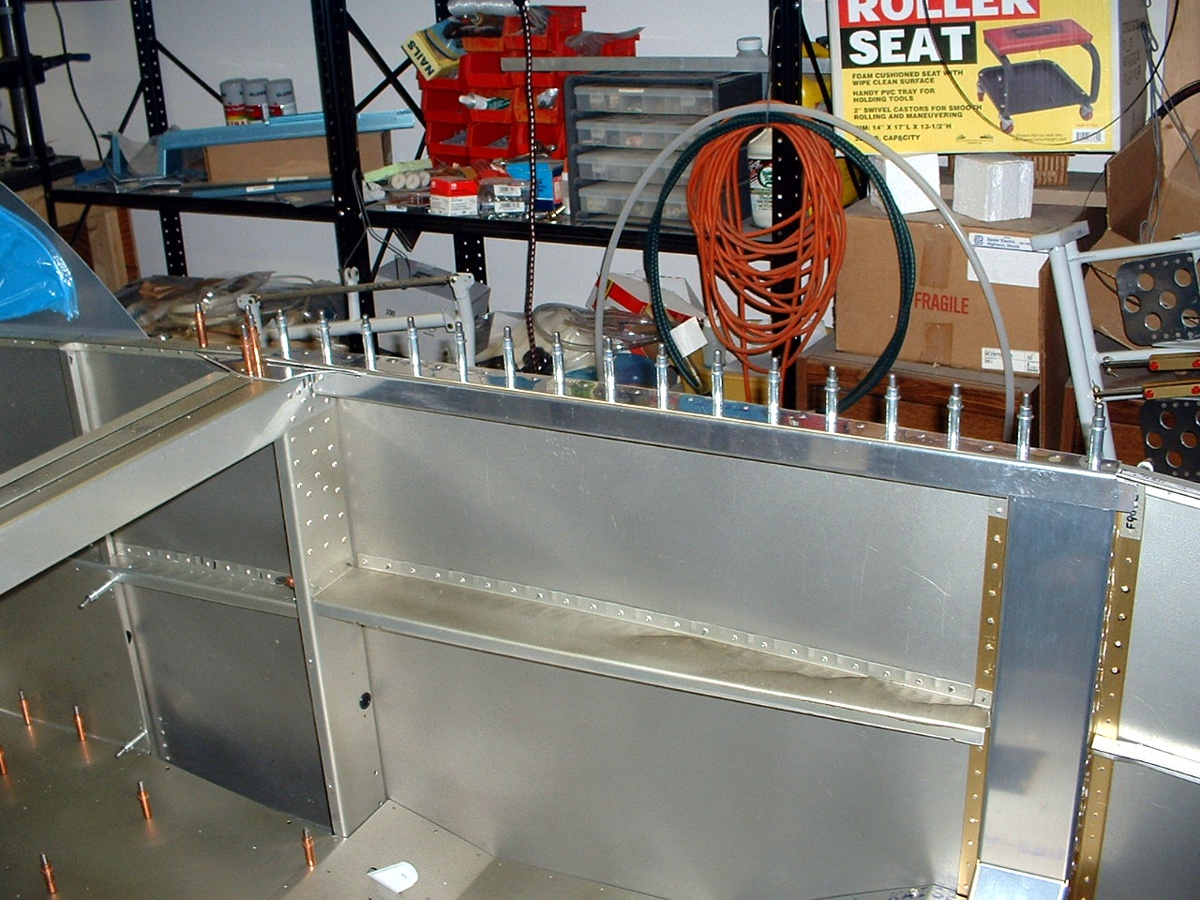
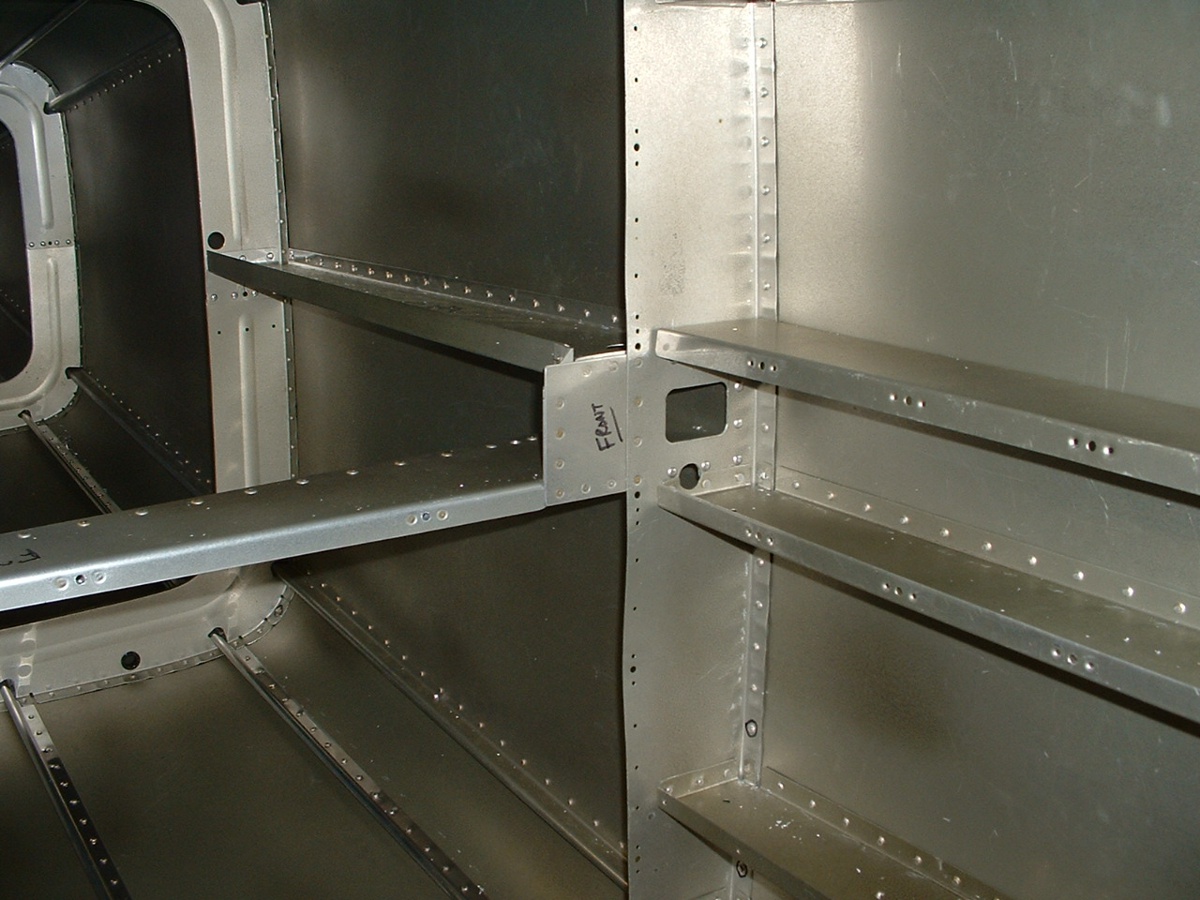
Here is a view of the armrest and the F721B deck that is at the main entry
location for the pilot seat. I will have another priming session before I rivet
these parts in place permanently.
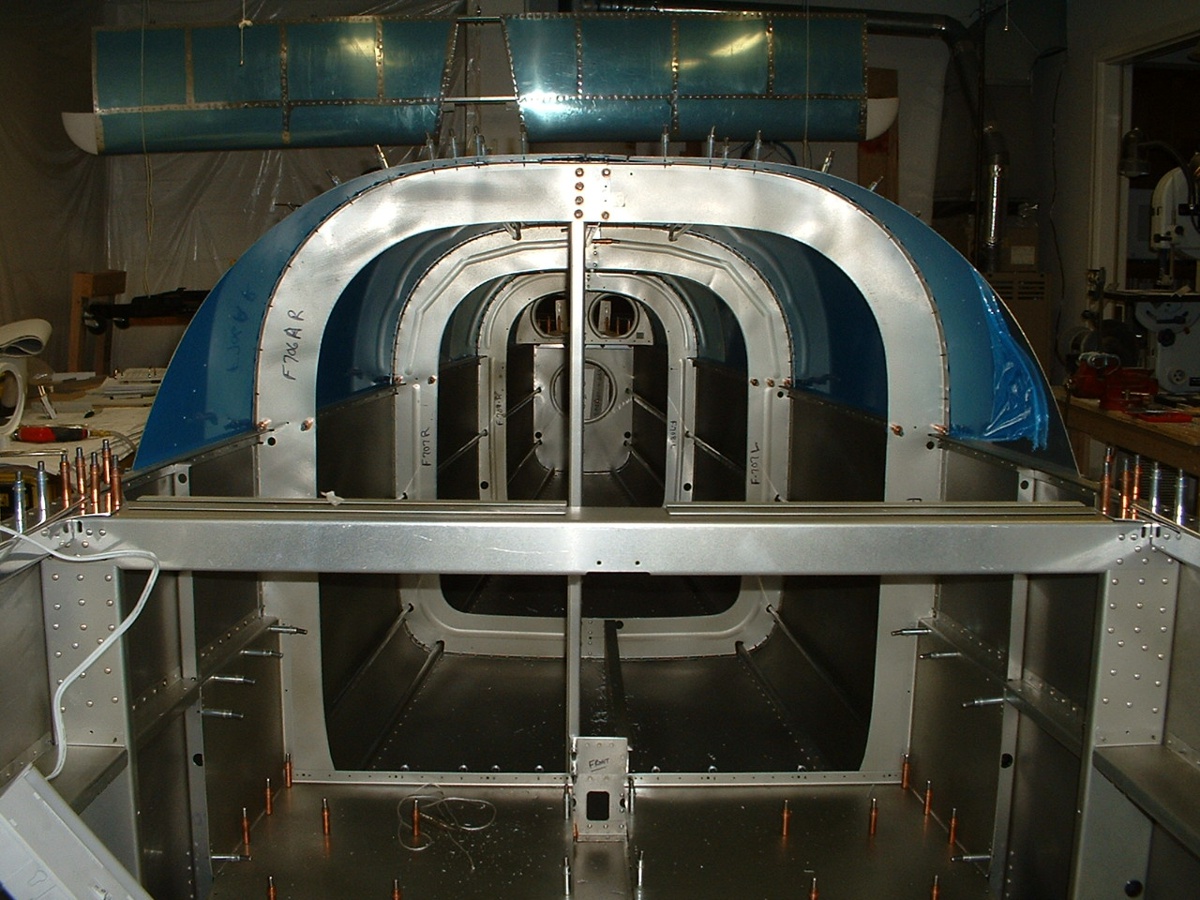
One last picture before turning out the lights on a Sunday night. The
view inside the aft section with everything clecoed in place. After I finish
match-drilling the skins to the skeleton, I can go on to finishing the interior details.
That tail cone became VERY rigid when the top skins were put in their proper places
and clecoed down to the bulkheads, J-stringers, and the main longerons. I continue
to sing the praises of this kit design with every part fitting so perfectly. Thank
you again Van and team for a fine airplane!
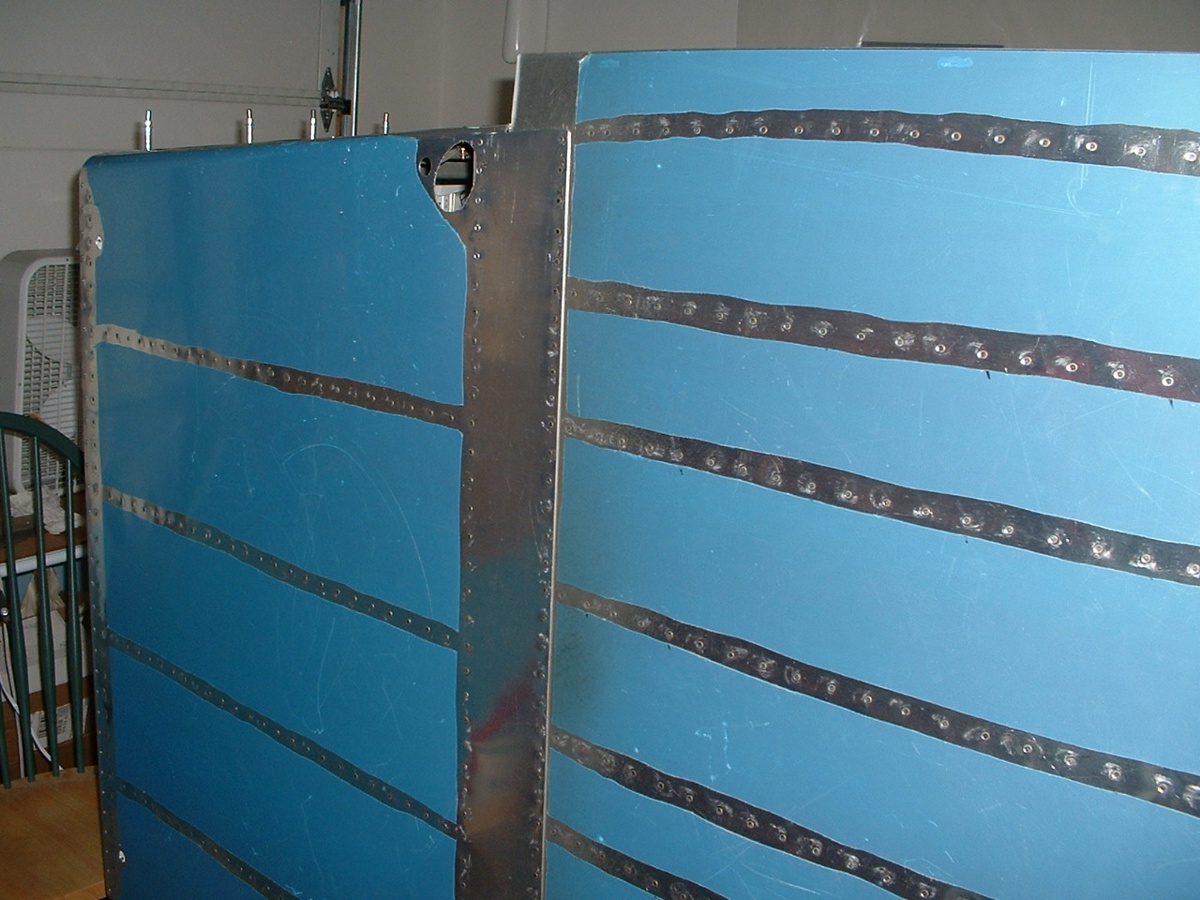
October 20, 2003: My riveting partner
stopped by on his way home from his "day job" and we managed to finish off the
remaining side and bottom skin rivets, and some inside rivets as well. You can see
that all the rivets are in the outboard seat ribs to the side skins. We rolled the
fuselage up on its sides to do these rivets and the ones on the bottom skin for the aft
wing bulkhead. You can see the two black rubber grommets for the fuel line and vent
line which will connect with the fuel tank in the wing. The black bushing in the
side near the large round hole is for electrical wiring. I also have to put a hole
near there for the pitot tube.
No more empty rivet holes on the bottom side. I will soon be able to
install the main landing gear weldments and enlarge the hole you see and the one that is
out of the picture to clear those steel weldments.
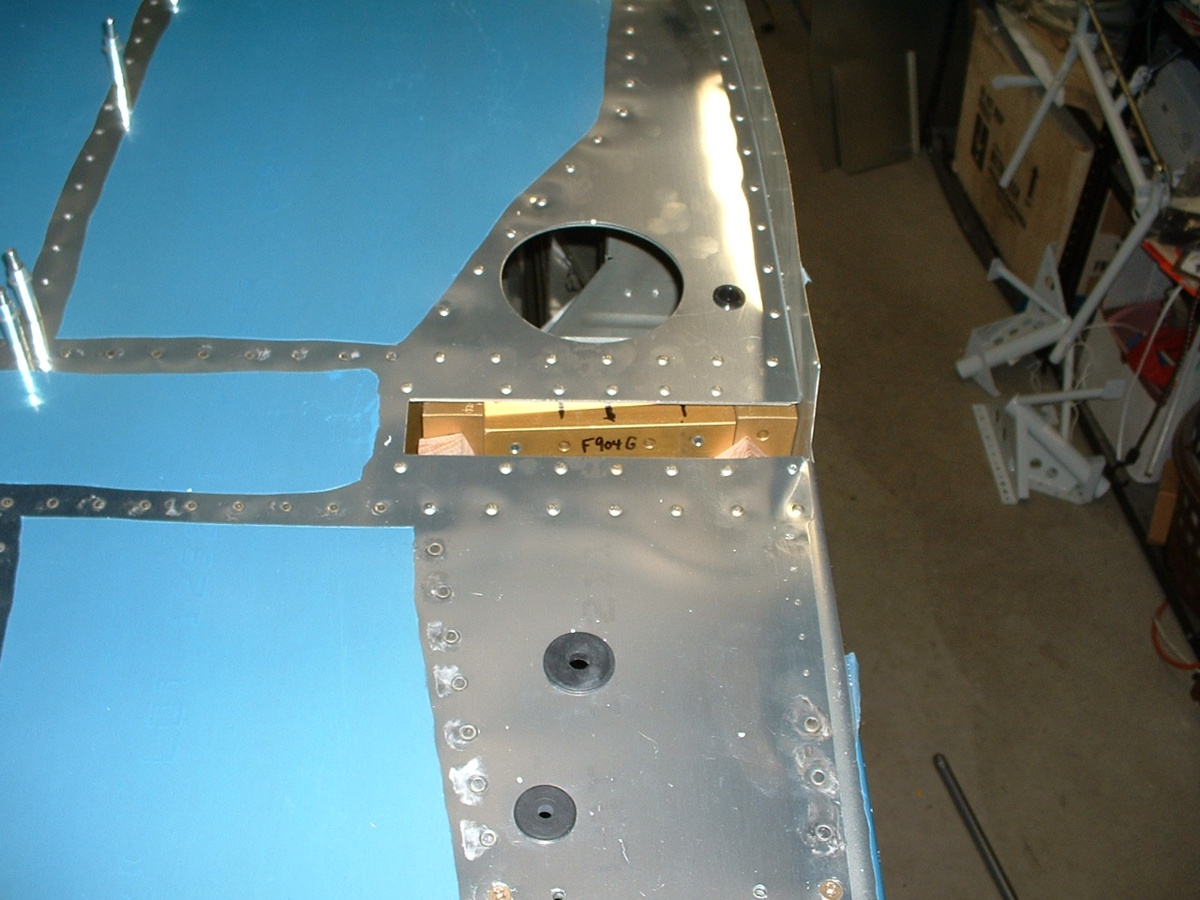
Here is a part you last saw way back on page 19. It is now riveted in its
final resting place and ready to accept the plastic bushings for wiring and the elevator
trim cable. This is the F706 bulkhead which is also the back side of the baggage
compartment. I started to work on those panels today, and should be putting in the
deck plates for the baggage compartment in my next session. Remember
that all three of these pictures for today are taken with the fuselage resting on the
RIGHT side.
| CLICK HERE for fuselage page 28. | RETURN to MAIN MENU |