FUSELAGE CONSTRUCTION - Page 23.
September 9, 2003: I figured out the right
way to orient the tail cone to finish those last 10 rivets I could not set in the
"normal" work positions up on the saw horses. Look at that position!
It worked! The remaining rivets connecting the right side skin to the bottom
skin are now all in place. This whole procedure took about 15 minutes this
morning. There were a couple of clecos on the "front" bulkhead that I
could not turn around. That is why it is deformed slightly as those clecos
press
against the garage floor.
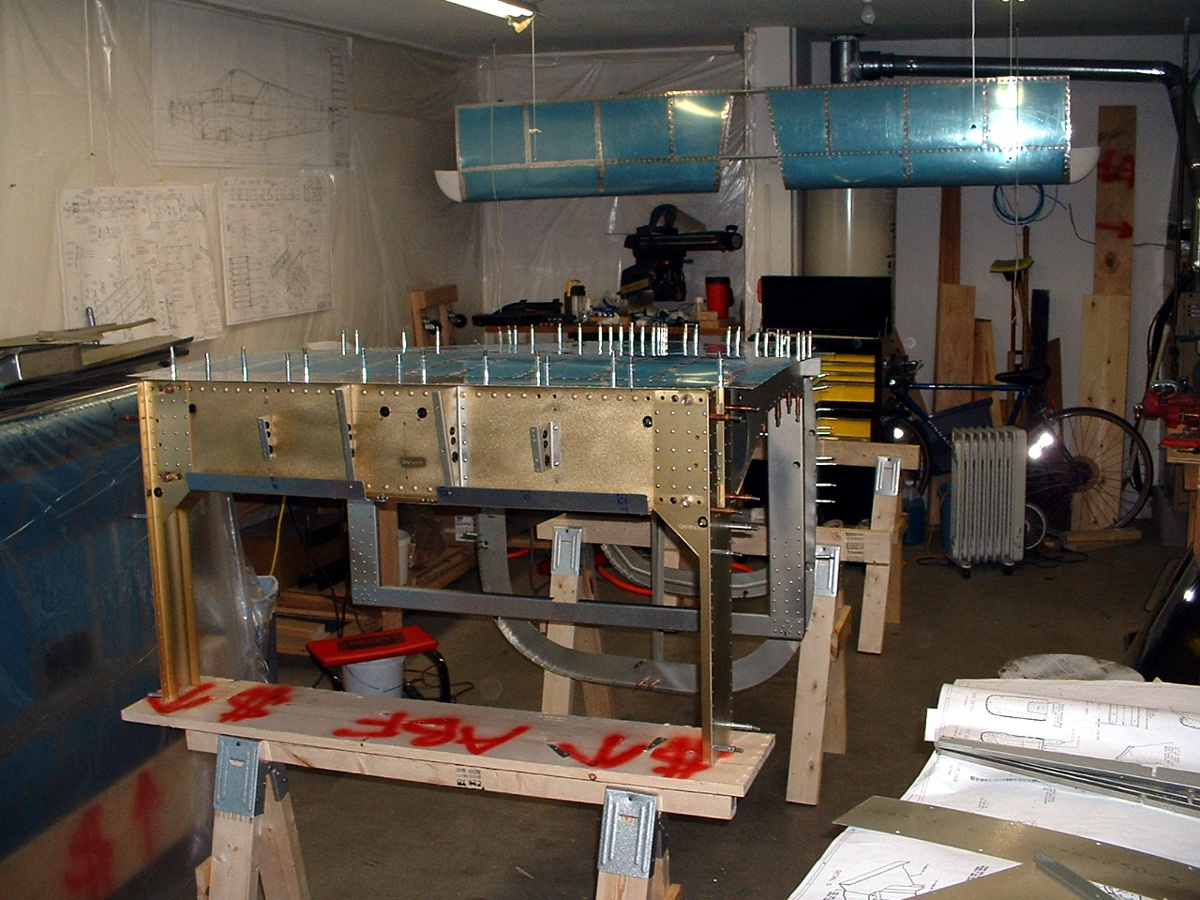
That wooden crate you see in the right side of the picture above was disassembled
in my evening session. I then got the chance to assemble the center section seat
ribs and baggage ribs to both the bulkheads that are in the center section as you can see
in the photo below.
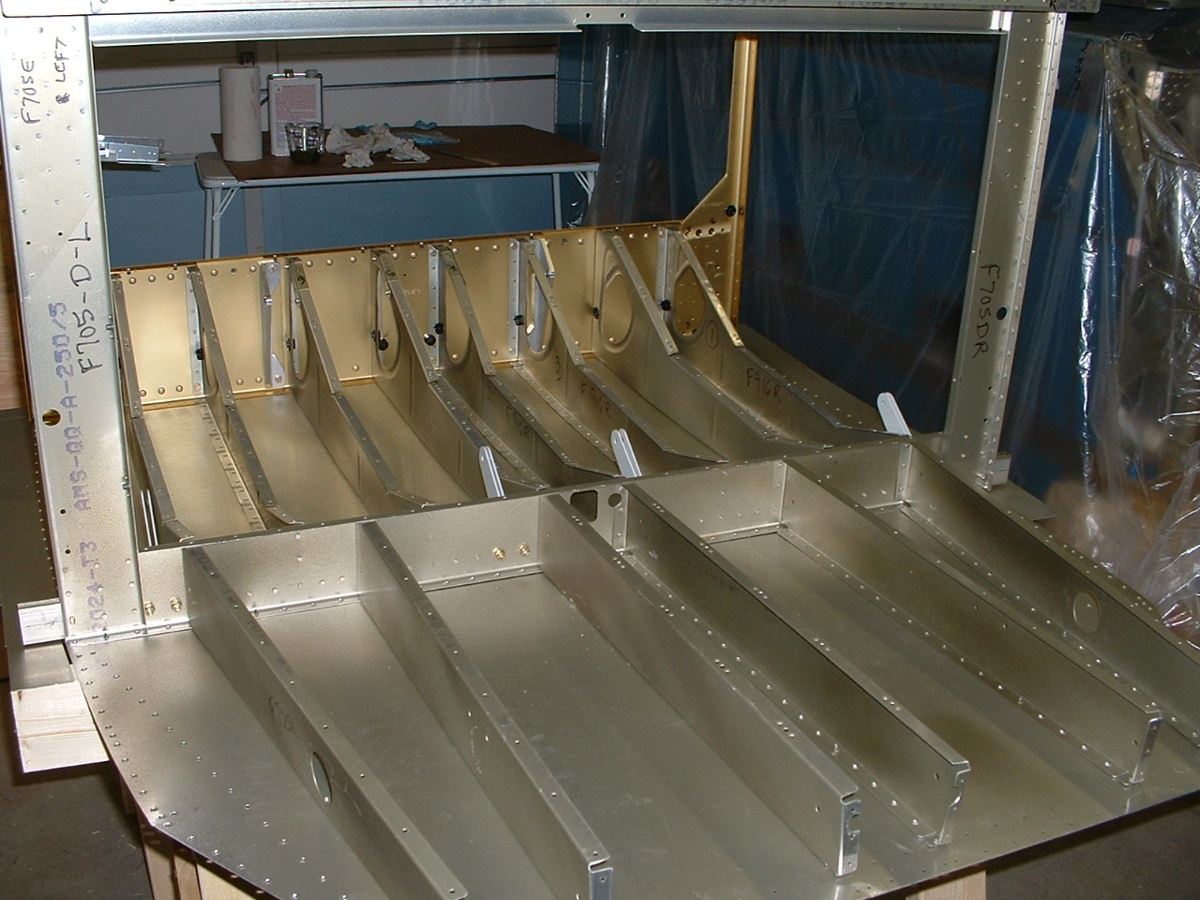
Those gray tabs you see sticking up are the painted steel seat belt attach points.
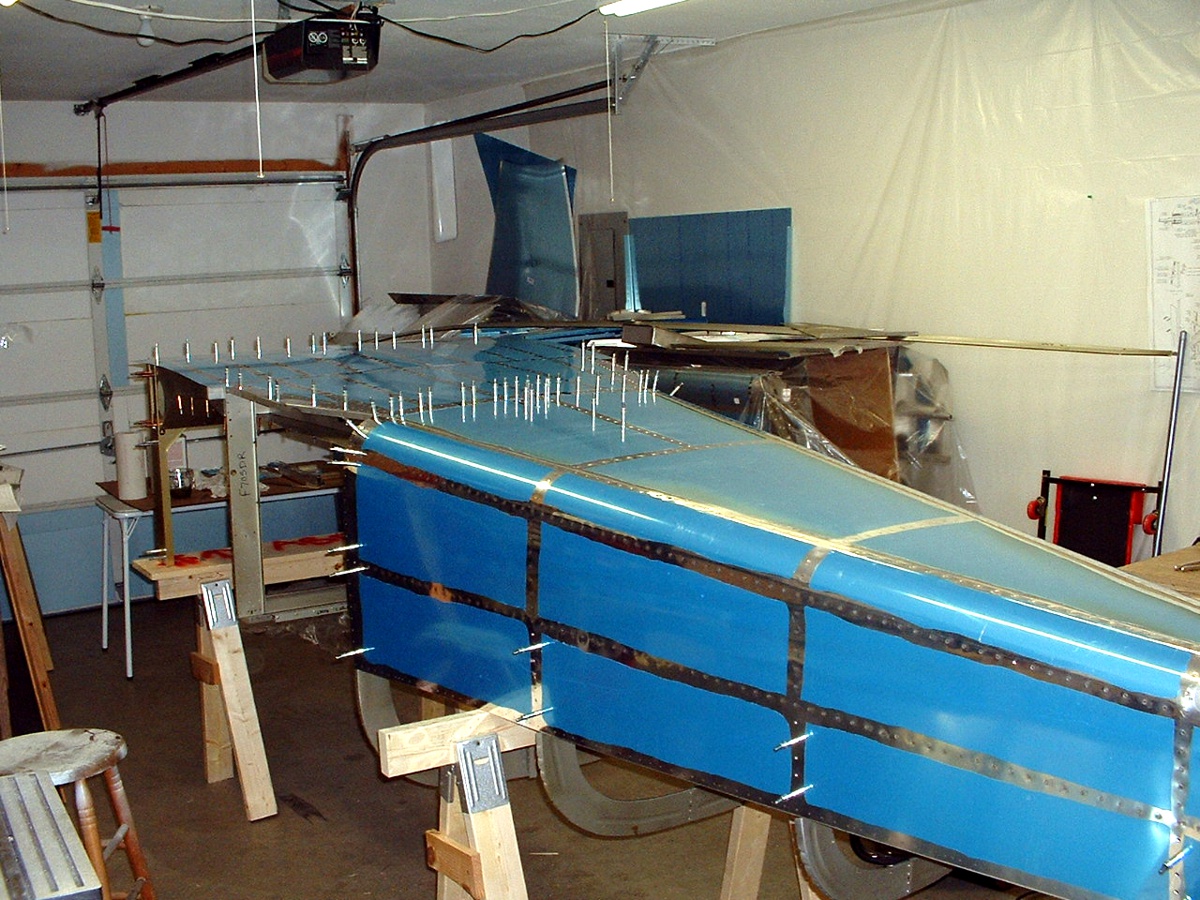
September 10, 2003: A good day to reach a
construction milestone! I finished riveting the seat and baggage ribs together and
to the bottom skin. Then I joined the aft fuselage to the center section as you can
see below.
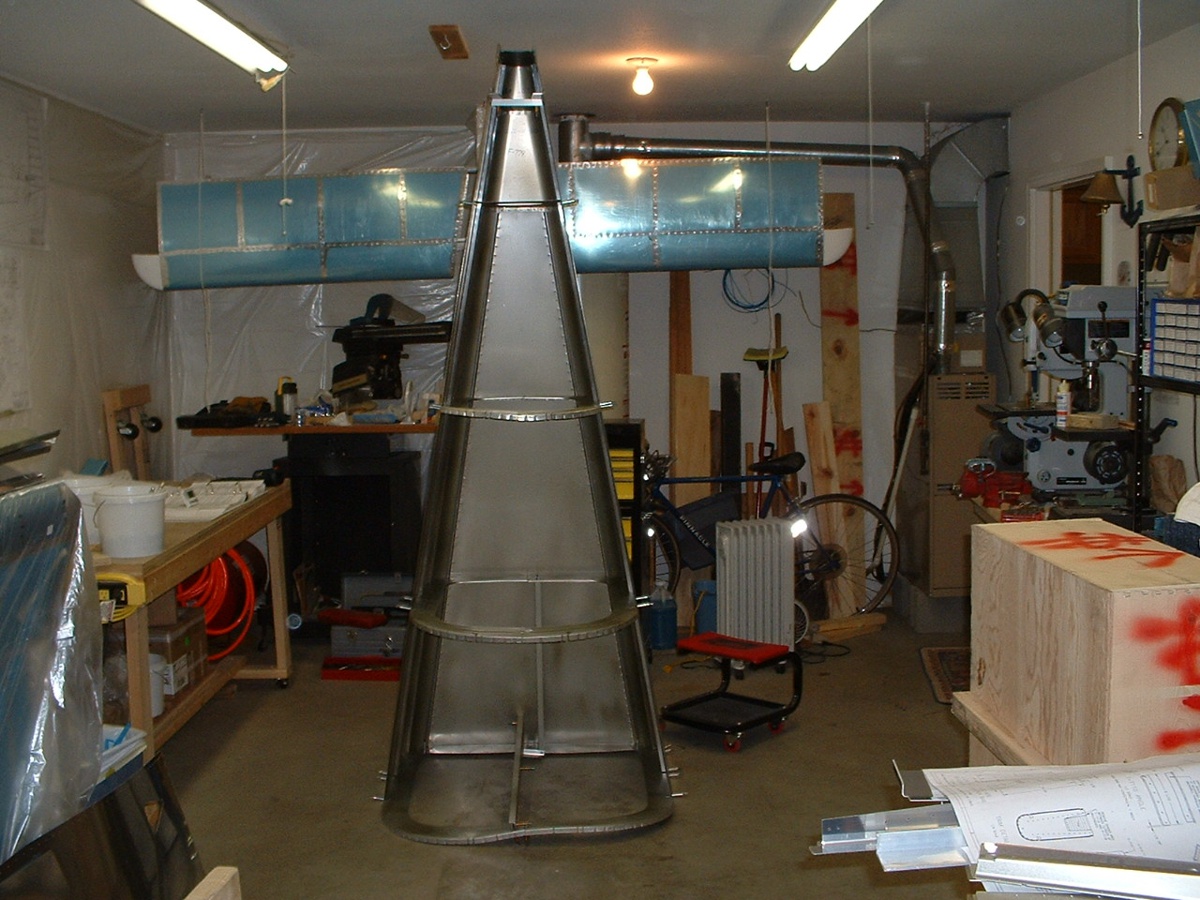
I had to modify my saw horses with some boards from the shipping crate I
recently dismantled. One saw horse was not wide enough to interface with the F904
bulkhead side rails. This picture from the front hides the tail cone except for the
curved bulkheads.
And here is where I called it a night at 2:15 AM!
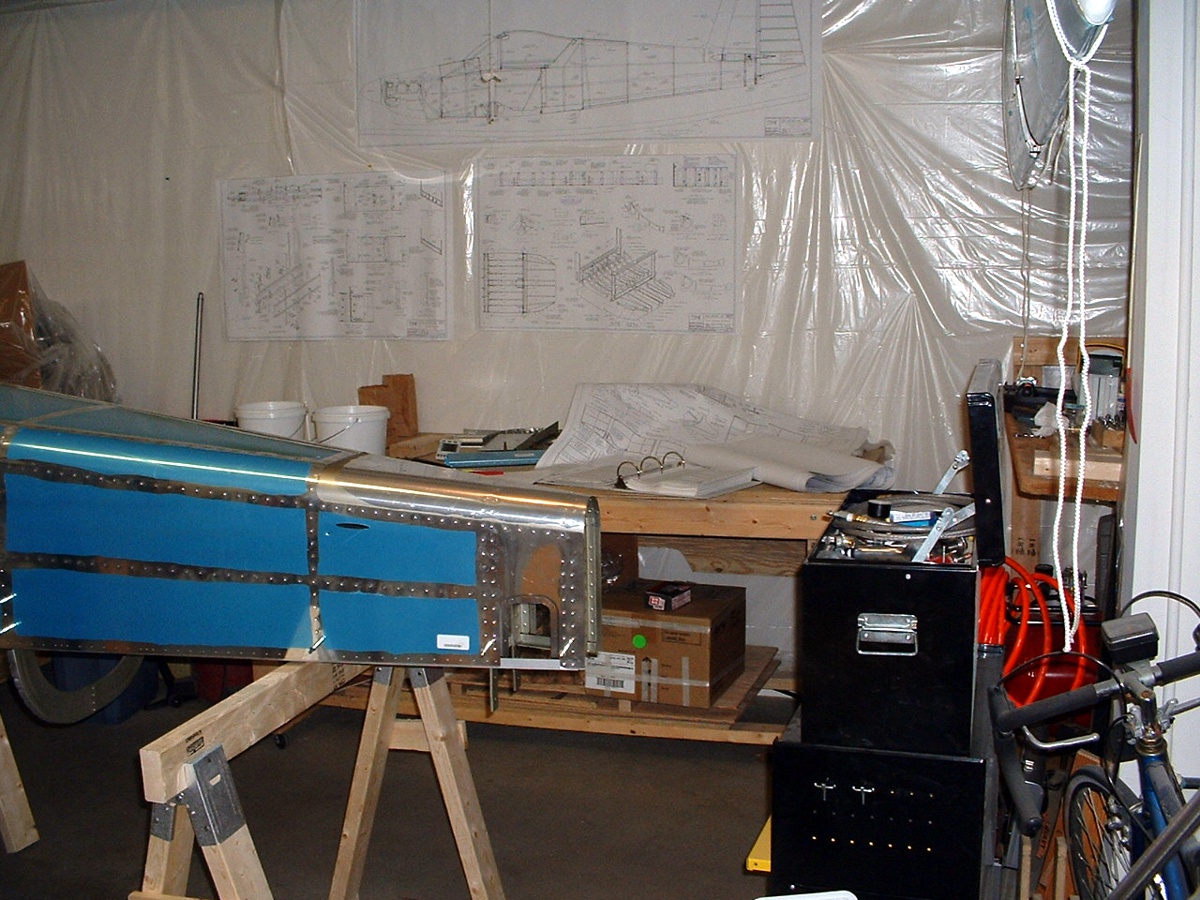
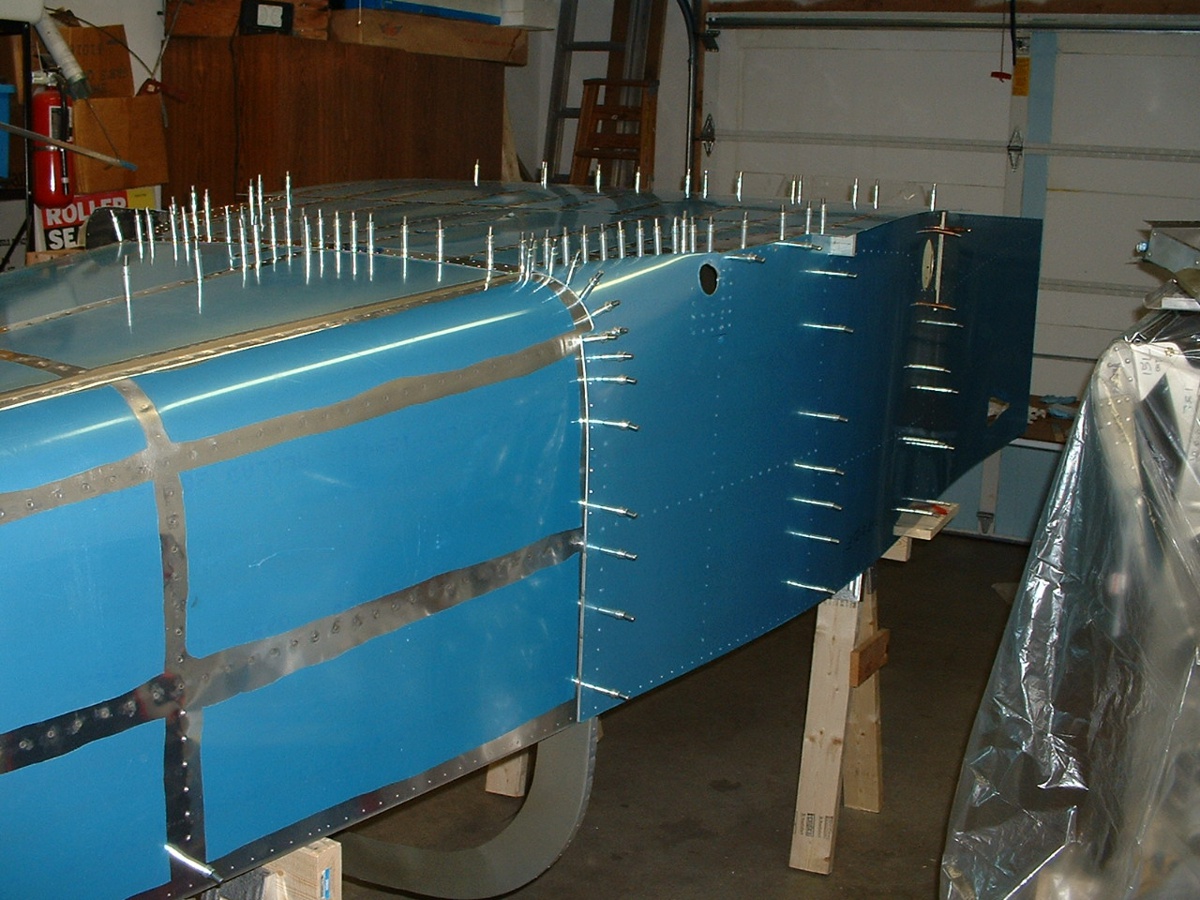
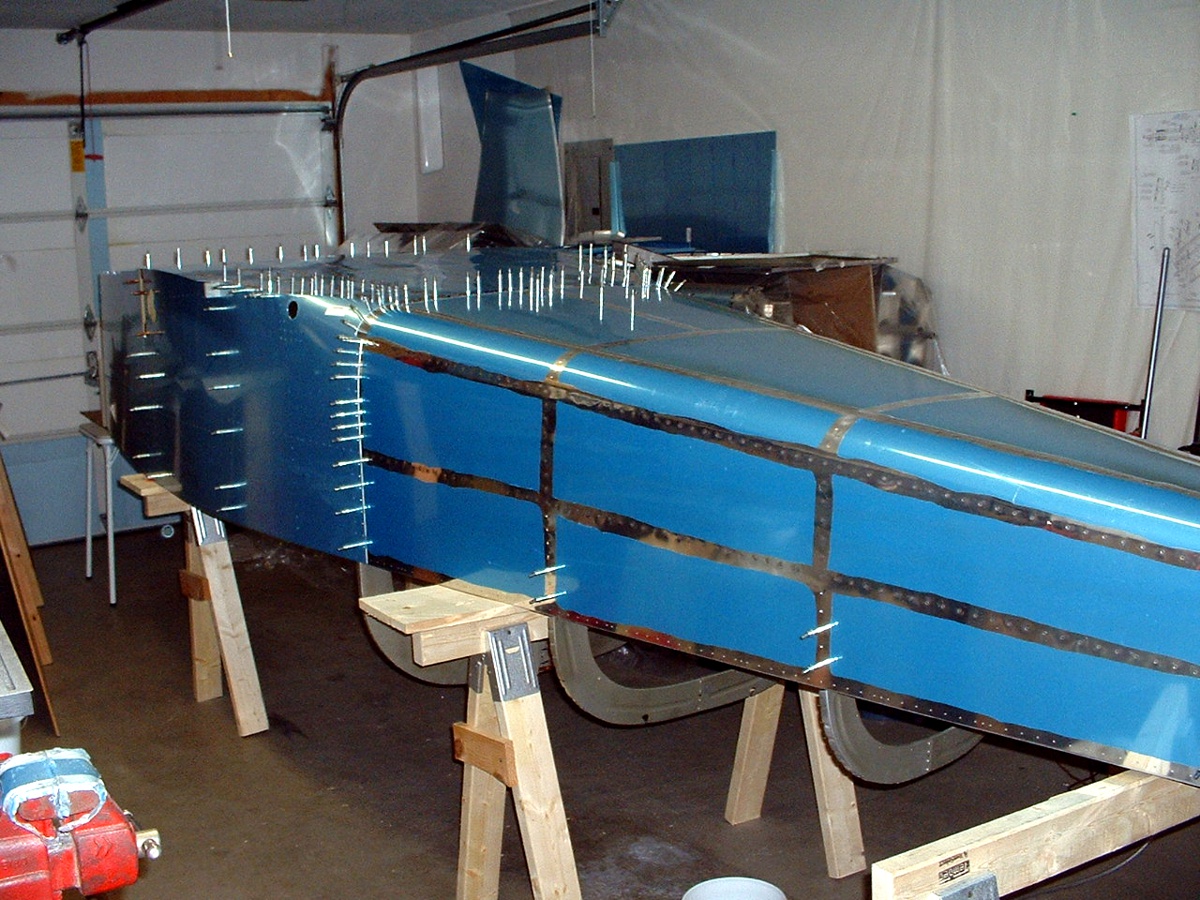
The side skins are attached and that made me feel that my tedious work with riveting today
paid off! It is starting to look like a fuselage at last. Here are the views
from both sides with the forward skins in place. The whole thing is upside down
because it is sitting on the longerons and the skins from rear to front.
All the seat bottom panels and the baggage floor panels are inside and clecoed in
place to pull the center section into alignment. The side panels to the baggage area
now have to be secured in place with clecos before proceeding to the next stage of construction.
That will be the assembly of the forward area up to and including the firewall.
September 11, 2003: A day of rest, at least
as far as construction went. I did spend a few hours on garage cleaning. I
took apart the large fuselage shipping crate and stowed the usable parts of it.
Three pictures up this page, the aircraft construction drawings in the bottom right side
of that photo are on the larger crate. As you can see, I had already used part of
the smaller fuselage crate to augment my saw horses.
While the wing cart was sticking part way out the garage door, I had two
curious visitors and an old friend stop by to see what is going on. The second
visitor is a 30-year-old radio-controlled aircraft pilot and son of a pilot and A/P
mechanic. (I know, I have to get my own RC airplanes out of
the closet and post the pictures here.) He knows how to buck rivets, and only
lives one block away. He is anxious to learn about building an airplane. I of
course offered him some right seat time when I go flying in a Cessna or this plane when I
complete the 40 hours of test flight time. Anyway, here are today's shop photos:
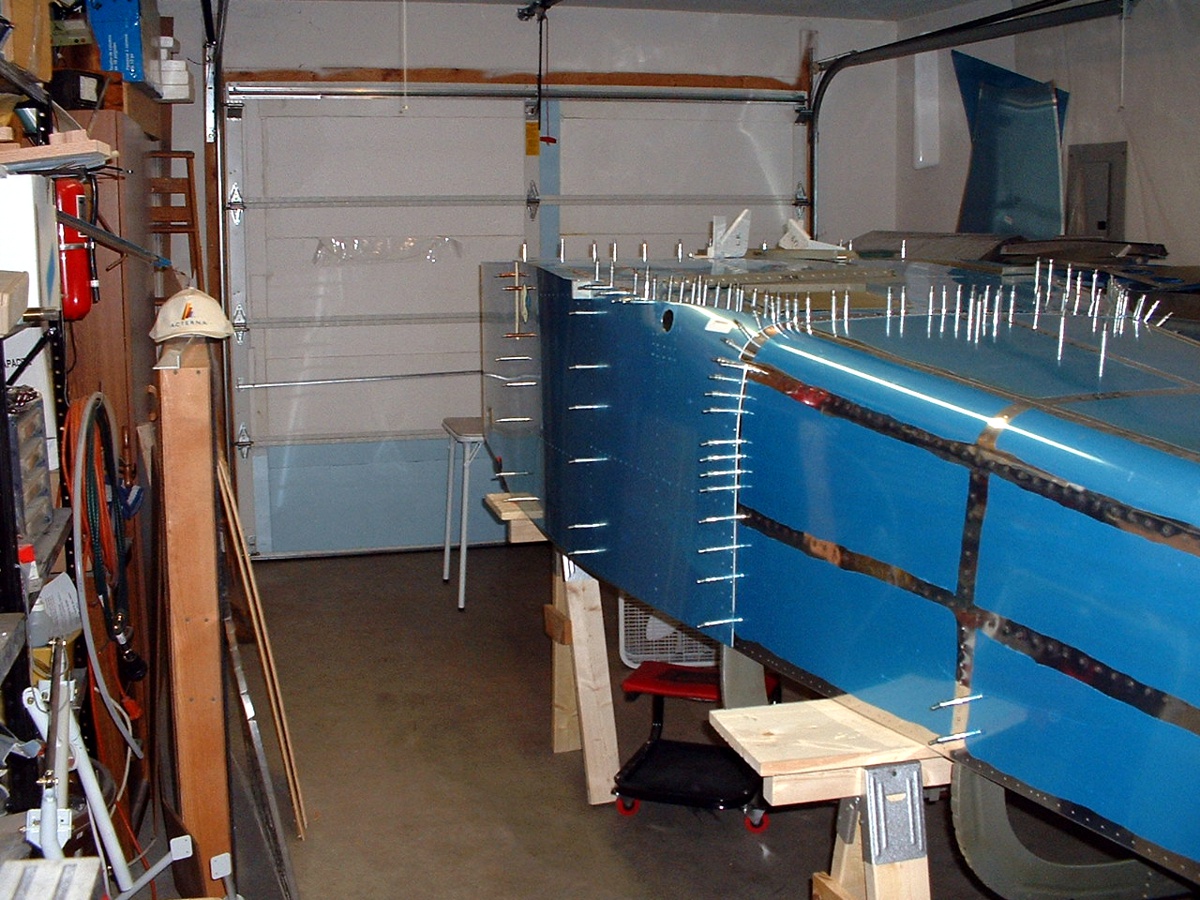
Notice all that empty space going toward the garage door? And of course,
while I was at it, I moved the whole fuselage a bit closer to the garage door to provide
easier access around the tail end.