WING KIT CONSTRUCTION - Photo Page 10.
April 15, 2003: I have been getting into a
new job lately and have not been around enough to devote my time to the plane. I
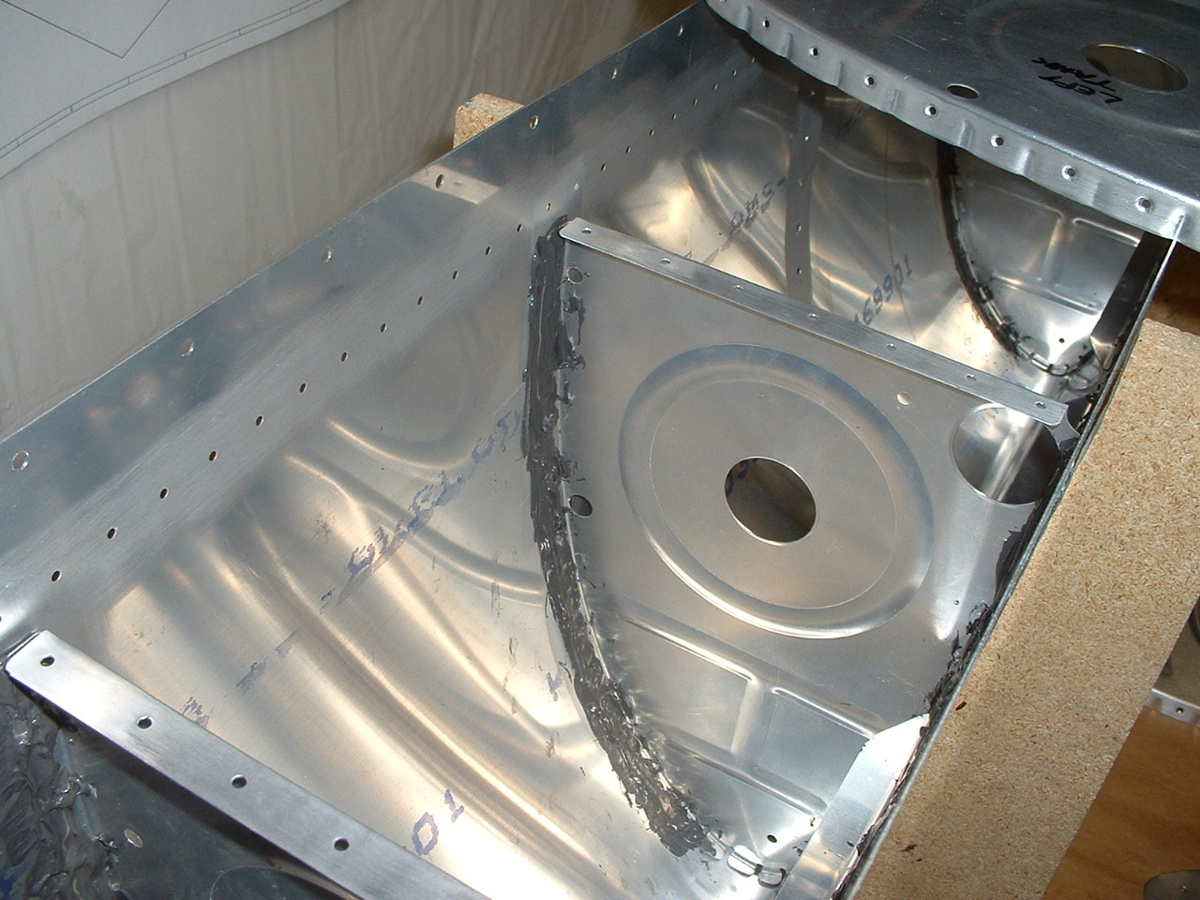
have managed a Saturday session a time or two to get the LEFT wing tank partially
assembled. You can see the sealant installed on the stiffeners and some of the wing
tank ribs in these two photos. My apologies for not giving you guys much to look at
other than the news channels and the IRAQ war coverage over the past few weeks. I
will do better in the days ahead.
You can see the masking tape in the above photo to keep the tank sealant off areas of the skin where it should not be. Look carefully and you will see holes under the tape. That is the part of the tank that will be screwed to the leading edge of the wing when the tank is installed on the wing.
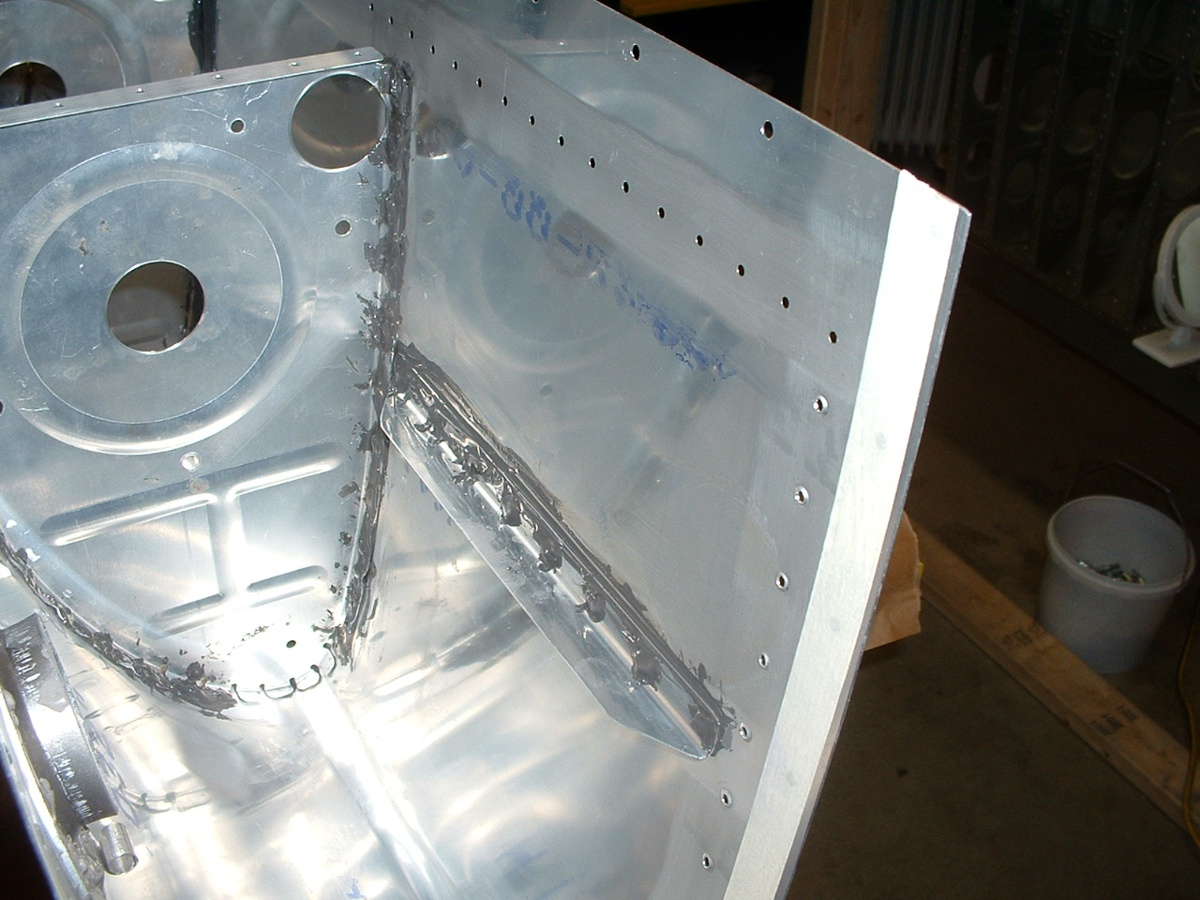
April 16, 2003: I have now sealed and
riveted the outboard end rib into the left wing tank. Now you can see how that
masking tape is doing its job to keep the sealant off the overlap area with the leading
edge attachment strap of the wing. There is a large fillet of sealant on the inside
edge of the rib and a doubler plate that is at the nose of this rib to insure a good seal.
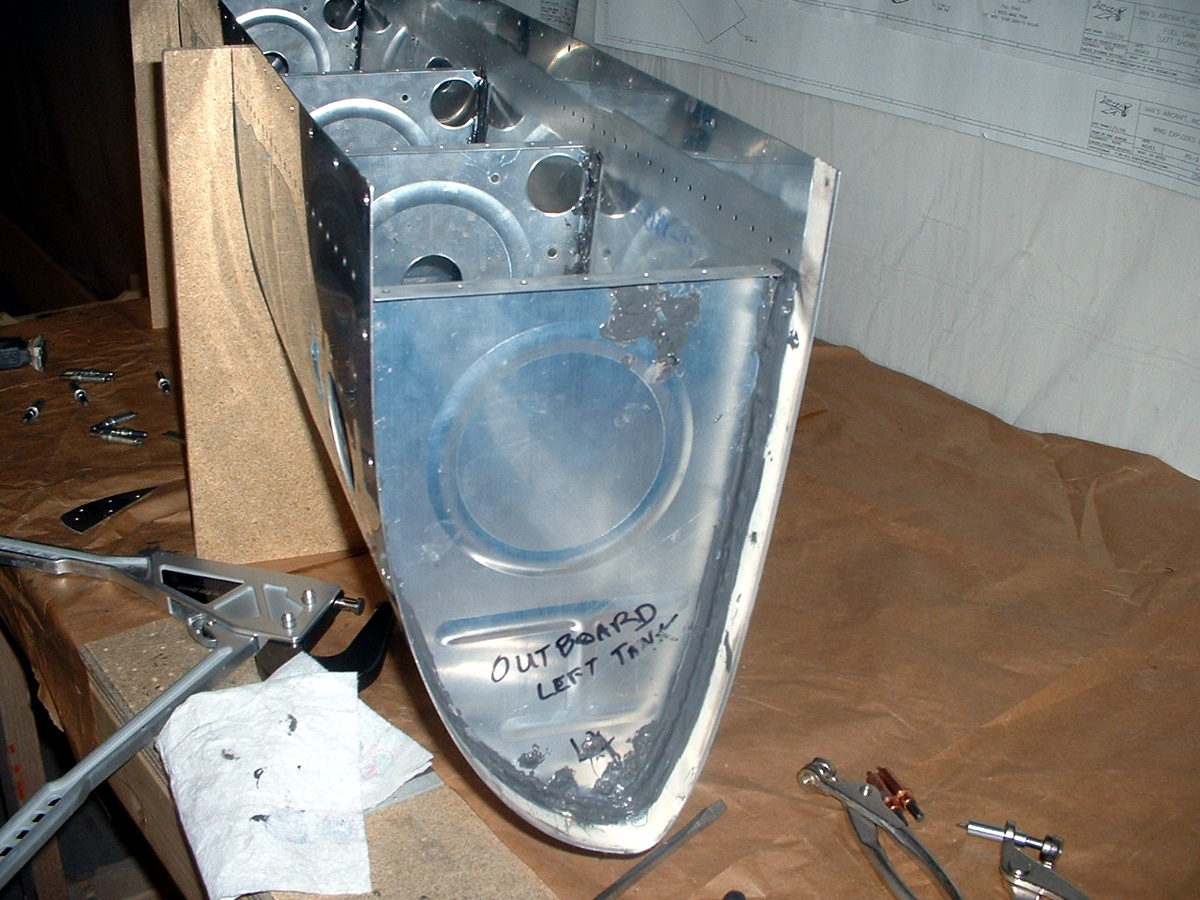
May 3, 2003: A pair of new photos to show
you this week. You can see the second fuel tank has two of the inside ribs installed
with rivets and sealant. The left fuel tank is completed inside, and is now ready
for the rear baffle plate, which should seal it completely.
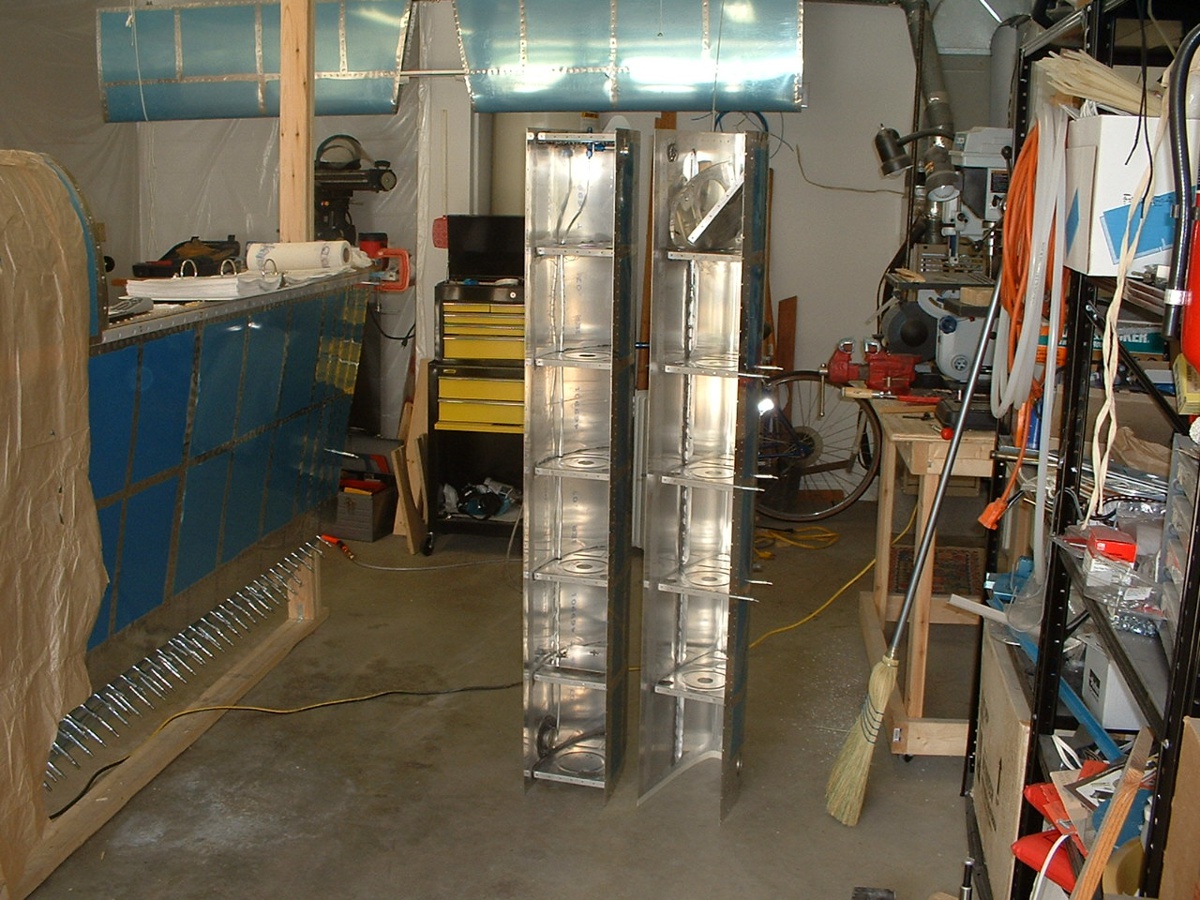
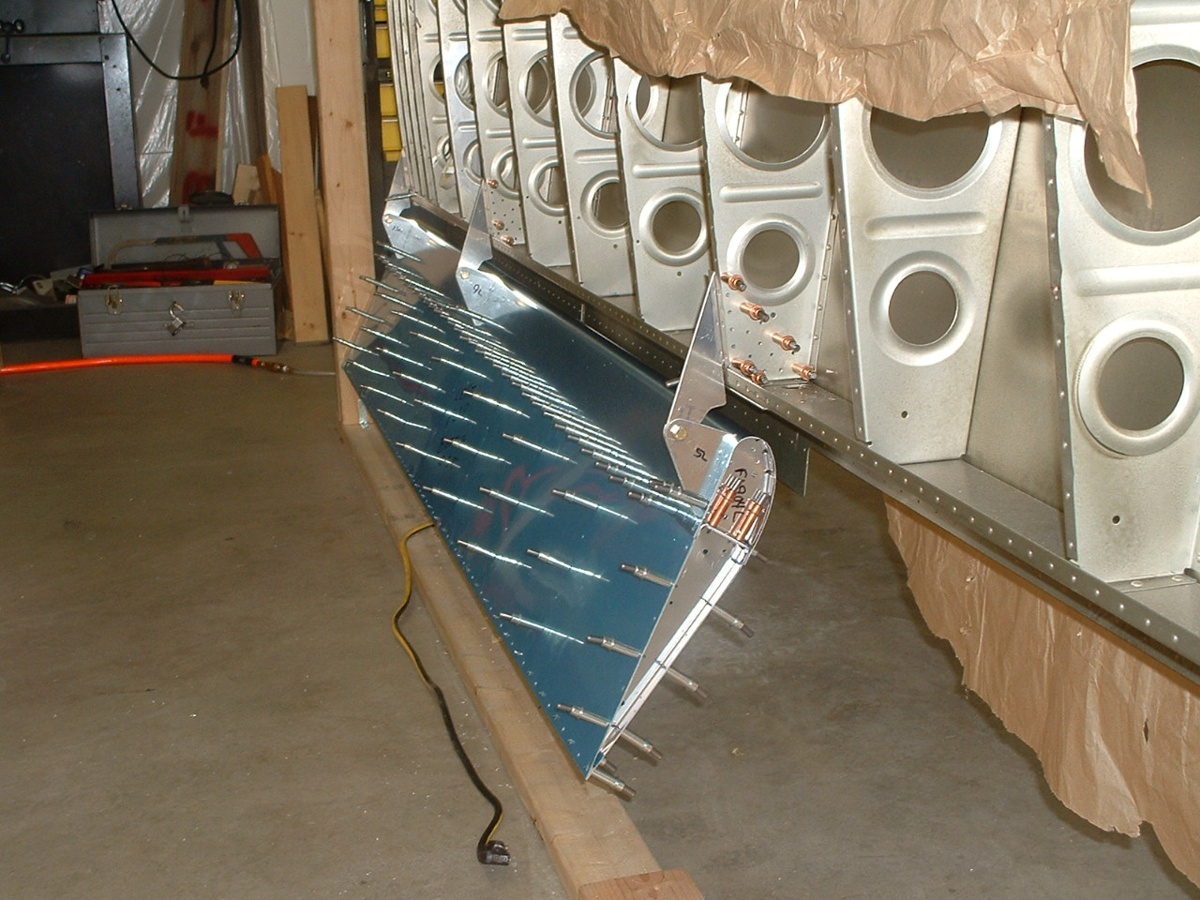
I got tired of mixing up tank sealant and built up both the LEFT and RIGHT
flaps to see how the LEFT flap fit on the LEFT wing. I was concerned about the
alignment of the flap hinges, but it was fine. I built a long, thin flap assembly
table with 5/8" holes in it to allow the flap with clecos in its underside to sit
FLAT on the assembly table while working on the top skin of the flap components.
Both the LEFT and the RIGHT flaps came out straight and true with the clecos in
place. After I took these two new photos, I finished disassembling the LEFT flap and
finished deburring, dimpling, and countersinking the various parts of BOTH flaps.
They are now ready for priming as needed. It sure felt good NOT to have to
wear my respirator mask for a few days working on something other than the fuel tanks.
As for the next sessions, it is back to work on the RIGHT fuel tank to get it ready
for the back baffle plate installation and pressure testing for leaks on both tanks.
| Click for wing page 11. | RETURN to MAIN MENU |