WING KIT CONSTRUCTION - Page 6.
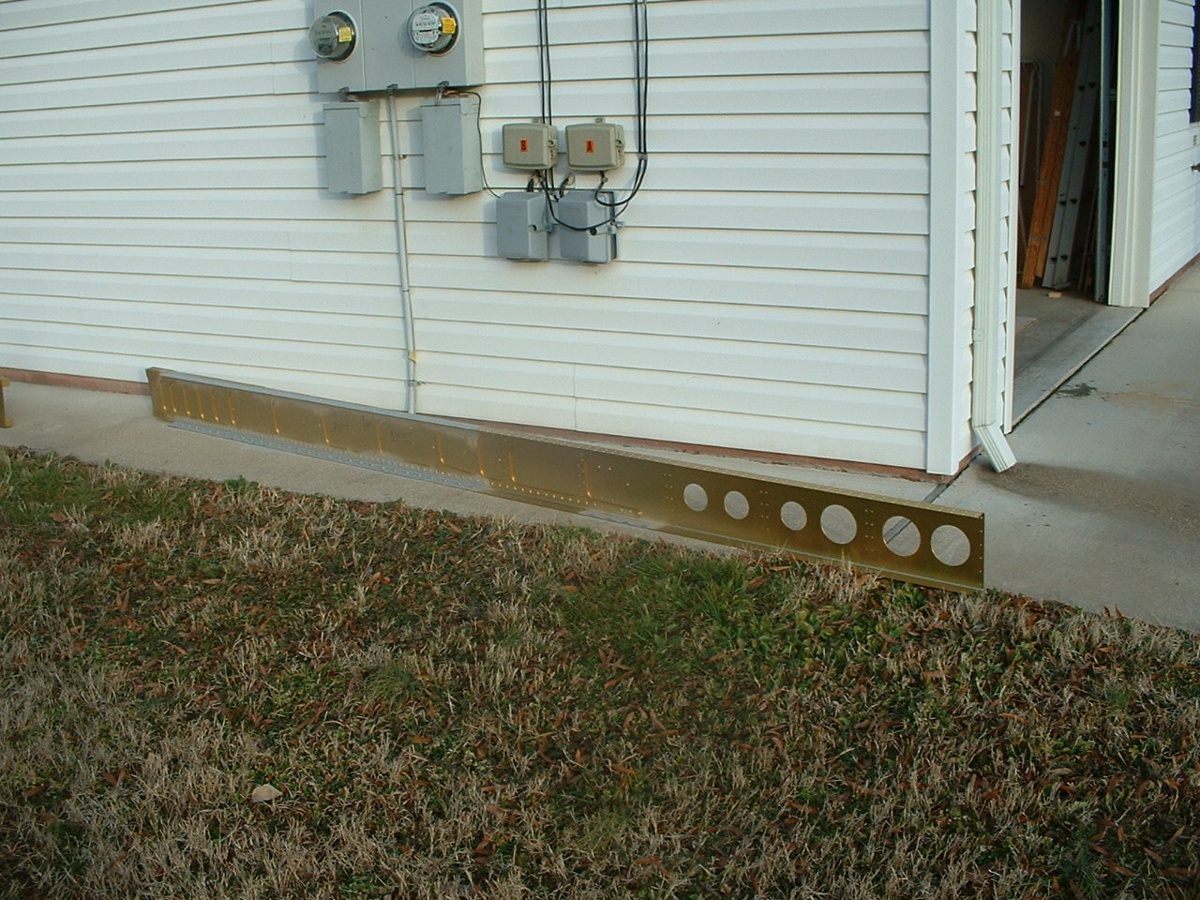
February 2, 2003: I now have the RIGHT wing
OFF the construction jig. I spot-primed the main spars where the countersinked holes
have cut through the gold anodized finish from the factory.
Yes, I know, gray primer, not gold, but it will be out of sight under the wing
skins.
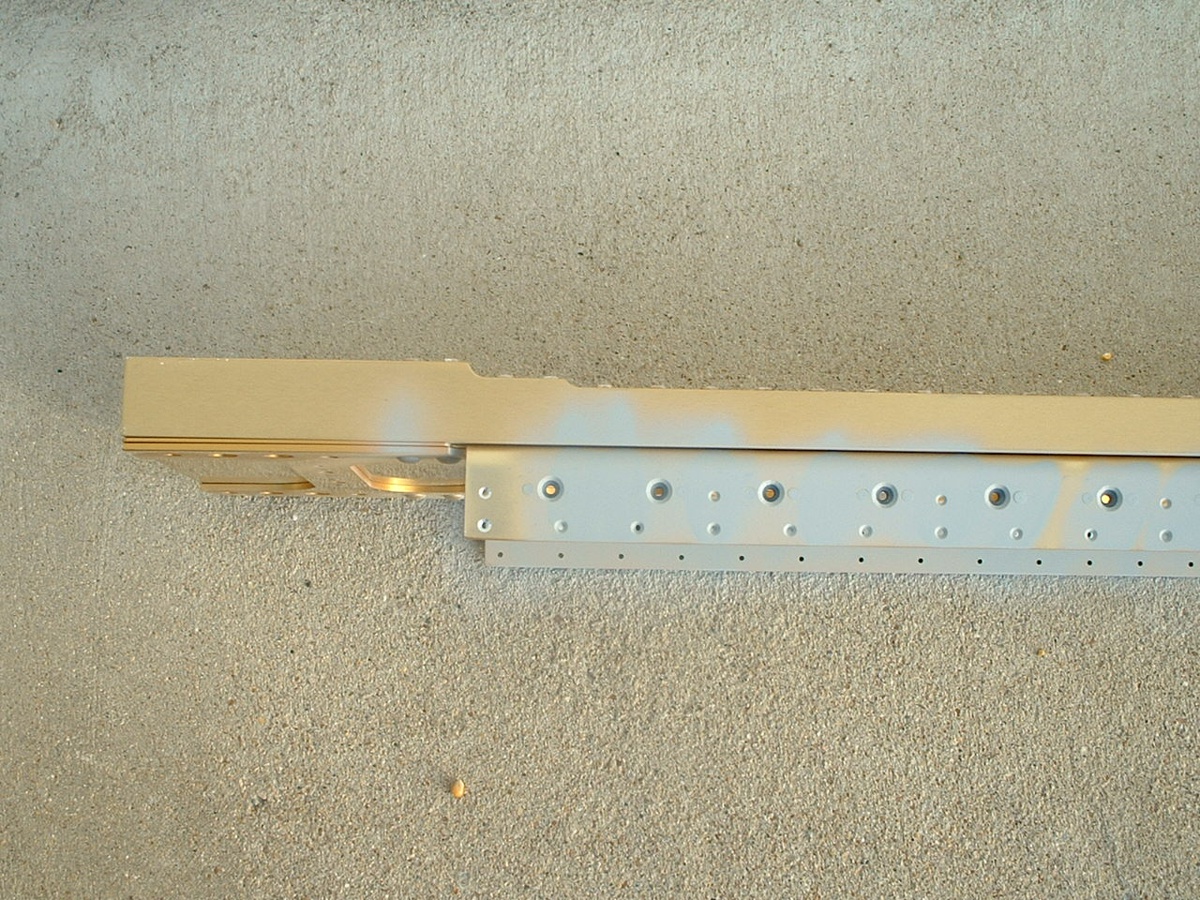
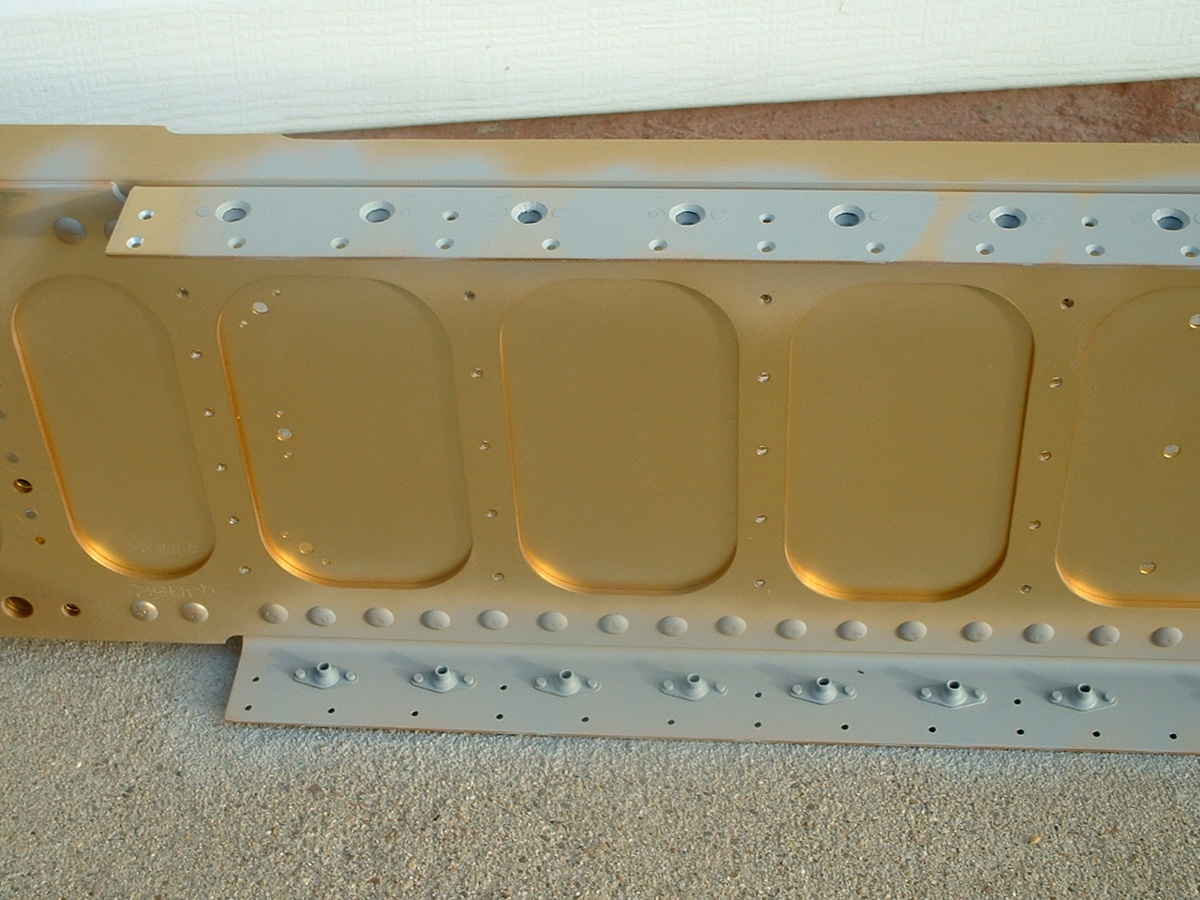
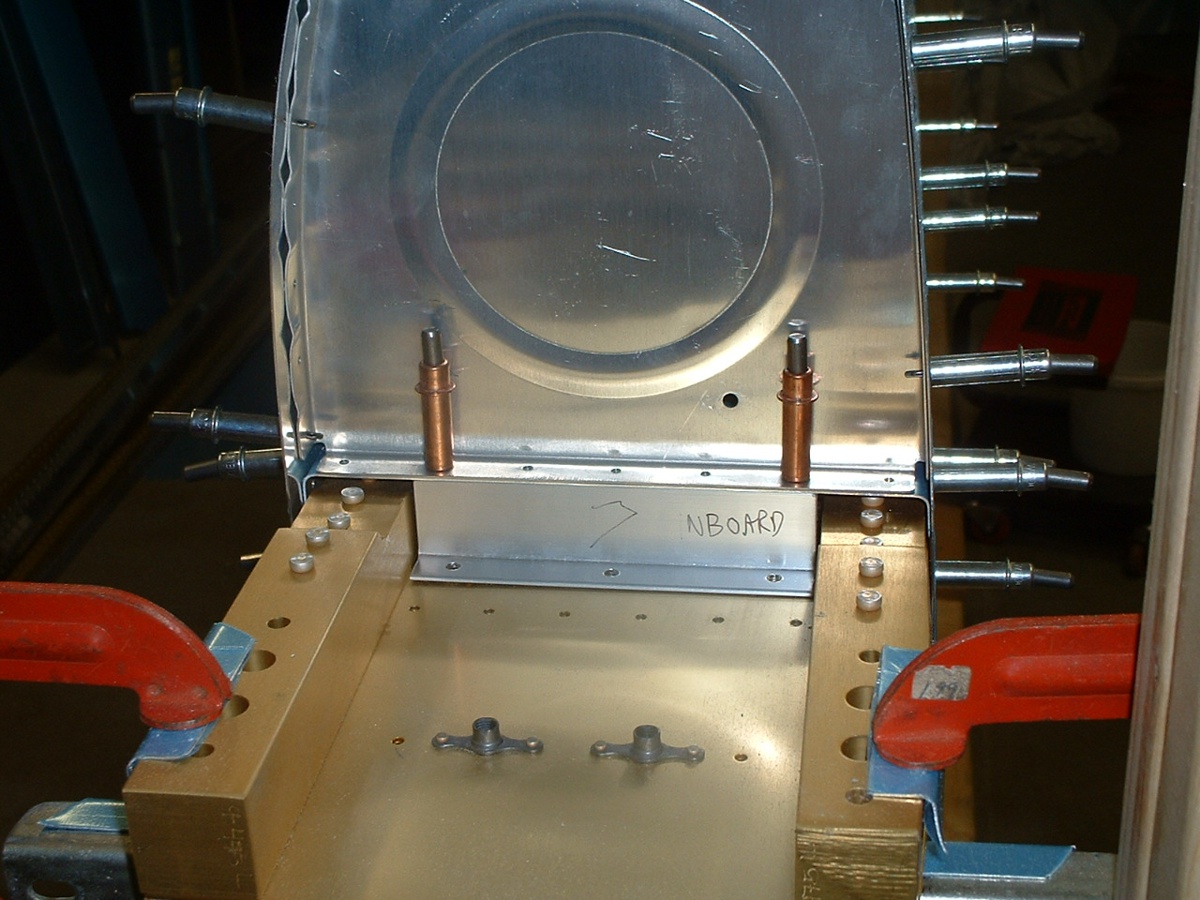
Here you can see some of the 62 large #8 plate nuts that are used to attach fuel
tank skins to the main spar. As you can see, they are on the top and the bottom of
the main wing spar. The smaller holes are to attach the main wing skins and ribs to
the spar. This is the back side of the main spar. The fuel tank will sit on
the front side of the spar and will also be secured by bolts as well as the #8 flat-head
screws through the skin. I wanted to prime the steel plate nuts as well as the bare
aluminum from the countersinked holes.
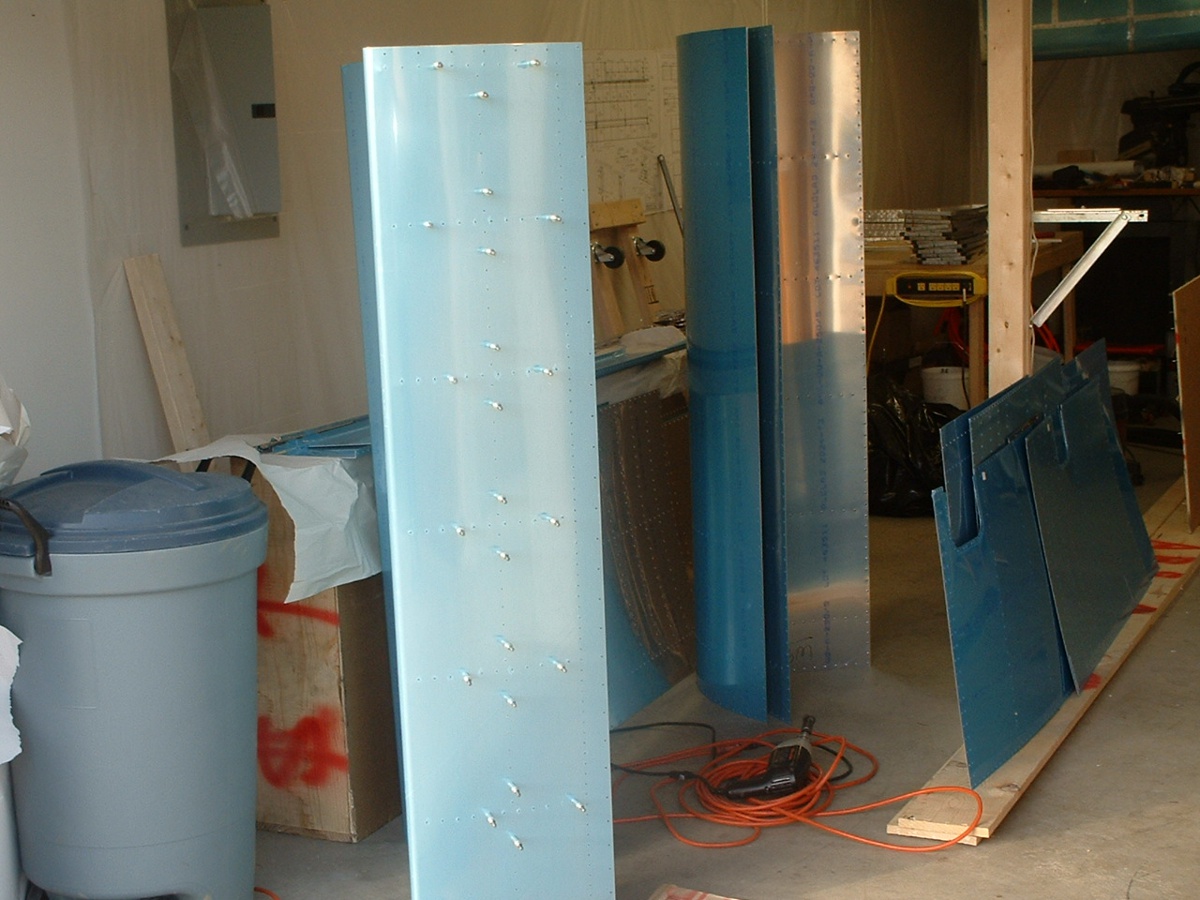
That is the LEFT fuel tank under construction there just to the right of my
garbage can. Those are the leading edge wing skins standing tall in the back ground.
I have already stripped off the plastic on the inside of these skins and the ones
that are leaning up against the shipping crate behind the fuel tank. The skins
leaning up against the wing jig post are drilled and dimpled and also awaiting spray
priming. It was a warm day here, but windy. I had to put the spars up against
the end of the garage to get them sprayed out of the breeze. It was too windy to use
the regular HPLV sprayer on the skins.
My backordered wing kit parts from Van's are enroute via UPS.
February 10, 2003: After a week on the road
for the company, I have returned and UPS delivered my two boxes from Van's. There
was only ONE landing light kit sent, yet the packing slip said TWO were shipped. I
sent Van's an email with the box number and the weight of the box. All the metal
parts were shipped complete. I was able to get the left tank on the reassembled LEFT
wing. I got all the holes drilled in the T-912 tank attach brackets. I have
also converted the wing skin shipping crate into a wing cradle on wheels. I have to
get some more padding installed on it before it will be ready to accept the assembled
wings. I had a major shop cleaning today after doing the woodworking on the
crate/cradle and before working on the LEFT wing tank. And you can see the top skins
and the tank are now attached and all drilled.
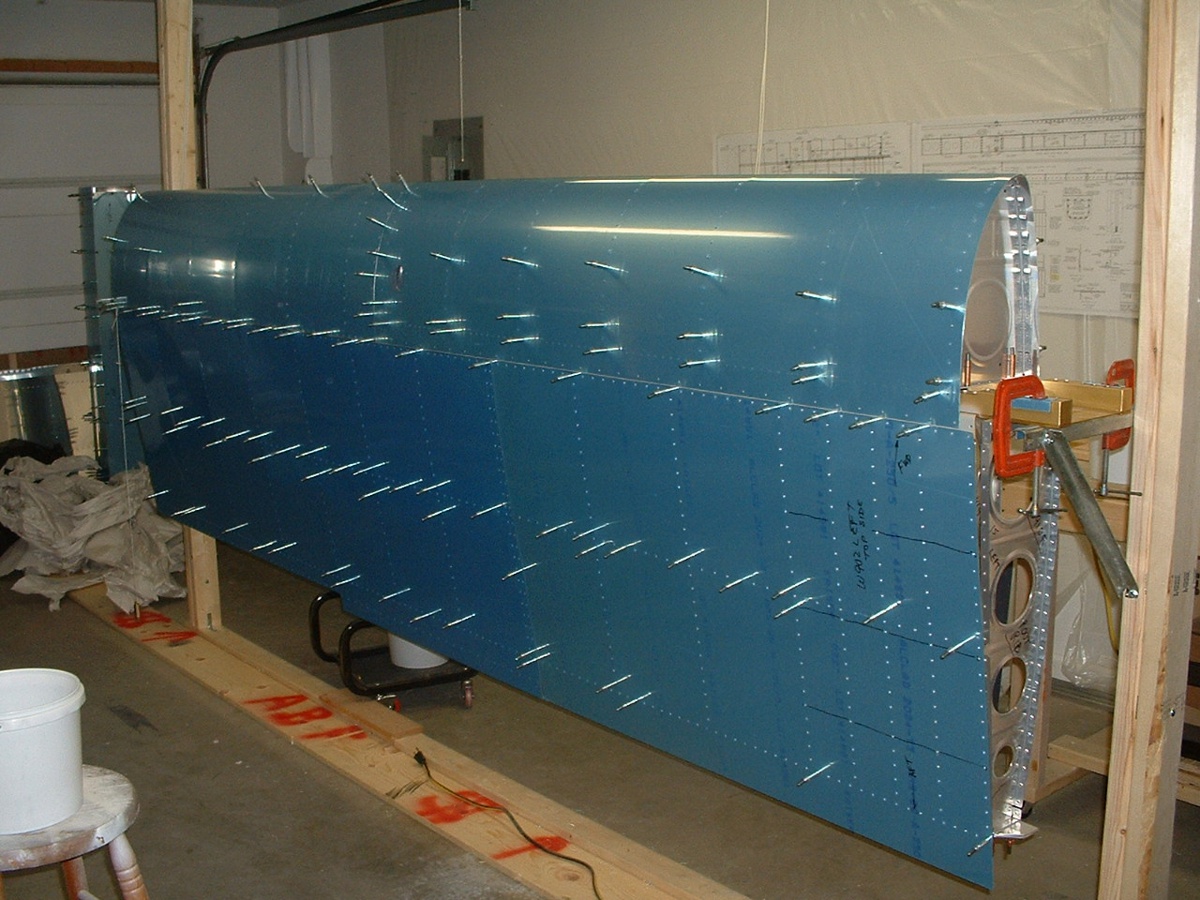
February 14, 2003: I have taken the LEFT wing off the jig and done a lot of priming of ribs, etc. I now have a big pile of green tinted aluminum and some skins that are corrosion protected. I now have the RIGHT wing on the jig for fitting of the RIGHT fuel tank.
| CLICK HERE for Wing Page 7. | Return to MAIN MENU |