The Broken Garage Door Spring and More on the Development - - PAGE 69.
November 15, 2018: Thursday night:
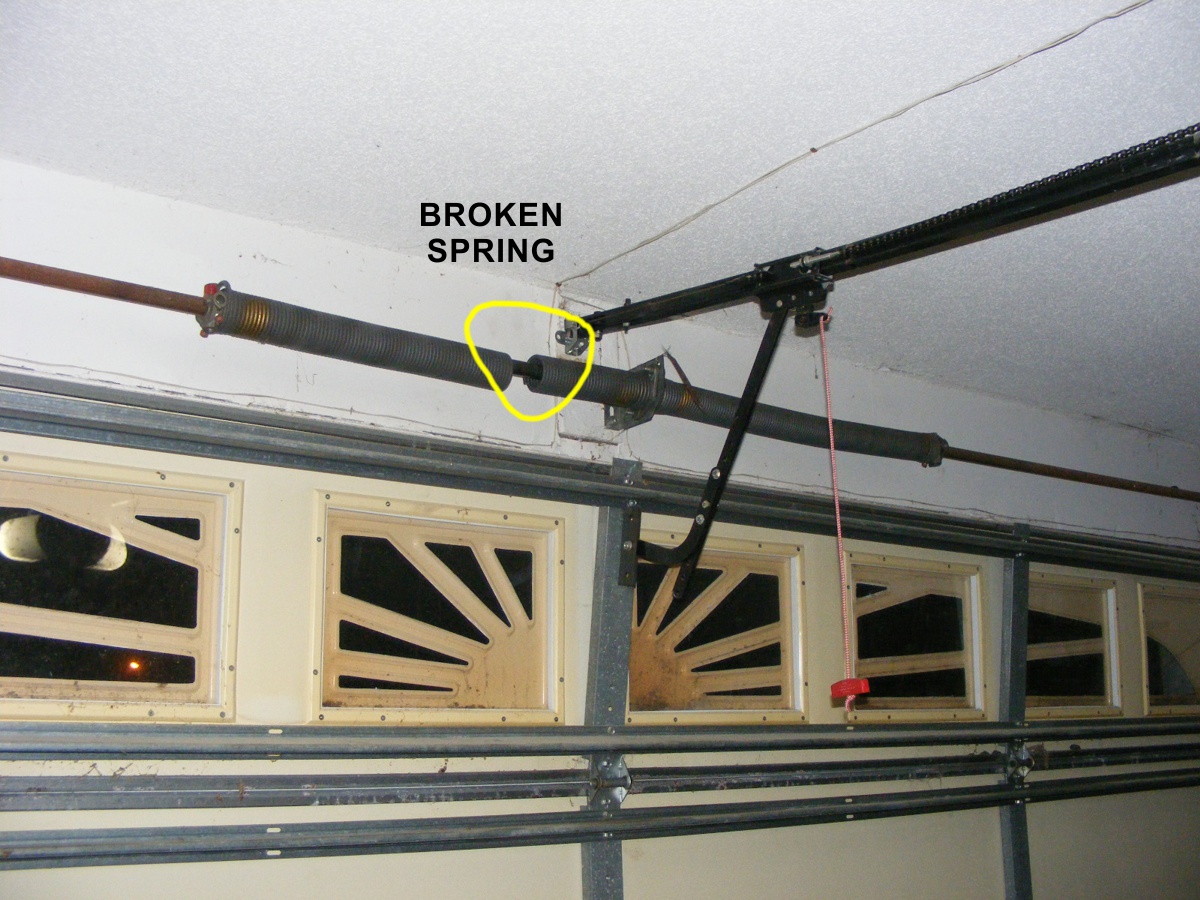
After an unknown number of years, one of the two large springs that allow the
garage door to open has broken. I looked up how to repair these things and
found several You Tube videos showing single-wide and double-wide garage doors
like the one we have. I realized this could be an UNSAFE process since I
have no experience with this type of repair. I looked up several local
companies on Angie's List and posted my request for quotes. Look at the
image below and you can see the door frame for the top segment of the garage
door is no longer fully secured to the top door panel.
November 16, 2018: This Friday morning
I had two missed phone calls and a visit from one of the garage door repair
guys. I showed him my damaged door and he provided an estimate to repair
it for $350. I thanked him and mentioned I needed to get additional
quotes. I called the second of the Angie's List suggested companies,
Island Doors, Inc. located in Melbourne, Florida. The offer was $198 to
replace both springs. I did not want to keep the other "OLD"
spring. While I was finishing up the call with Island Doors, another call
was trying to get through, which turned out to the third company suggested from
Angie's List. It was All Pro Garage Door with an offer of $250 for the
repairs, but she could not schedule the service call until Tuesday, November
20. I thanked her and called Island Doors and she could have her guy out
here TODAY. Todd Mattson came at the expected time after lunch and only
needed about ONE HOUR to make the repairs and test the door for a balance of the
spring tension equal to the weight of the door. The door was disconnected
from the motor allowing him to lift the door by hand. He thought one of
the springs needed to have the tension reduced slightly. He then use ONE
FINGER to raise and lower the door. I was impressed. I asked him how
long he had been doing this work. His answer was 21 years. Here is
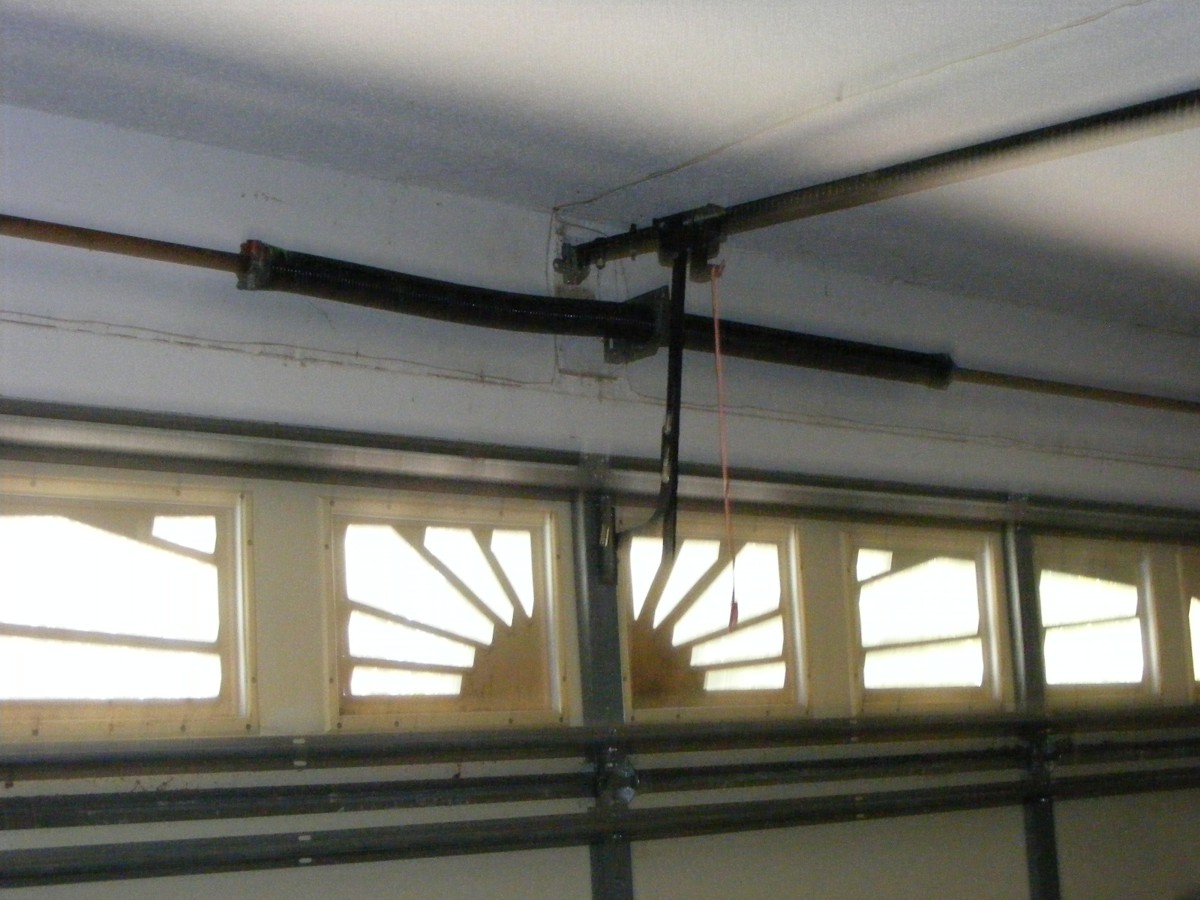
how the door looked when he was finished. The door frame to the top panel
needed some heavy duty sheet metal screws to secure the frame. He did that
before the replacement of the springs.
Todd finished the work by using a spray lubricant on the large springs allowing the turns of the springs to slide easily against each other. He mentioned if I hear the springs "popping" additional spray lubricant is needed. He also lubricated the rollers at the left and right edges of the doors. I asked him if WD-40 was OK and he said yes. The door goes up and down with less noise than before and the load on the motor is almost nothing - - remember the ONE FINGER lift?
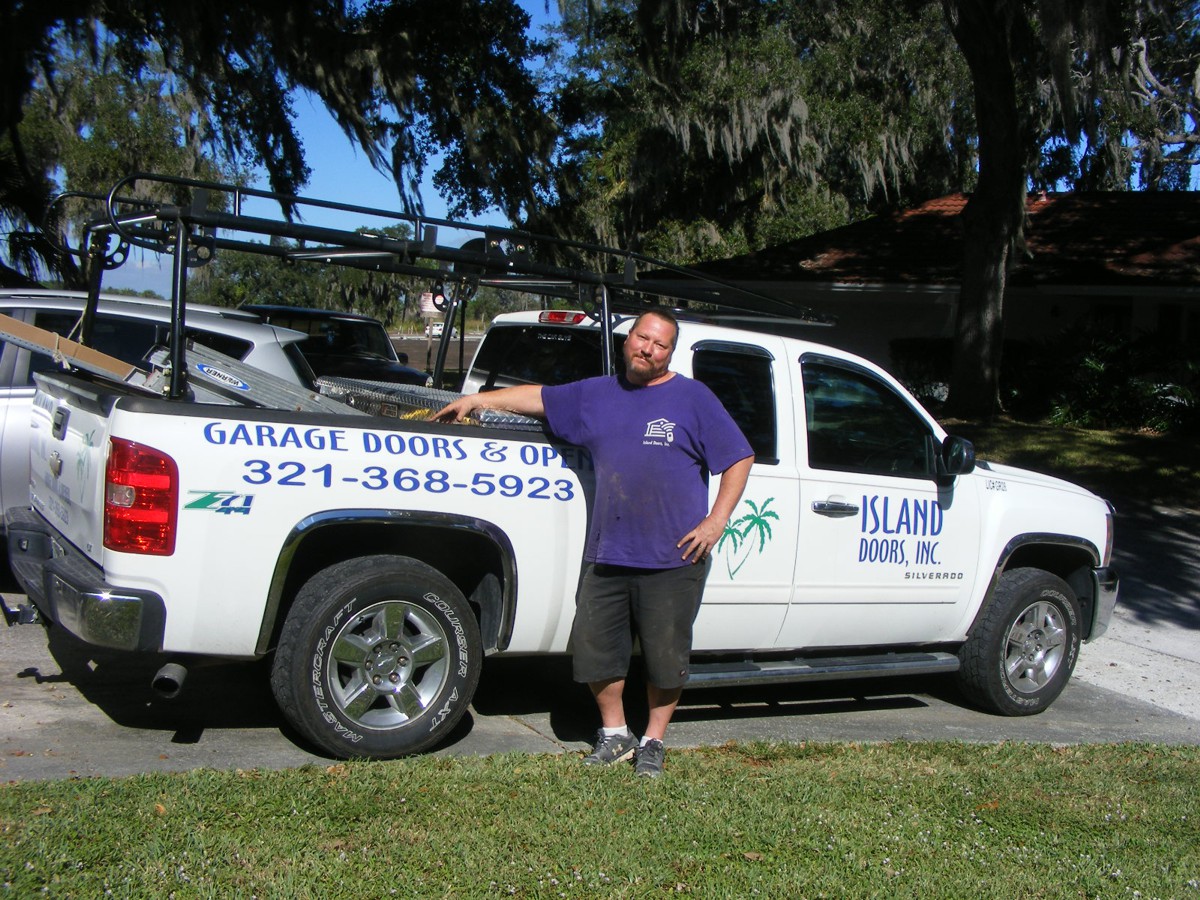
I took this photo of Todd in front of his truck before he headed off to
his next job. His wife runs the office and he does the service calls.
November 16, 2016: The OTHER Friday afternoon
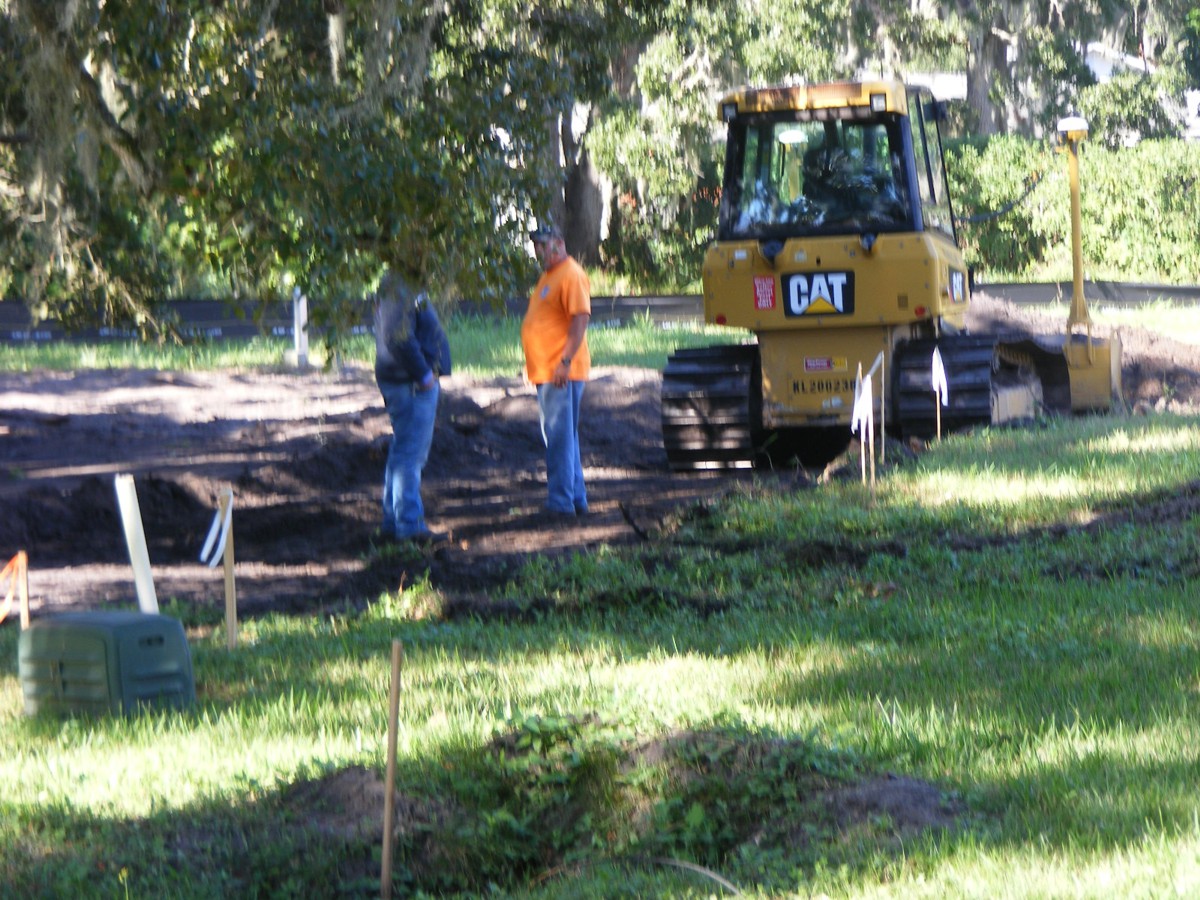
work begins on the large swale that will drain the surface rainwater from the
area behind our house and the two new homes to be built on lots 22 and 23.
The guys doing this work offered to fill in the trench over the cables in the
back yard.
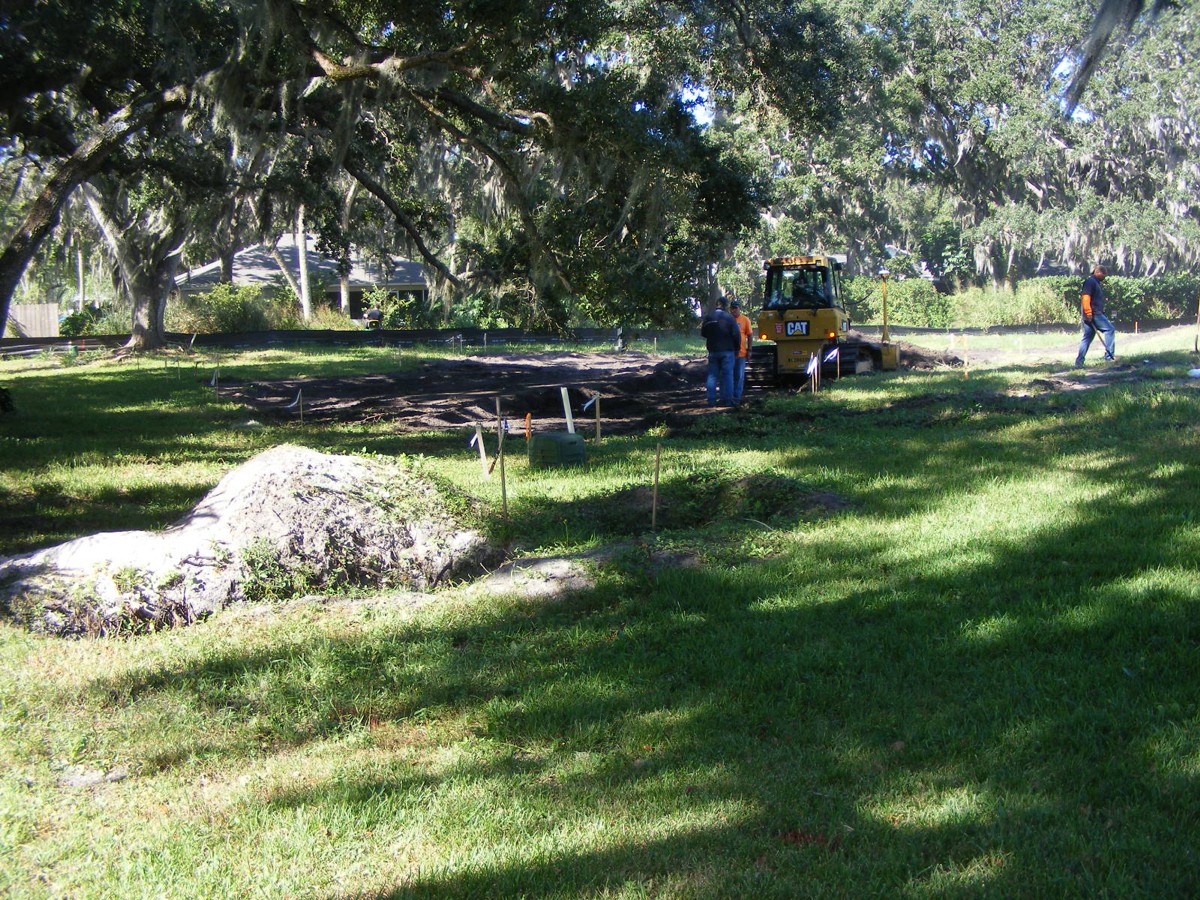
The Caterpillar bull dozer has dual GPS receivers which allows for
precision shaping of the land.
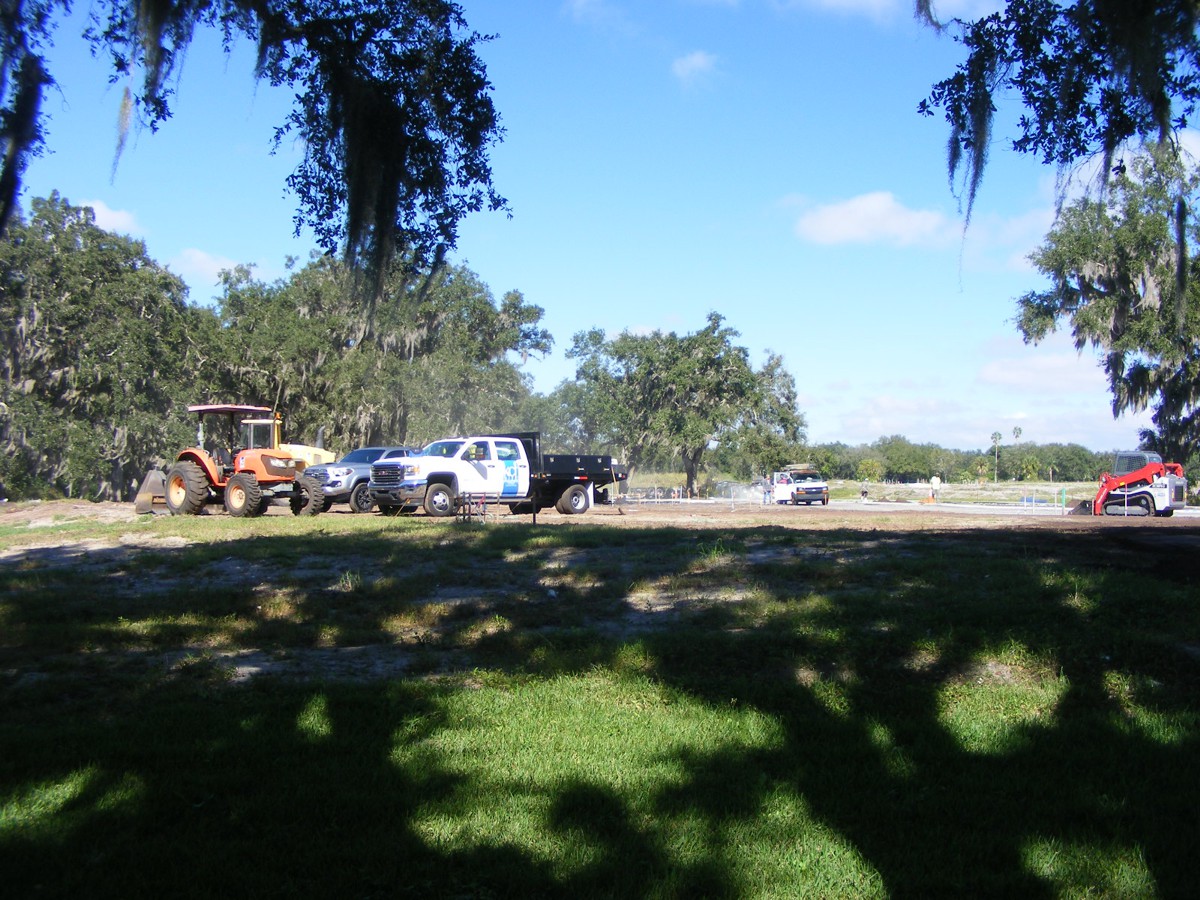
A separate team in the white van in the distance is building concrete sidewalks adjacent to
the curbs for the streets. They are cutting expansion joints in the
concrete that was poured yesterday. I heard paving of the streets starts
next week.
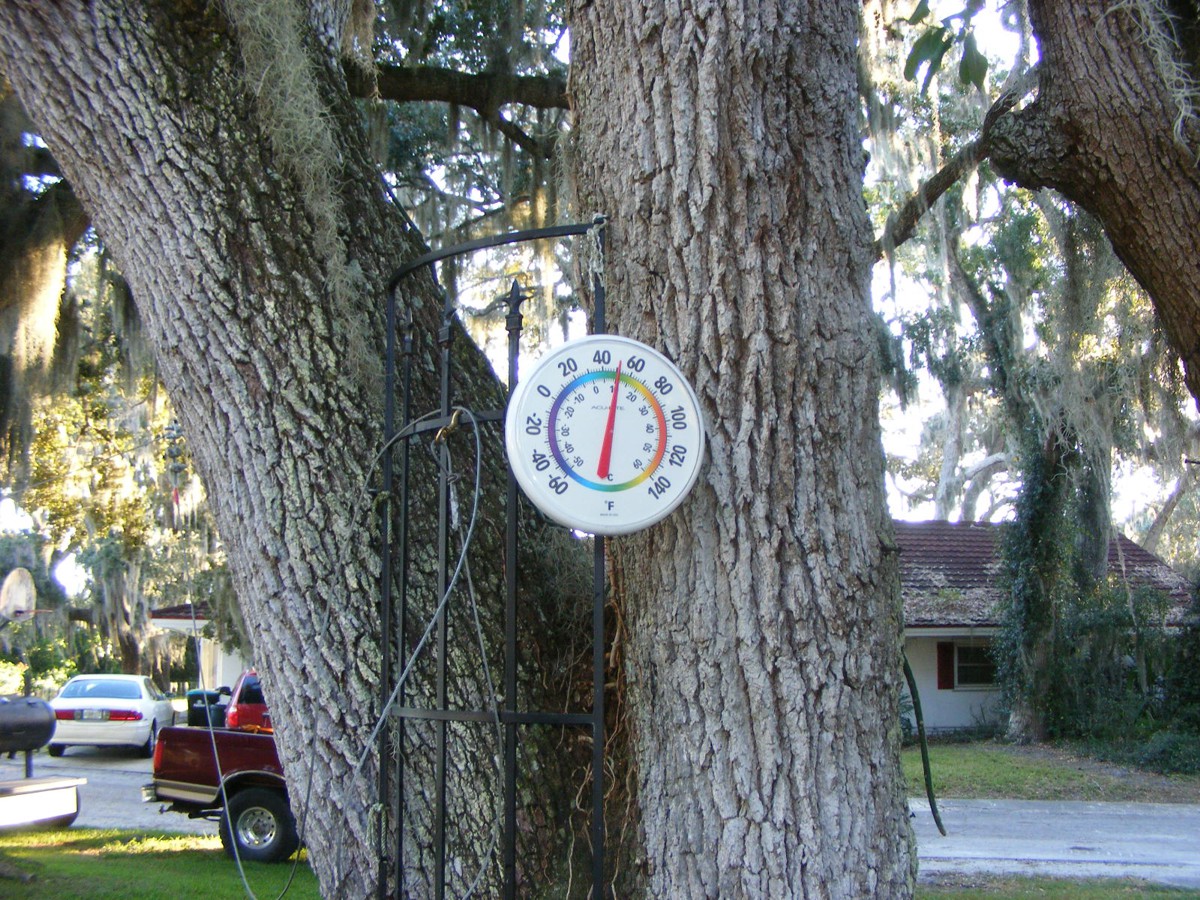
November 17, 2018: Saturday is my usual day
to update this web site. The thermometer outside my office window shows 52
degrees at just after 8 AM today.
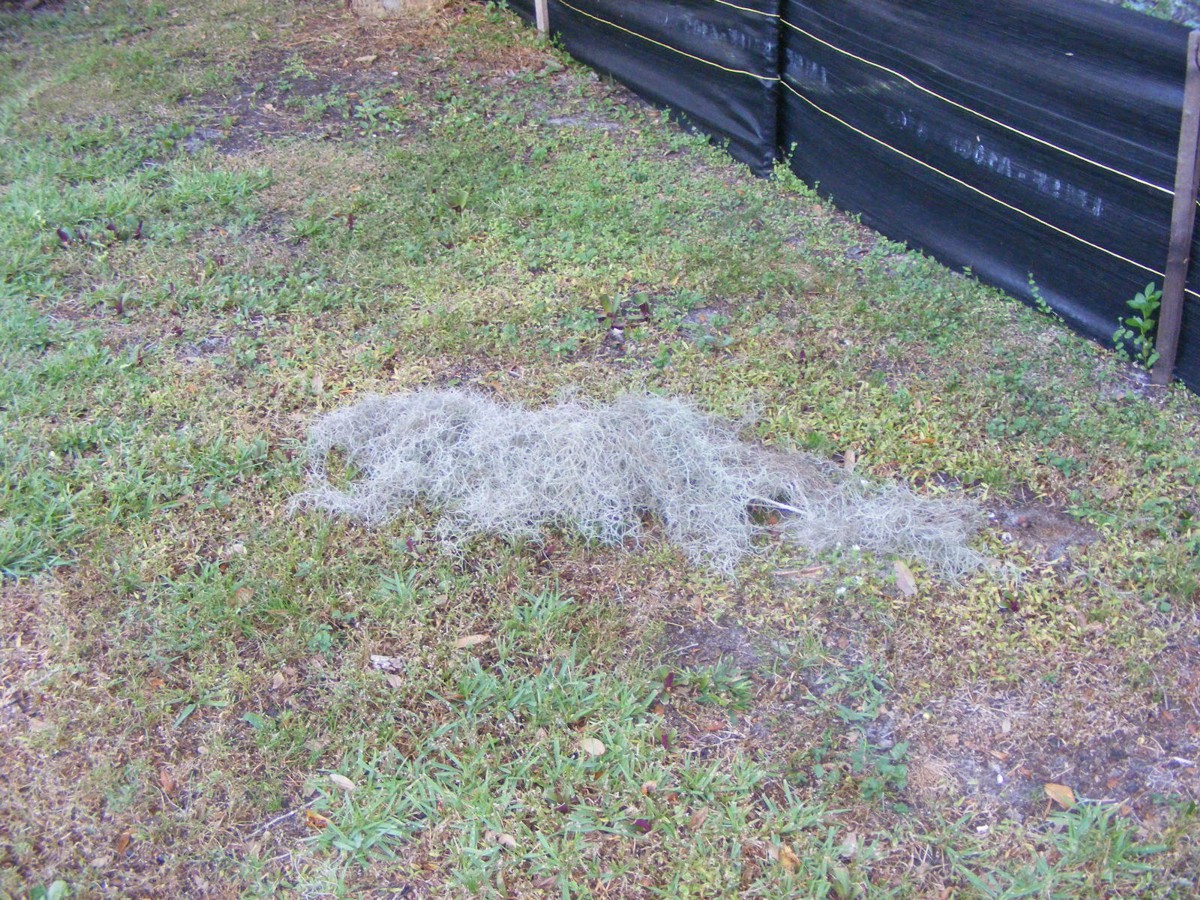
One of my early morning chores is to walk around the house and pick up any
dead limbs and Spanish Moss that falls from the OLD OAK TREES! This piece
is about four feet long. The moss kills the grass if it is not removed.
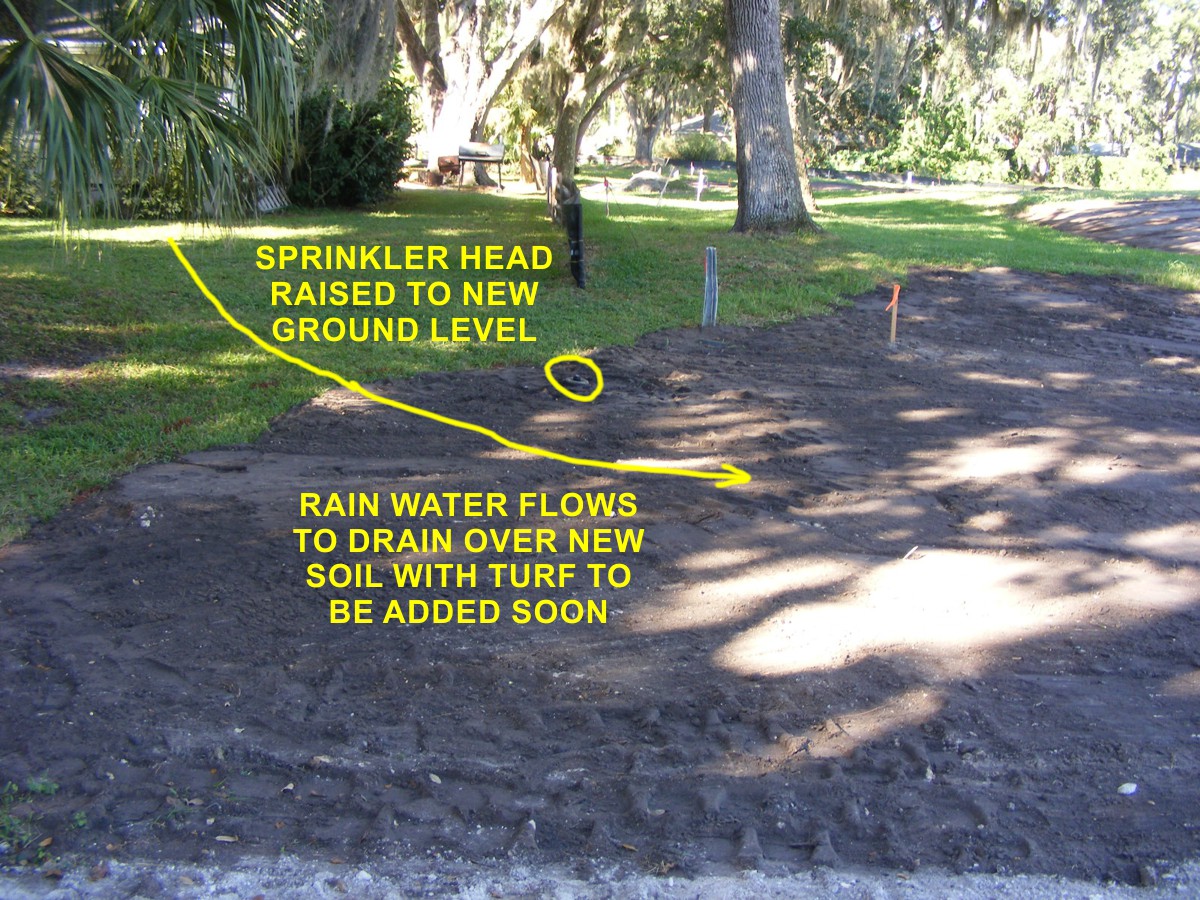
I waited for the sun to get higher in the sky to take the photo below of the
sprinkler head I modified late yesterday afternoon. The first water test
of this sprinkler showed it needed to be adjusted to the correct
direction. It was getting dark at that time, so I made the adjustment this
morning. The time stamp on this photo is 9:55 AM and the shadows are not
so bad as they were when I first came out this morning around 8 AM. To
take this picture, I stood at a point inline with the property line and the
black construction fence seen beyond the sprinkler head. The supervisor
for the crew in charge of the surface water flow told me the permanent fence
should follow the lot line for lot 22. That wooden stake with the orange
streamer is the southeast corner of lot 22. The permanent wall would be
placed to the RIGHT (north) of the two large oak trees seen beyond the wooden
stake and the gray metal stake that marks the AT&T telephone connection box
in the ground. The trunk of the tree closest to the camera is in the
shade. The second tree beyond is in the sunlight. These two oak
trees are not marked on the site map segment seen at the bottom of this web
page.
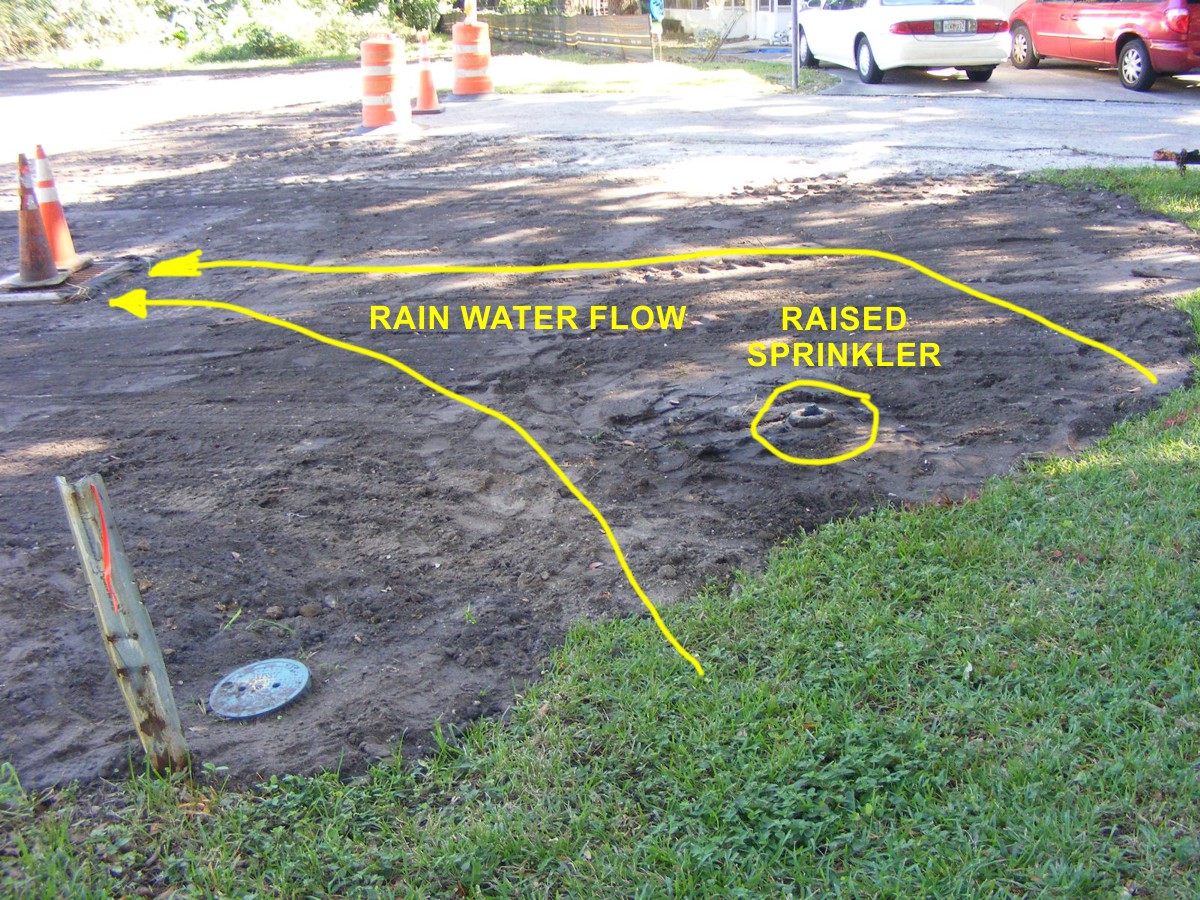
A concrete "donut" surrounds the sprinkler head. The soil
may need to be smoothed again by the construction crew to meet the desired contour for best water flow to the
drain where the two cones are sitting. Another thing to notice in the
photo below looking EAST is the set back of the end of the pavement allowing the
residents across the street to back out and turn toward the street to the south
of this image. The permanent wall should be placed just to the left
(north) of the two plastic barrels and cone at the new end of the pavement.
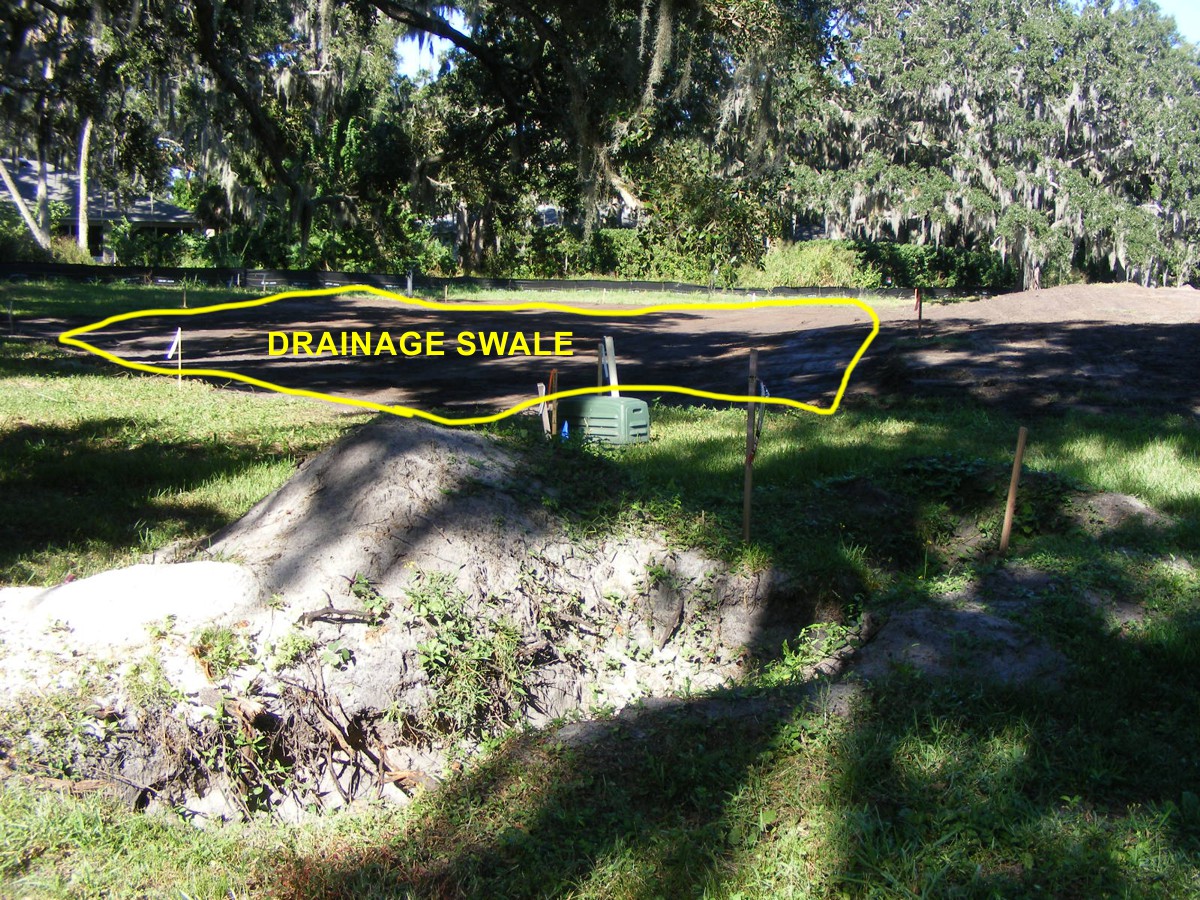
This is the area to the northwest showing how the earth was shaped
yesterday to facilitate natural drainage of rainwater from the homes here.
The trench in the foreground will be filled from the dirt mound that was removed
a couple of months ago to locate the underground cables and a sprinkler water
pipe. The large mound of dirt will soon be put back into the trench.
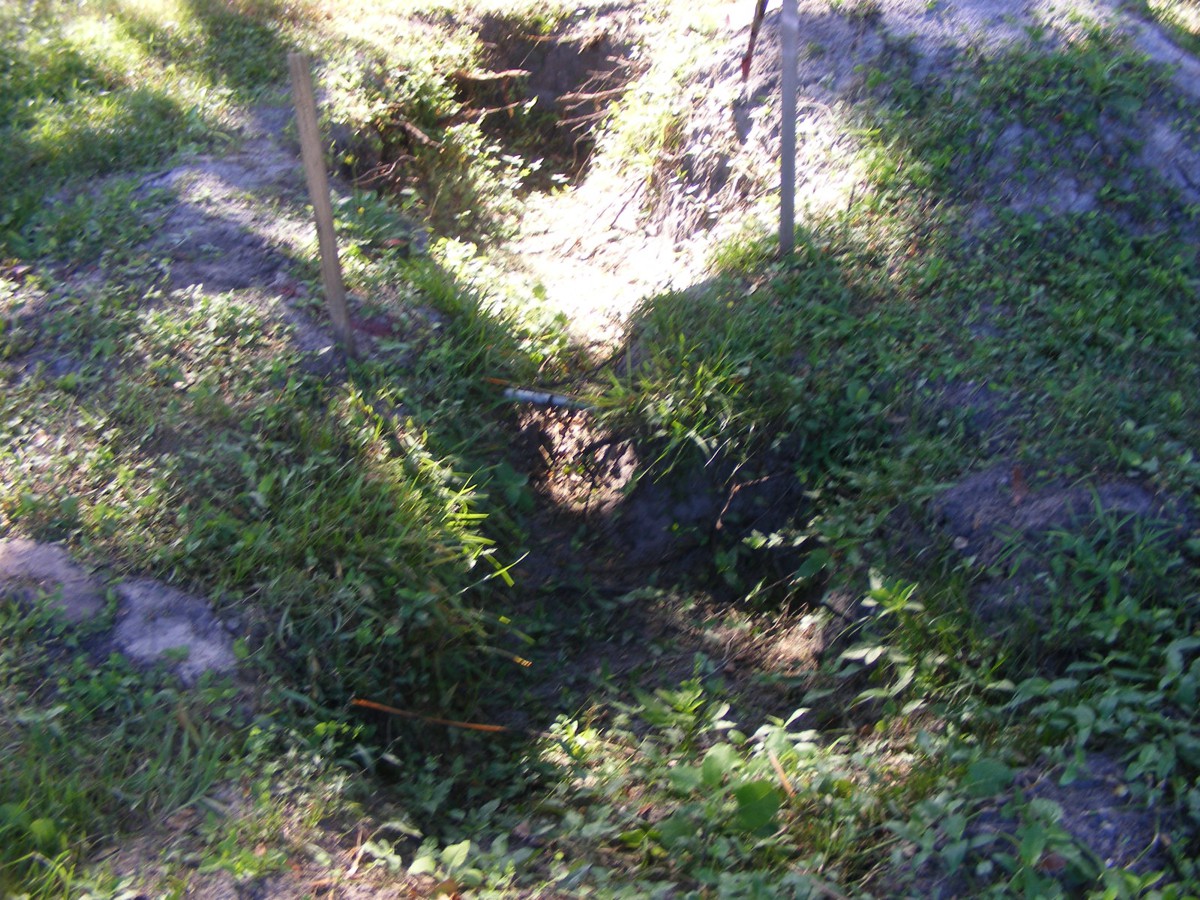
This image is looking south from the NORTH end of the trench seen above.
Orange paint is on the underground cables for CATV service. I am about to
use my garden rake to move some of the soil to cover these cables. The
cables that reside just under the grass could be damaged by the front end loader
to be used to fill the trench. That is why I am protecting these cables by
using my rake to move some of the dirt into the north end of the trench.
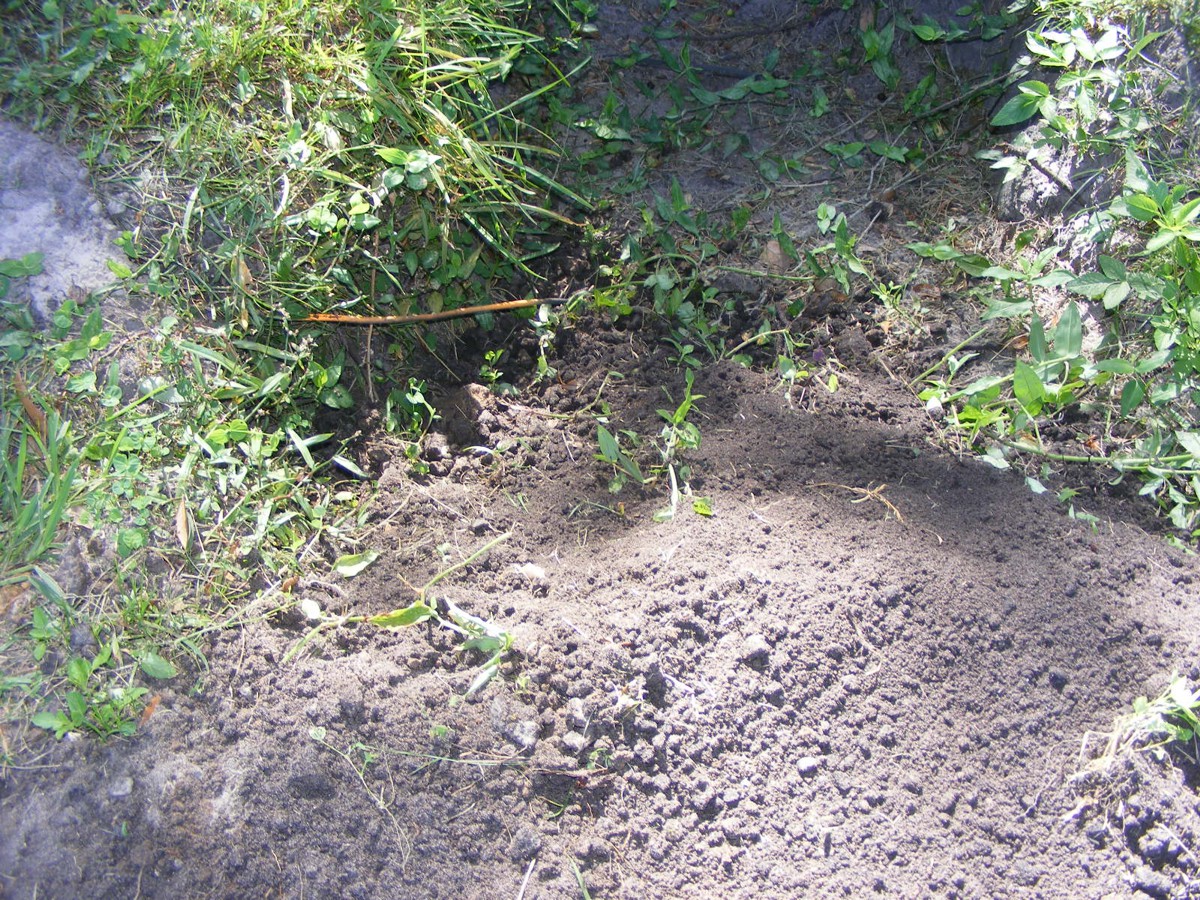
Here is a similar view as the photo above now showing some of the dirt I
have raked into the north end of the trench.
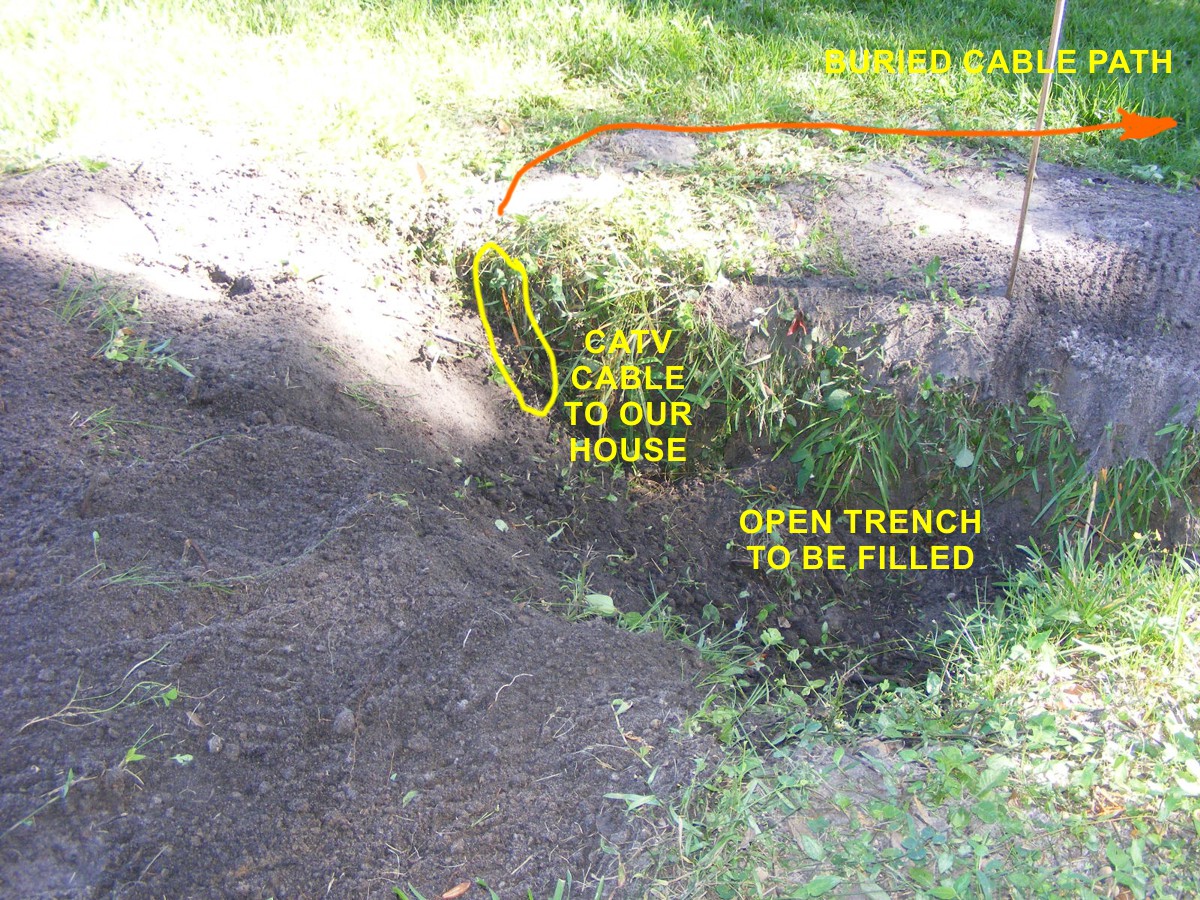
This view from the west side of the trench is showing the cable to be covered with more dirt. The rake marks on the right side of this image show how I have been moving soil into the trench that was piled above the original ground elevation. I did not take another image of this area after I covered the cables with dirt. When they filled the remainder of the trench and smoothed the topsoil, the cable to our house was broken. My TV service and internet connection were gone. I called the cable company at about 4 PM when this happened. The dispatcher said they could have a technician come at 1 PM the next day. We spent one night with my cell phone providing enough internet speed to stream some videos. The broken cable was replaced with a bright ORANGE cable trenched in beneath the sod back there from the amplifier pedestal box. The service was restored and we were all happy with all our channels restored and the FAST internet working again.
Repair of the Broken Irrigation Pipe
What I discovered a few days after the cable TV connection was repaired, WAS
the sprinkler system in that section of the property was not working. I
turned on the pump and walked to the area where the new ORANGE cable had been
installed and discovered WATER bubbling up to the surface. When this
happens, you can stick your hand down into the "quick sand" above the
water pipe leak while the water is running and FEEL the cut in the pipe with the
water coming out about six inches below the surface.
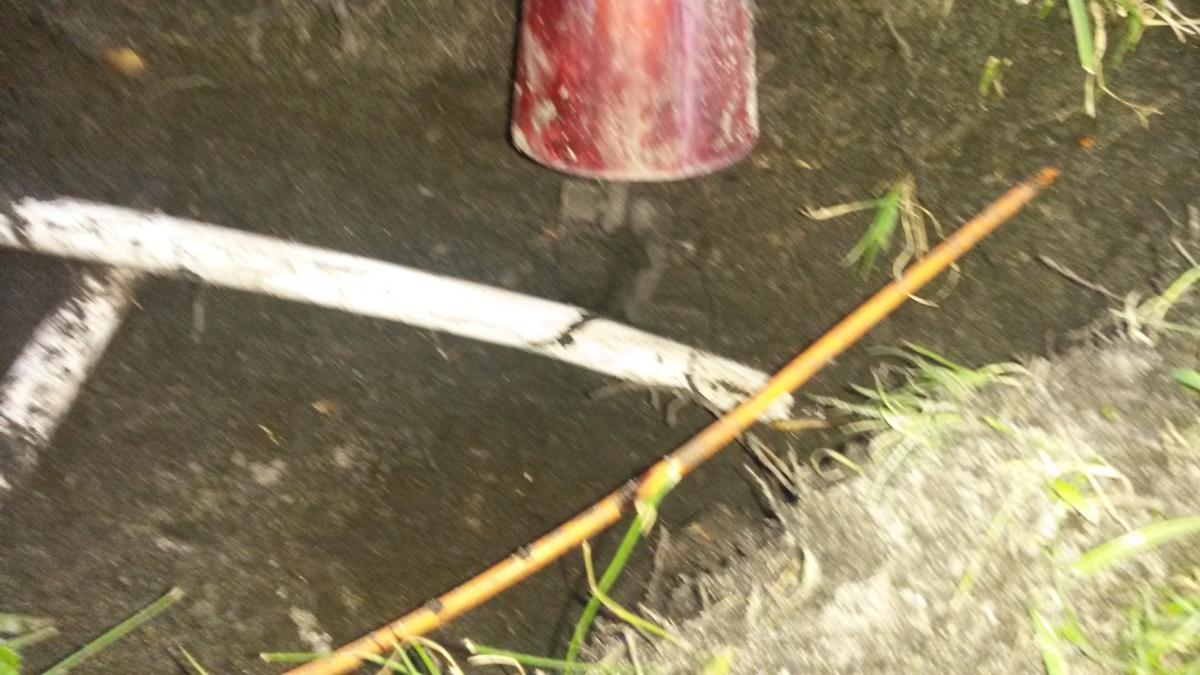
November 27, 2018: I took this photo
below after I had uncovered the broken irrigation pipe.
This crack and the pipe have sand that needs to be cleared before I can seal the
break. The new ORANGE cable is under the sod level and near where a shovel
cut the top of the PVC pipe as the new cable was being installed.
The clean pipe is ready to have the crack sealed. After I prepared
the coupler seen in the next two photos below this image, I painted the blue
water-proof cement on the two-inch length of this pipe covering the crack.
The two halves of the coupler were also painted inside with the blue glue and
two automotive HOSE CLAMPS were used to secure the clam shells together around
the pipe. The gap was secured and glued as the hose clamps were
tightened. I came back four hours later to see that all the blue glue was
hard and secured. I turned on the water to this zone and there were no
leaks. Full water pressure was restored to all the sprinklers in this
area. The only thing I forgot to do was to take a photo of the completed
work on the pipe. The repair is not that far below the surface and I can
uncover the area to get a photo of the installation.

November 29, 2018: Here is a 1.625-inch
long PVC coupling for the irrigation pipes. I bought TWO of
these for 37 cents each. I have pipe cement from an earlier repair in the
front yard. I had to cut one coupler along the lines I have drawn on the
remaining coupler. With the two halves, I can prepare them to seal the
crack in the pipe.
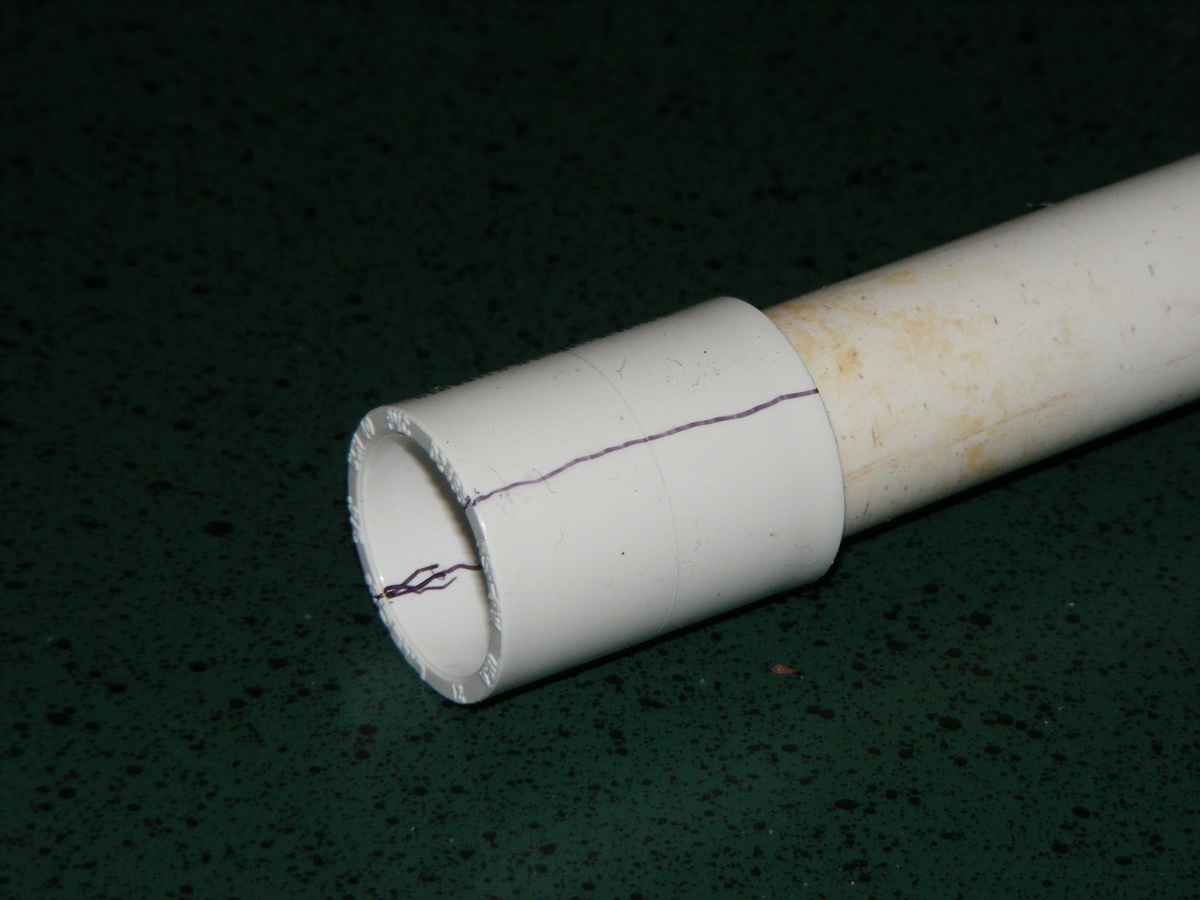
Looking inside the new coupler, there is a ridge that needs to be removed
to get a good seal to the broken pipe. I used a cutting disc on my Dremel
tool to cut the coupler in half along its length to have a "clam
shell" to be cemented to the broken pipe. A small sanding drum is
used in the Dremel tool to remove the ridge inside the half shells. The
ridge is needed when two pipes are coupled together in normal service.
Since I am putting these modified "clam shells" on a smooth pipe, I
have to remove the ridge in the center of the coupler halves.
November 30, 2018: I went back to the
repair site for the irrigation pipe and removed enough soil to expose the splice
repair area showing the blue glue and the stainless steel hose clamps.
There is still no sign of a leak from this patch job. The hose clamps cost
only $1.88 for the pair. Add the cost of the coupler at $0.39 and the
parts total cost is $2.27.
This is the view looking northwest from a location just west of the
trench.

This image looking northwest shows part of the swale seen in the image
above and the marker stakes at both corners of LOT 23 and the southwest corner
of lot 22. The rear lot line for lot 23 is a straight line. The lot
line for lot 22 is curved.
The two map segments below are from PAGE 49 that covers all the recent area photographs published beginning on PAGE 67.

| GO TO PAGE 70 | BACK TO HOME MENU |