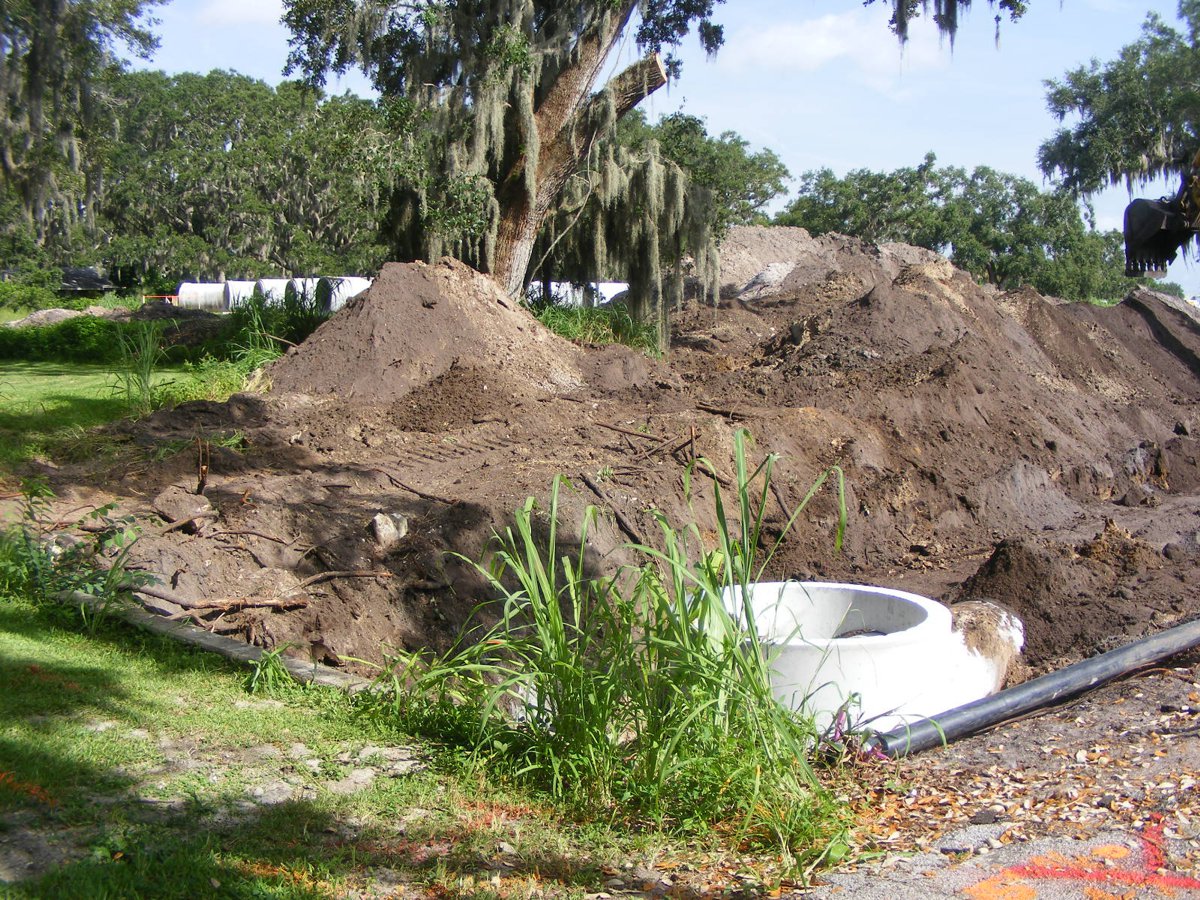
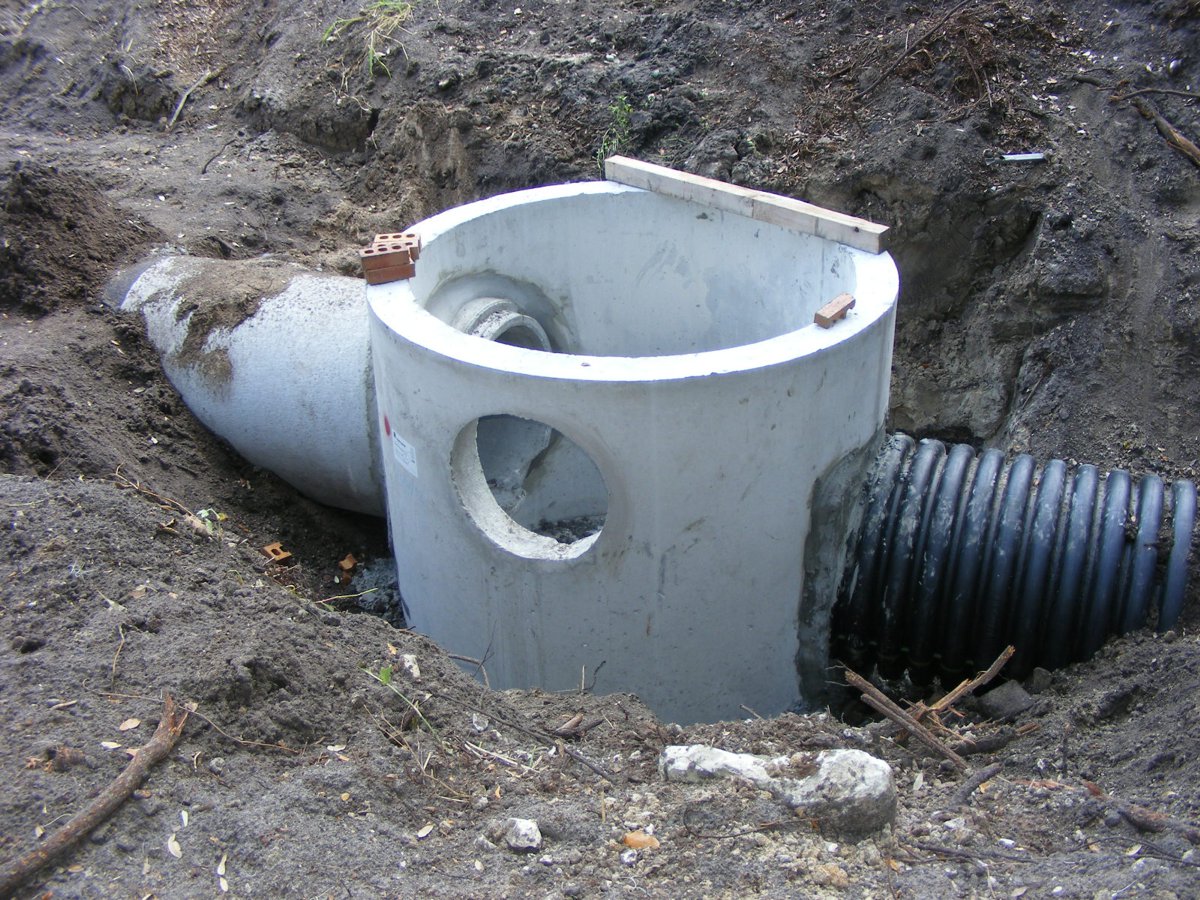
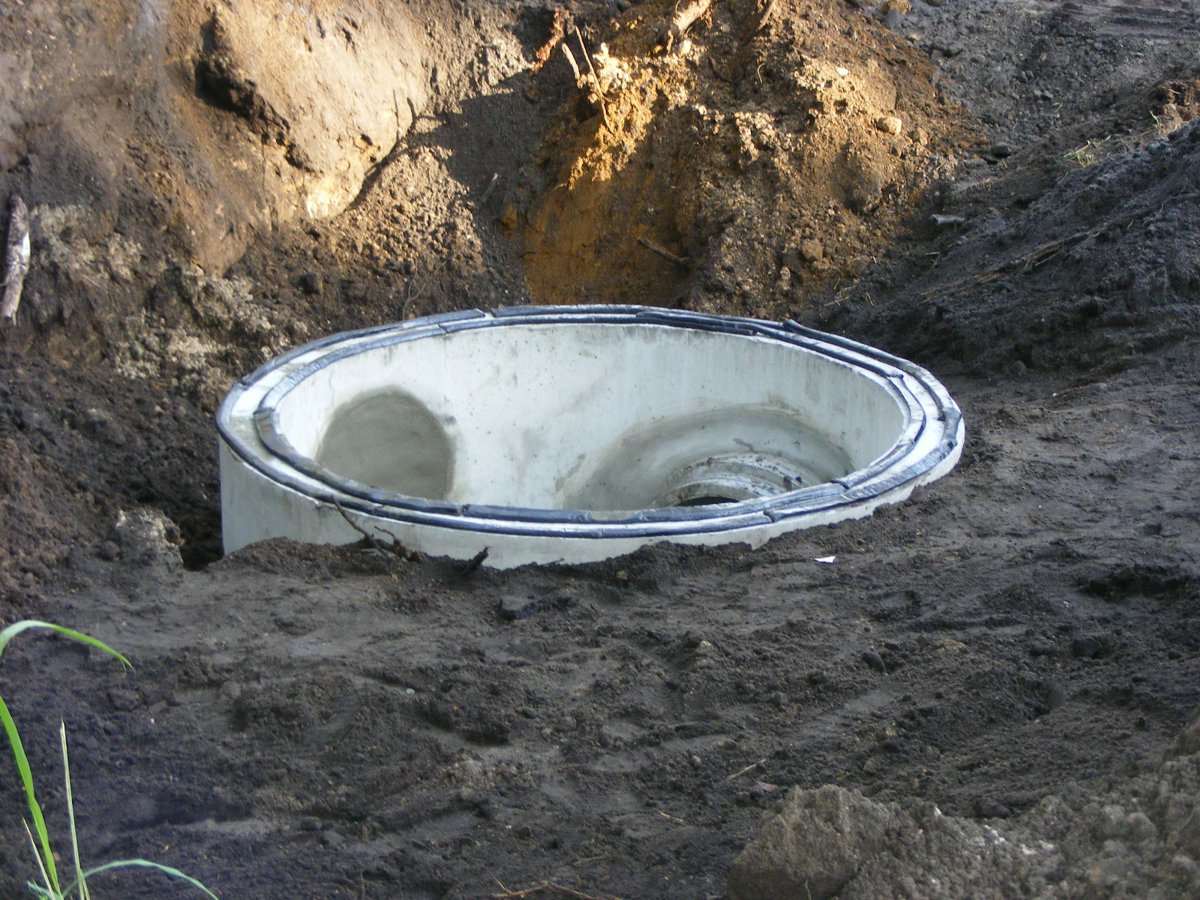
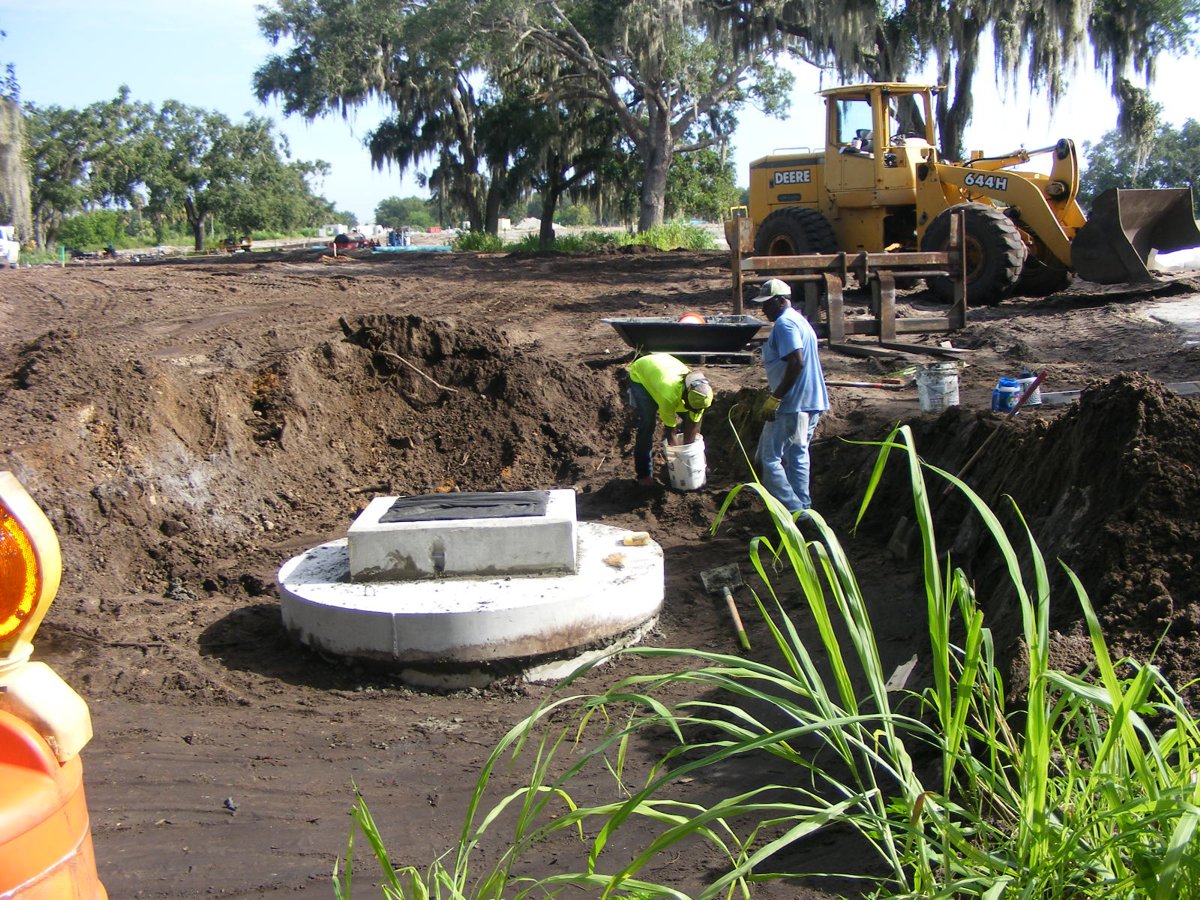
Storm Drain Connection - - PAGE 64.
July 20, 2018: My day job took
me on a two-week road trip to Tennessee, Virginia, Maryland, Pennsylvania, and
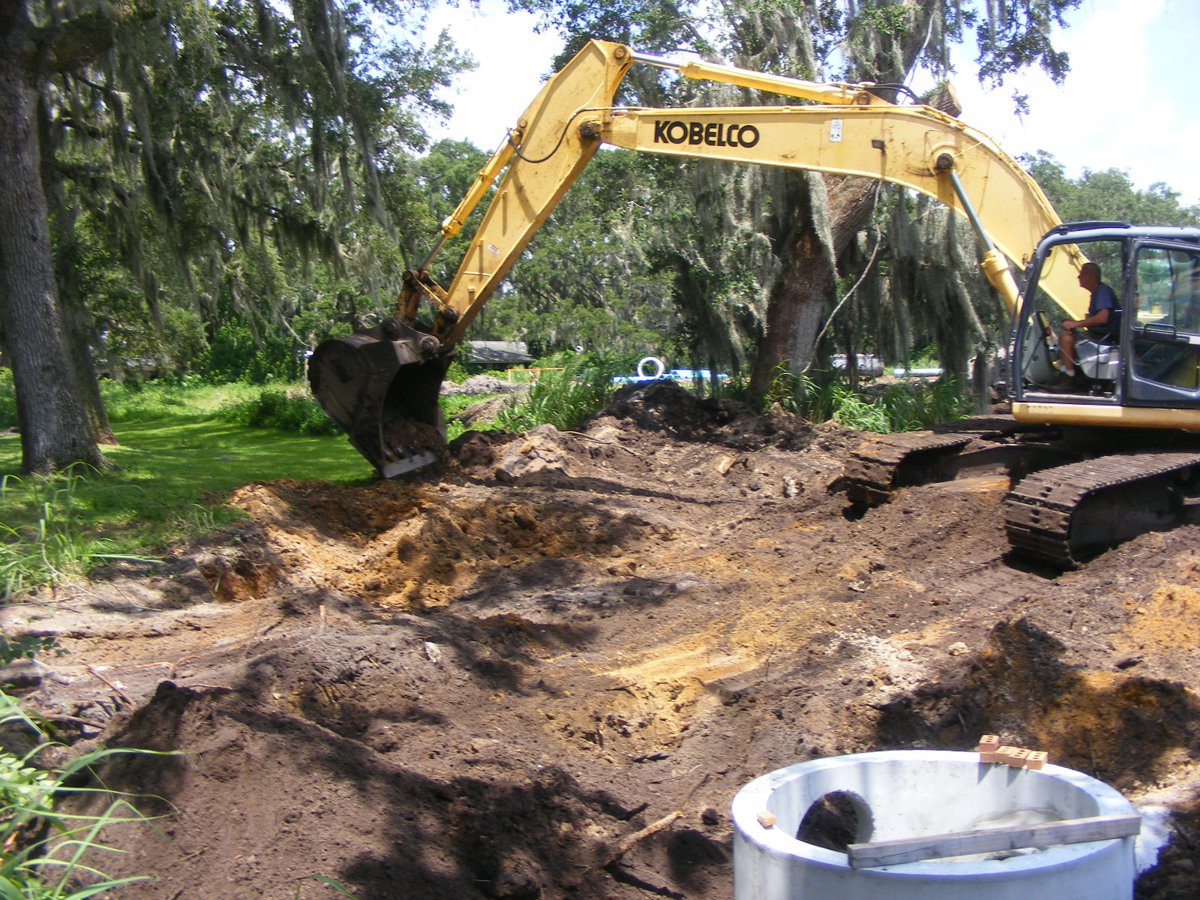
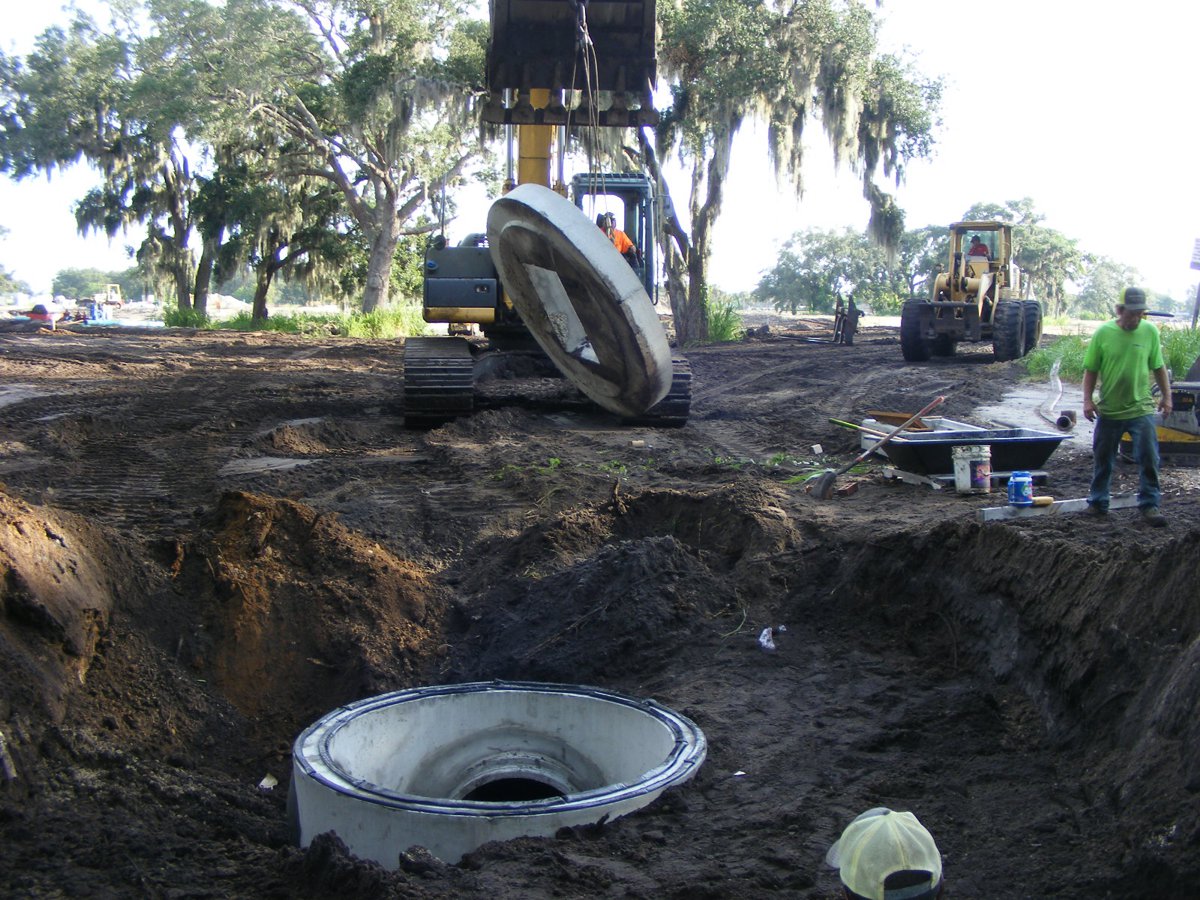
New Jersey. I came home to find the trench is getting plumbing of concrete
pipes that are 3-feet in diameter. This concrete cylinder is the NEW storm
drain that is close to the existing storm drain to the Melbourne Tillman Canal.
Additional concrete pipes are being installed north up to the main water
retention pond near the center of the property development. This pipe will
be the overflow drain from the large retention pond.
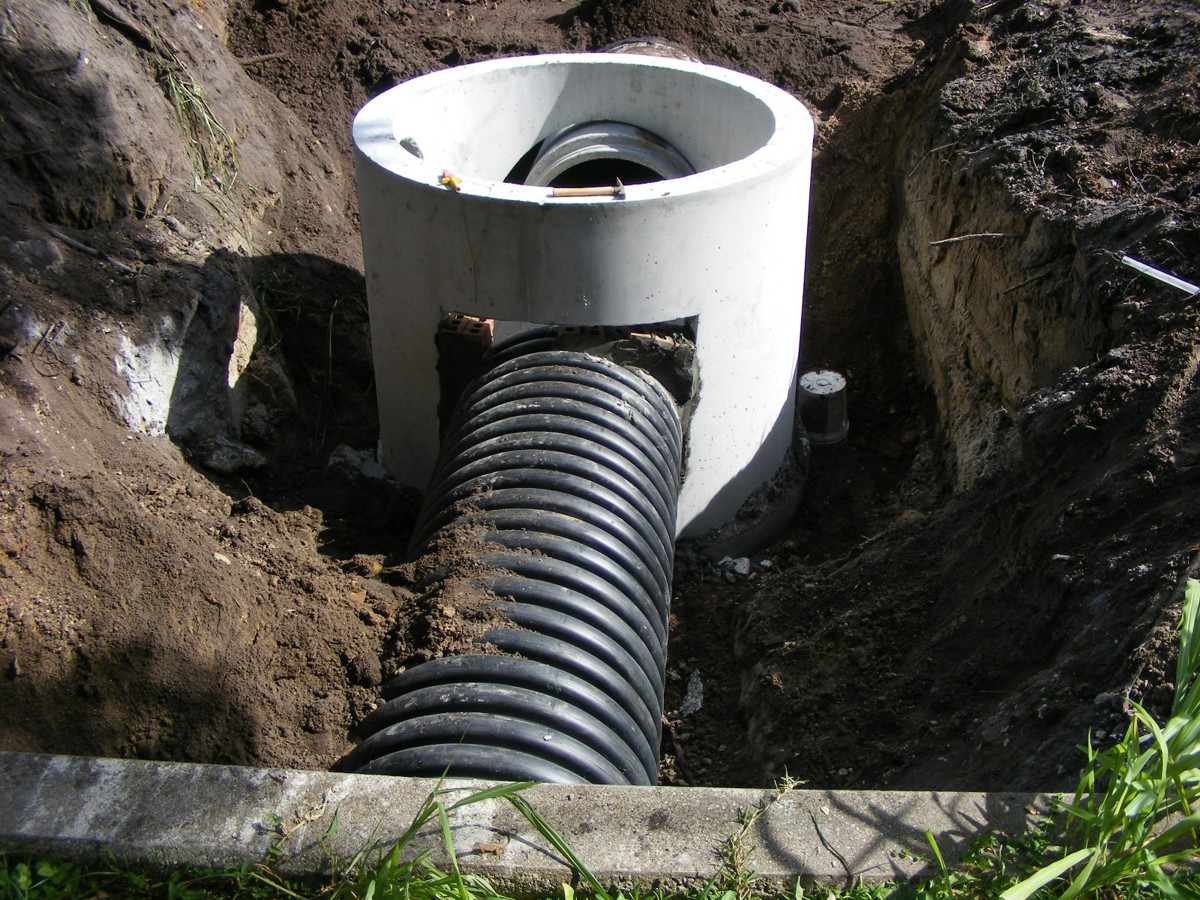
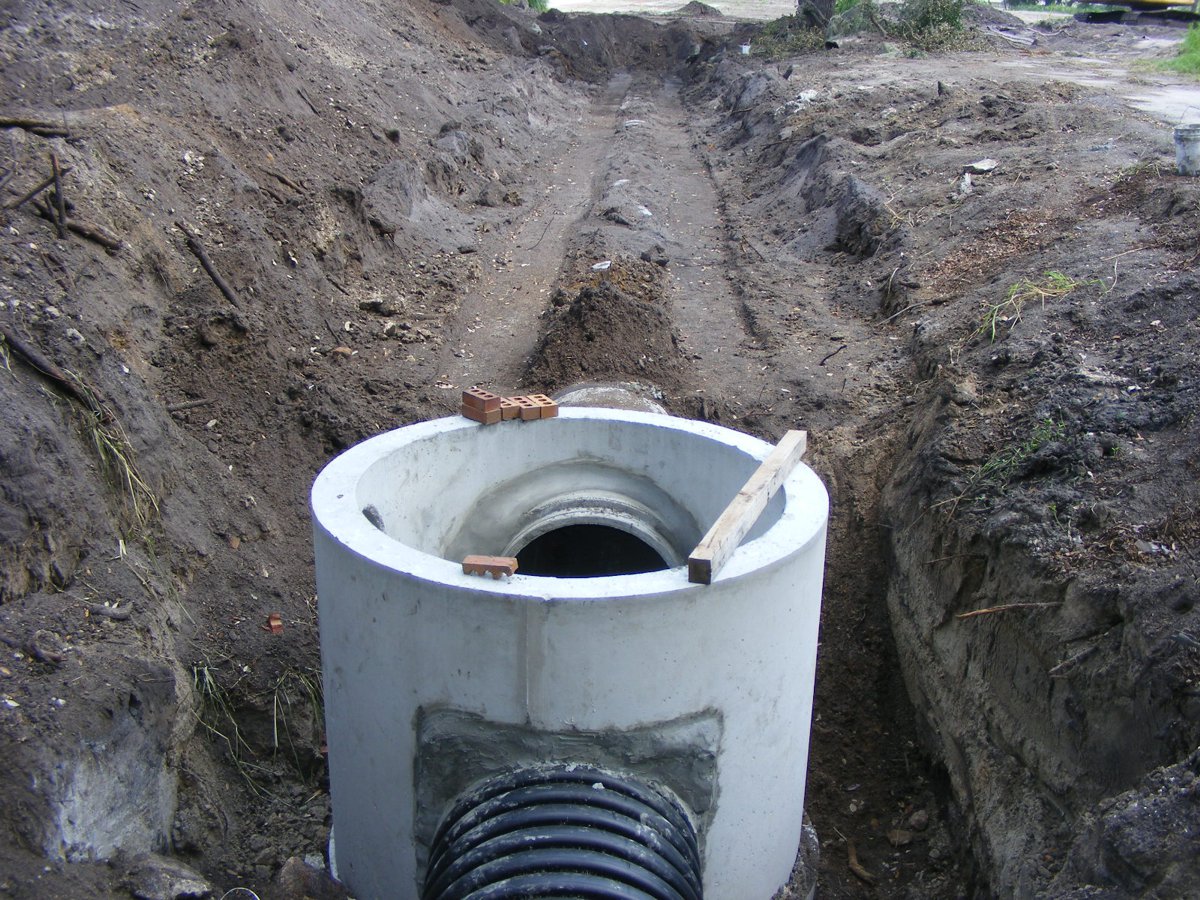
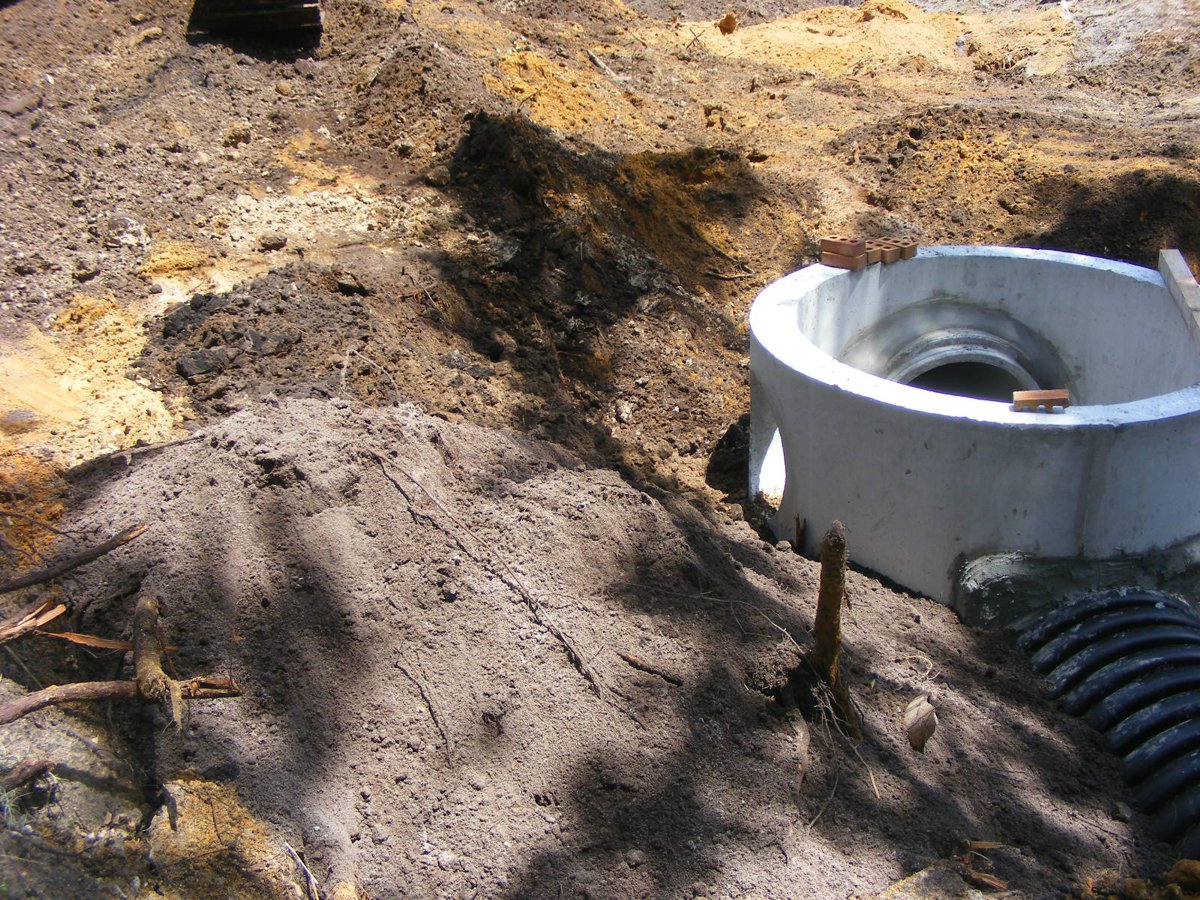
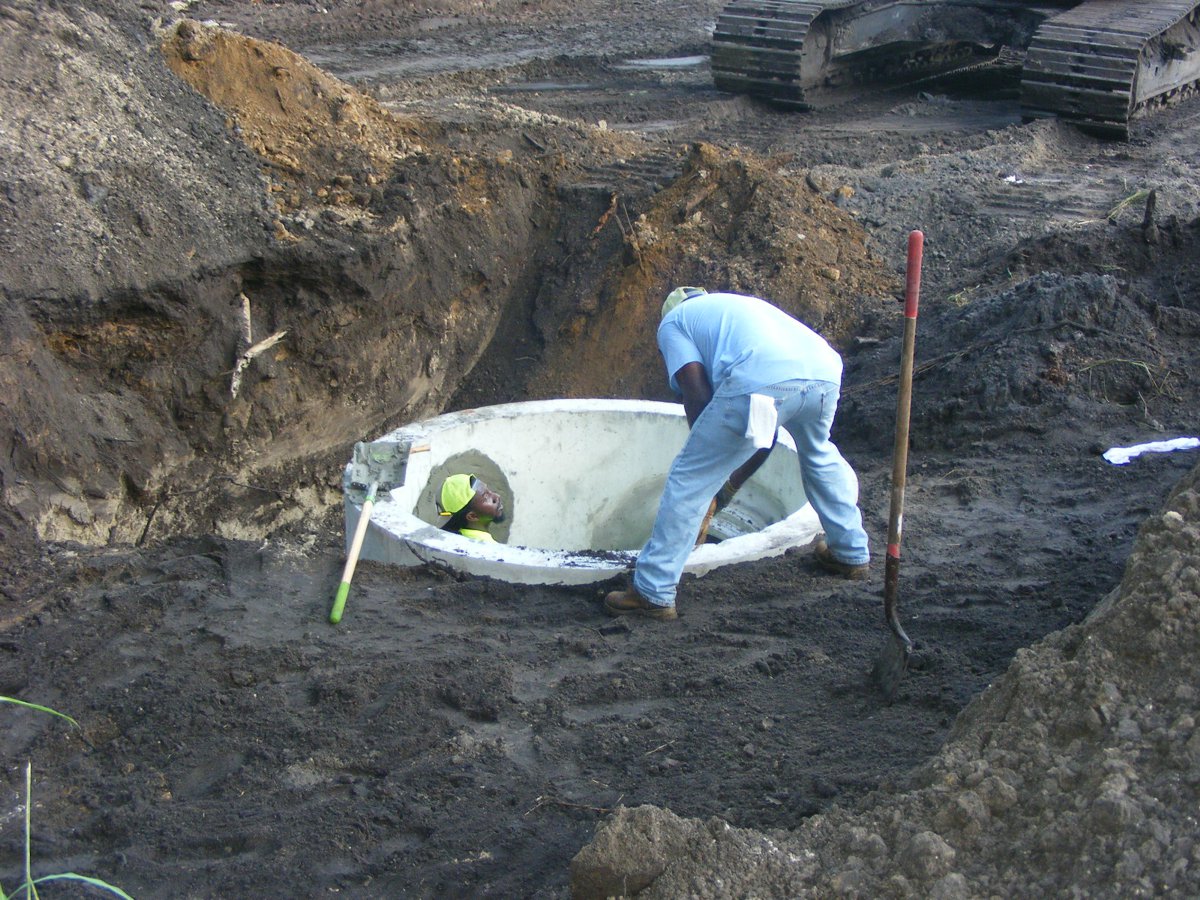
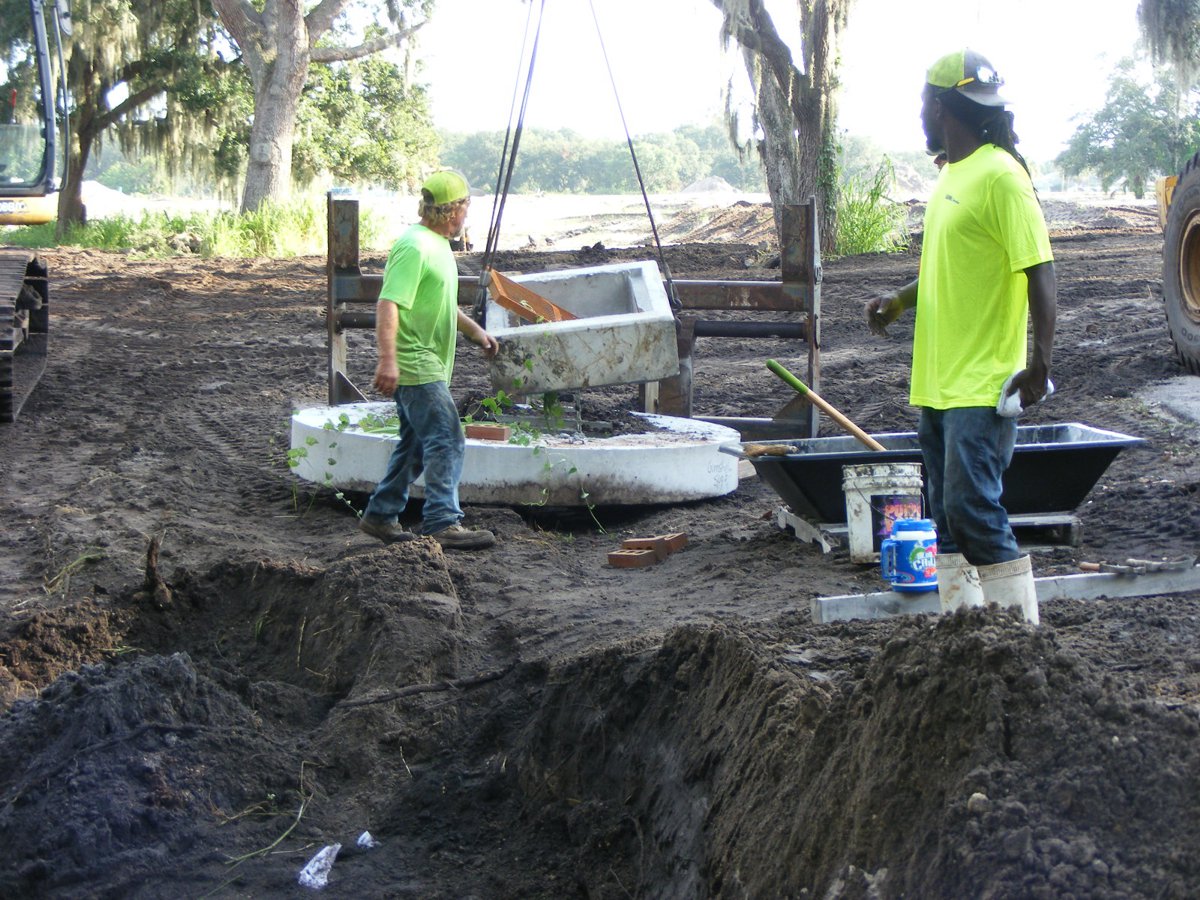
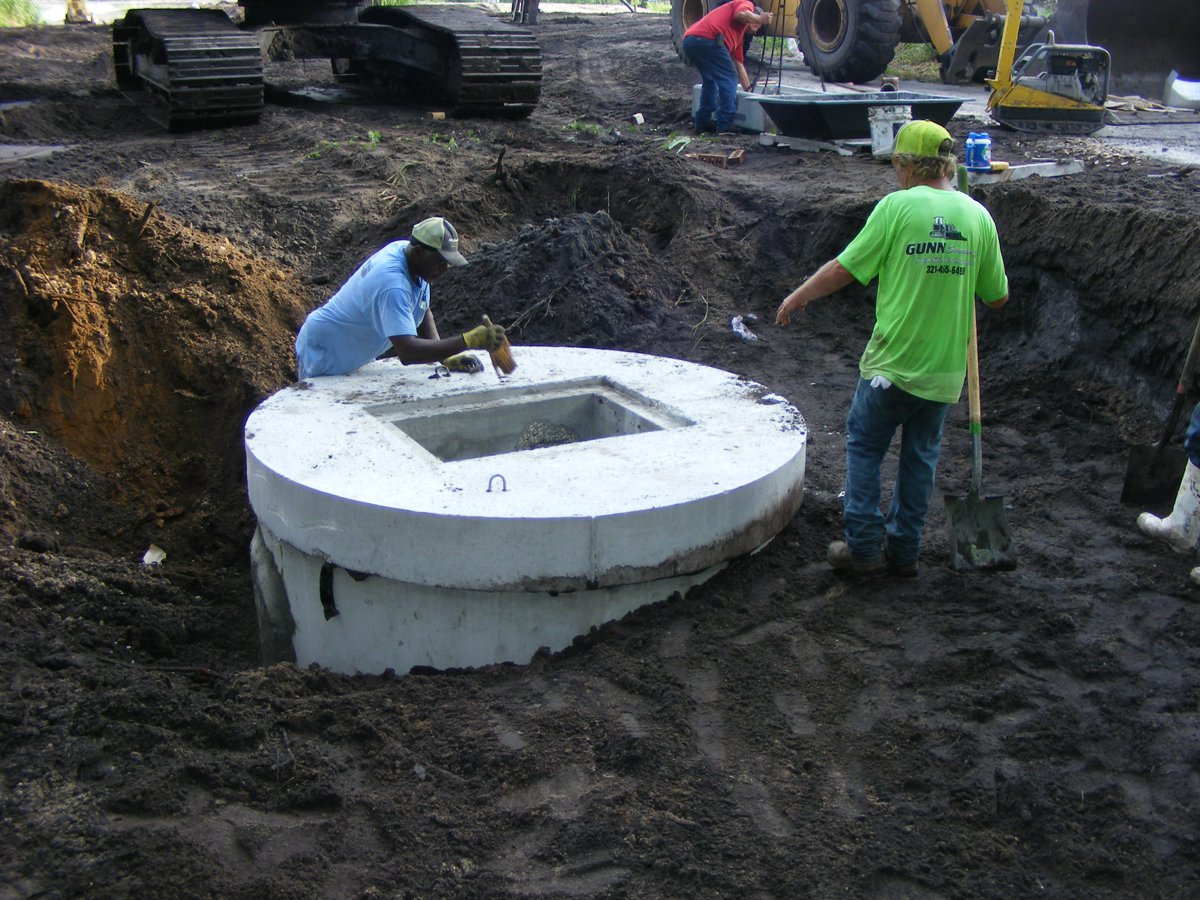
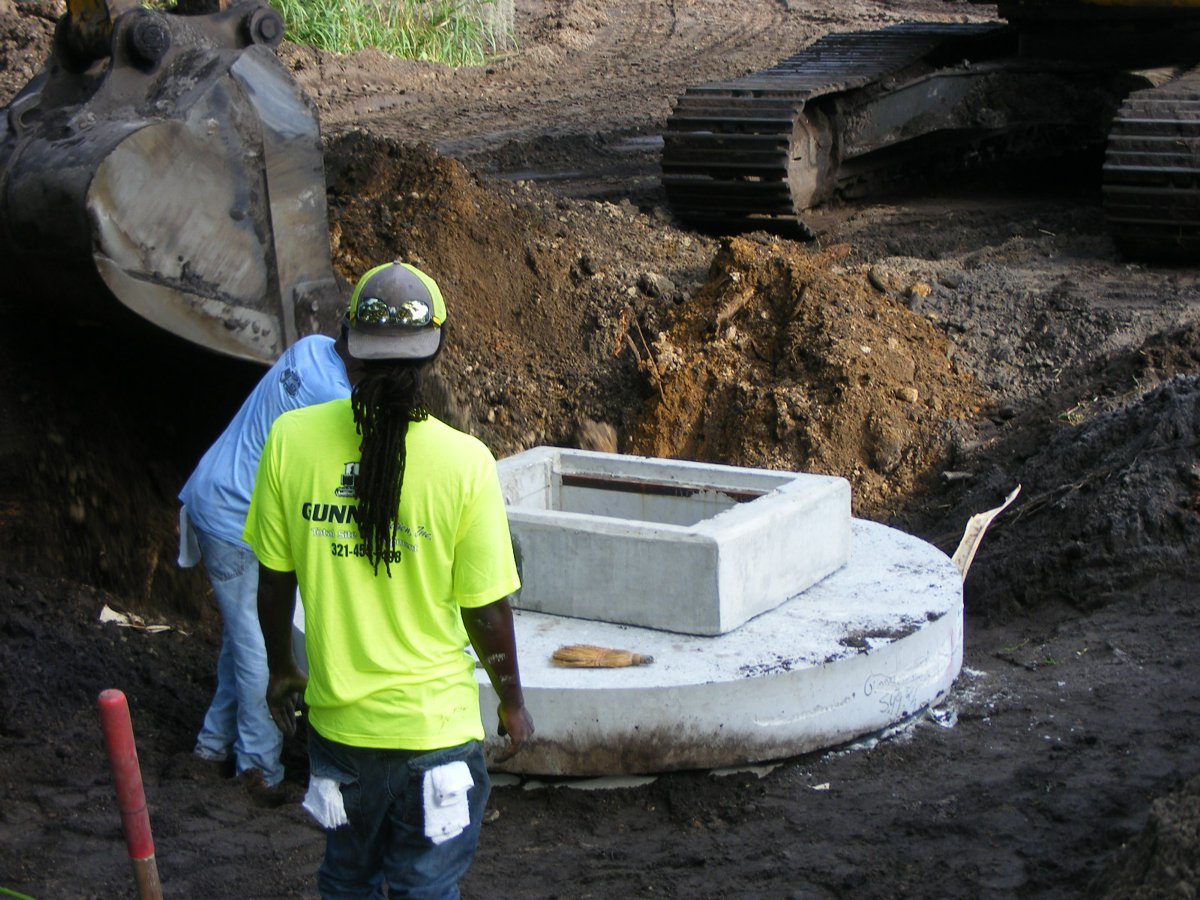
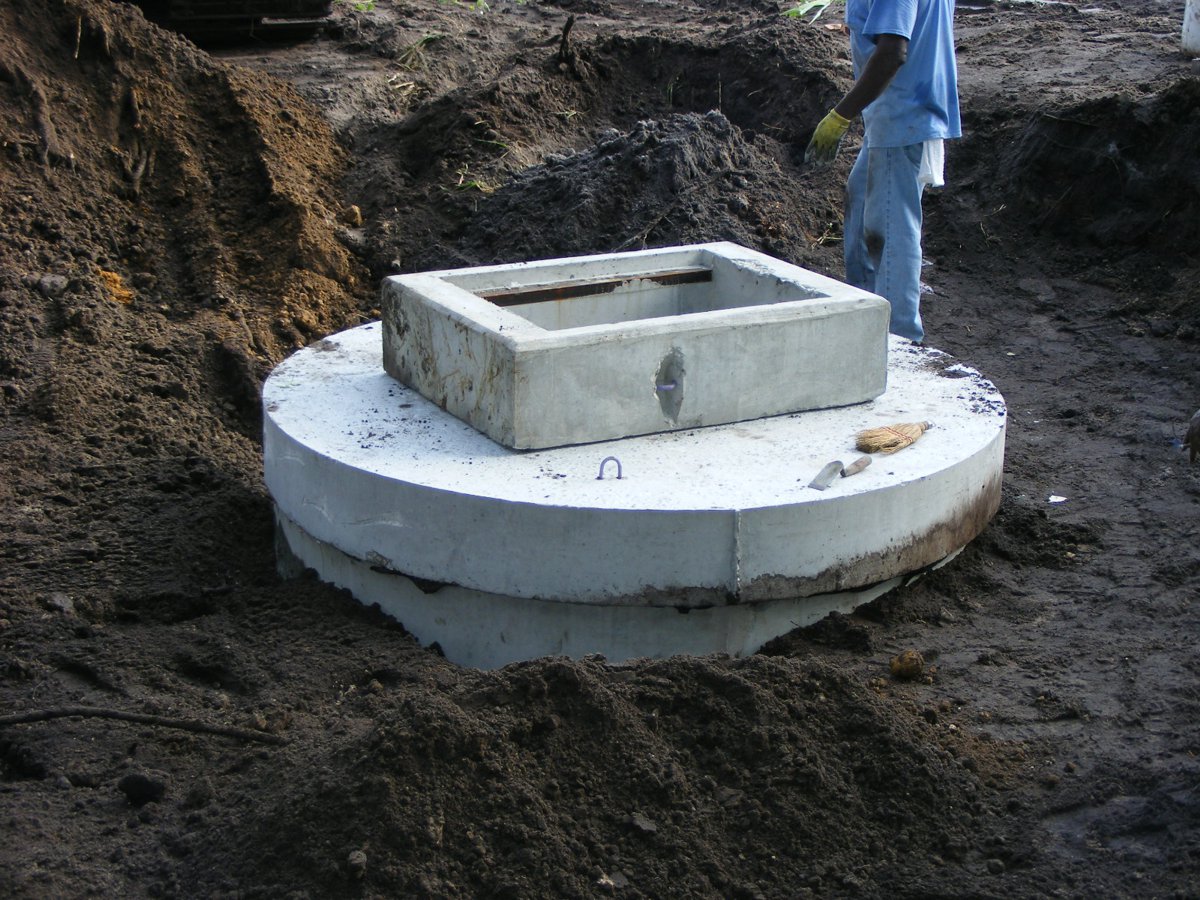
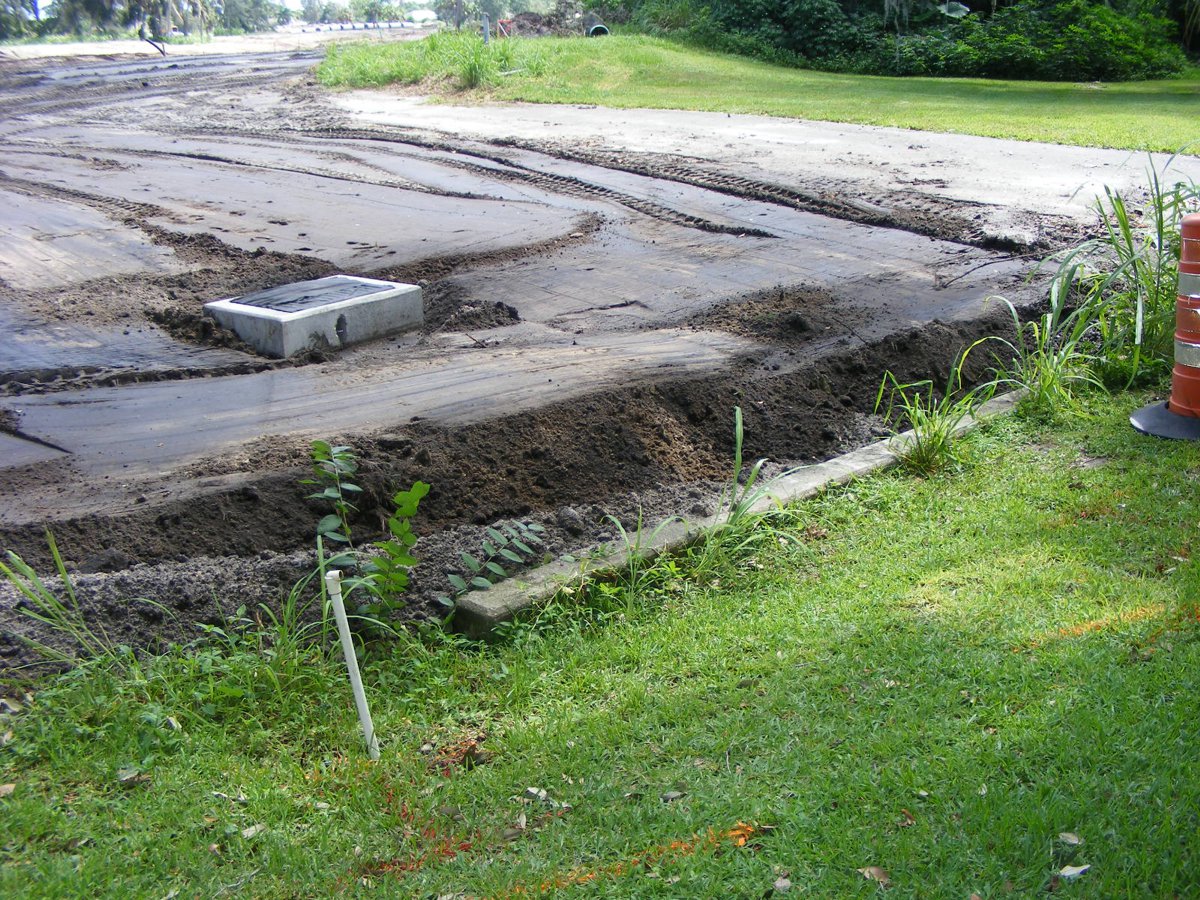
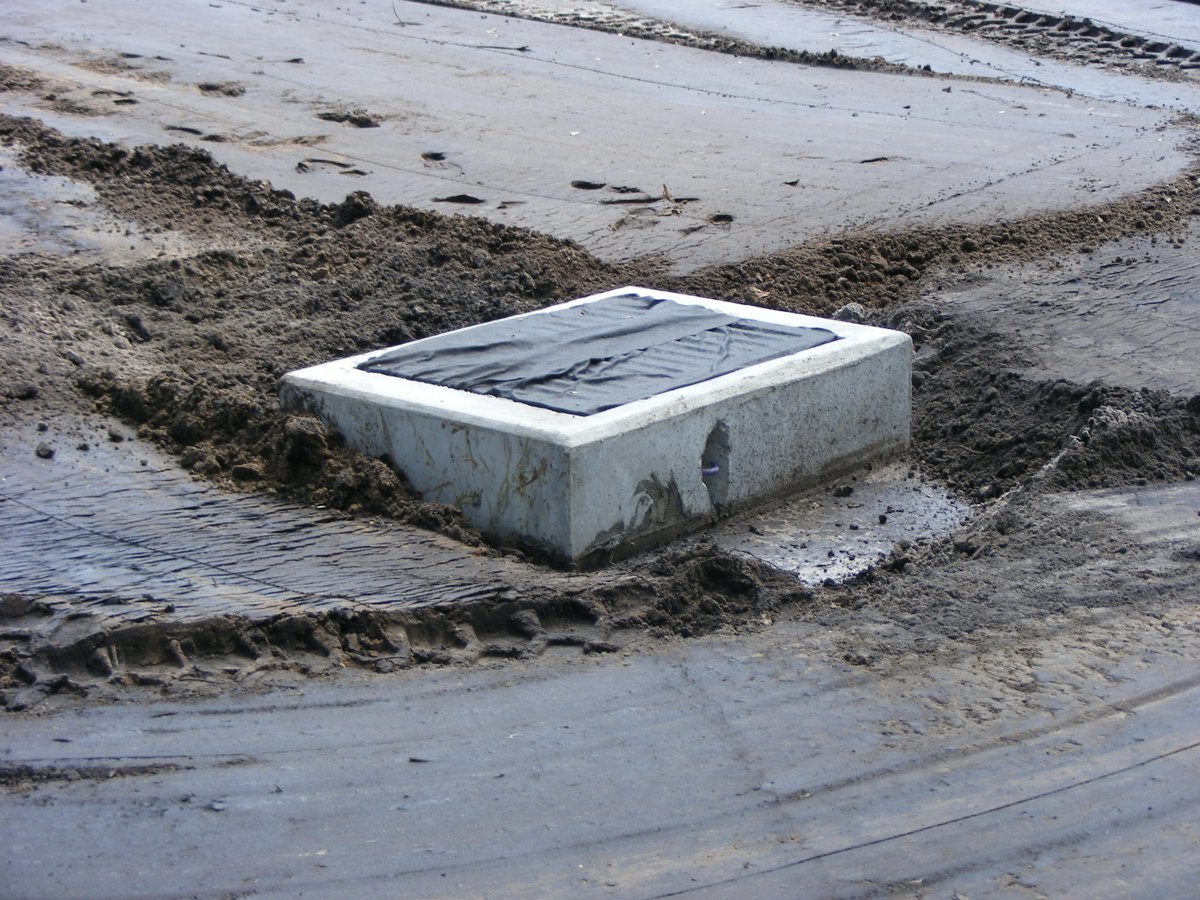
The hole on the side of the storm drain cylinder is there because there
"WAS" a pipe that was intended to couple in there from the easement
behind the house. A job foreman told me that part of the design has been
changed as a swale will be shaped into the surface of the ground behind the
easement north of the house. That does away with the need for a pipe from
the side entering this storm drain.
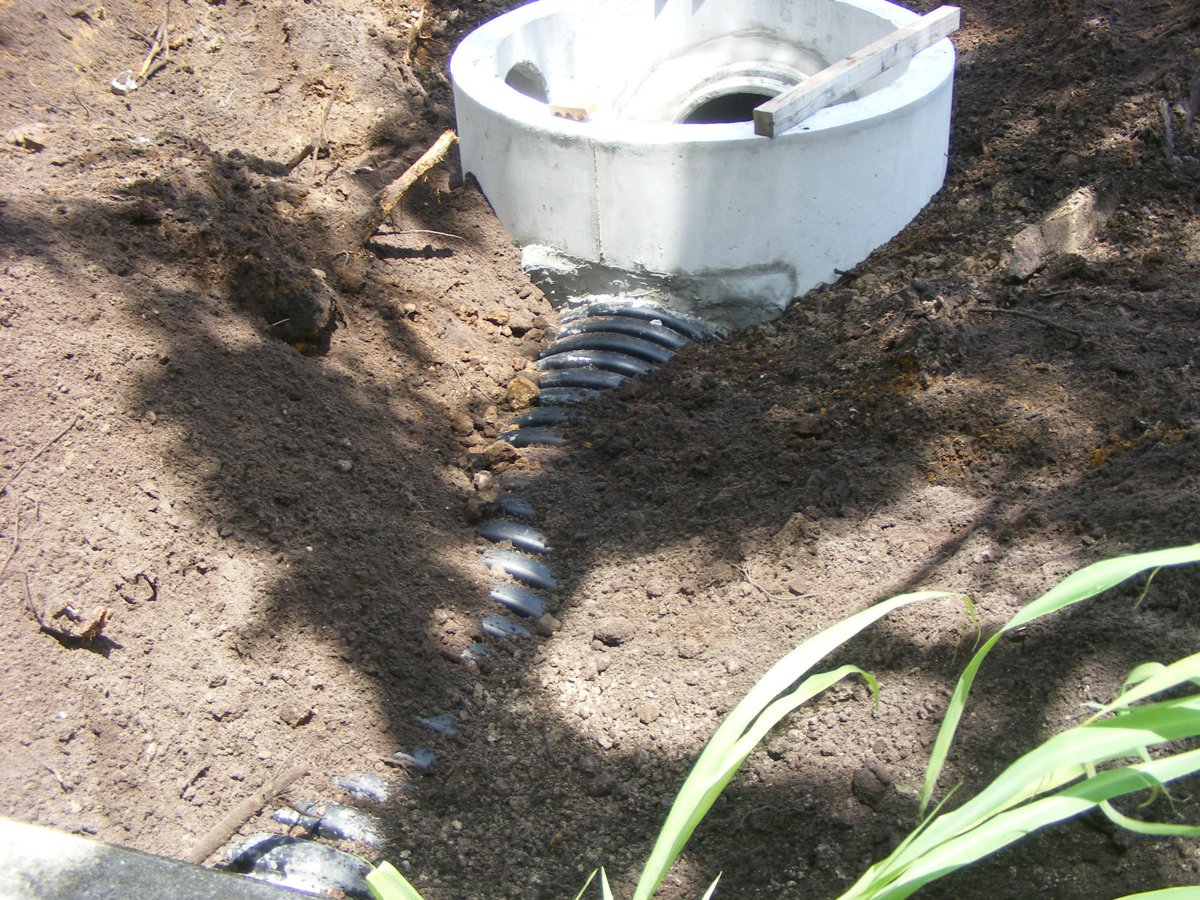
Take notice of the round corrugated pipe going into a square hole in the
concrete cylinder that is the new storm drain.
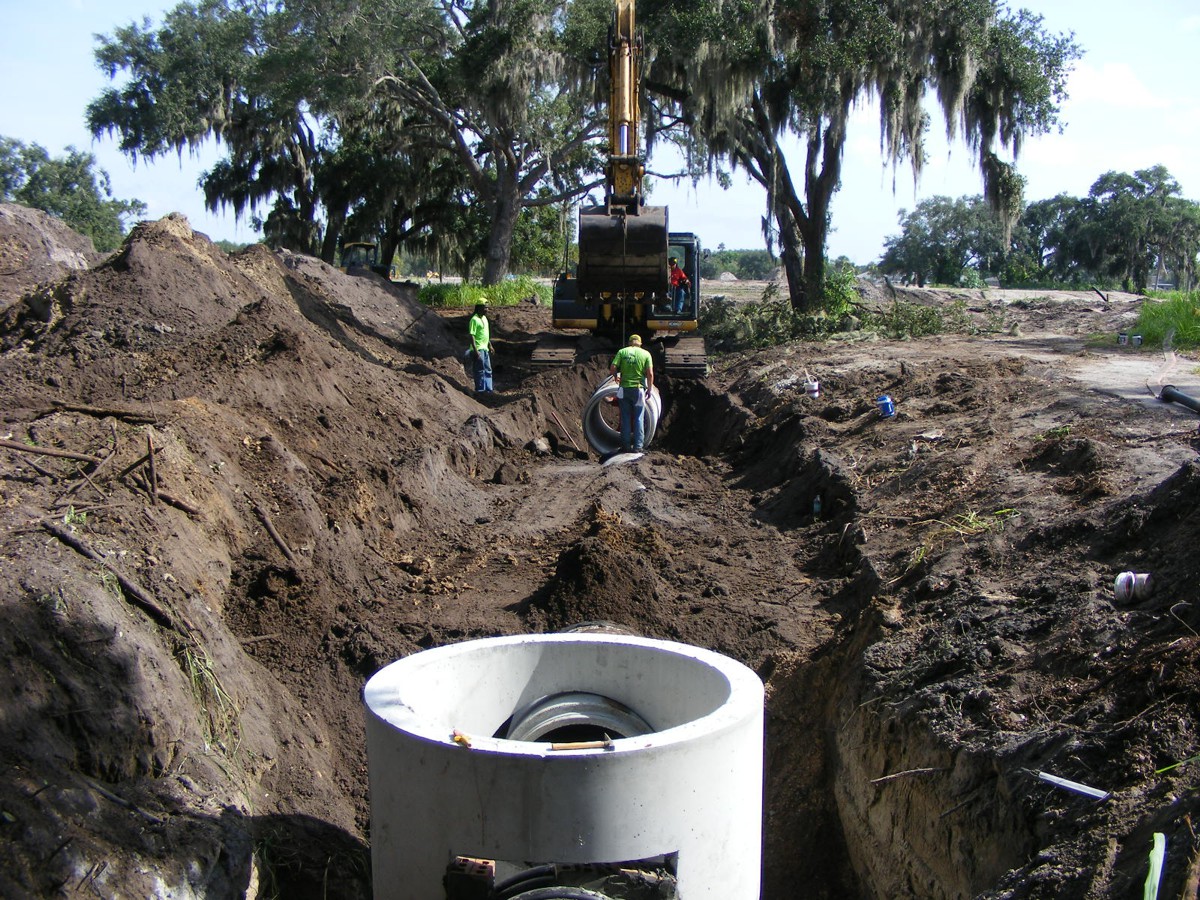
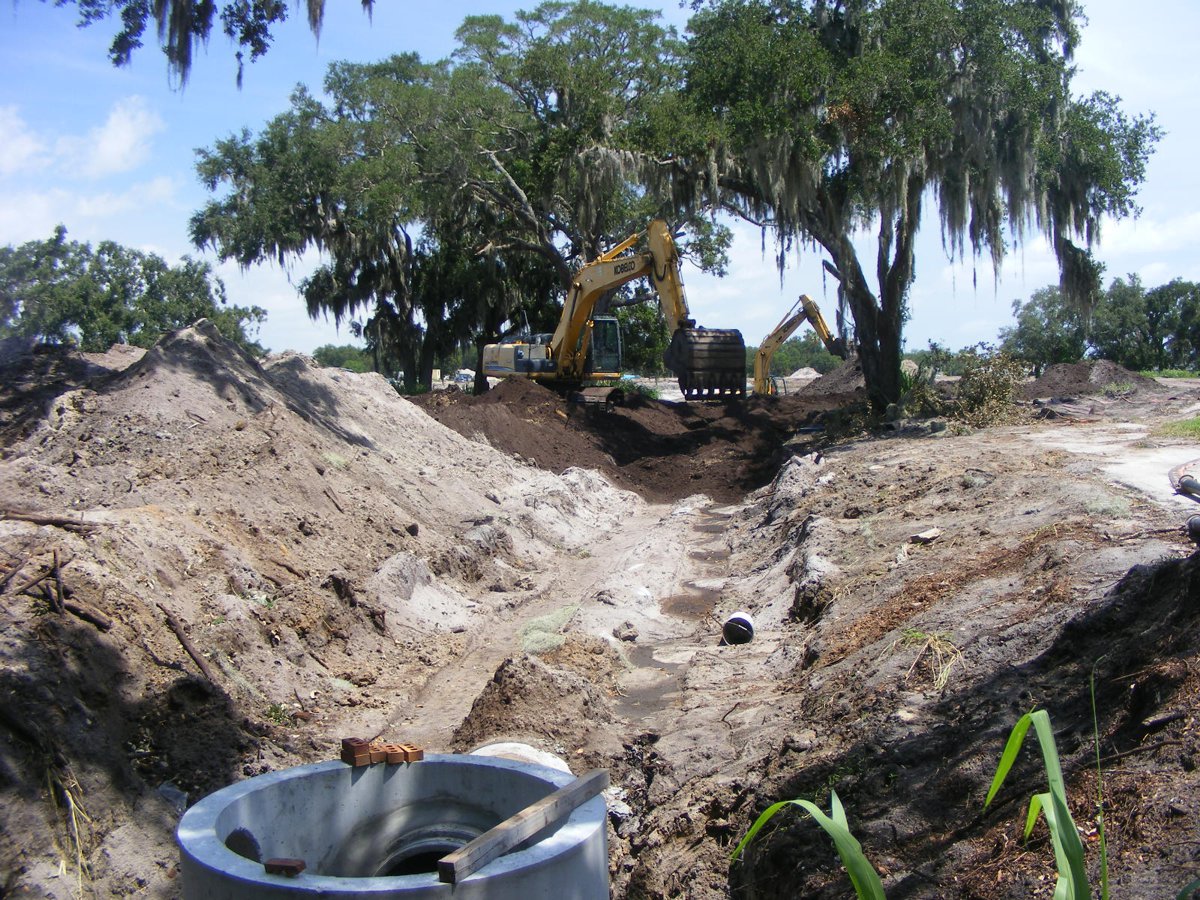
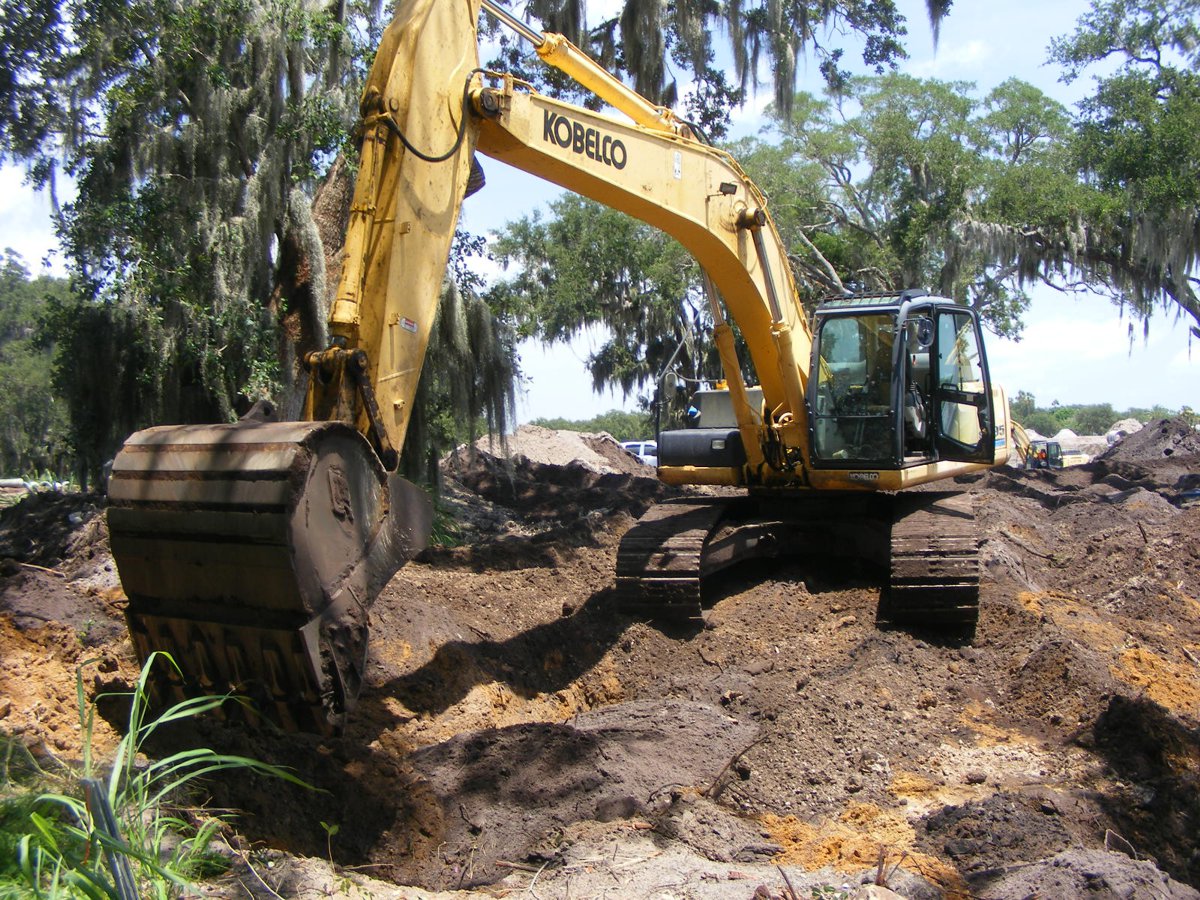
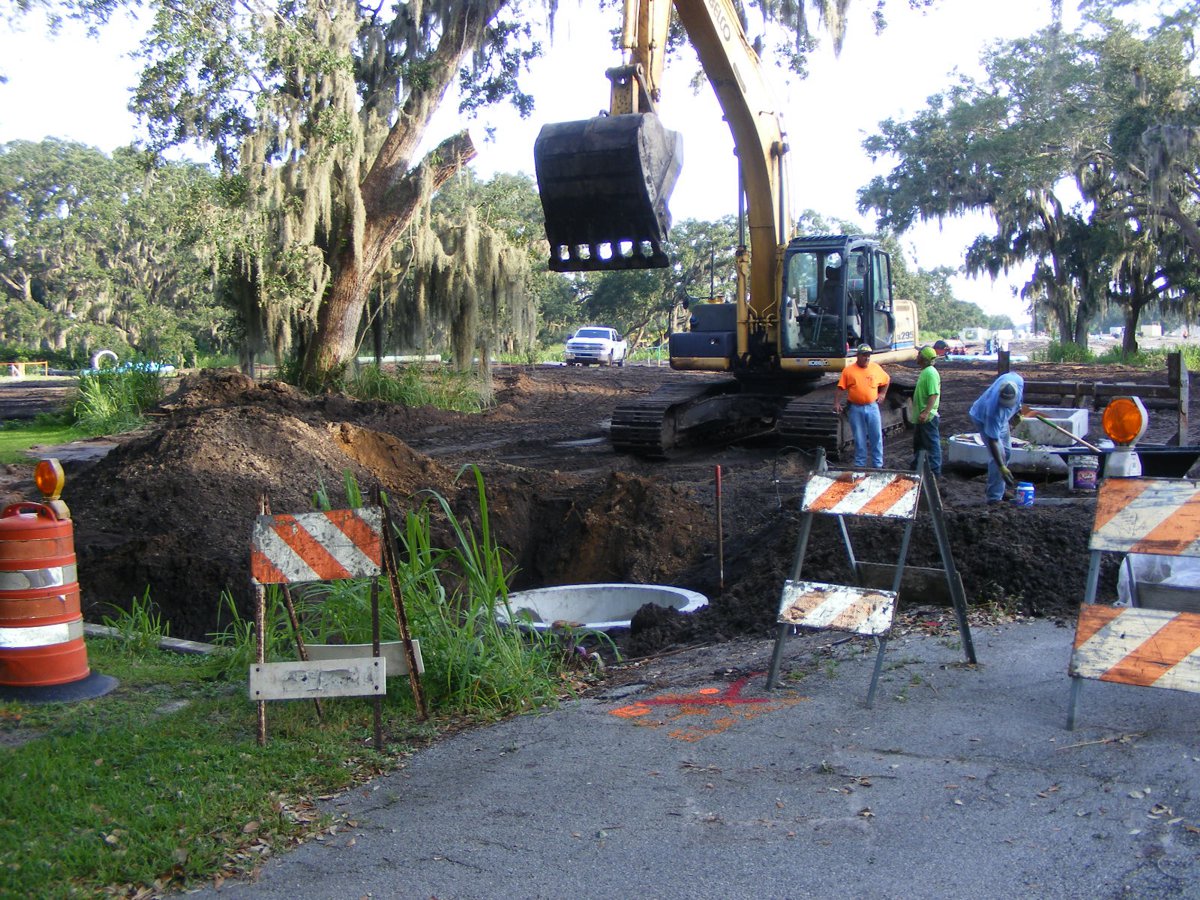
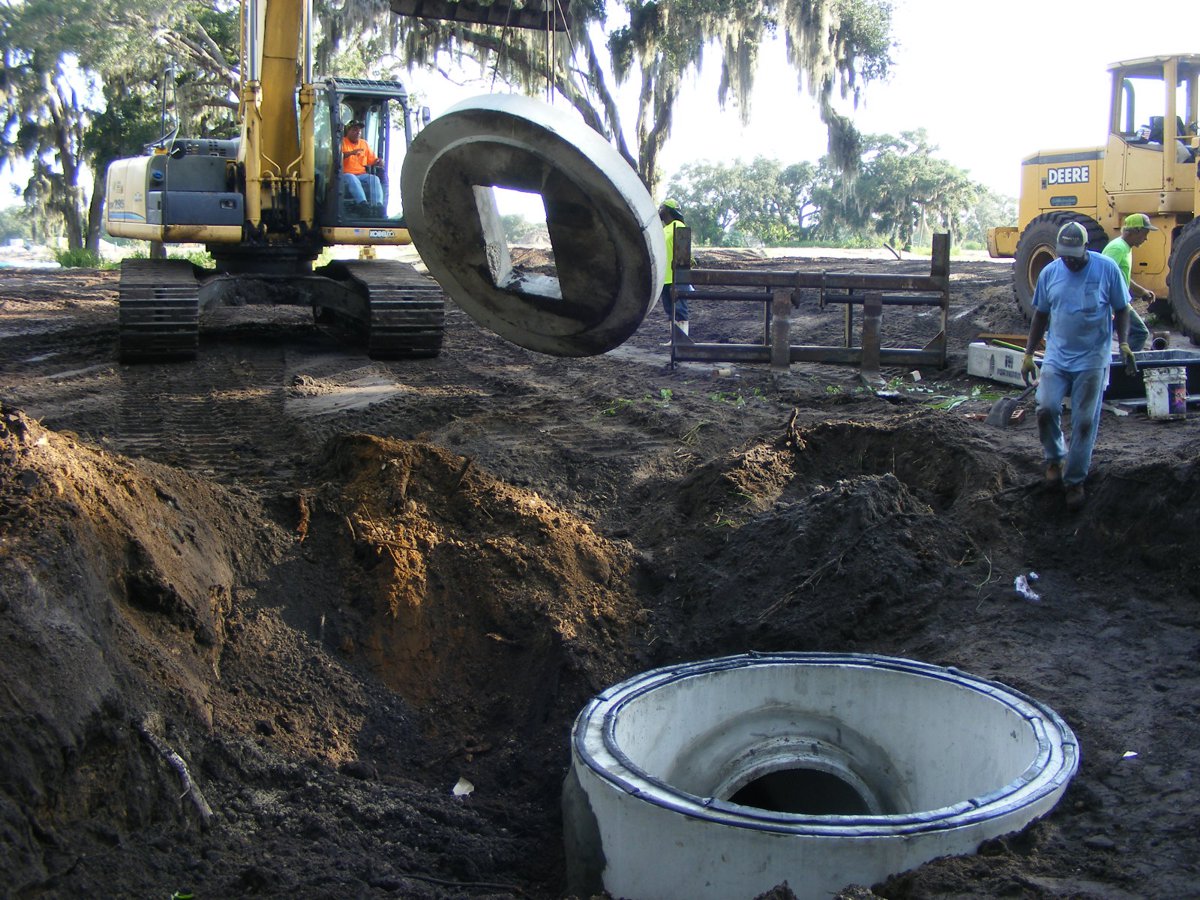
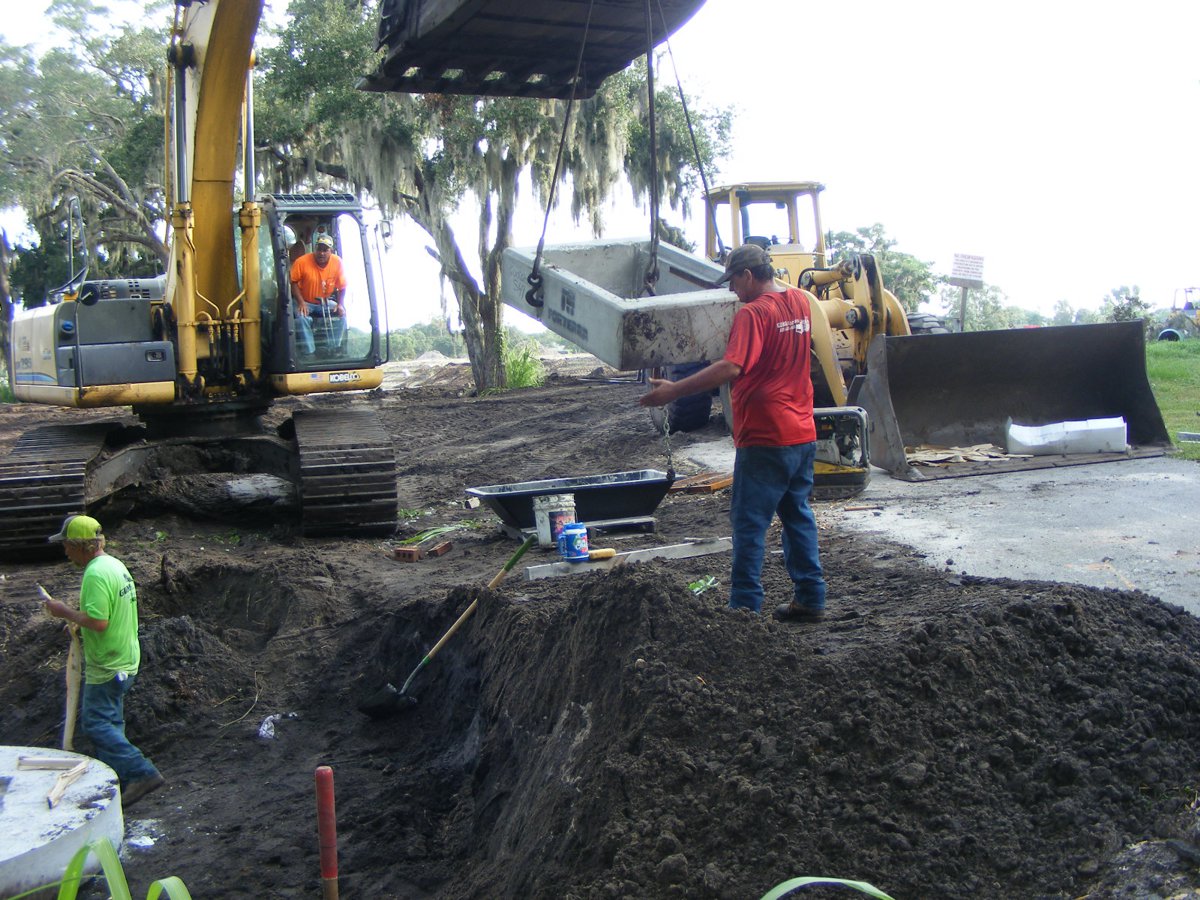
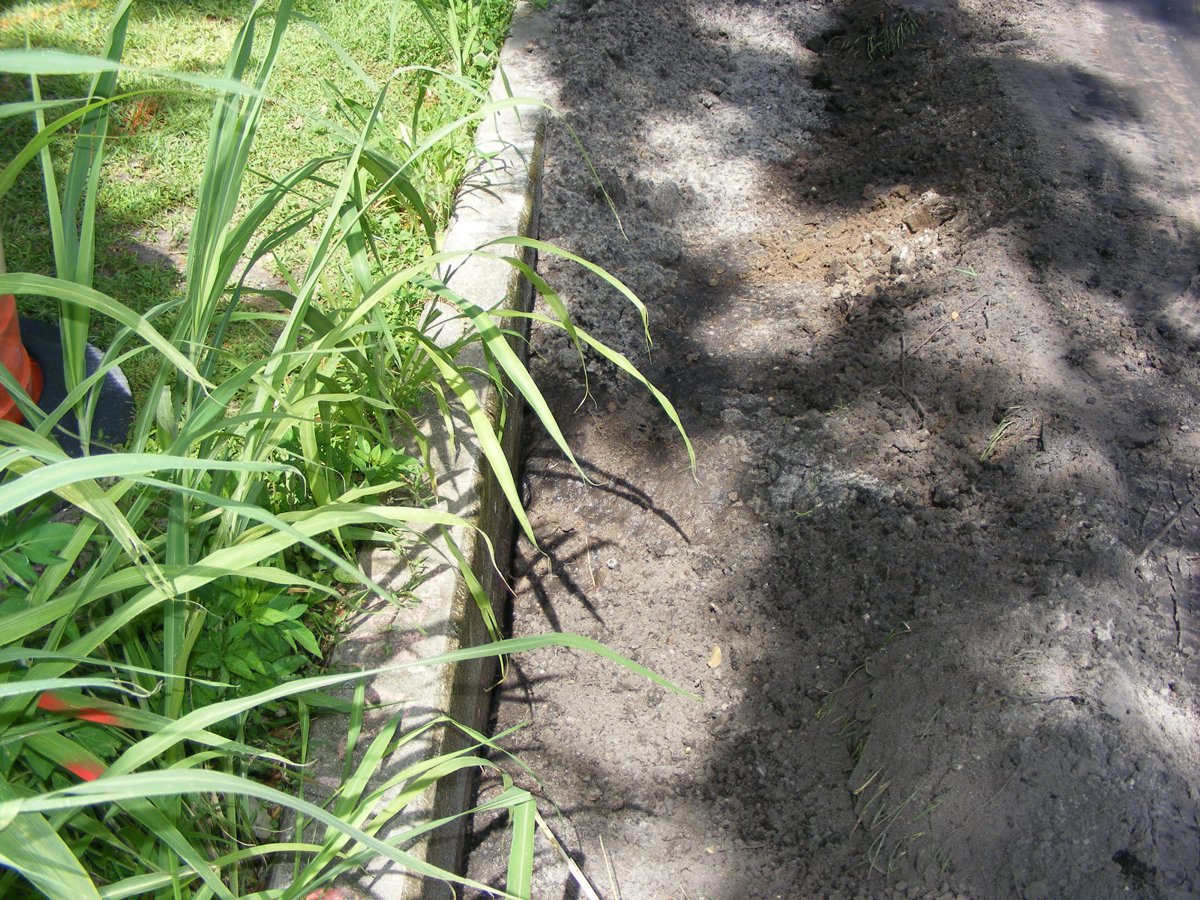
Here is the view looking northwest from the access road pavement.
There are plenty of the large concrete pipes in the background. They will
soon be installed by the crew.
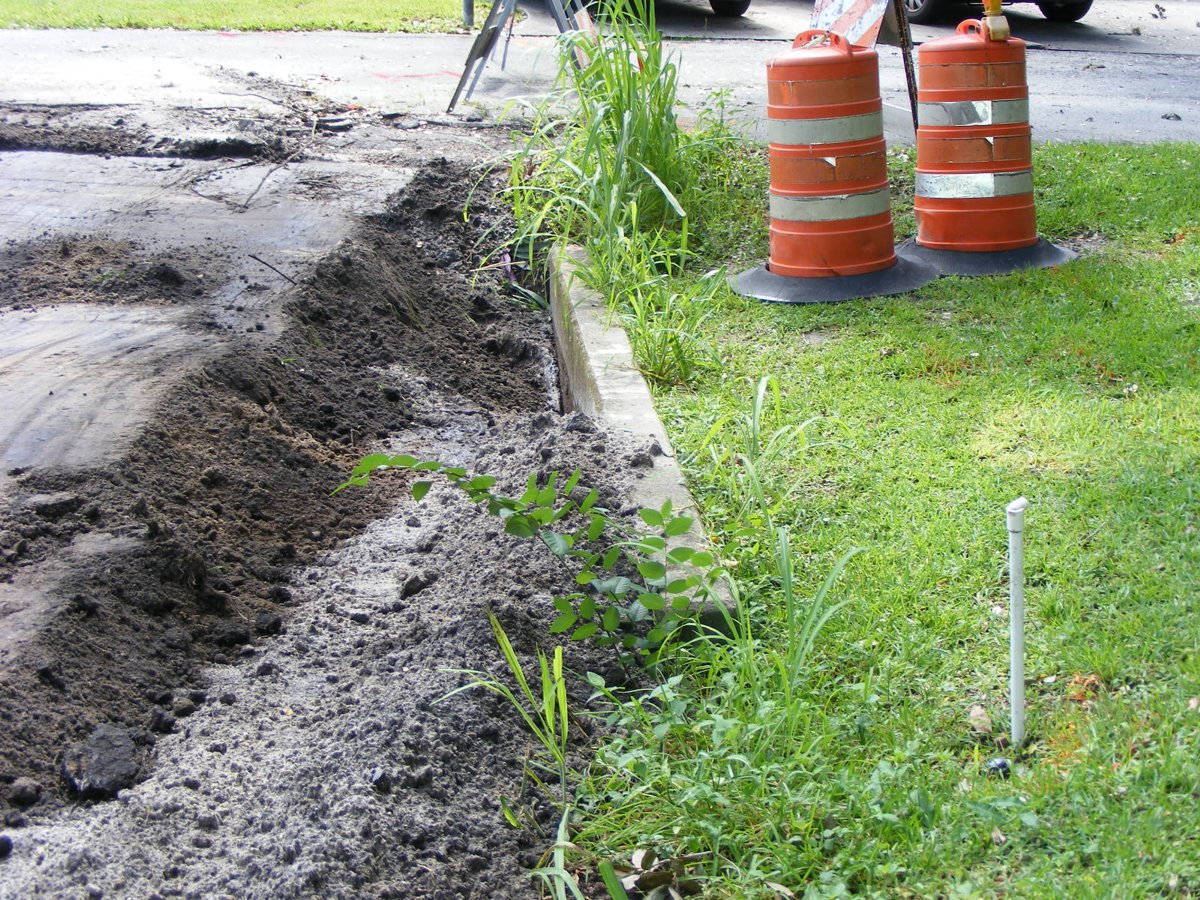
The smaller black pipe seen at the bottom of this photo will connect to
the city drinking water system near the street. These will be installed in a new
trench at the edge of the access road. I am told they will avoid our
concrete driveway.
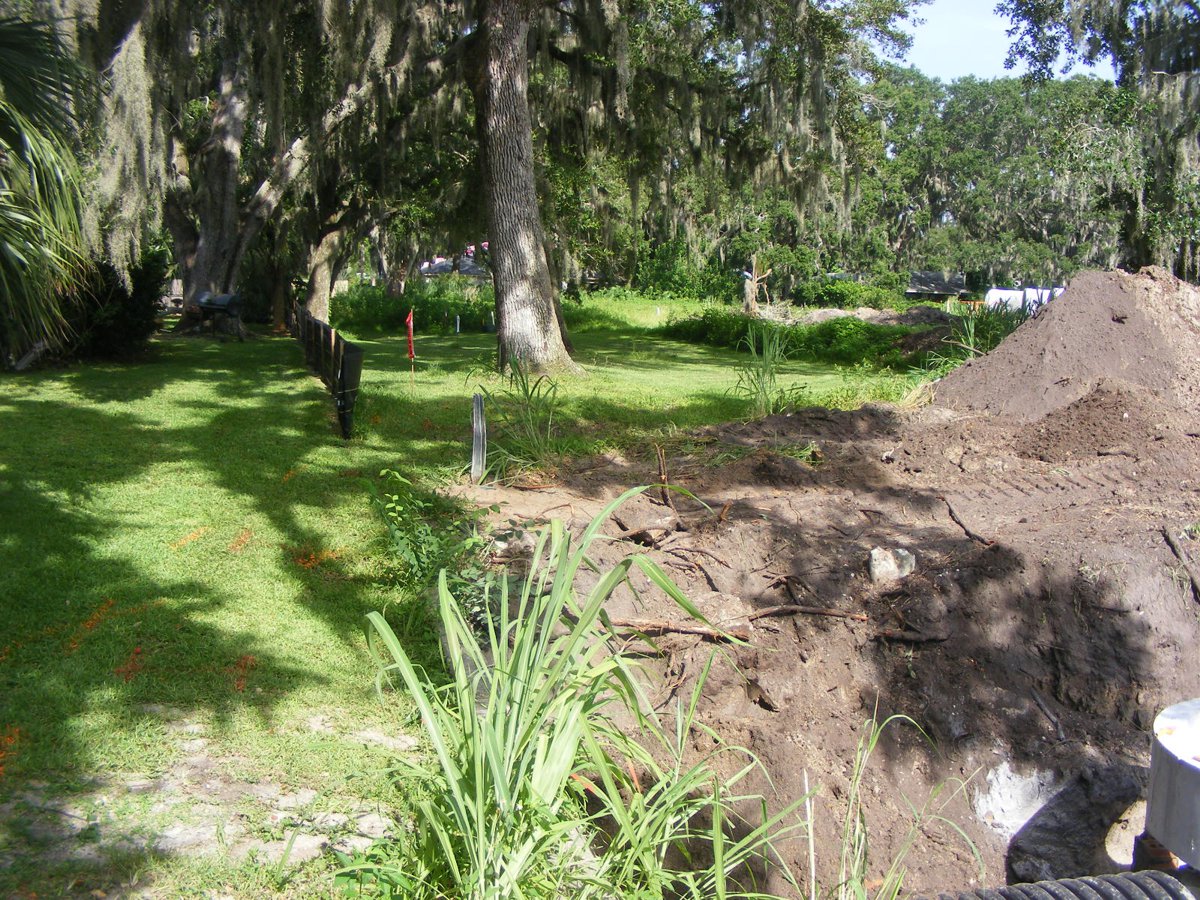
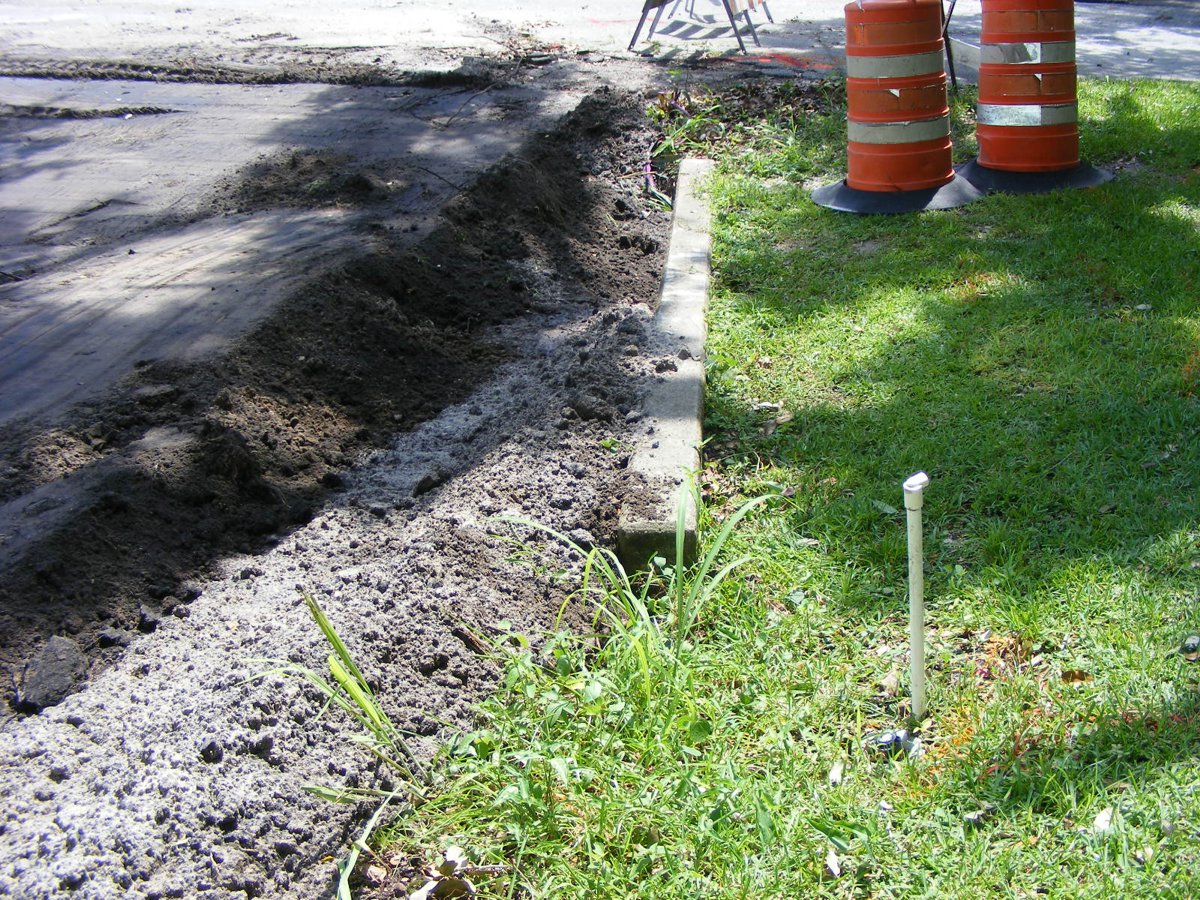
This image shows the black fence at the property line 15 feet north of the
house. All of that area with flags is the utility easement area.
That area to the right of the large oak tree will be altered to become a swale
to drain the back yard to the new storm drain at the bottom right corner of this
photo.
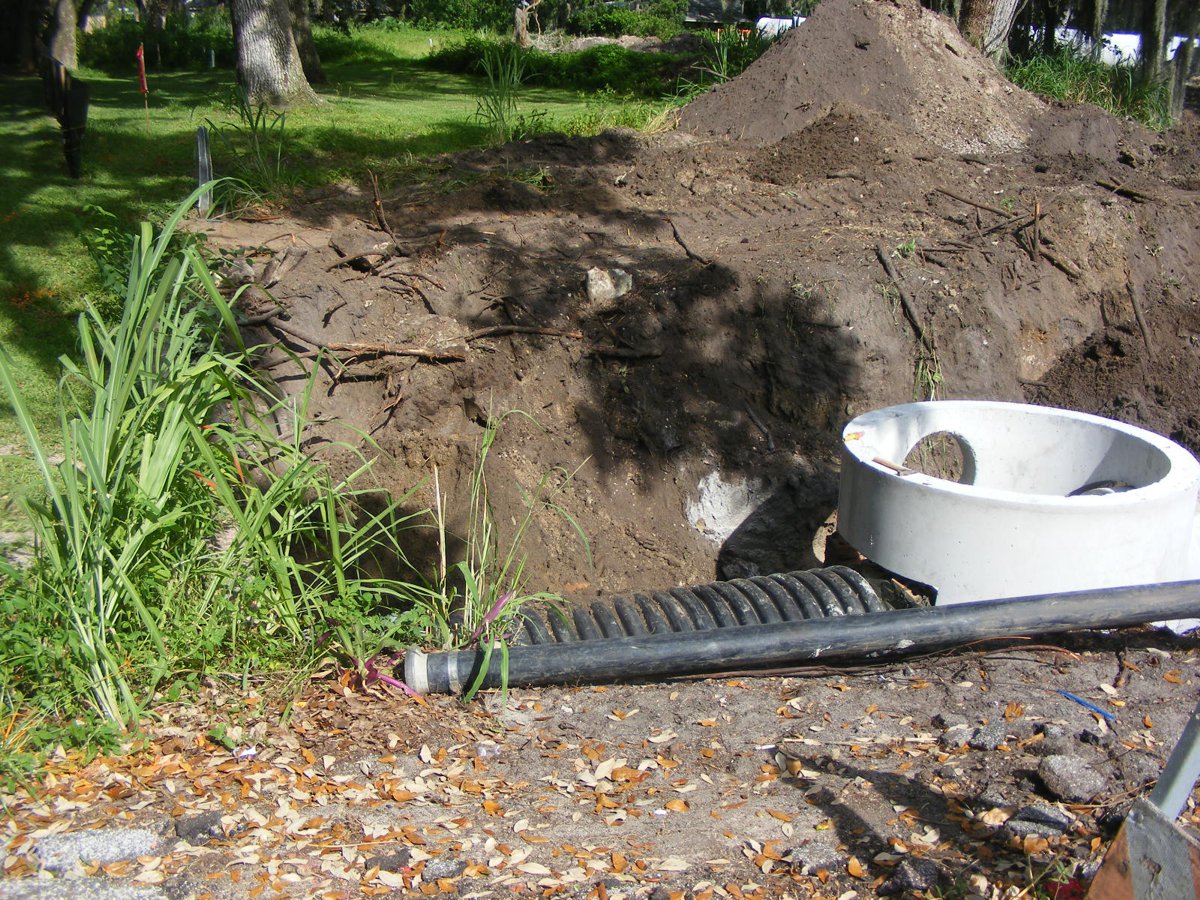
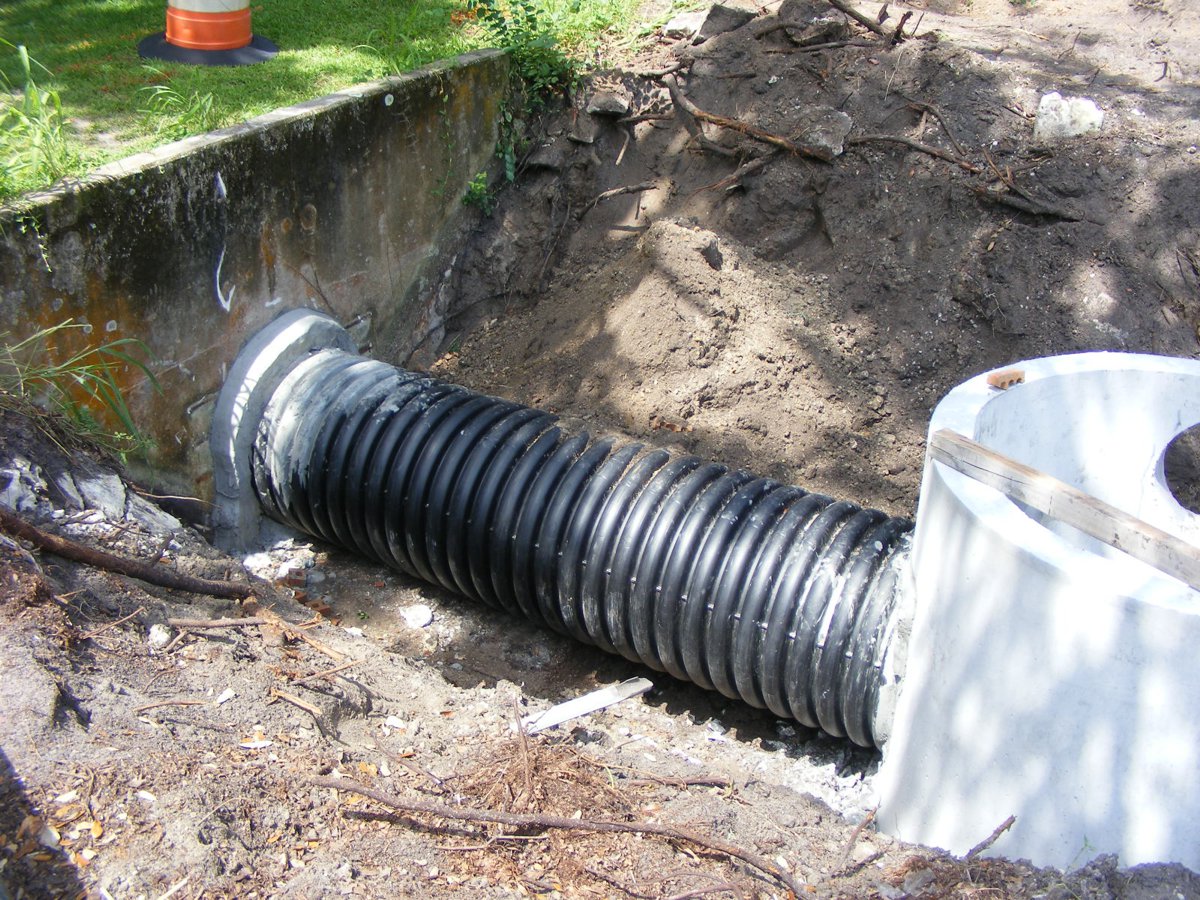
July 22, 2018: There is the existing concrete wall with a new 36-inch diameter corrugated
PVC pipe connected to the pipe that goes to the Tillman Canal on the other side
of Meadowbrook Road behind the houses on the south side of the street. This was an open
trench for years to drain the golf course to the canal.
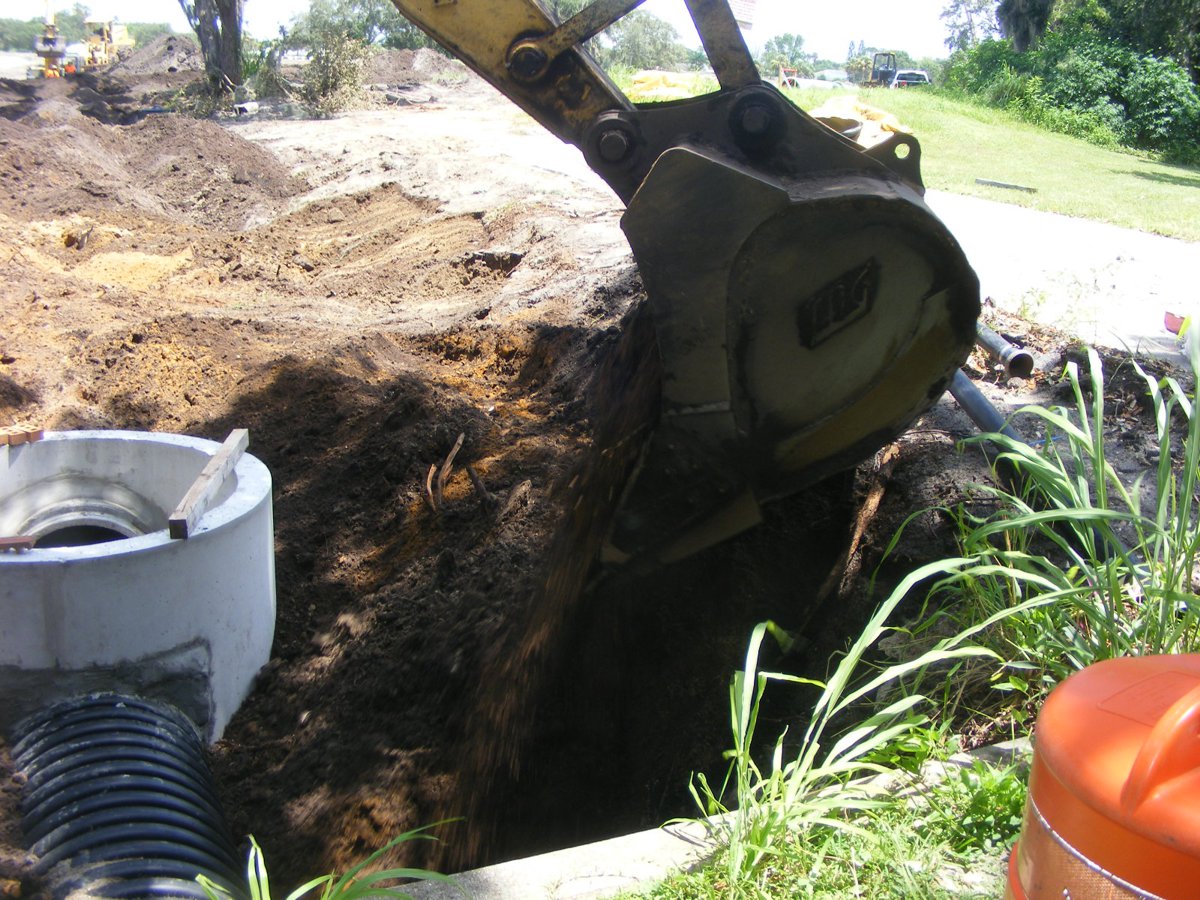
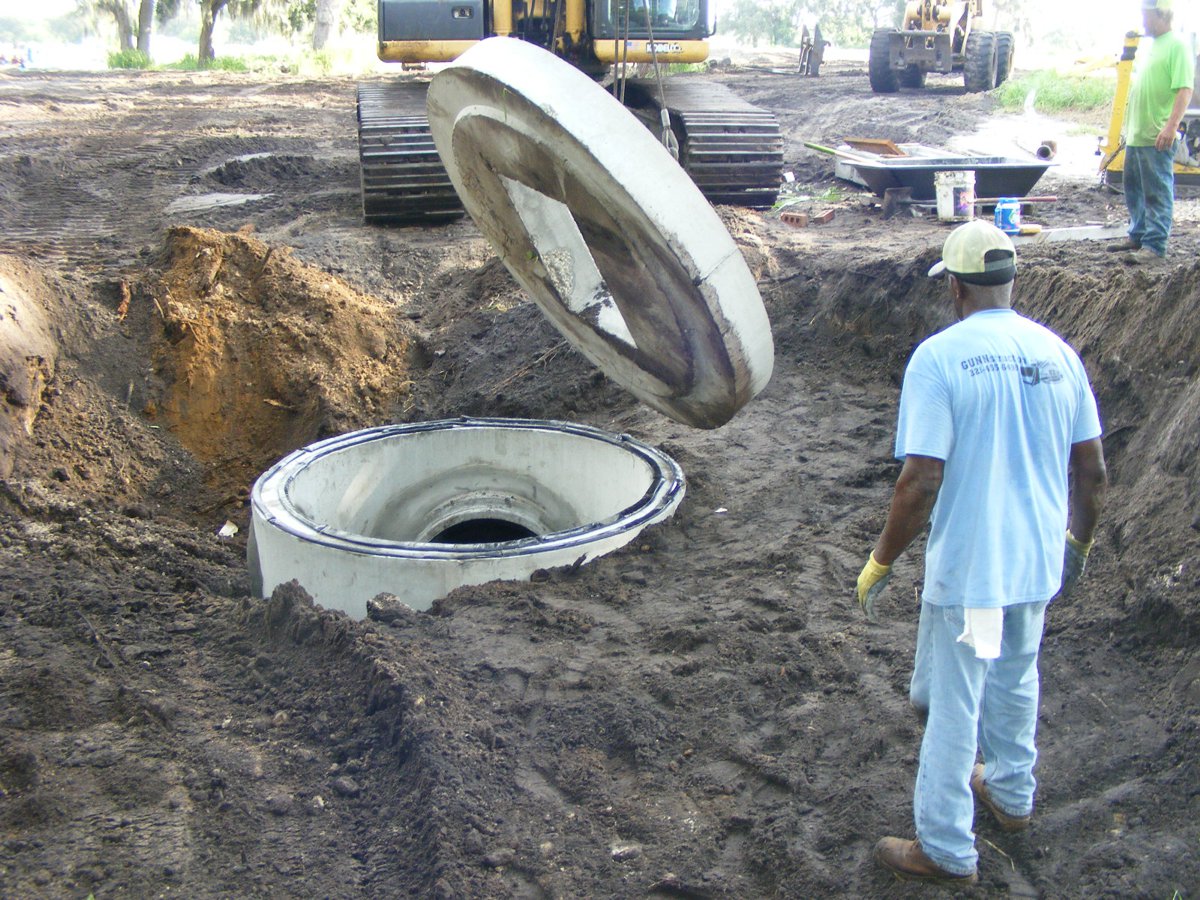
A closer view of the pipe connection as seen from the access road.
Bricks and mortar are used to seal the corrugated tube to the existing
pipe going to the canal.
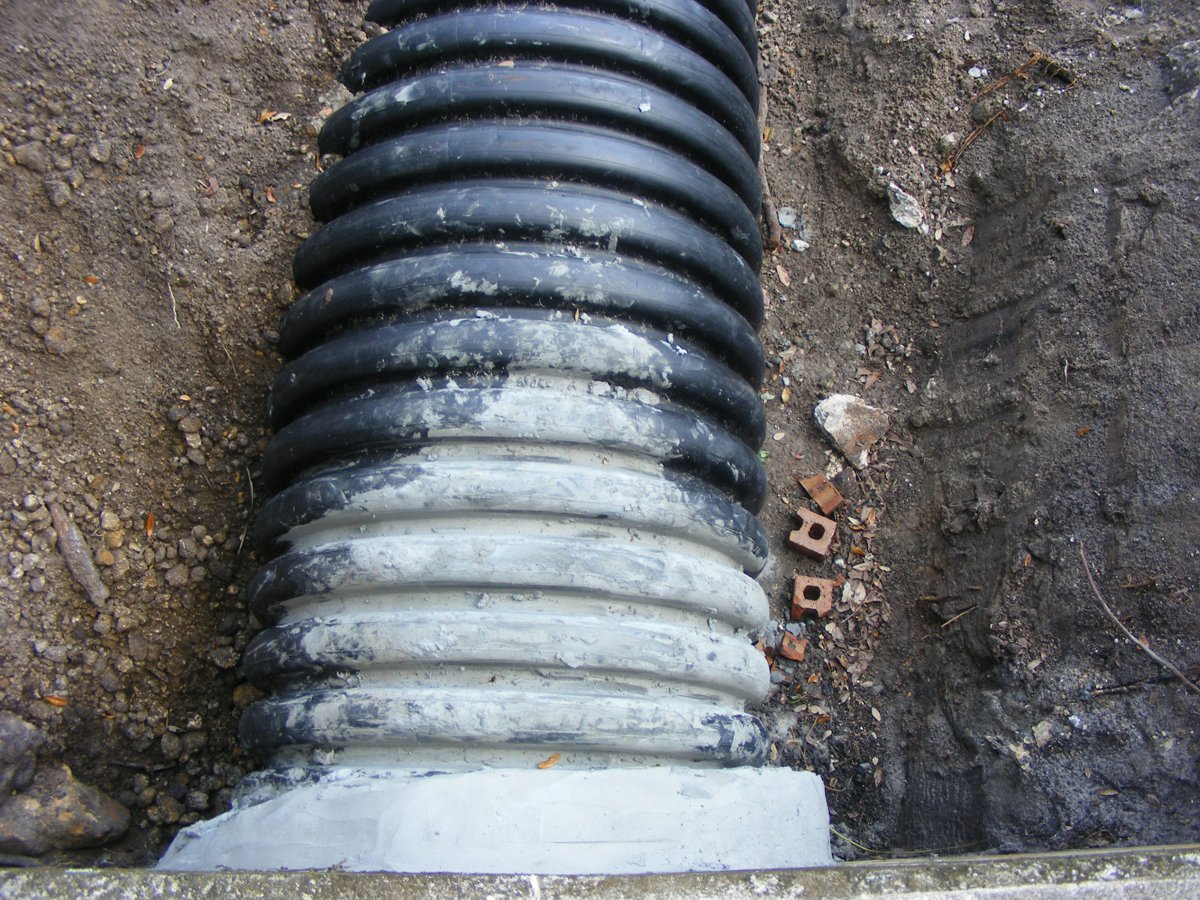
More bricks and mortar fill in the space between the round tube and the
square hole of the new storm drain.
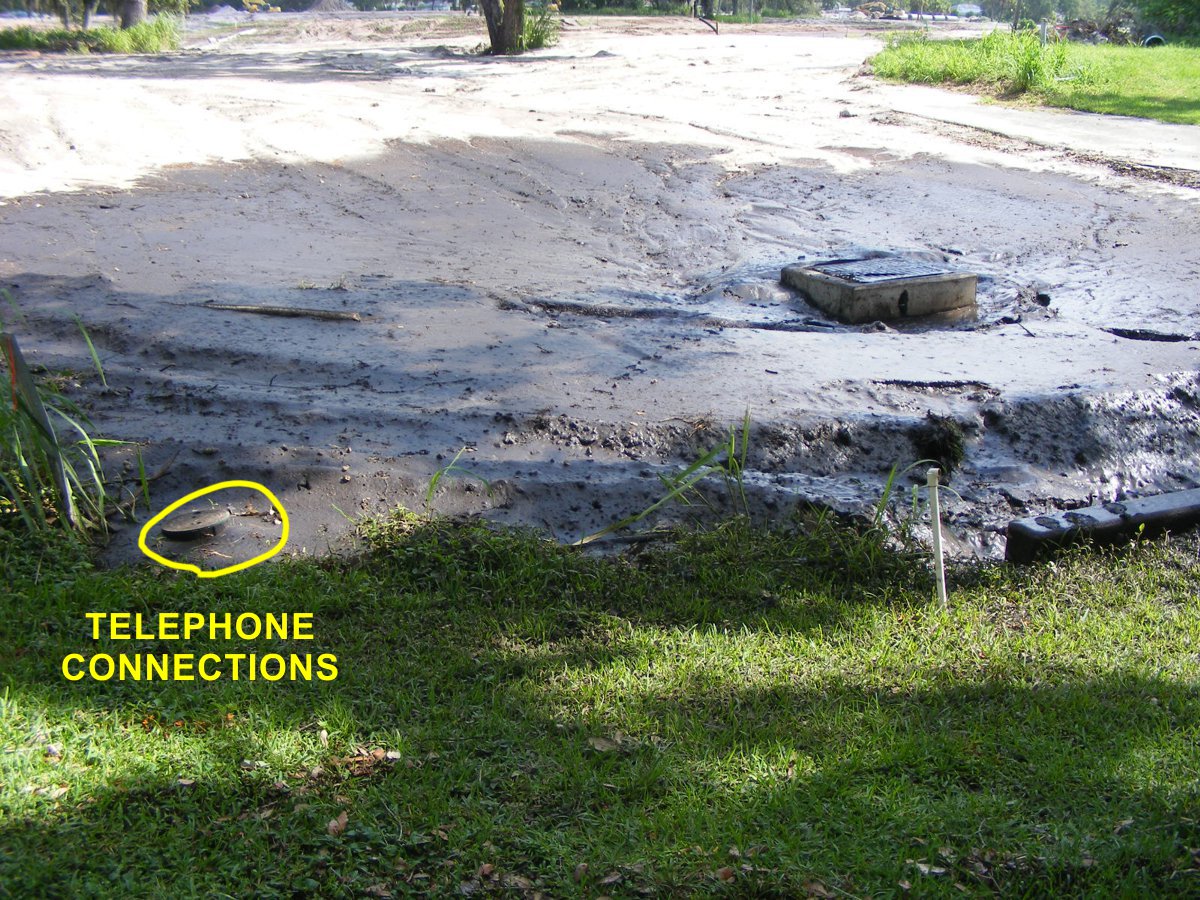
The telephone connection box is still here as of the day I took this
photo.
This photo shows the big hole on the side of the cylinder that will be
sealed with bricks and mortar.
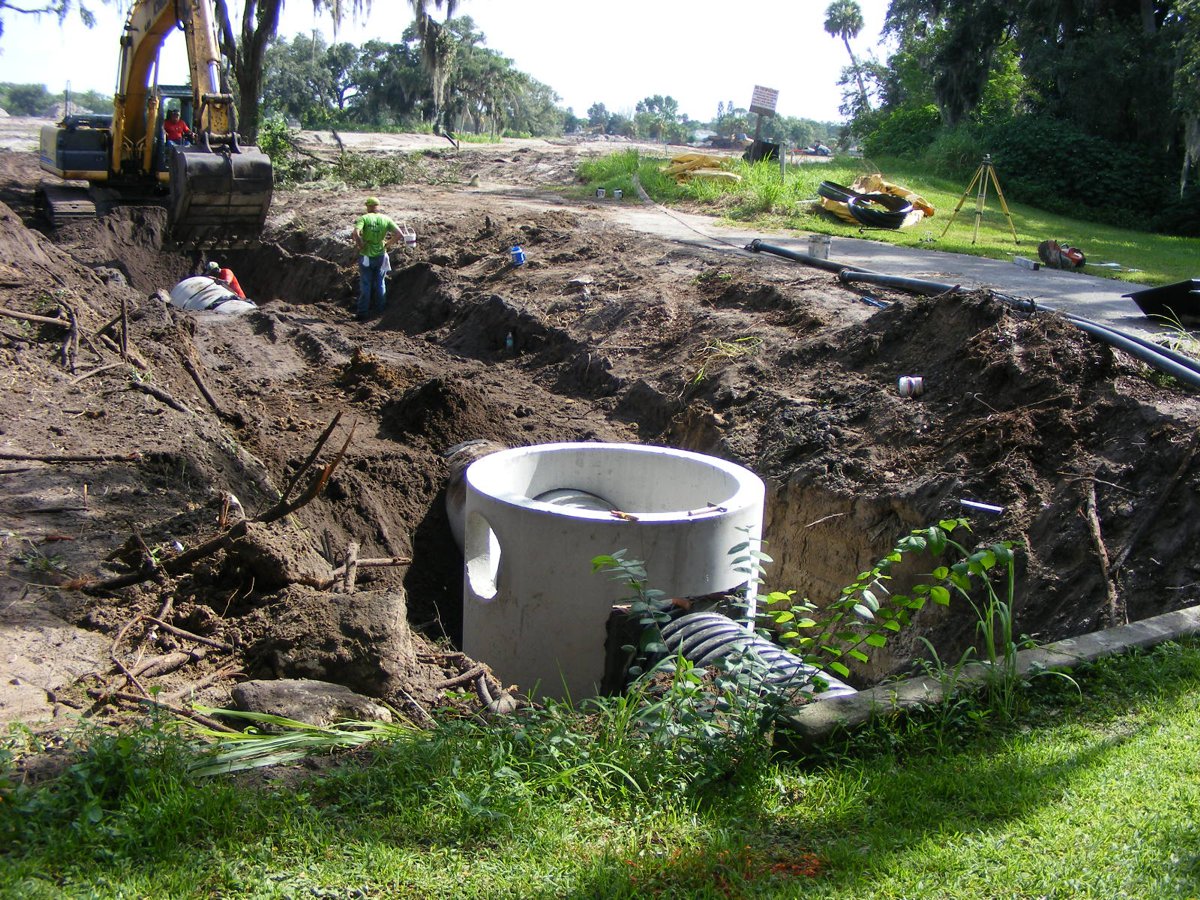
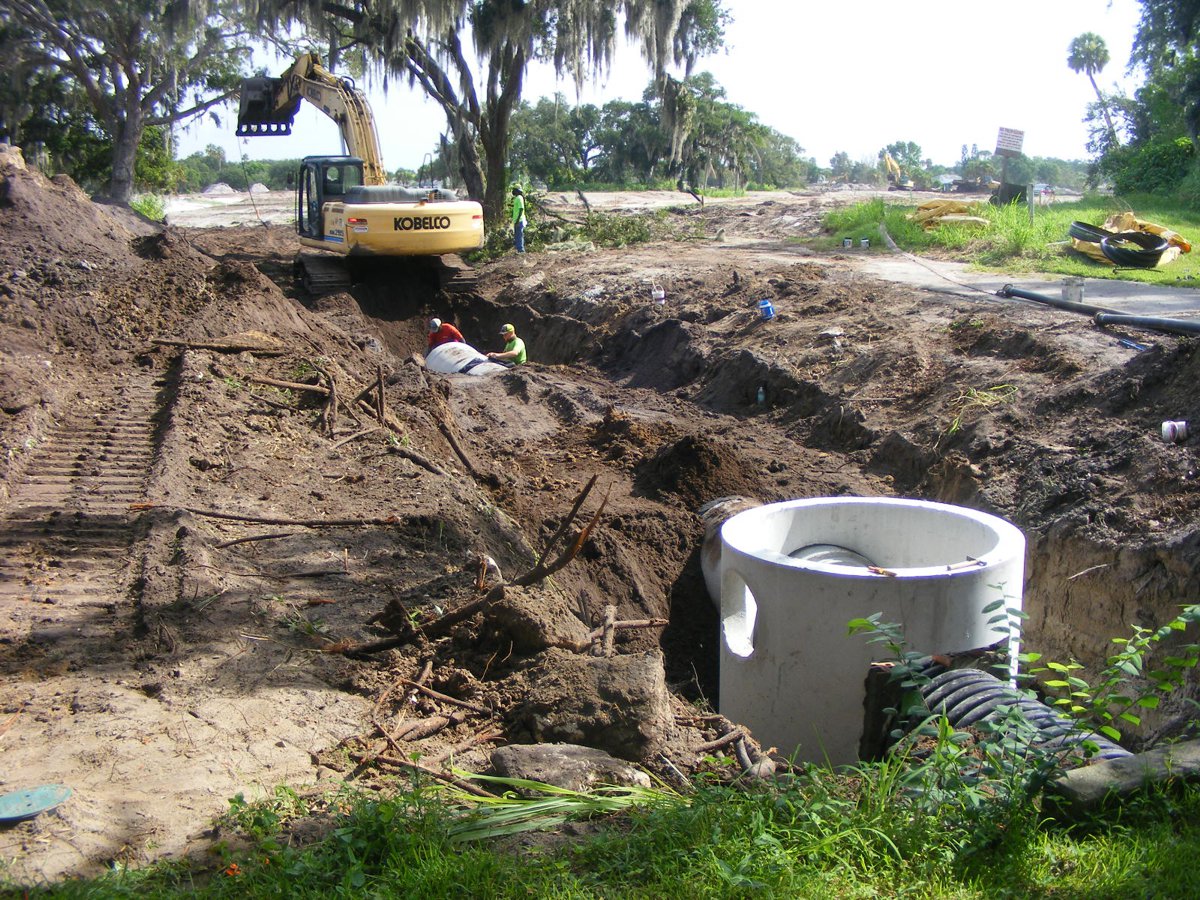
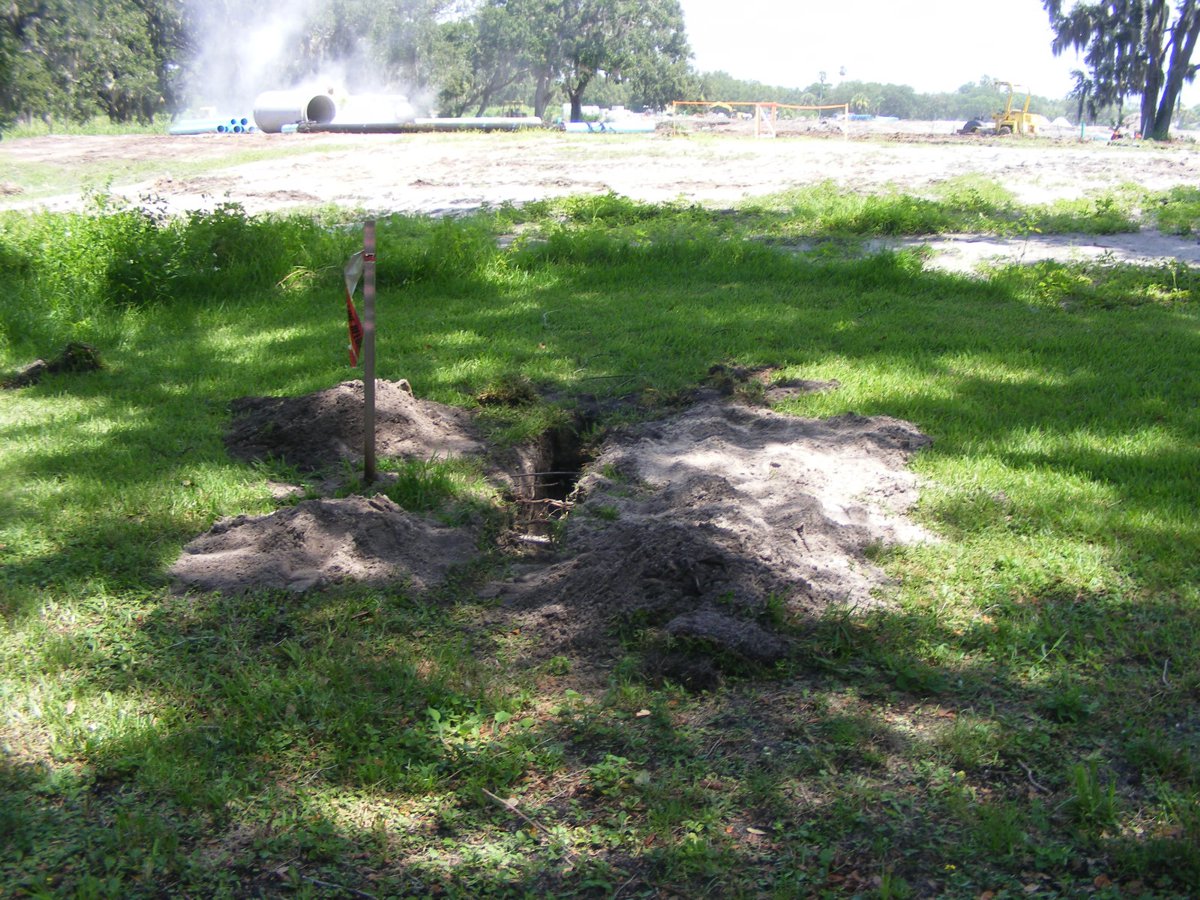
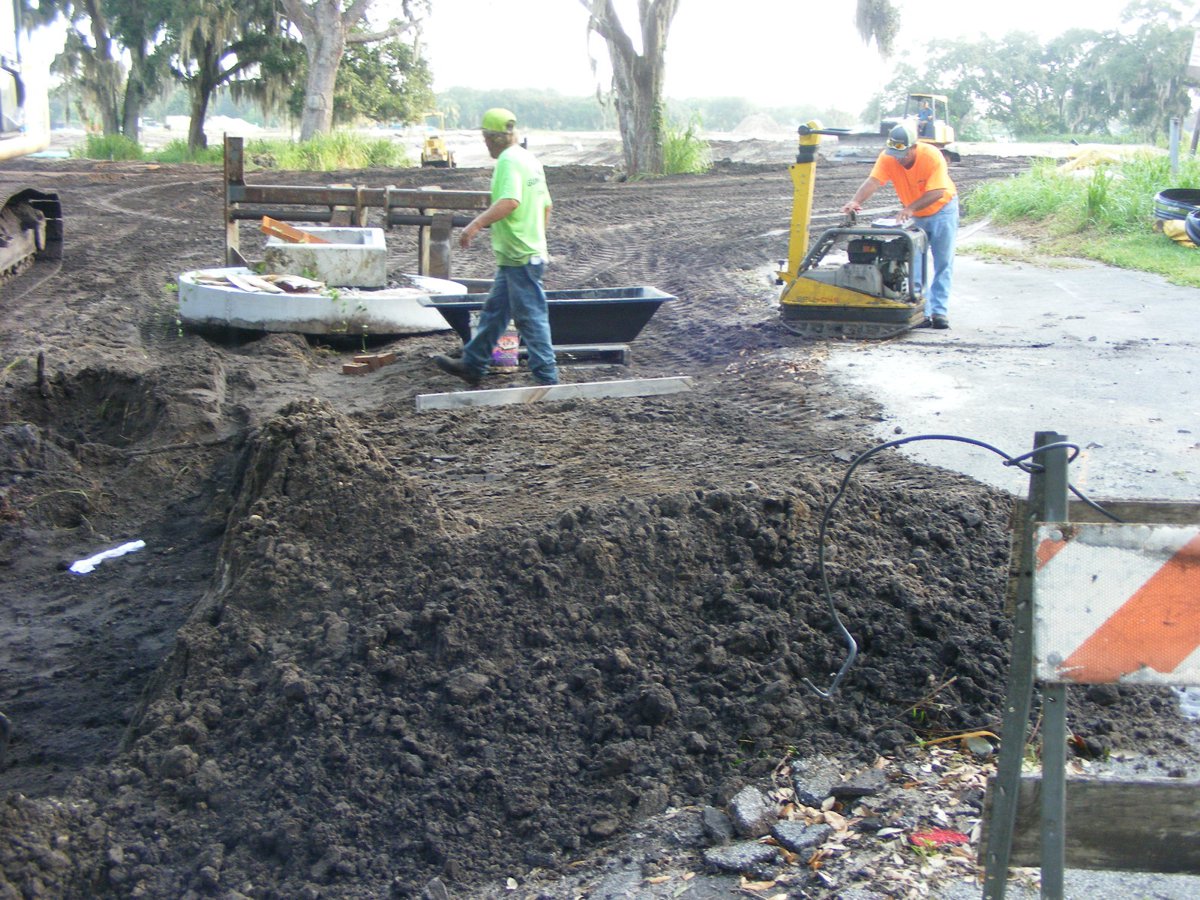
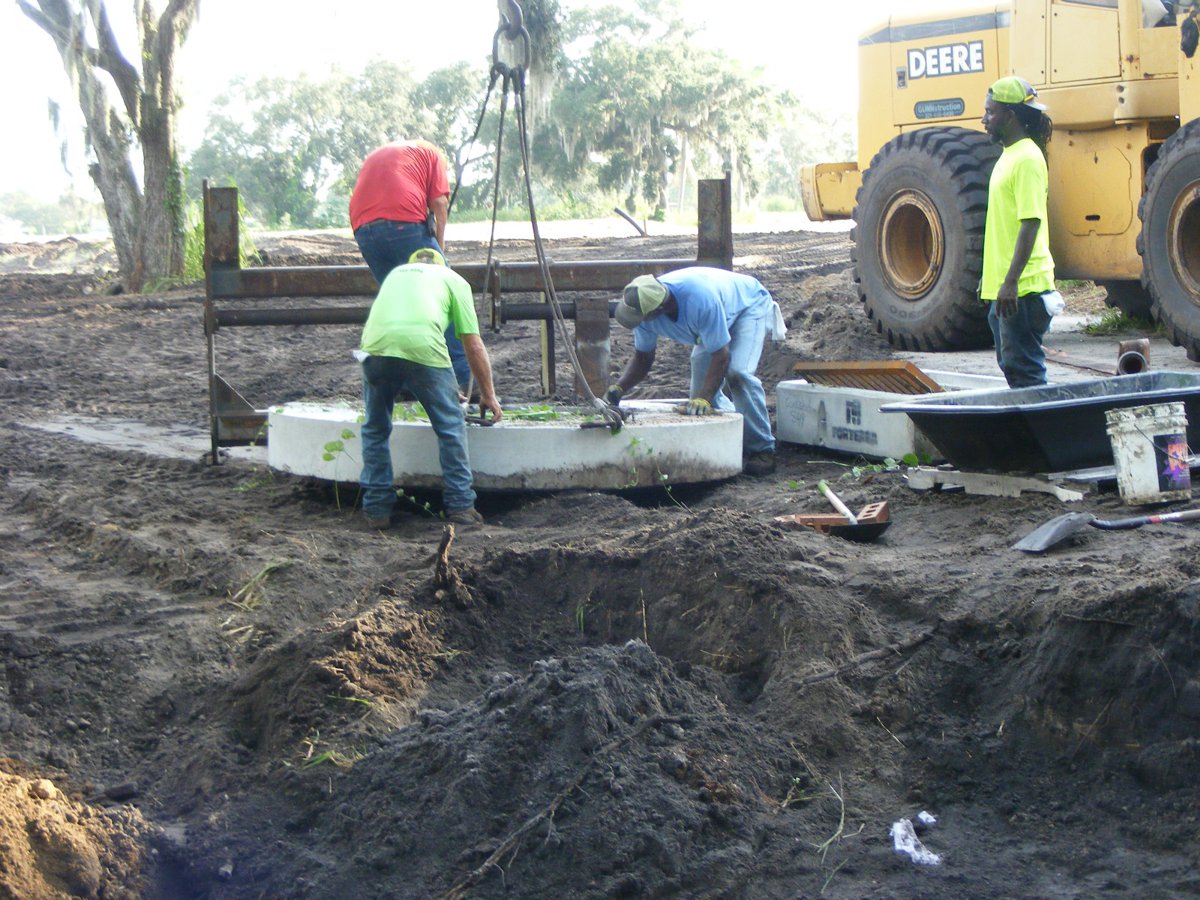
July 23, 2018: Monday again with the
crew back to work on the north side of the road closest to the house. They
are installing more of the concrete pipes toward the retention pond.
All that "smoke" is really dust from the area where the concrete
pipes are cut to size as needed. Meanwhile, a contractor has been hand
digging in the easement to locate the underground cables near the CATV equipment
pedestal.
Here is a look inside the trench showing some of the cables and a white
PVC water sprinkler pipe. The black cable just to the right of white pipe
is the RG-6 coaxial cable that connects from the amplifier in the CATV pedestal
to the side of our house to provide high-speed internet service and cable
television to the TV sets in the house. The other cable at the bottom of
the trench should be the large coaxial cable that provides CATV signals to the
amplifier inside the pedestal.
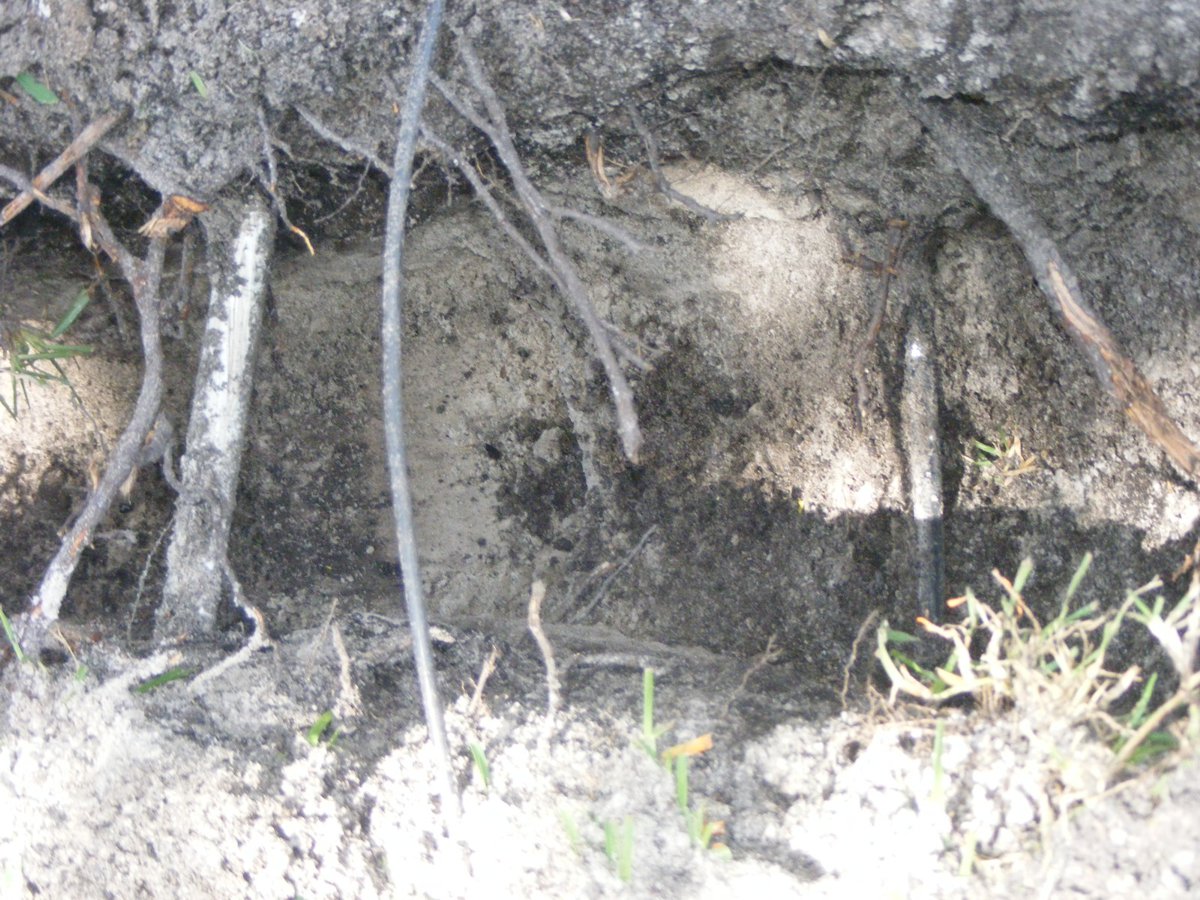
There is an old RG-6 cable that was uncovered. It is no longer in
service, otherwise, I would have lost my CATV services. I had seen this
cable in the area where the tree philodendrons were removed before the black
construction fence was installed.
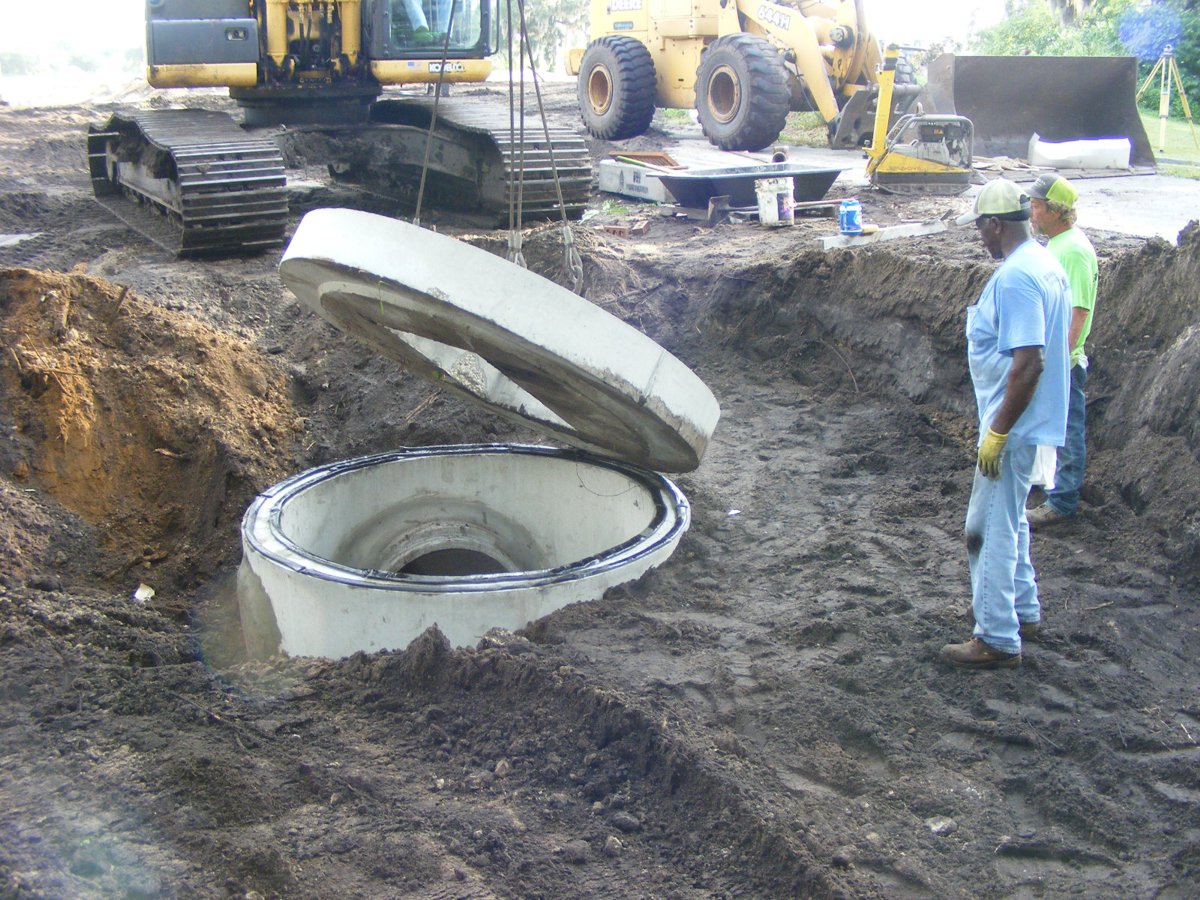
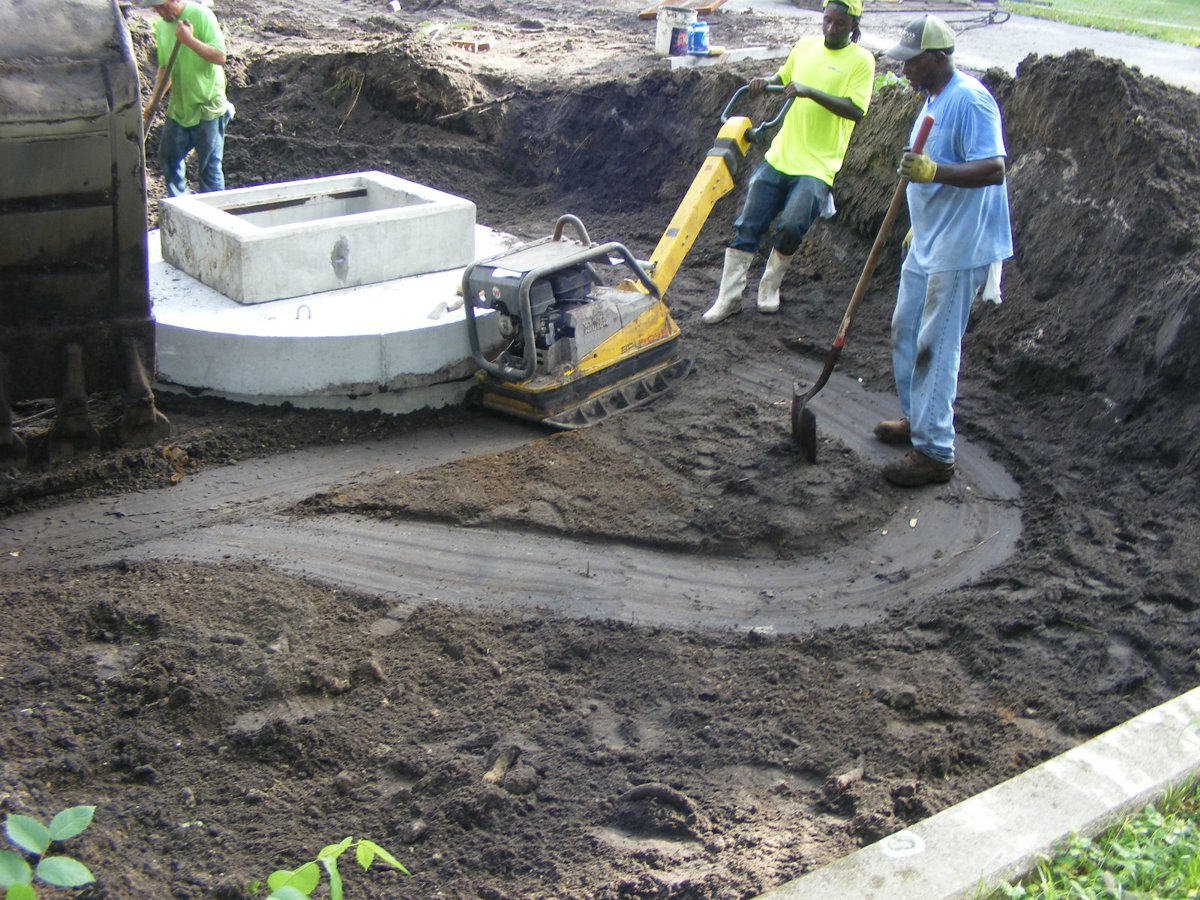
The machine operator started to put in fill dirt before the hole in the
side of the storm drain was closed up with bricks and mortar.
D
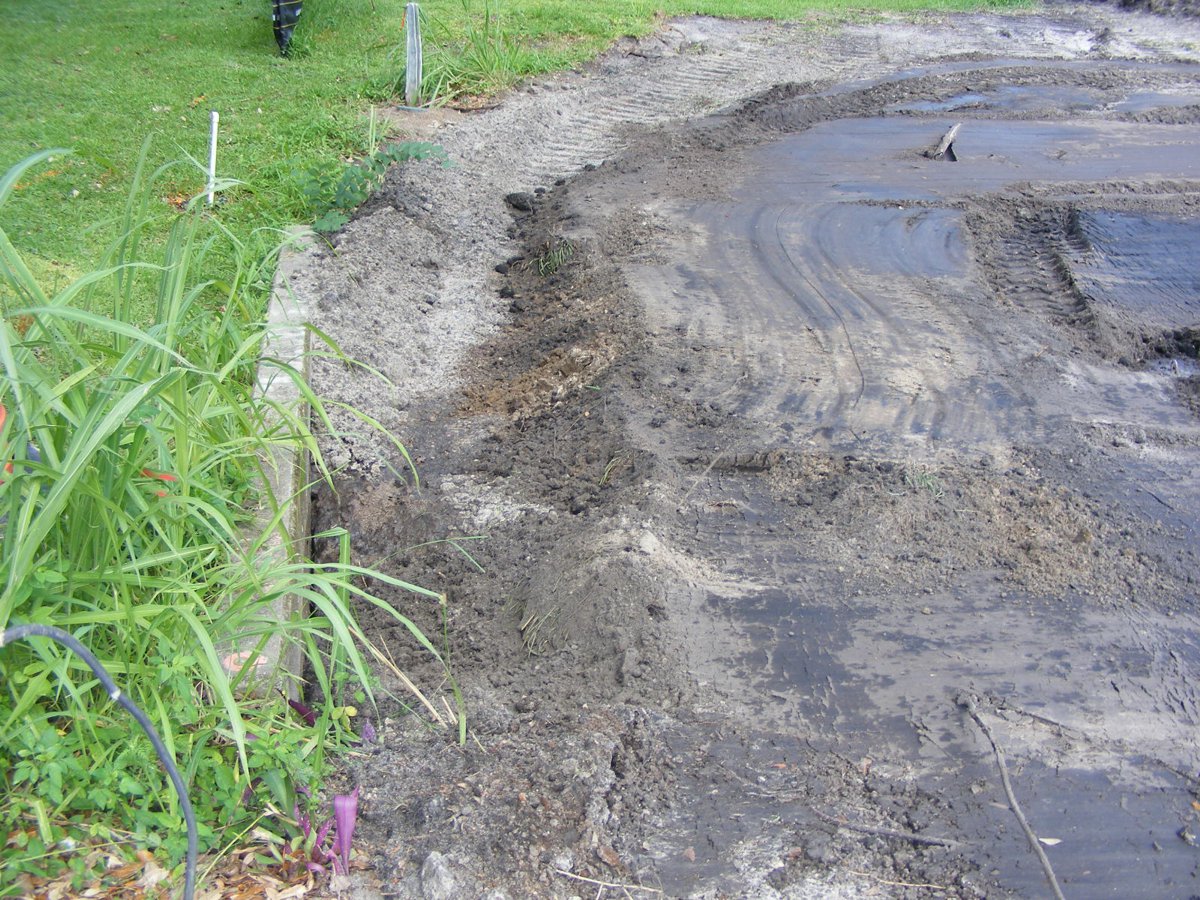
This view from the access road shows the fill dirt that was placed next to
the concrete storm drain too soon.

The scoop shovel is over the area that will become a swale to drain rain
water from the easement area behind the house.
The fill dirt around the corrugated pipe is not a problem.
D

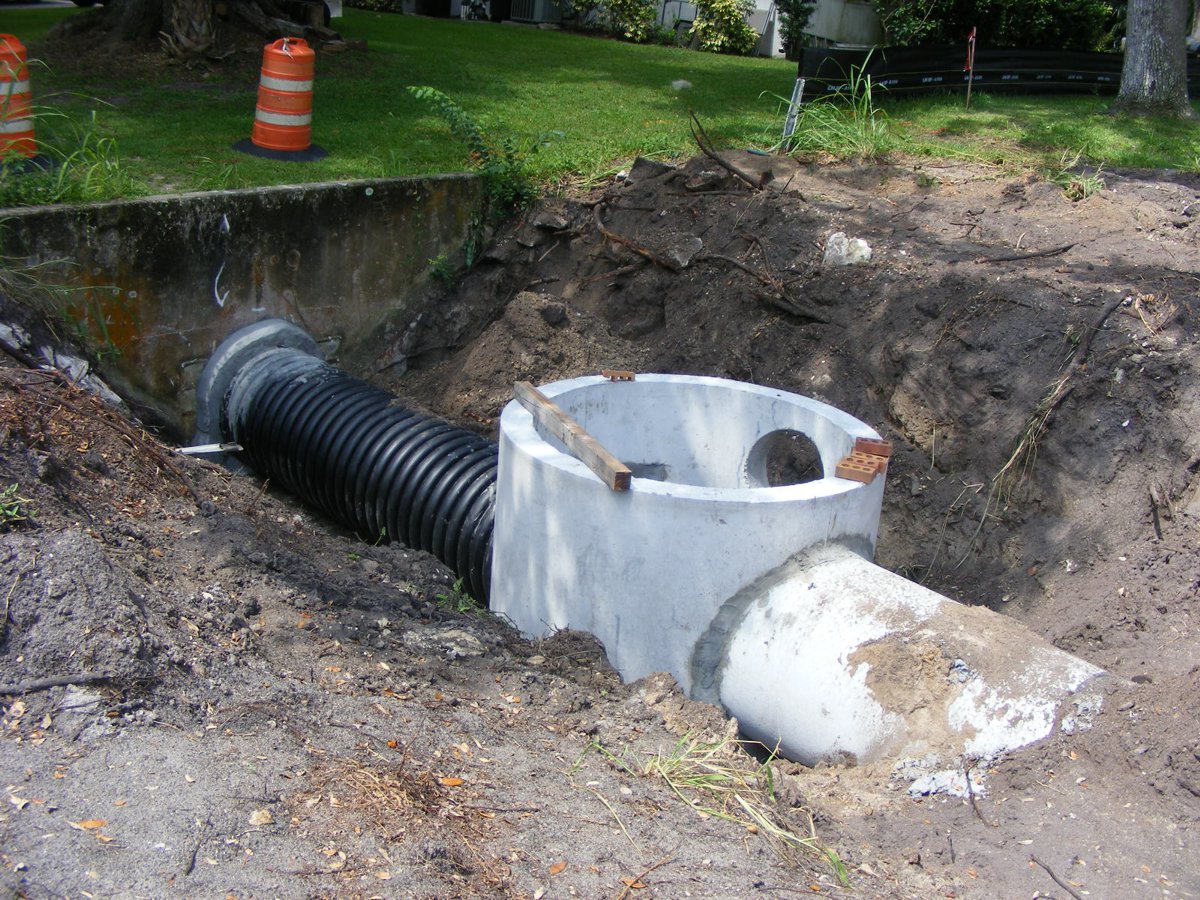
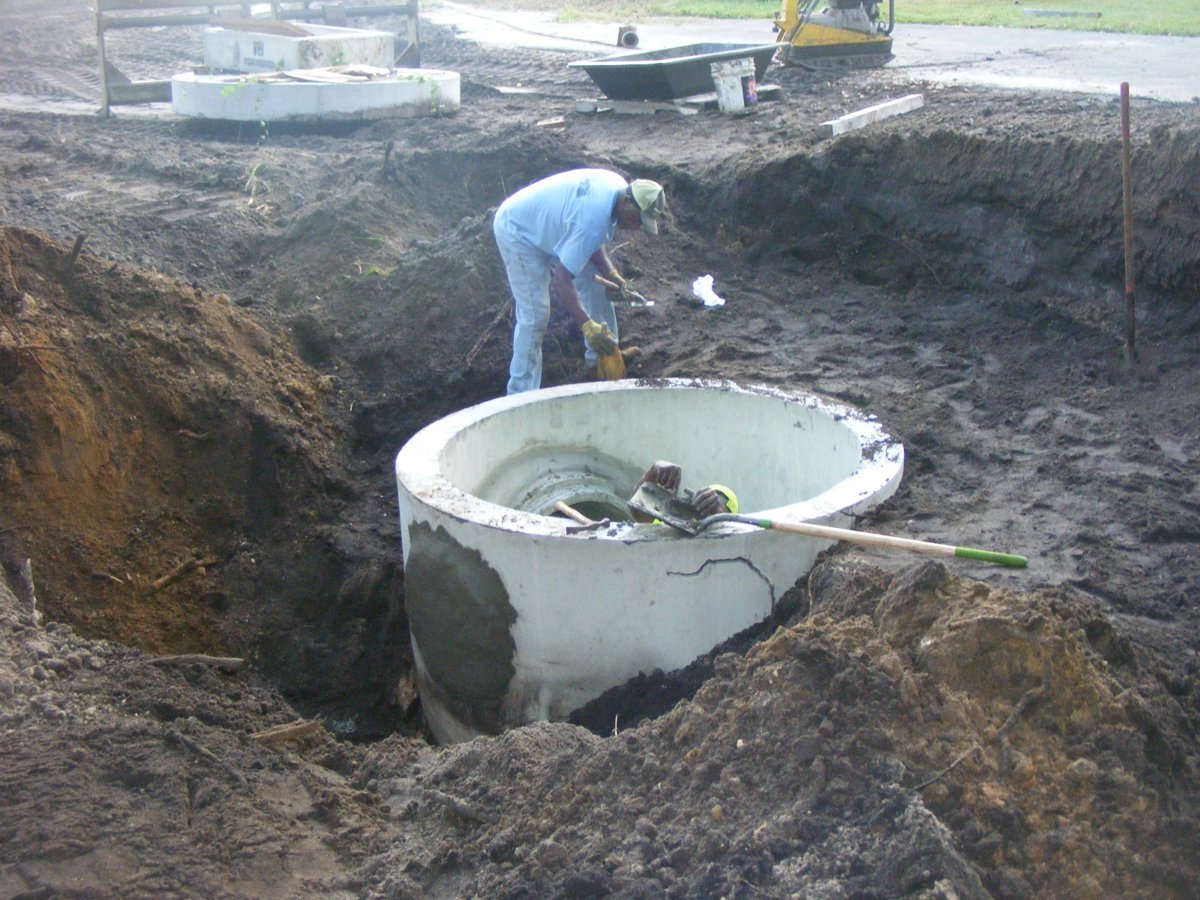
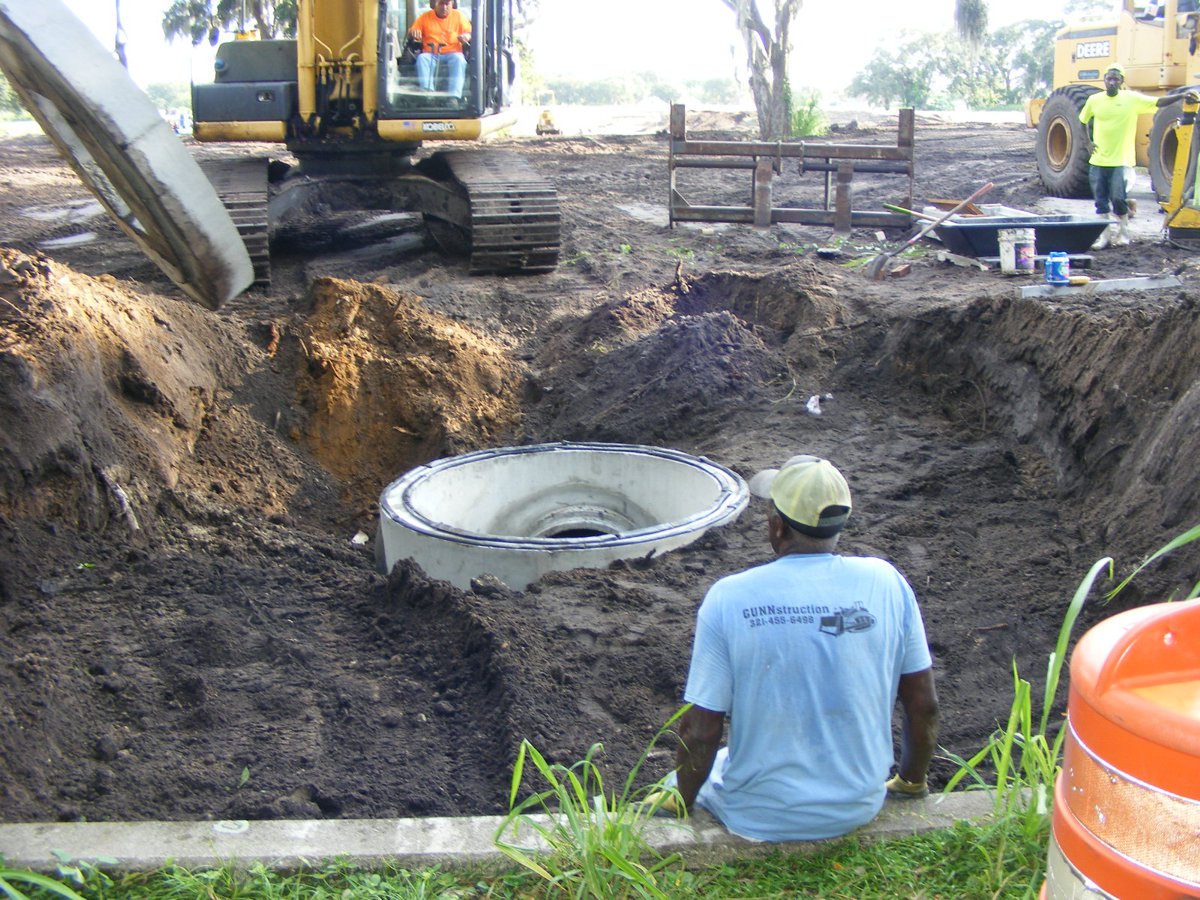
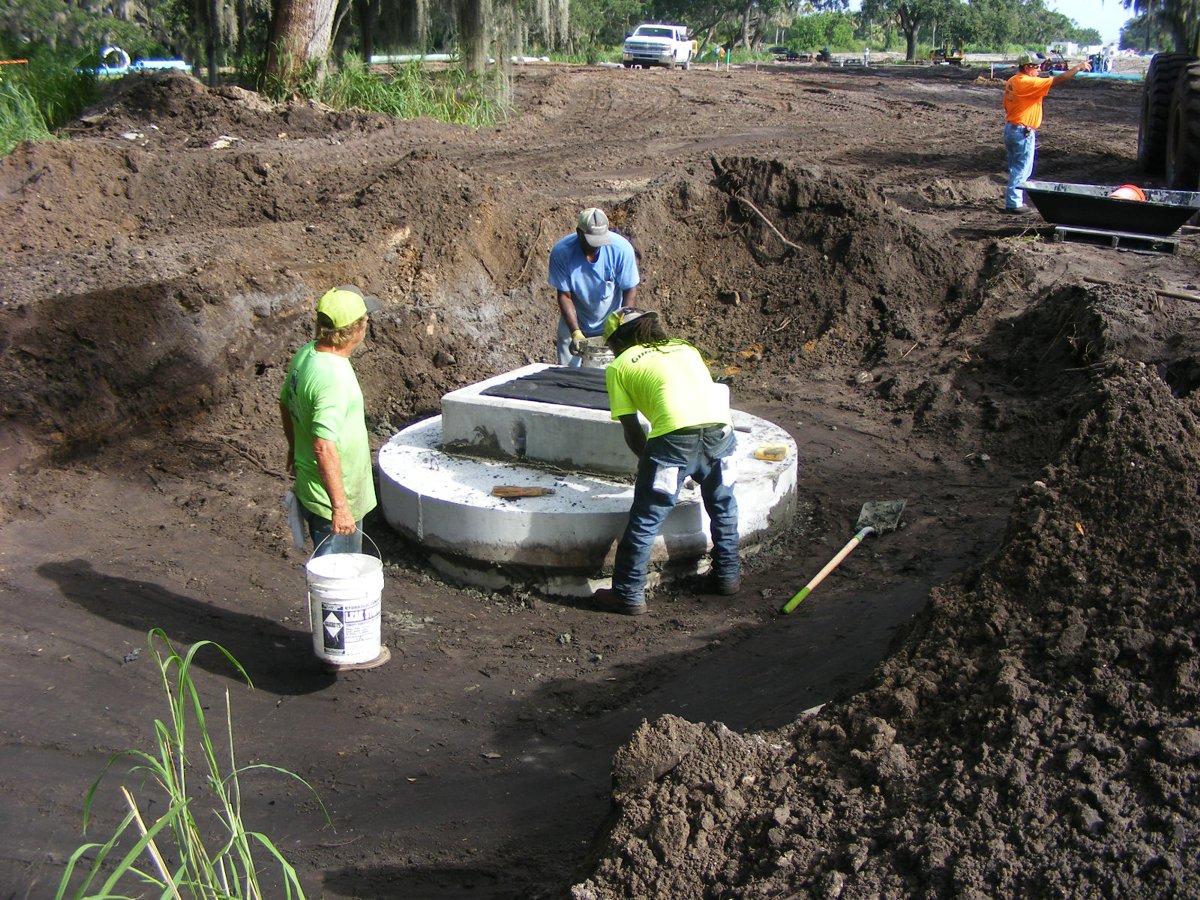
July 24, 2018: Here is the storm drain
with that side hole filled with bricks and mortar. The scoop shovel
removed the fill dirt to give the brick masons room to fill that hole on the
side.
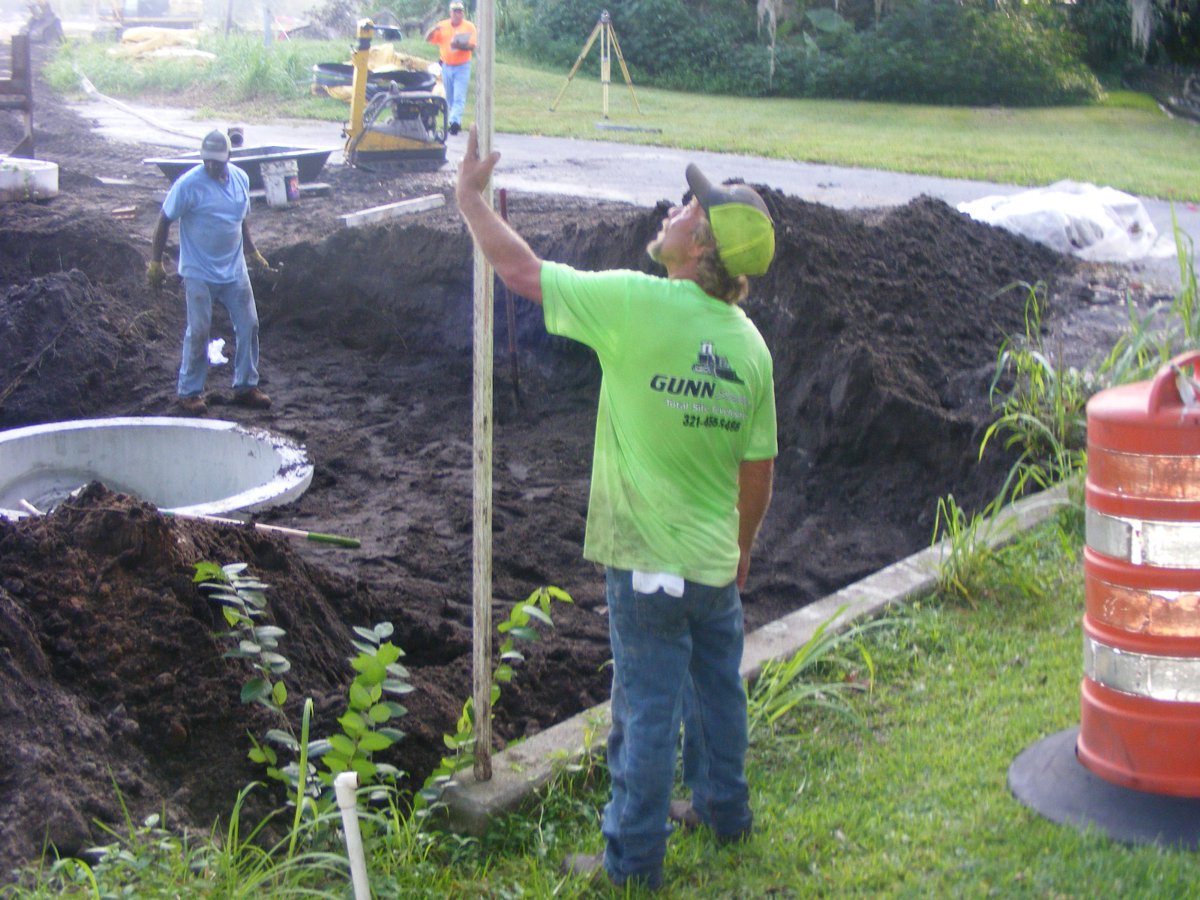
The surveyor set up his transit on a reference point seen in the
background. His ROD MAN is holding the "measuring stick" on the
top of the existing concrete wall.
This photo shows how the fill dirt was removed from the west side of the
storm drain to give the masons the room to work outside the storm drain.
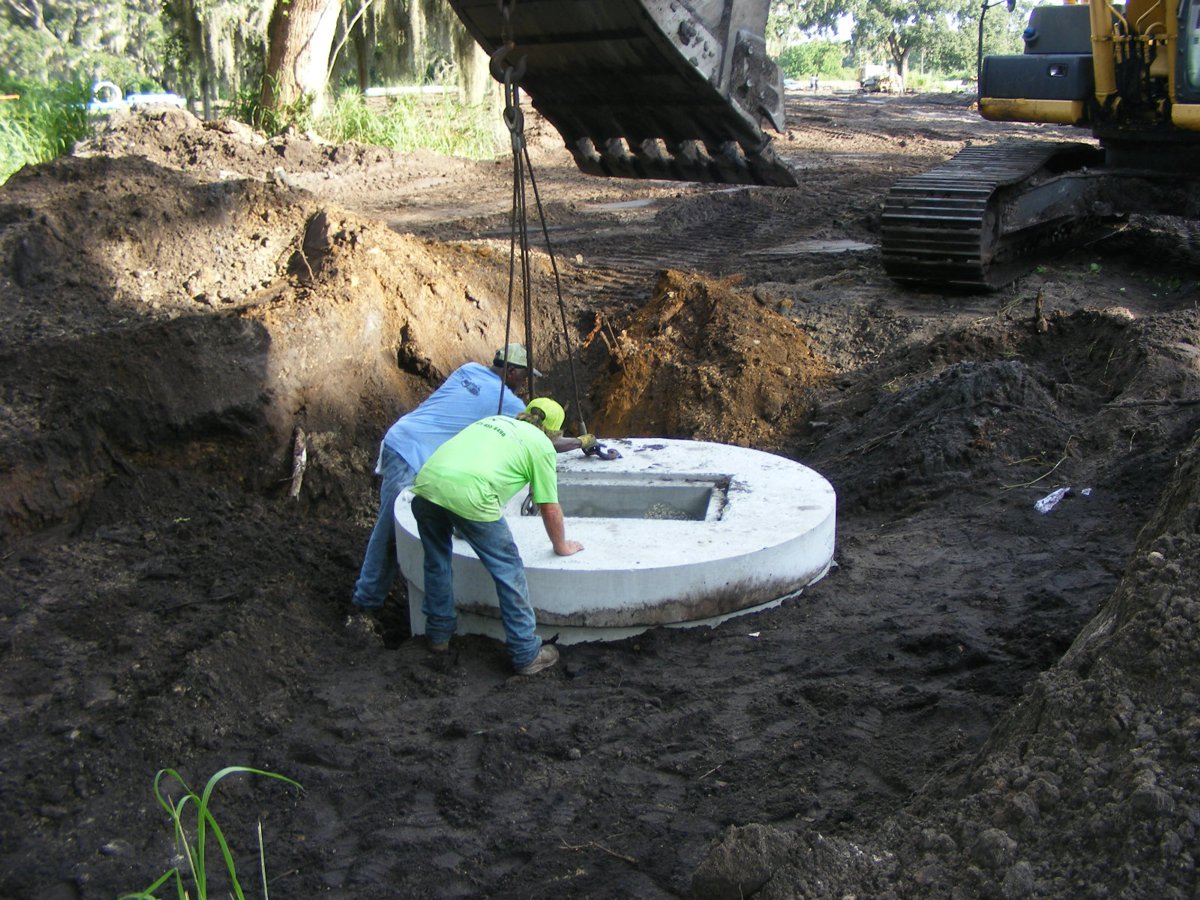
This image shows the cap to the storm drain ready to install soon.
That yellow and black machine is used to compact the soil when needed.
The mason is applying a finishing touch to the mortar inside the storm
drain. The little whisk broom is ready to clean the top surface of the
cylinder.

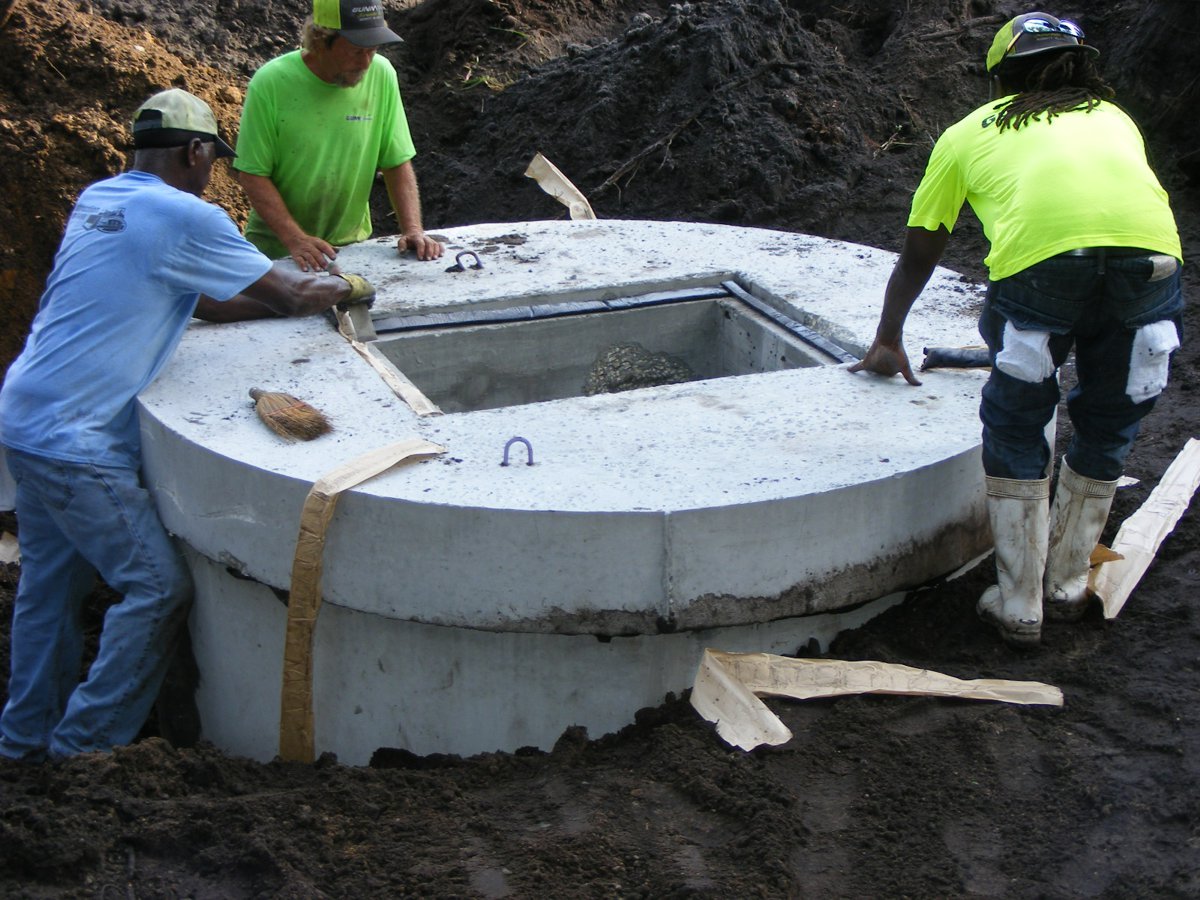
It is just about time to do the final assembly of the storm drain.
Two rows of sealant are laid on the top of the storm drain cylinder.
The cap stone and the grate form are un-stacked from the skid that brought
them here to this site.
The round capstone concrete form has three lifting points that are molded
into the concrete.
When the capstone was first lifted, on the three lift points failed.
They keep going with only two lift points.
The machine operator maneuvers the part toward its final resting place on
the concrete cylinder.
The shovel has been relocated to make the installation easier.
The shovel is now in a better place for the final fitting to the cylinder
of the storm drain.
One of the brick masons is helping to align the capstone as it comes down
for contact.

Contact is made with the cylinder.
Down slowly to get the best match possible.

DONE!
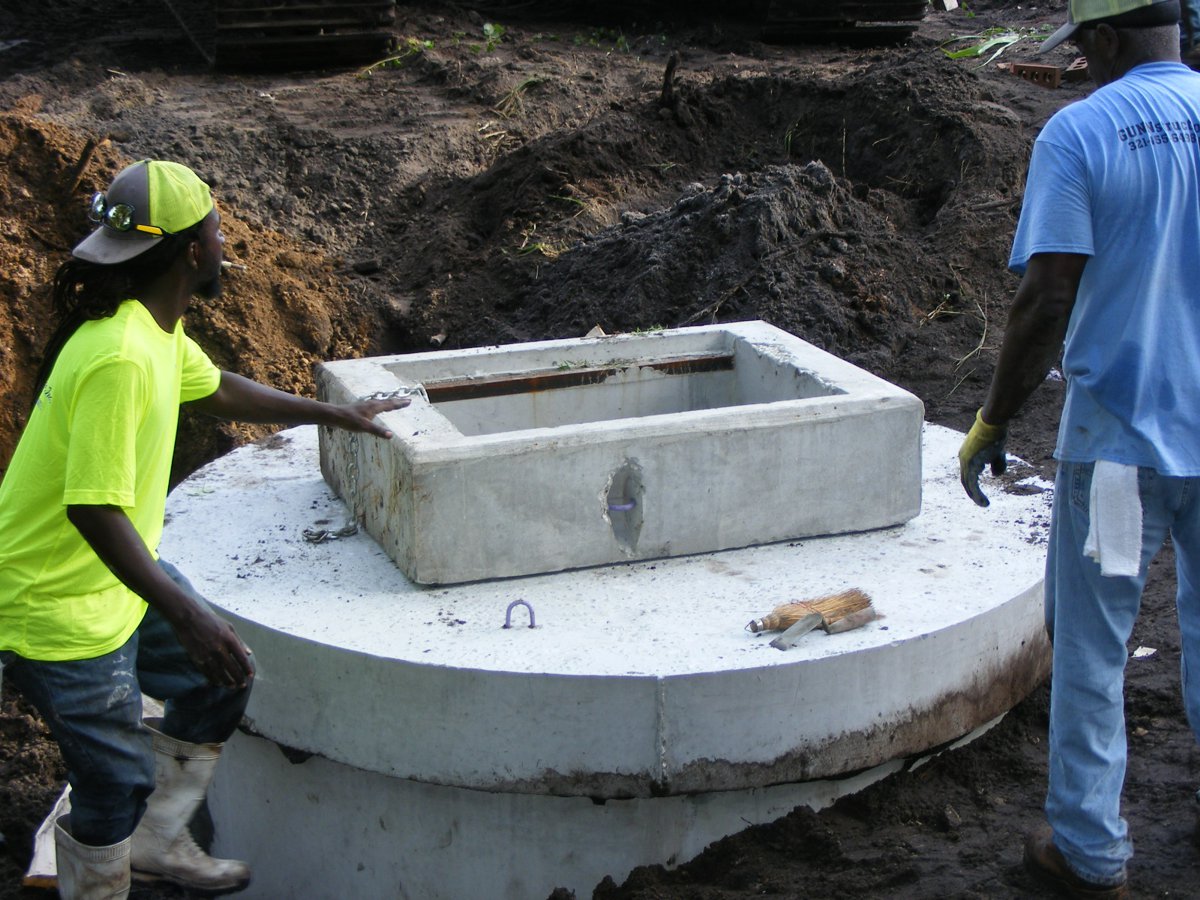
The brick mason is cleaning the top of the capstone in preparation for the
last preformed concrete item. The guy in the RED shirt is hooking the lift
harness to that final piece that has to be sealed to the capstone.
The last piece is moving toward its final resting place.
The sealant is being placed on the capstone before that final form is
lowered into position.
It fits perfectly of course!
The machine operator places fill dirt around the storm drain assembly in
the trench.
D
The machine to pack down the soil has been lowered into the work are and
operator has it running. You can see the scoop shovel at the left side of
this photo as more fill dirt is added.
Now that the dirt in the hole is raised, the masons can work easily to
seal the two concrete parts together on top. A steel grate has been put in
place with a water-resistant fabric in place to keep out the water from the
storm drain. I would expect this is being done to give the bricks and
mortar inside to cure fully.
D
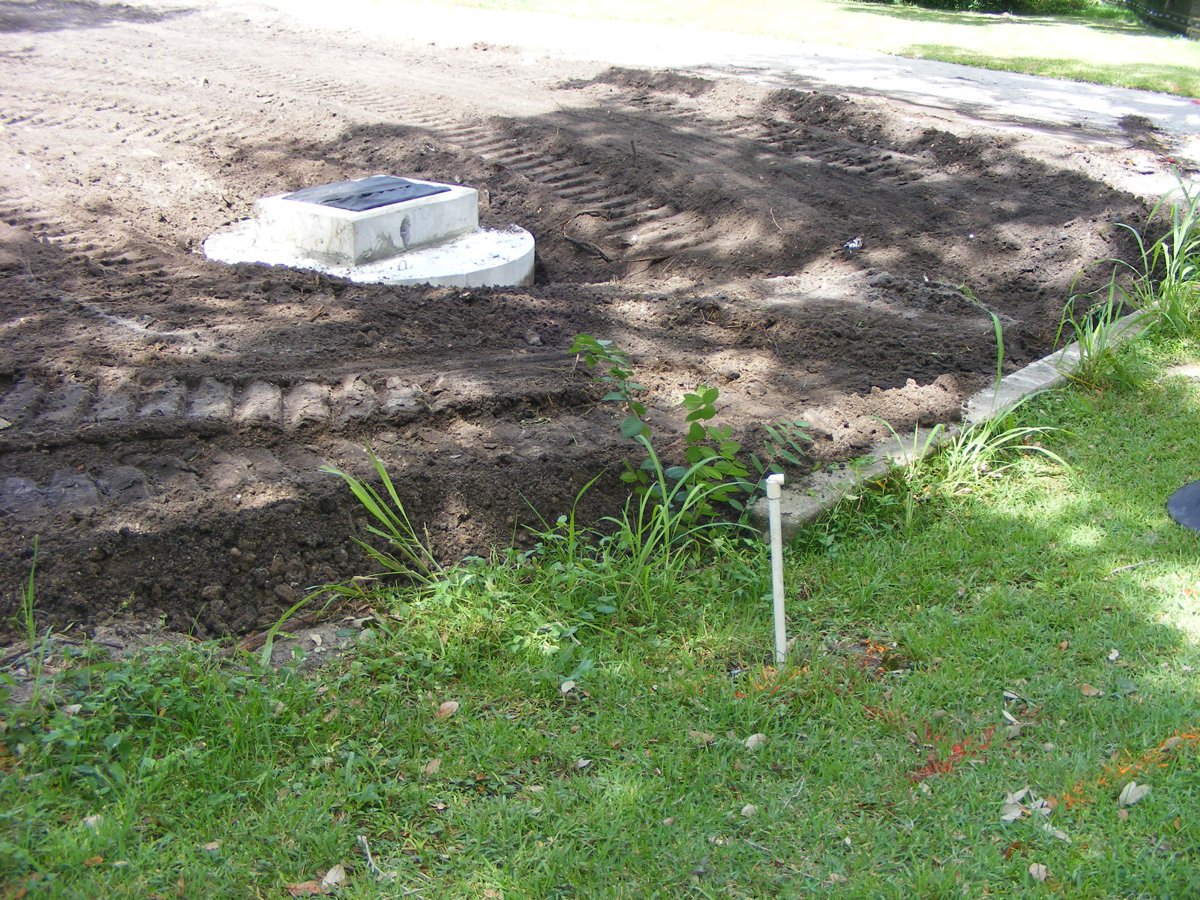
More fill dirt as been placed, but it is not packed smooth. Notice
how high the soil is compared to the original concrete wall that has been here
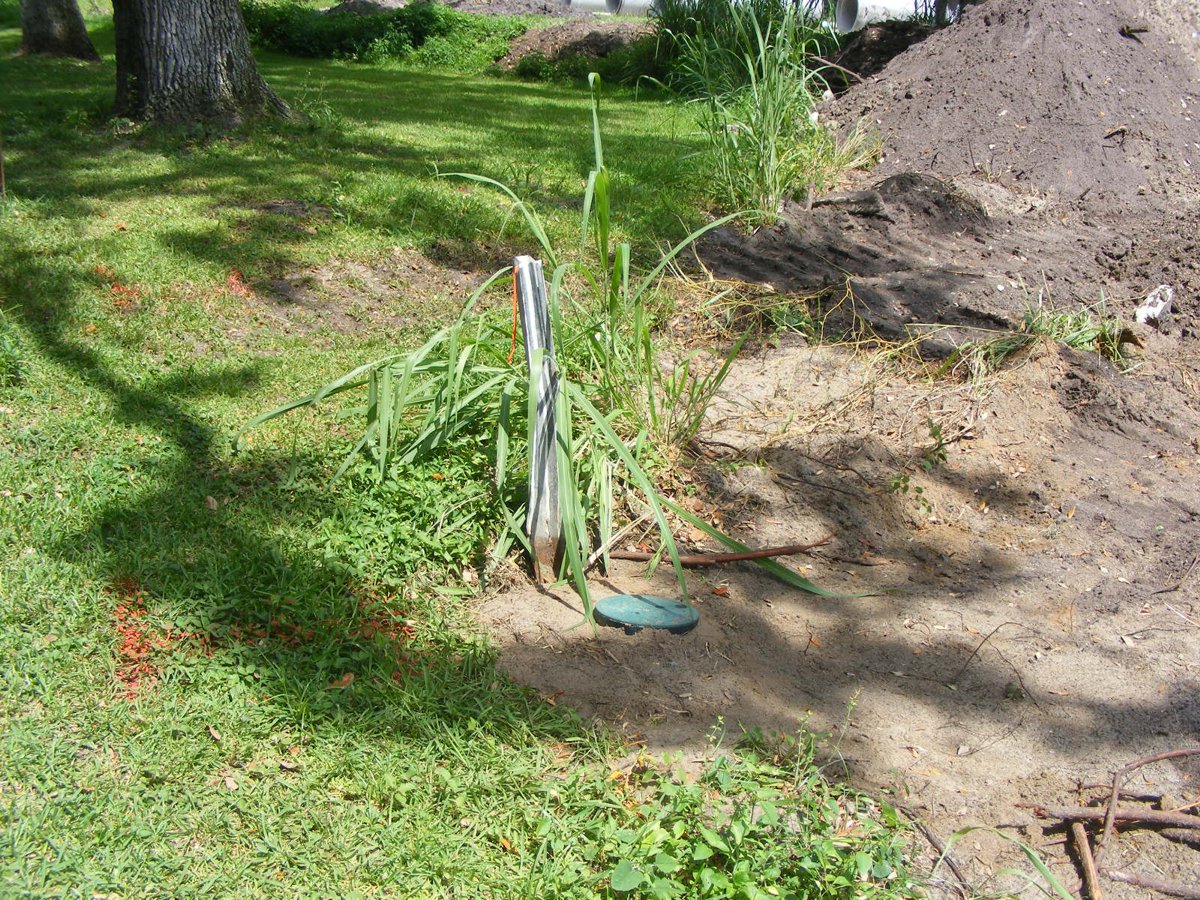
many years. I placed a PVC sprinkler pipe adjacent to the yard sprinkler
at this location.
Here is the view from the access road.
This view is also from the access road showing the fill dirt up against
the original concrete wall.
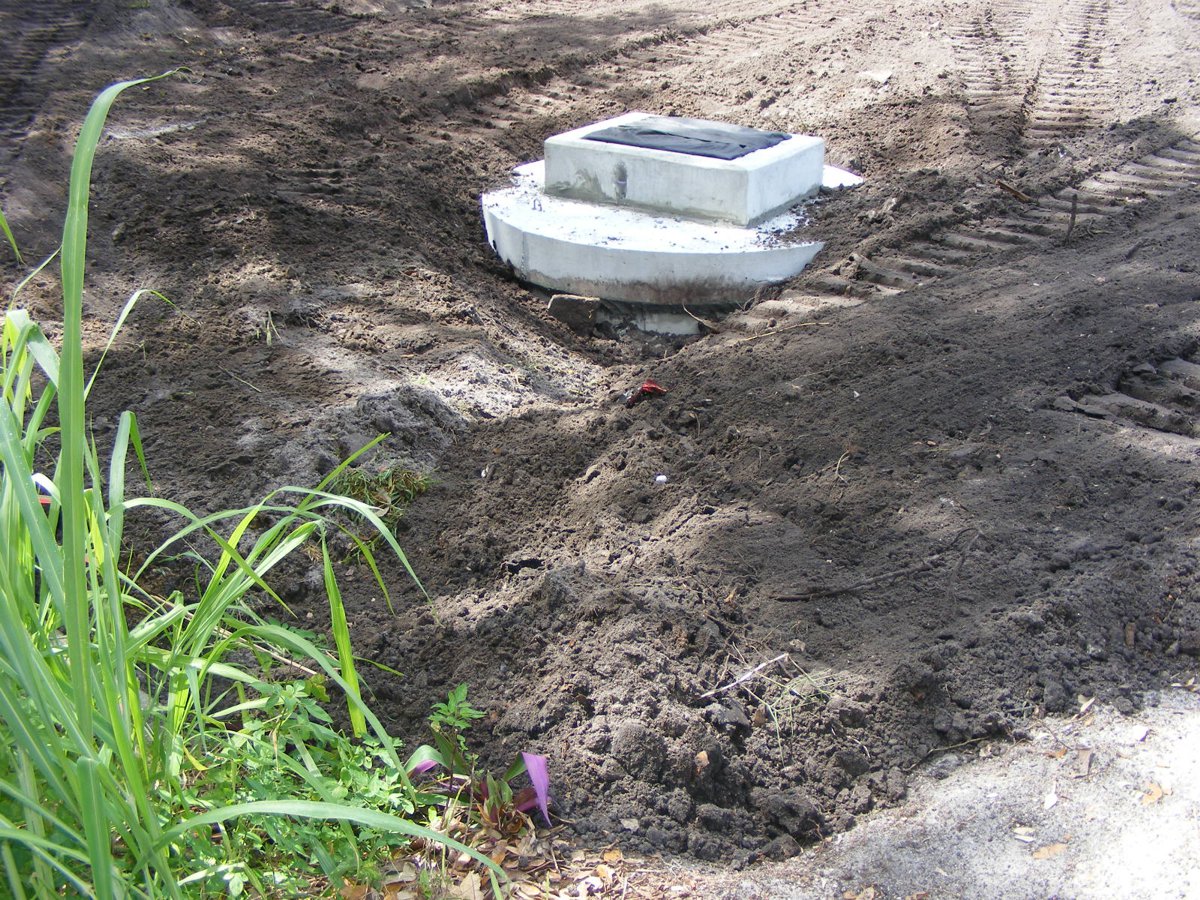
July 25, 2018: The "smooth"
surface was done with a front end loader going backwards from the site.
This zoomed image shows two fabric covers over the steel grate to keep
water out for now.
The surveyor told me the fill dirt will cover the wall with about 1.6
inches of soil above it. This image shows the sprinkler head near the
white pipe I put there as a marker.
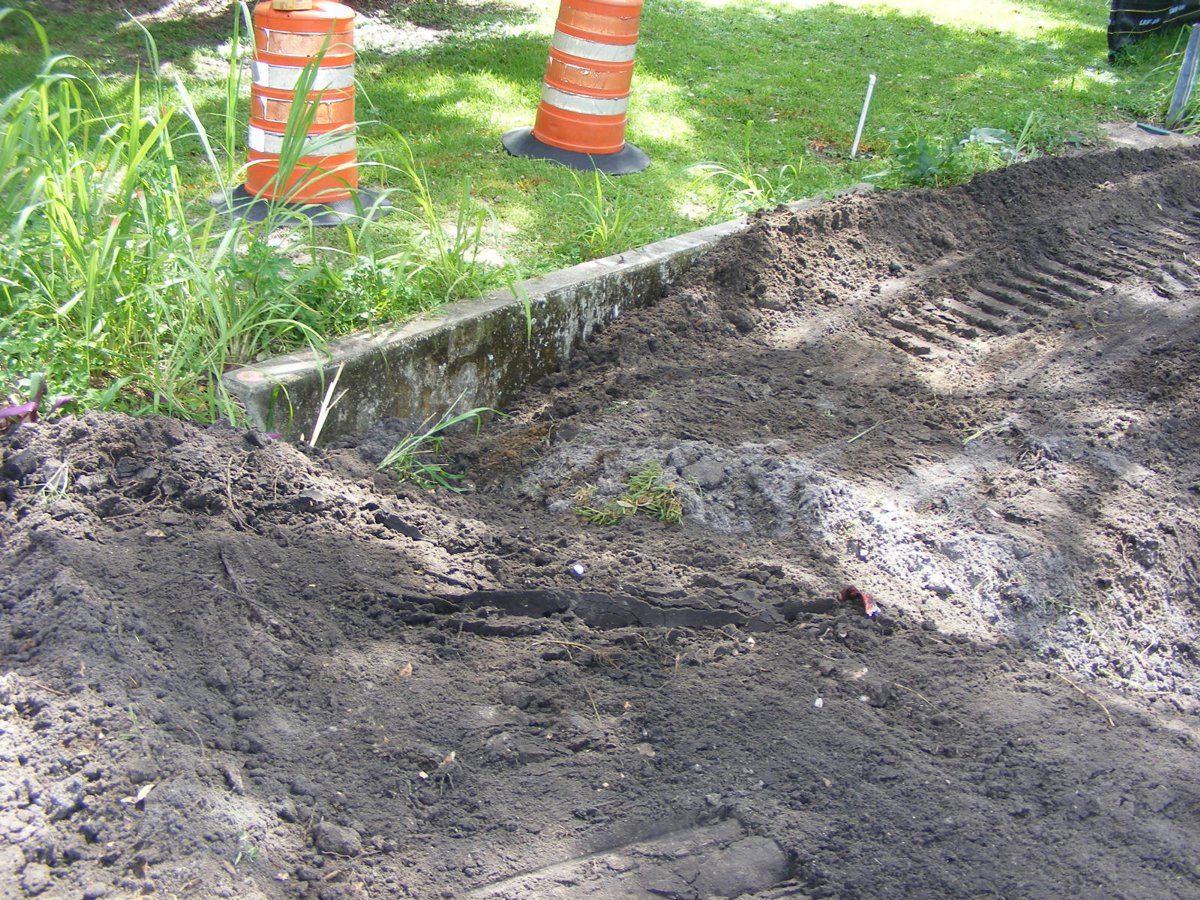
Here is the view of the wall from the access road.
A closer view of the wall and the fill dirt.
This is the last photo before the first rains fell on this work area.
All that "black area" is soil from the other side of the wall
that was carried there by rain water over flowing the top of the wall.
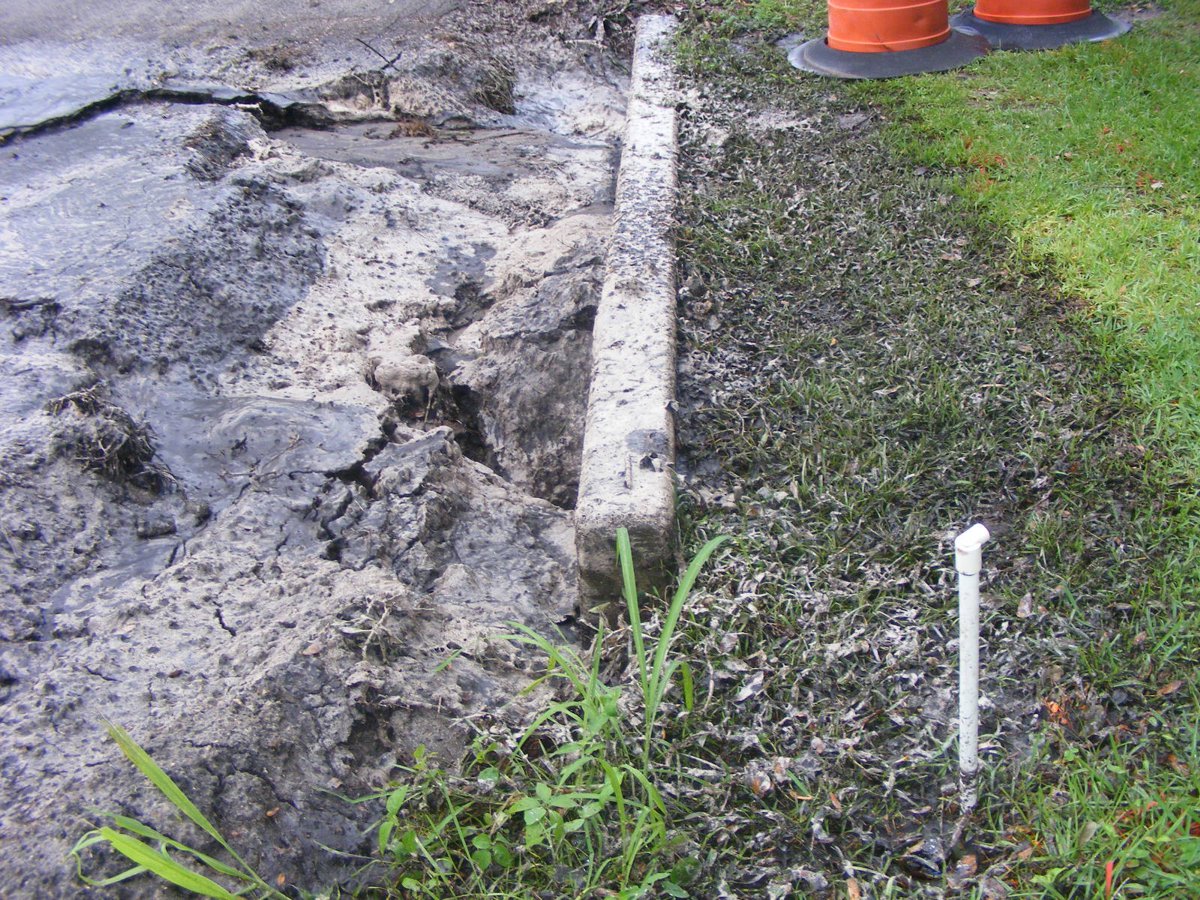
This view is looking straight down against the wall where water soaked
into the fill dirt. That is the toe of my left shoe at the bottom of the
photo.
The wet area view seen from the access road pavement.

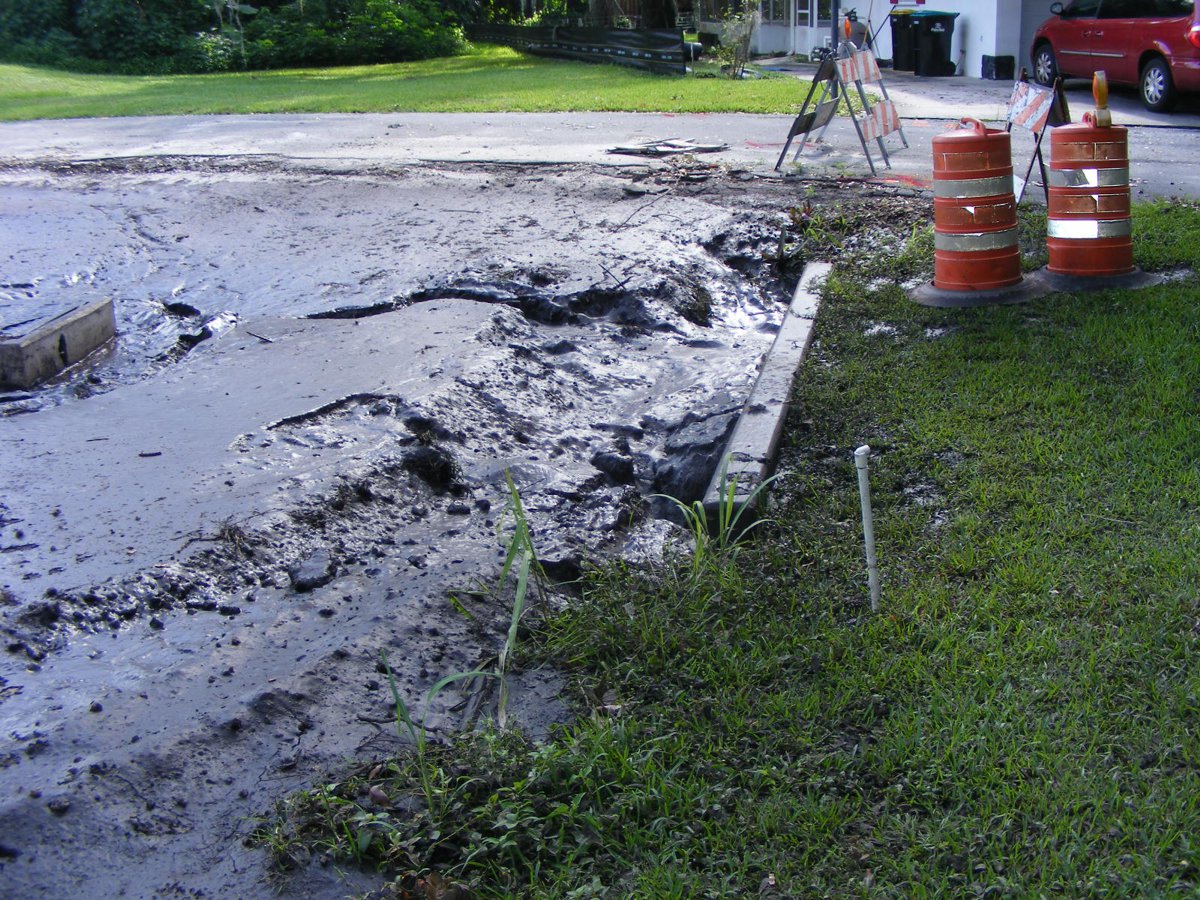
The fill dirt as eroded and soaked down into the trench below.
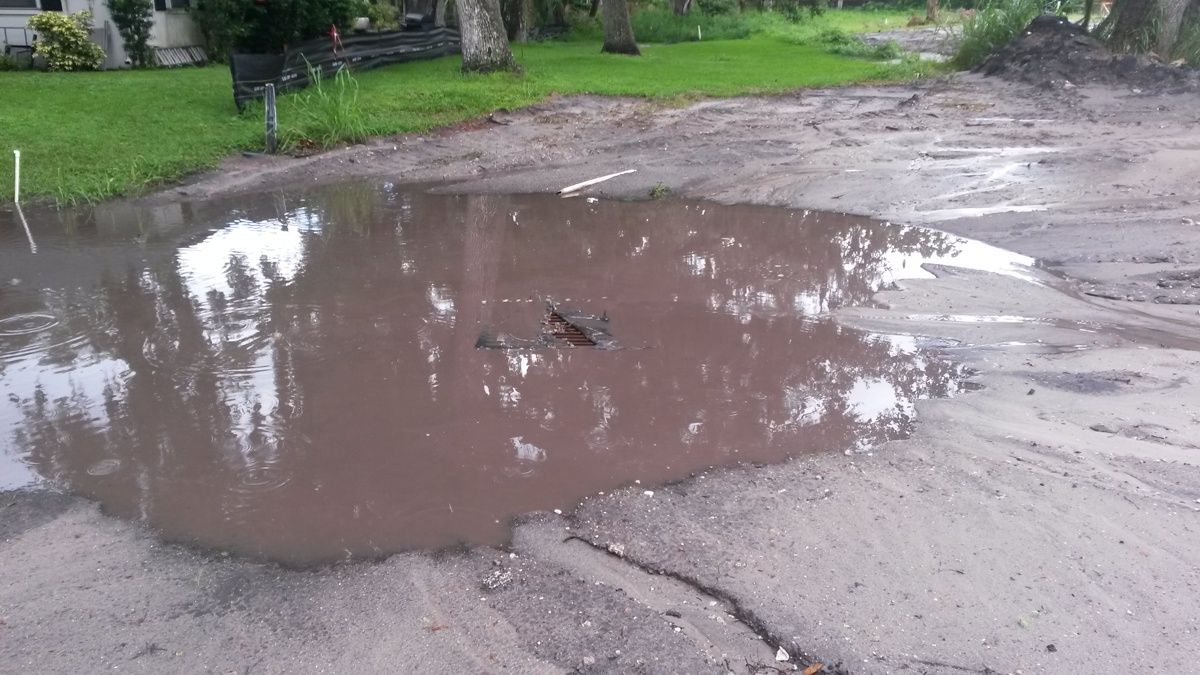
July 27, 2018: The result of rain the
next day covers the top of the storm drain. The water is soaking into the
sandy soil slowly.

D
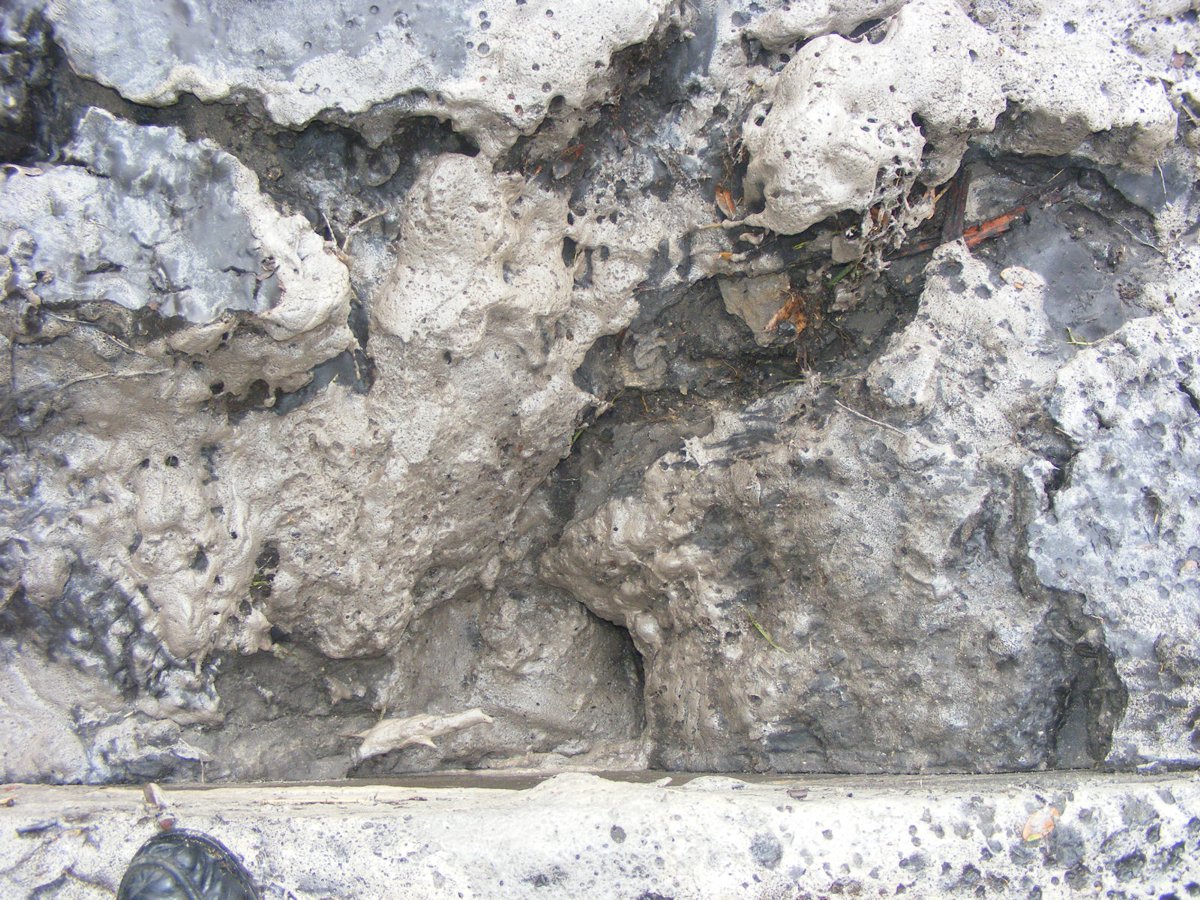
July 28, 2018: That hole against the
wall is still there and bigger the next day after the rain water has gone away.
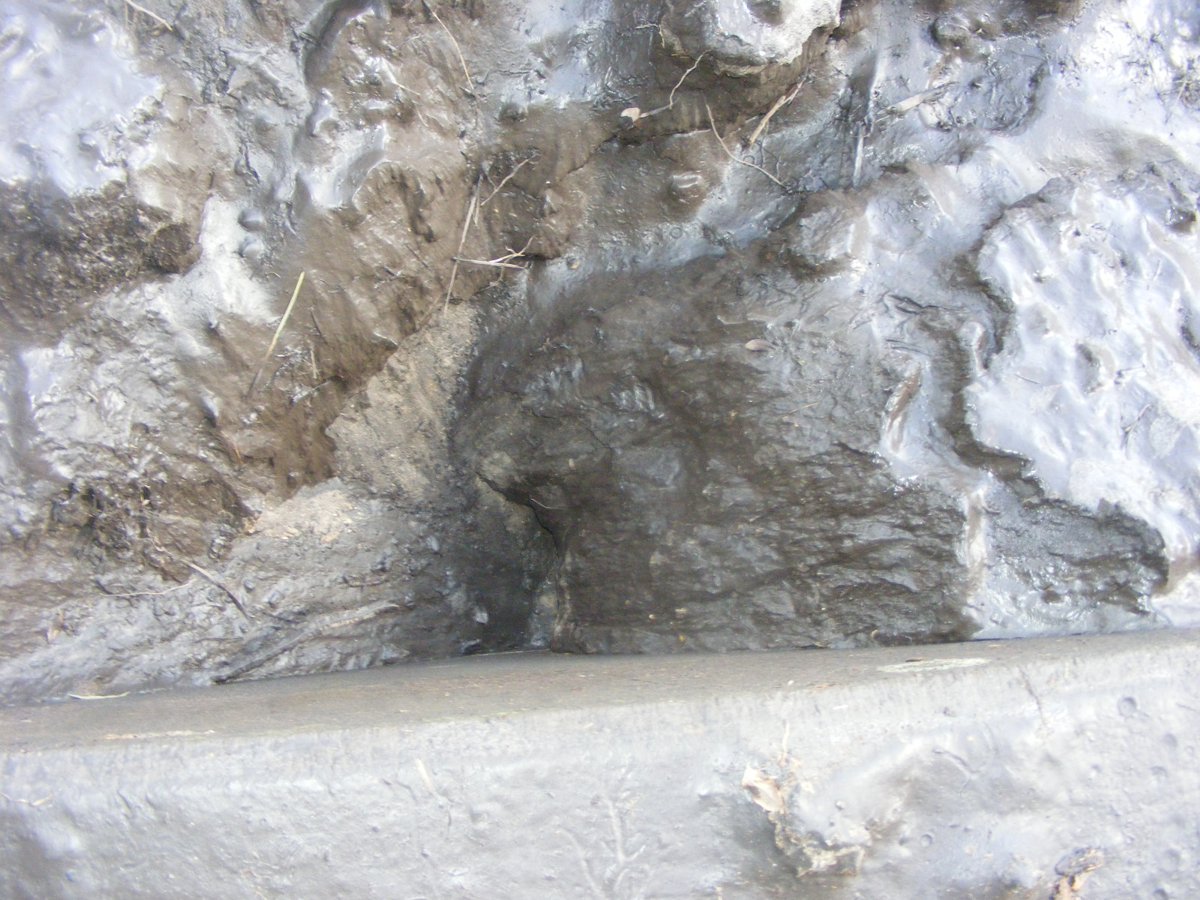
With each new rain showers, the dirt against the concrete wall is
settling.
The important thing to see in this photo is the high water line marked by
the leaves on the grass closer to the camera. The heavy rain that did this
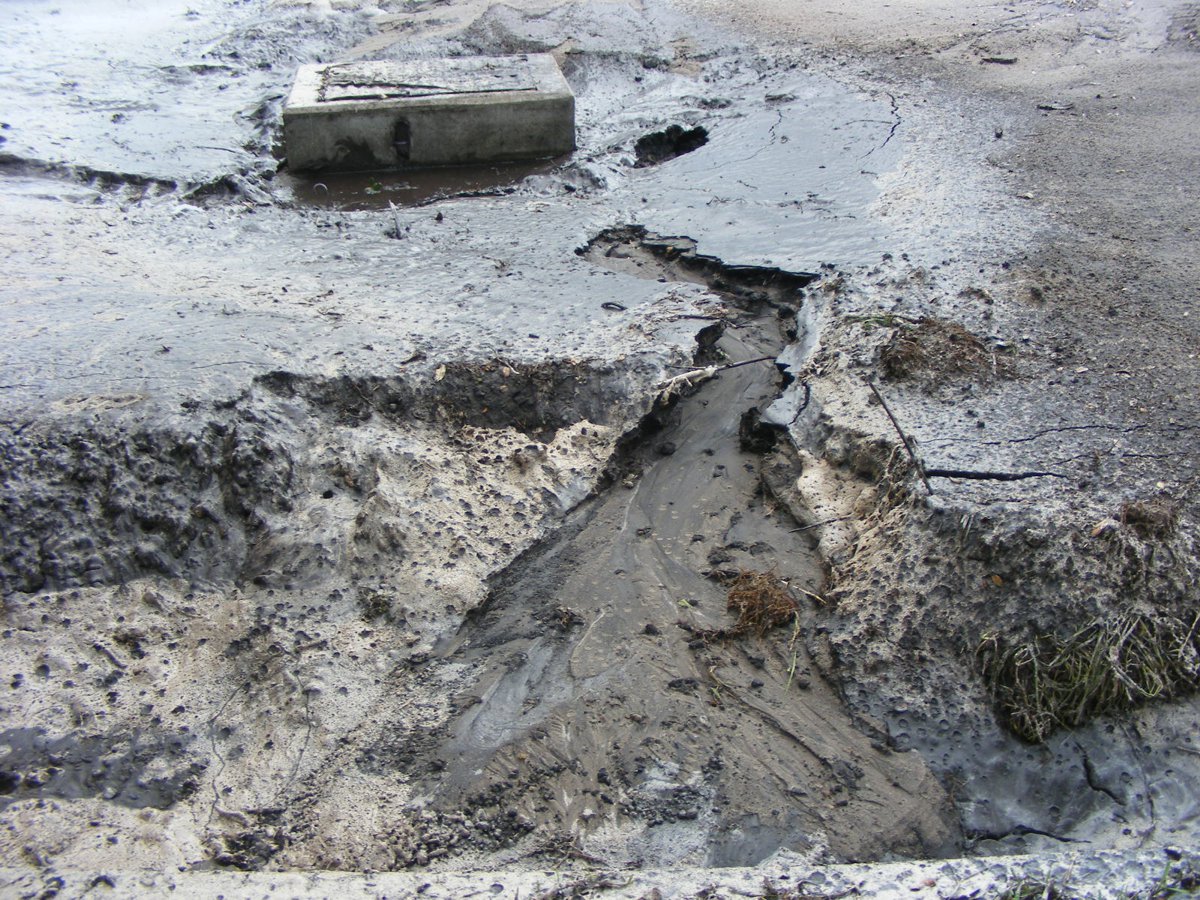
over flowed onto the access road and down the storm drain at the street.
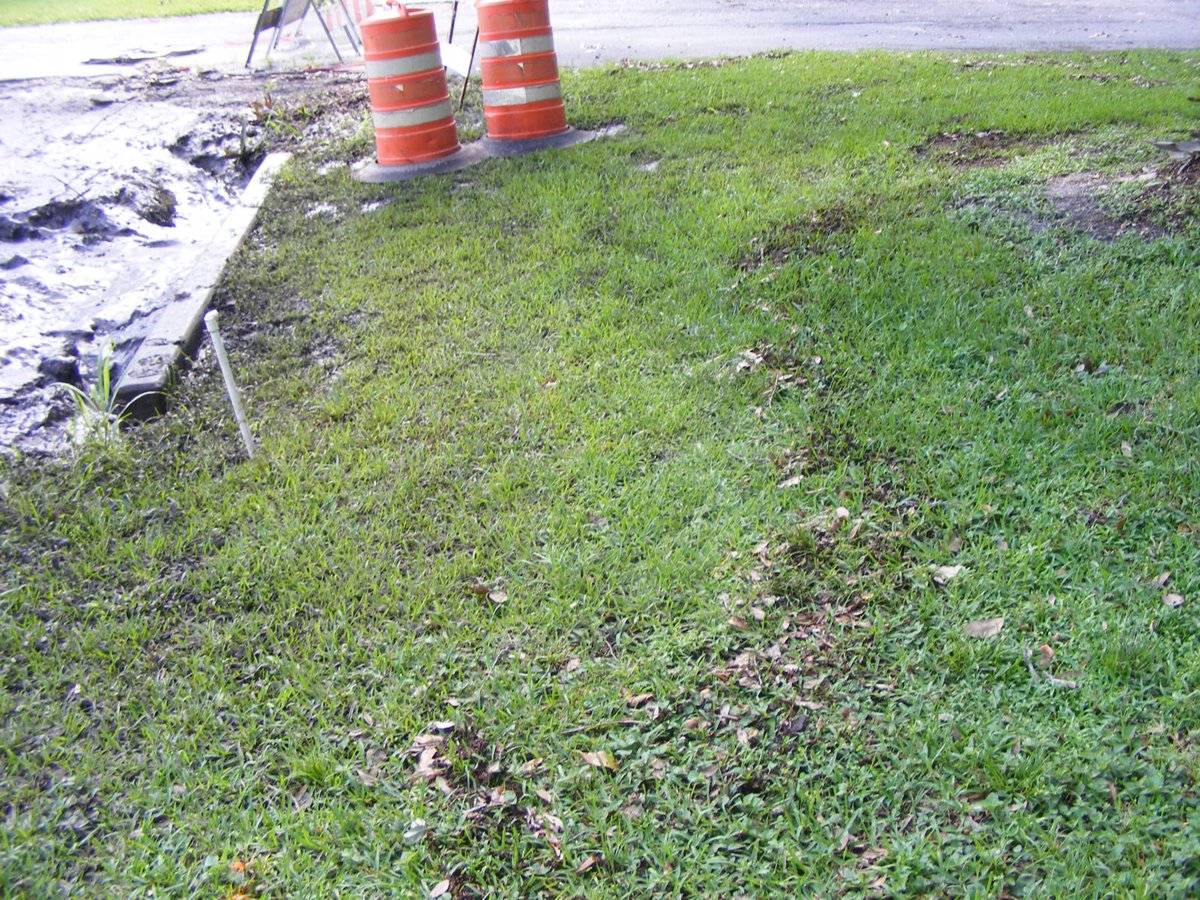
The erosion from the water shows how the flow starts way back toward the
new street and comes this way.
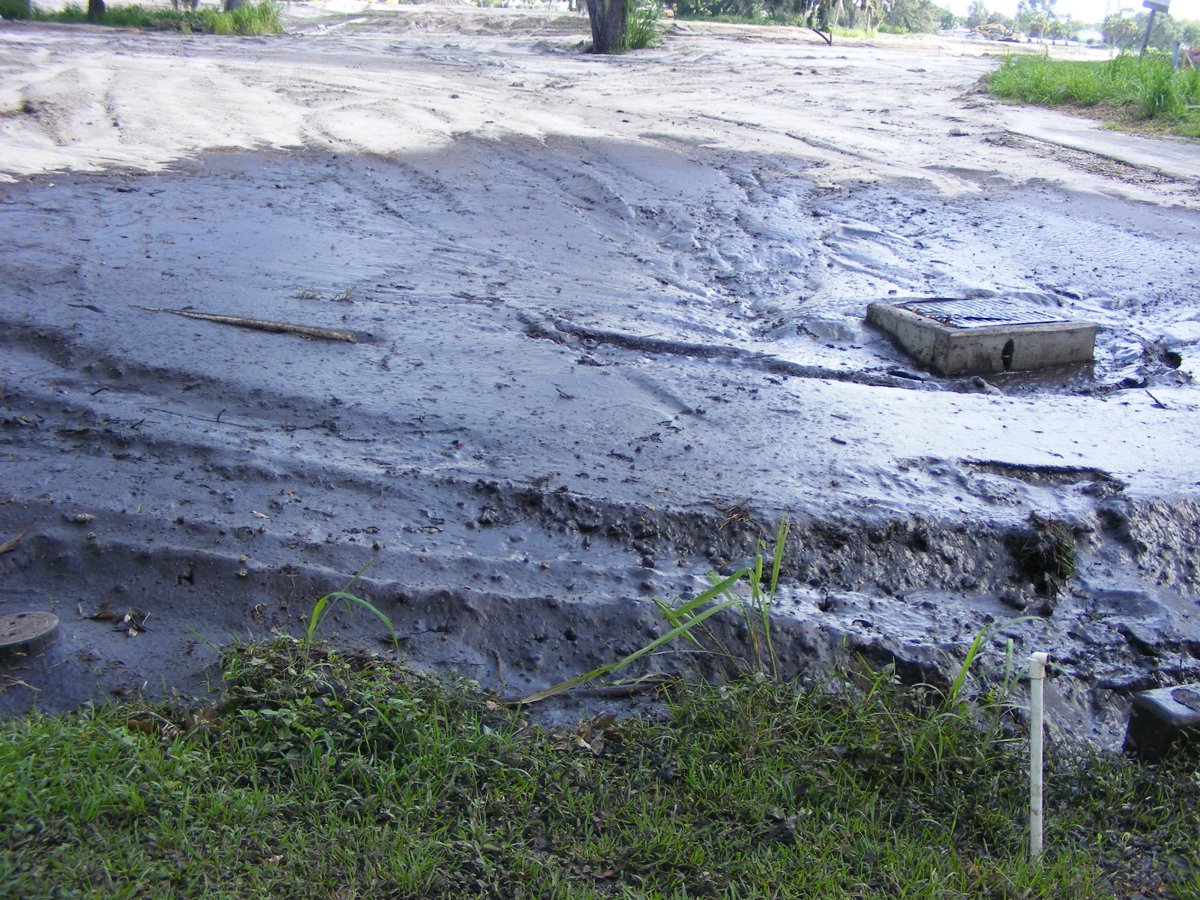
At some point in the "ditch" preparations, the telephone
connection box in the ground had been destroyed. The phone company came
out and installed a new junction box as seen here.
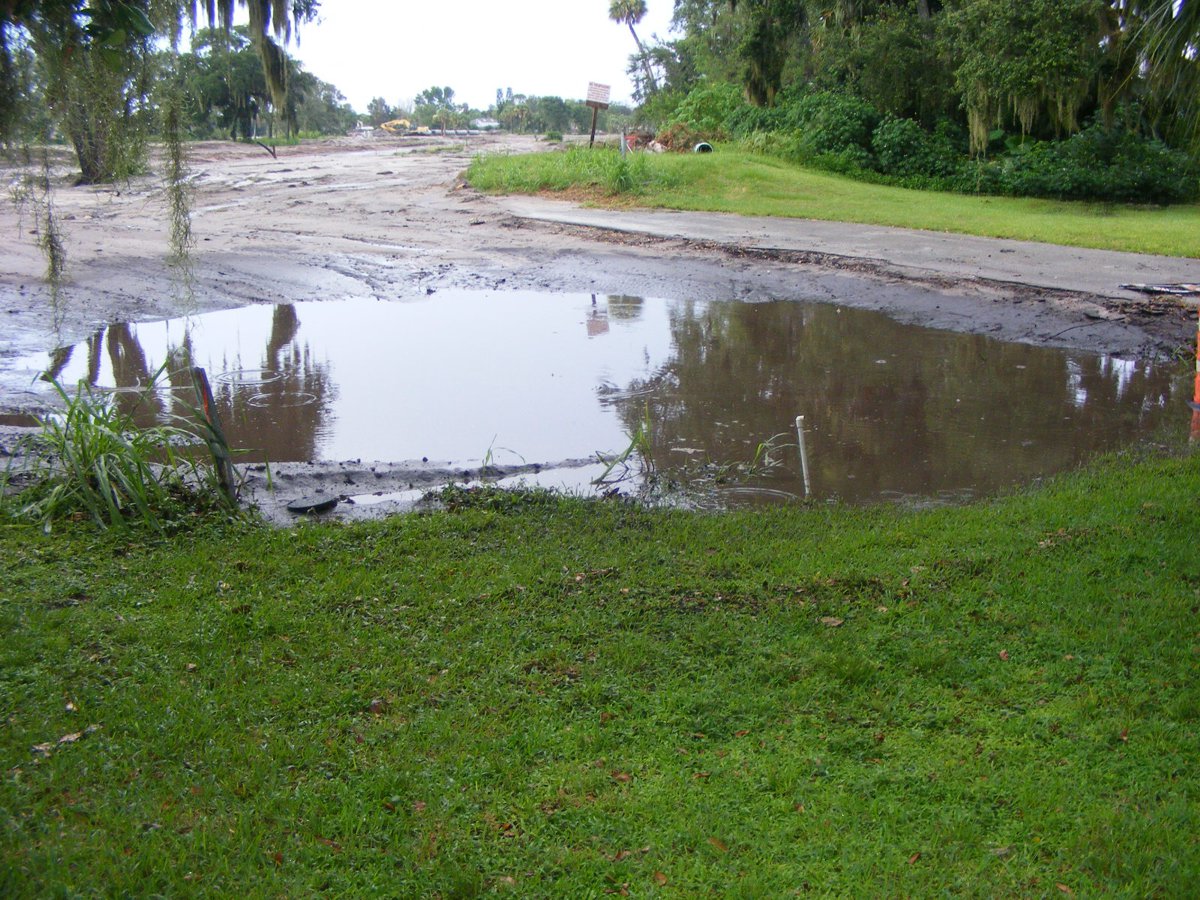
July 31, 2018: The rain today managed
to dislodge part of the cloth seal over the grate in the storm drain.
There should not be any more water over loading this area now that some drainage
is available as intended.
| GO TO PAGE 65 | BACK TO HOME MENU |