Sprinkler Repair · · PAGE 40.
April 28, 1017: I spent some time this
morning digging down to the end of the water pipe between the street and the
sidewalk. I had to cut a few roots along the path to be able to raise the
pipe above ground level for the final repair. I will need to get the
right-angle plastic pipe fitting and the appropriate glue to finish the
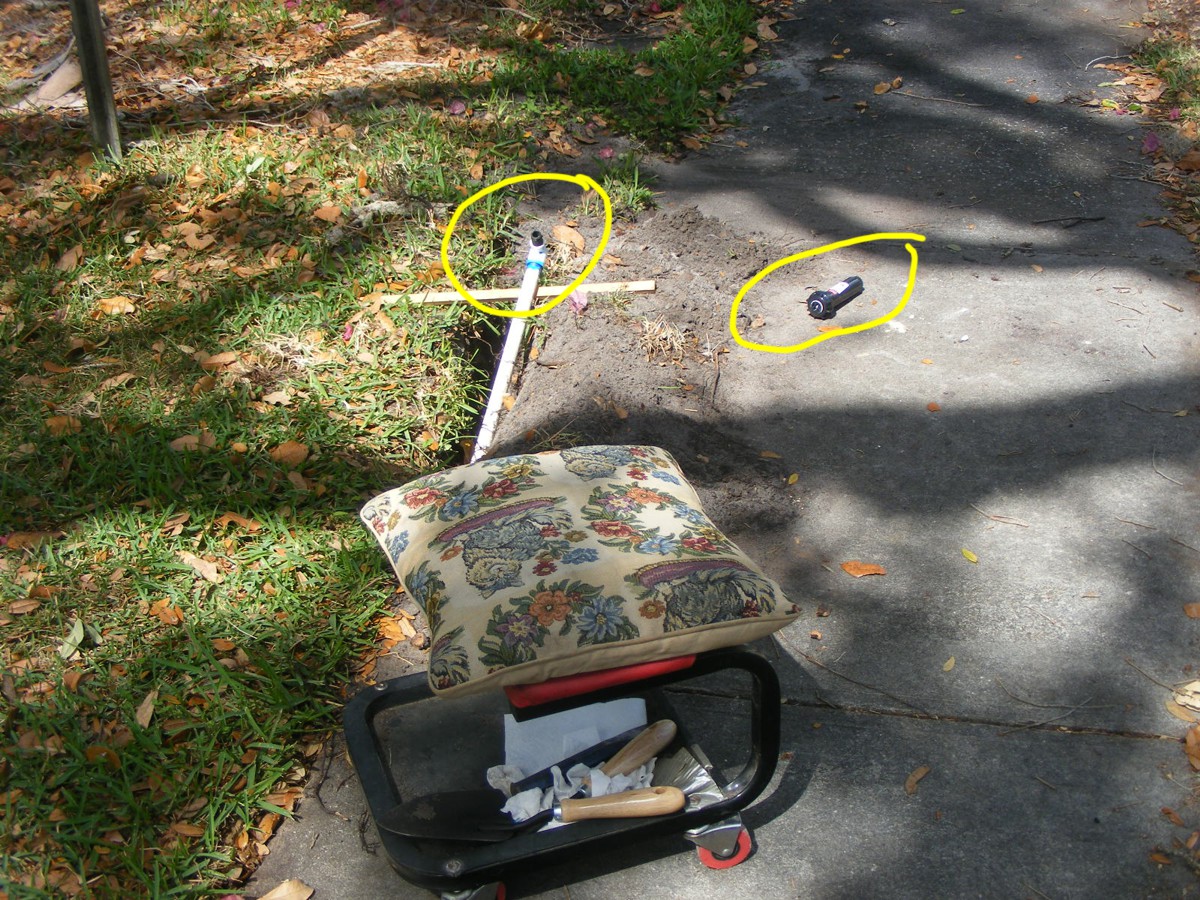
job. I already have the new replacement pop-up sprinkler head ready to
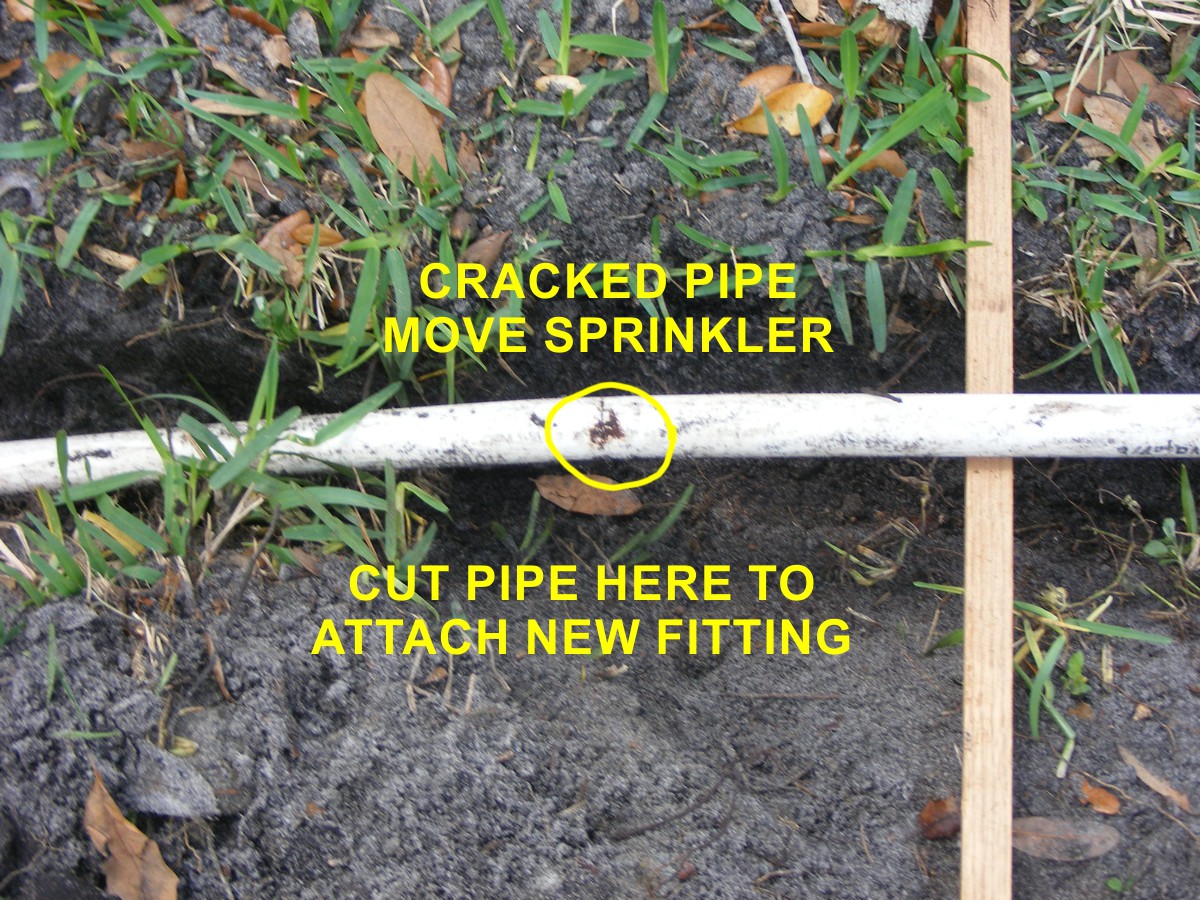
install when the pipe gets cut shorter. There is a fat tree root directly
under the crack site. I may actually cut the pipe a few inches before the
root to make the remainder of the installation easier and avoid any growth
expansion of the existing large root.
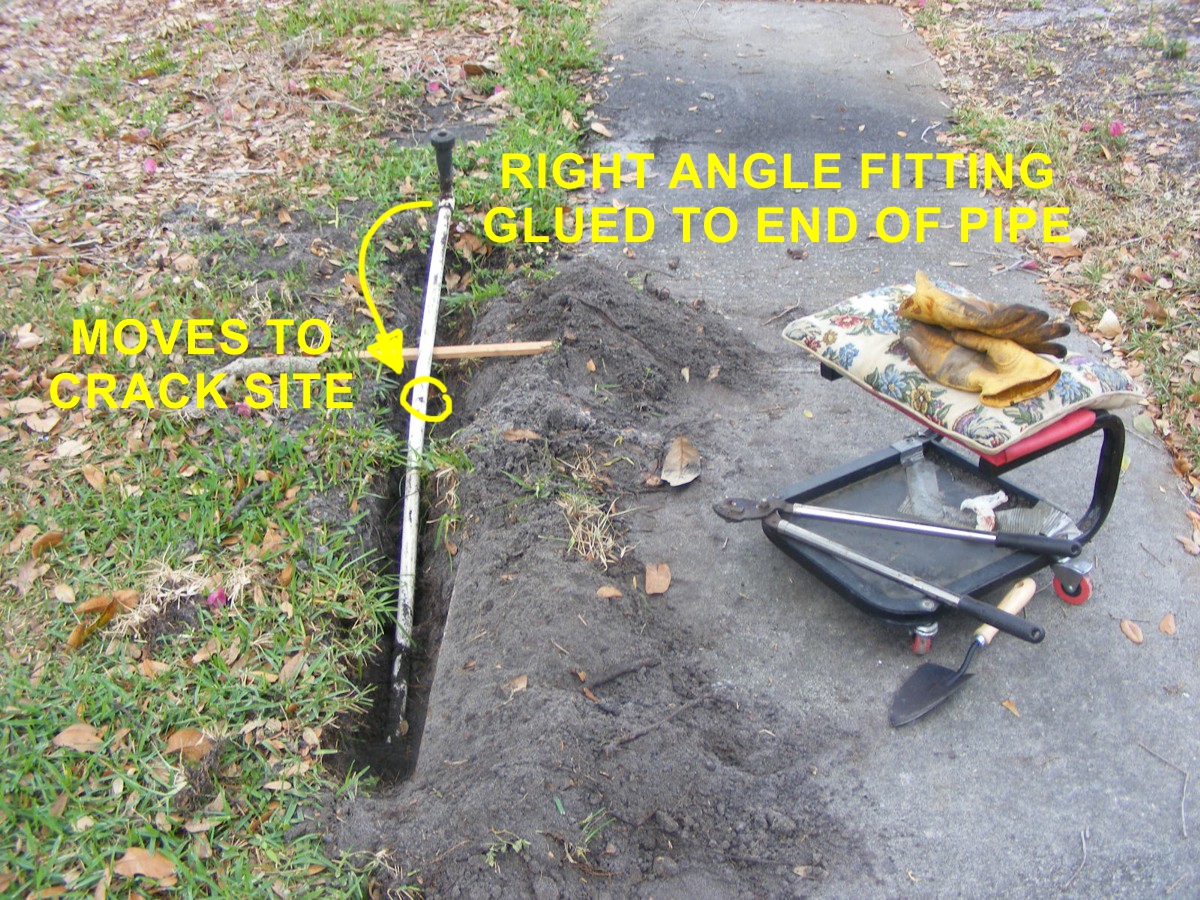
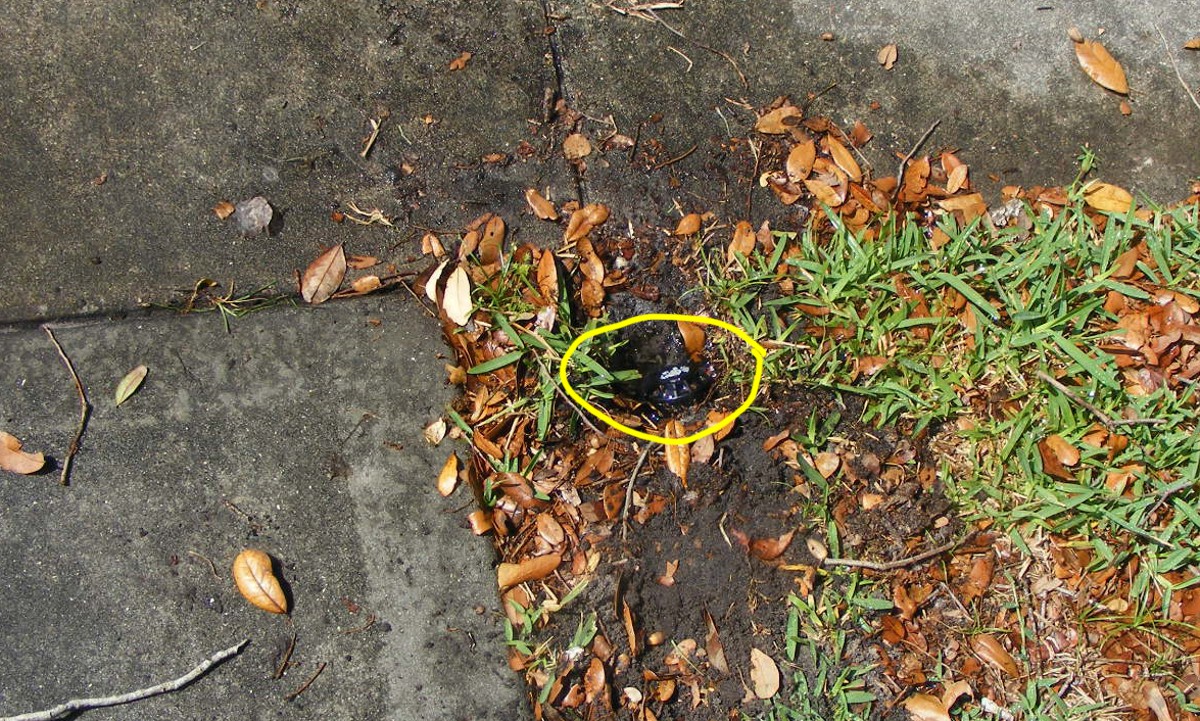
Here is a view of the crack at the high point of the bend over the large
root location.
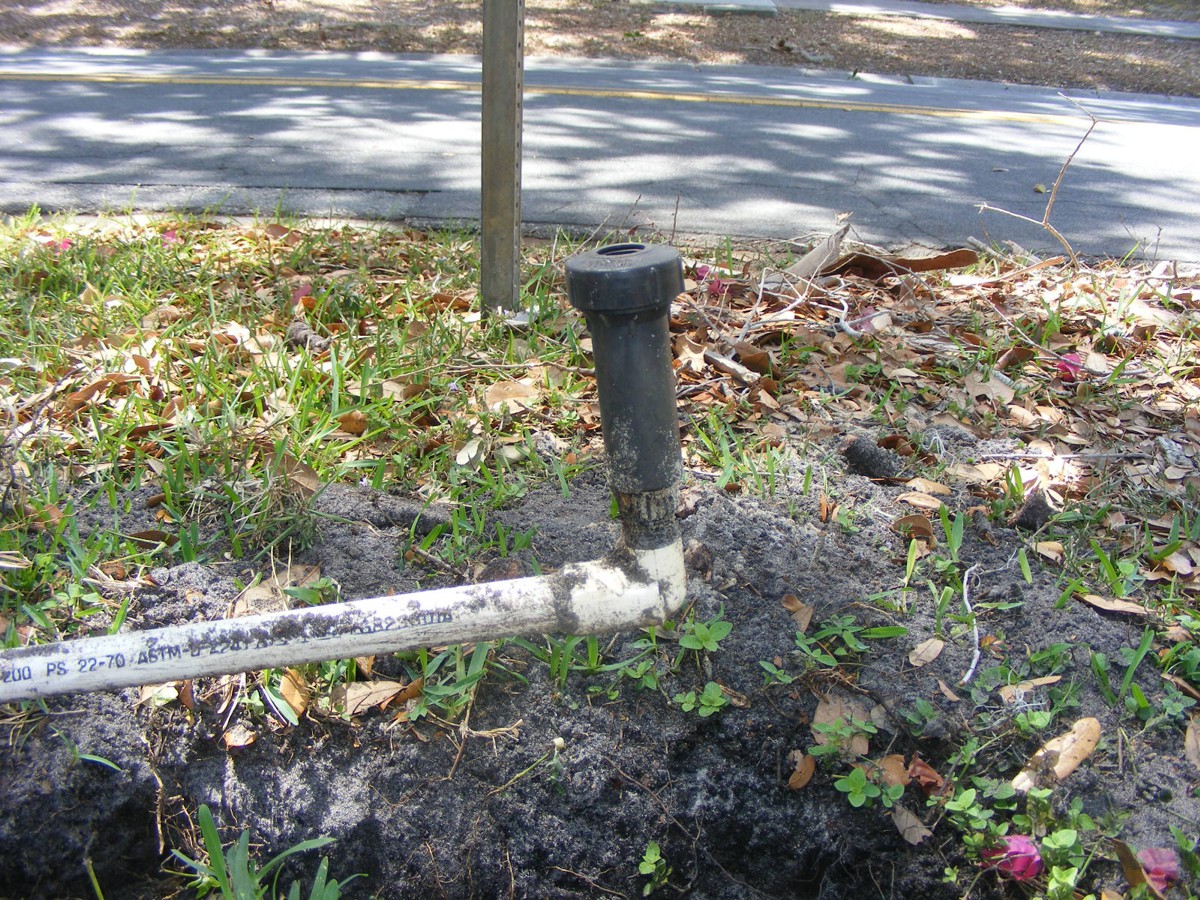
The new right-angle plastic fitting will look like this OLD one. I will
take this end section of pipe with me to the store to be sure I get the correct
fitting.
April 29, 2017: Saturday and I finished
digging in the trench to confirm the length of pipe to be cut off. This
will insure the pipe remains clear of the BIG root that caused the crack in the
pipe. The final cut of the old pipe in the ground was about six inches
before the crack that caused all this work. I used the right-angle fitting
and the pop-up sprinkler to be sure I could go deep enough to put the top of the
sprinkler mechanism at soil level. When I was satisfied, I cleaned the
outside of the pipe to glue the right angle fitting in position. The
wooden stick keeps the pipe out of the trench to be sure no dirt gets inside the
pipe and clog the sprayer head.
I bought four of these green concrete "donuts" at Lowe's
yesterday to protect the sprinkler heads that could be struck by a mower or a
parked car as you will see later. Those donuts only cost $1.08 each!
This new rotating head is at the location where the broken unit was in front of
the grass and shrubbery in the front yard.
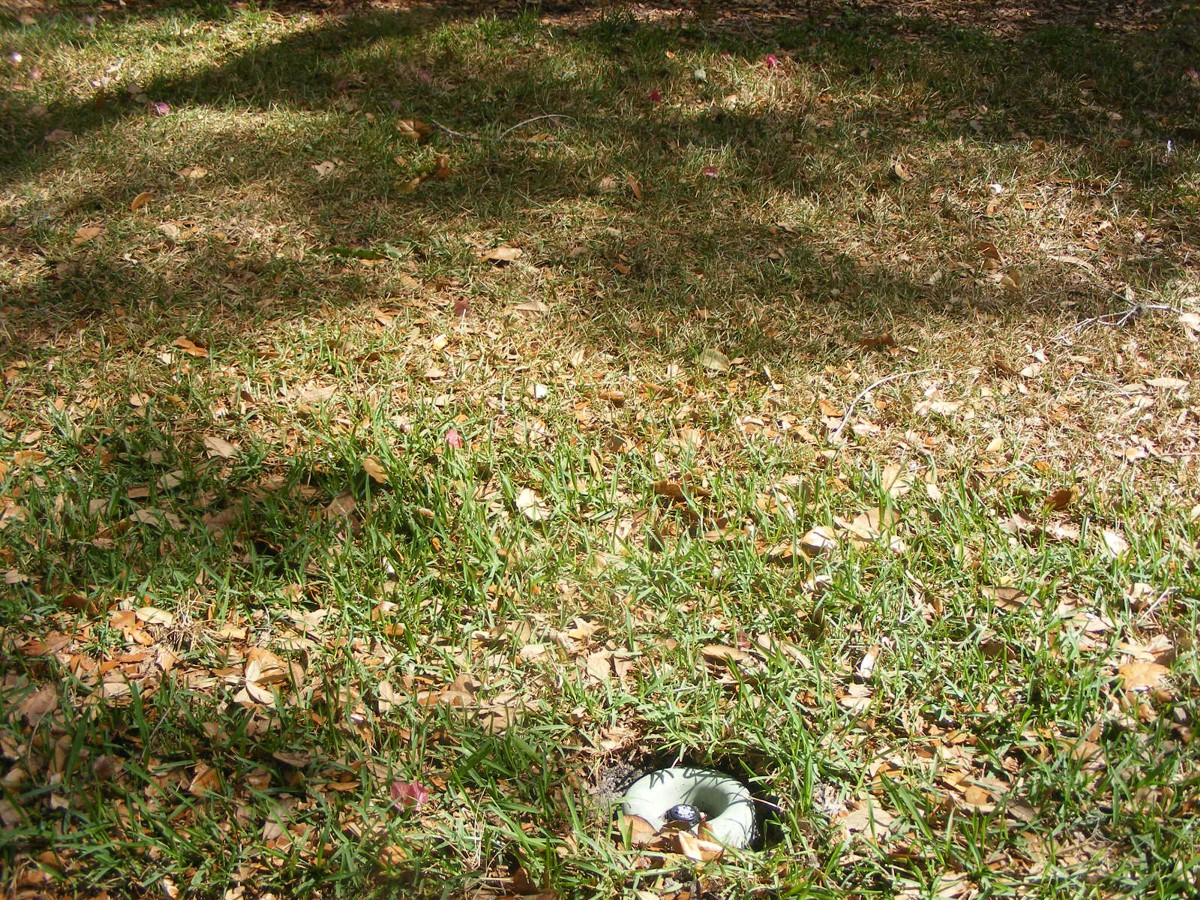
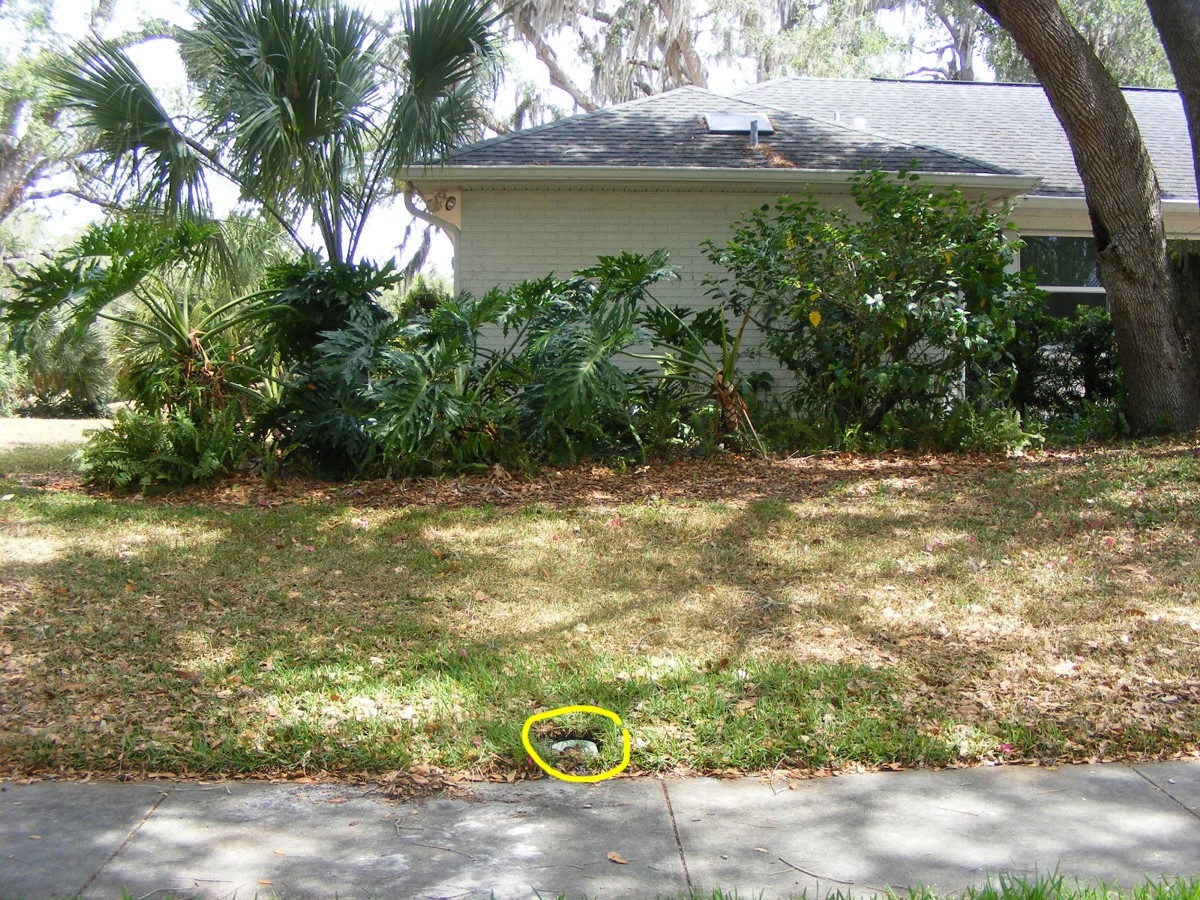
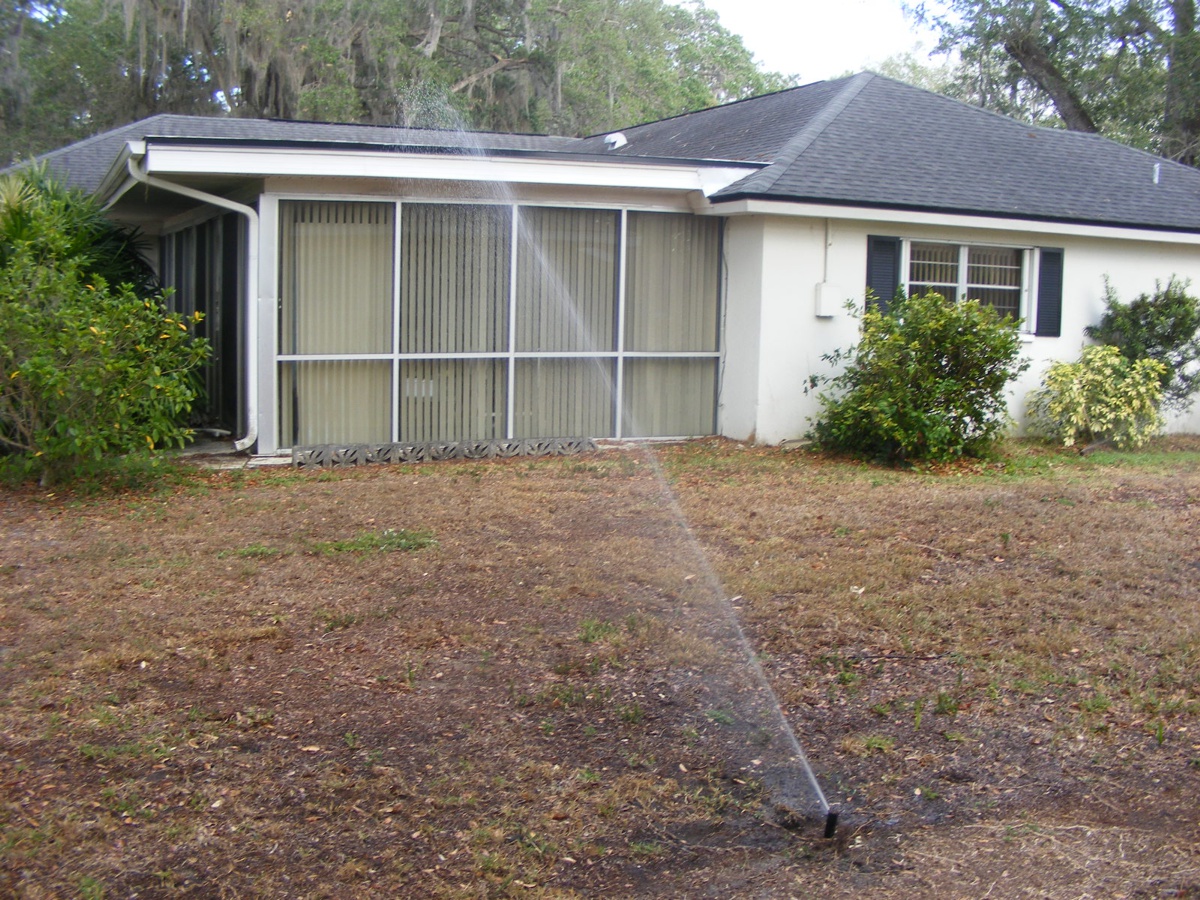
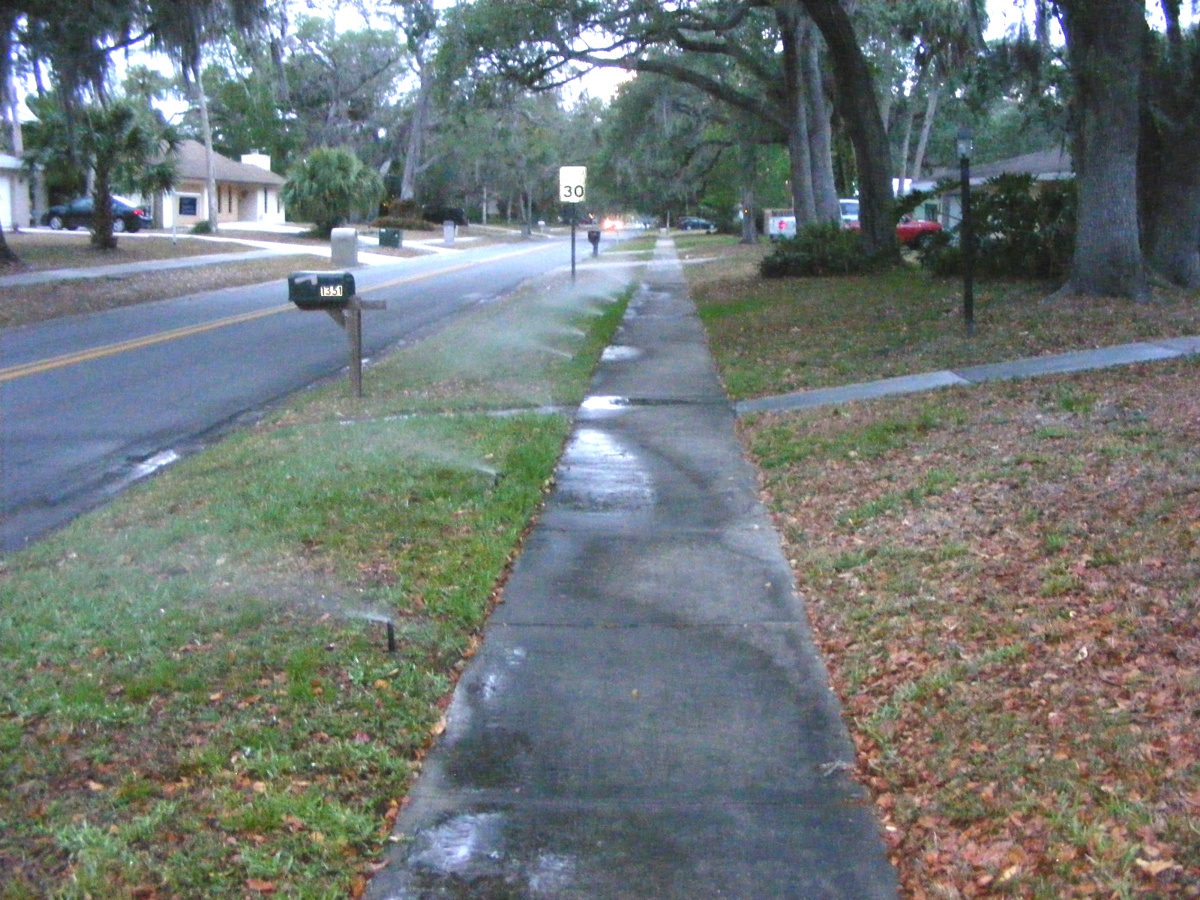
Here is a wide shot showing the location of the donut and sprinkler seen
in the photo above. I was watching the full 180-degree coverage of this
pop-up sprinkler the other day. The western end of the water spray reaches
the property line as does to the first one of TWO similar 180-degree sprayers
along the property line west of the house. The eastern end of this sprayer
reaches the walkway from the front door to the mail box.
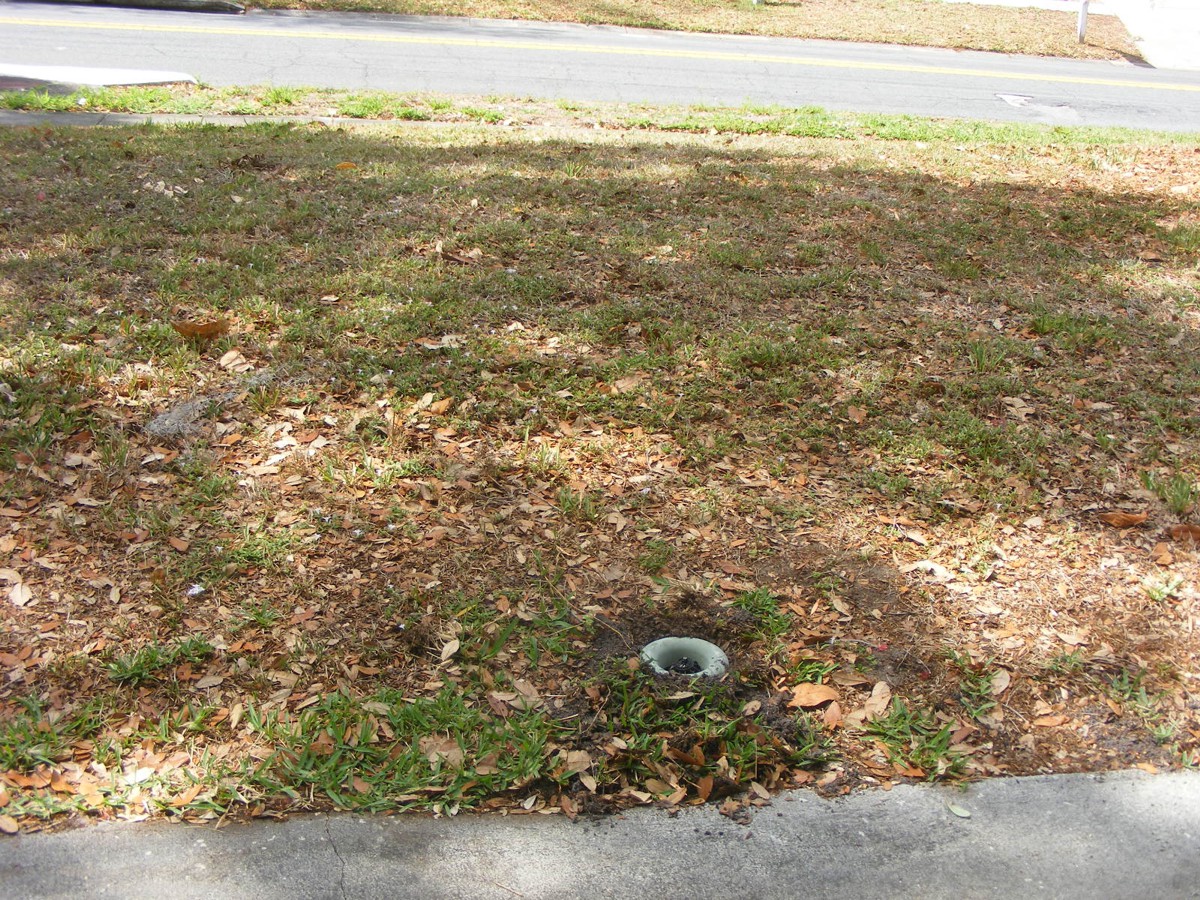
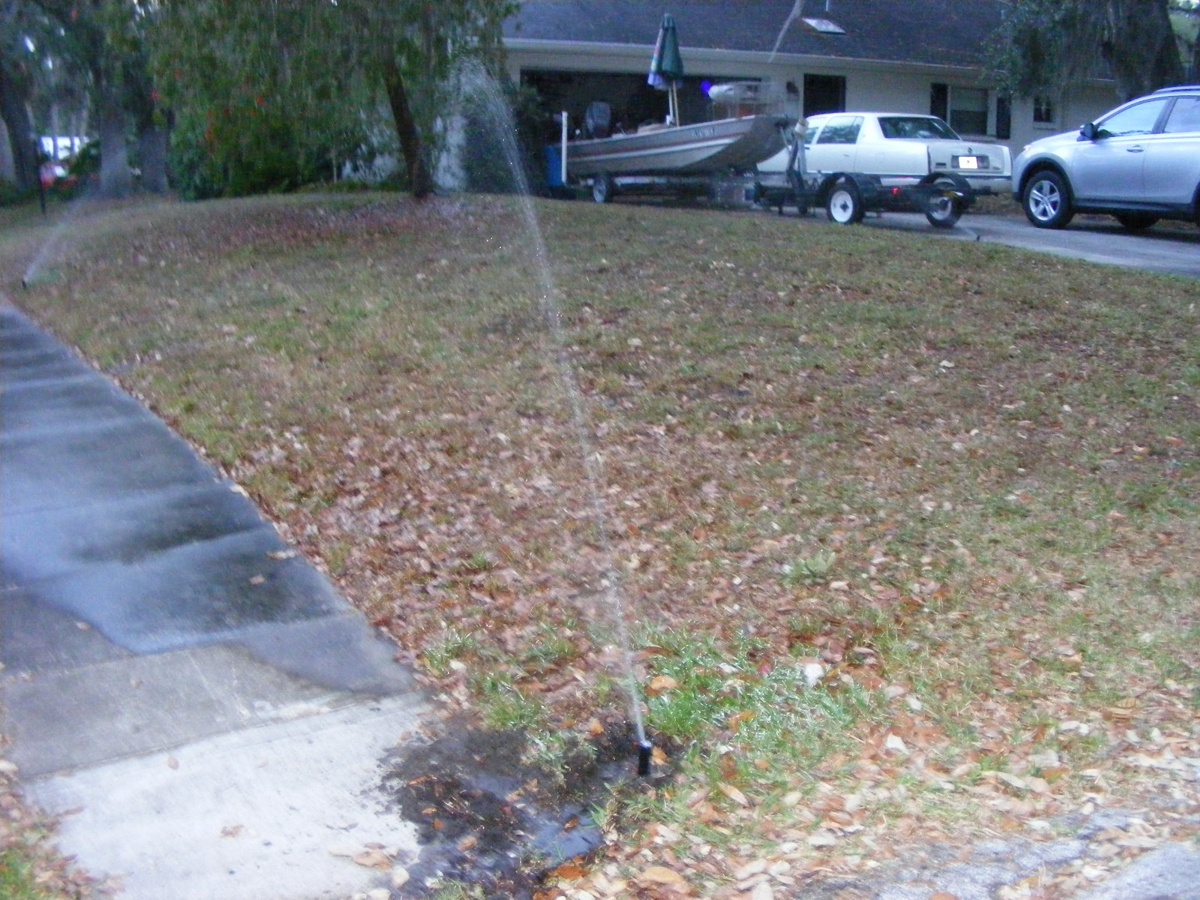
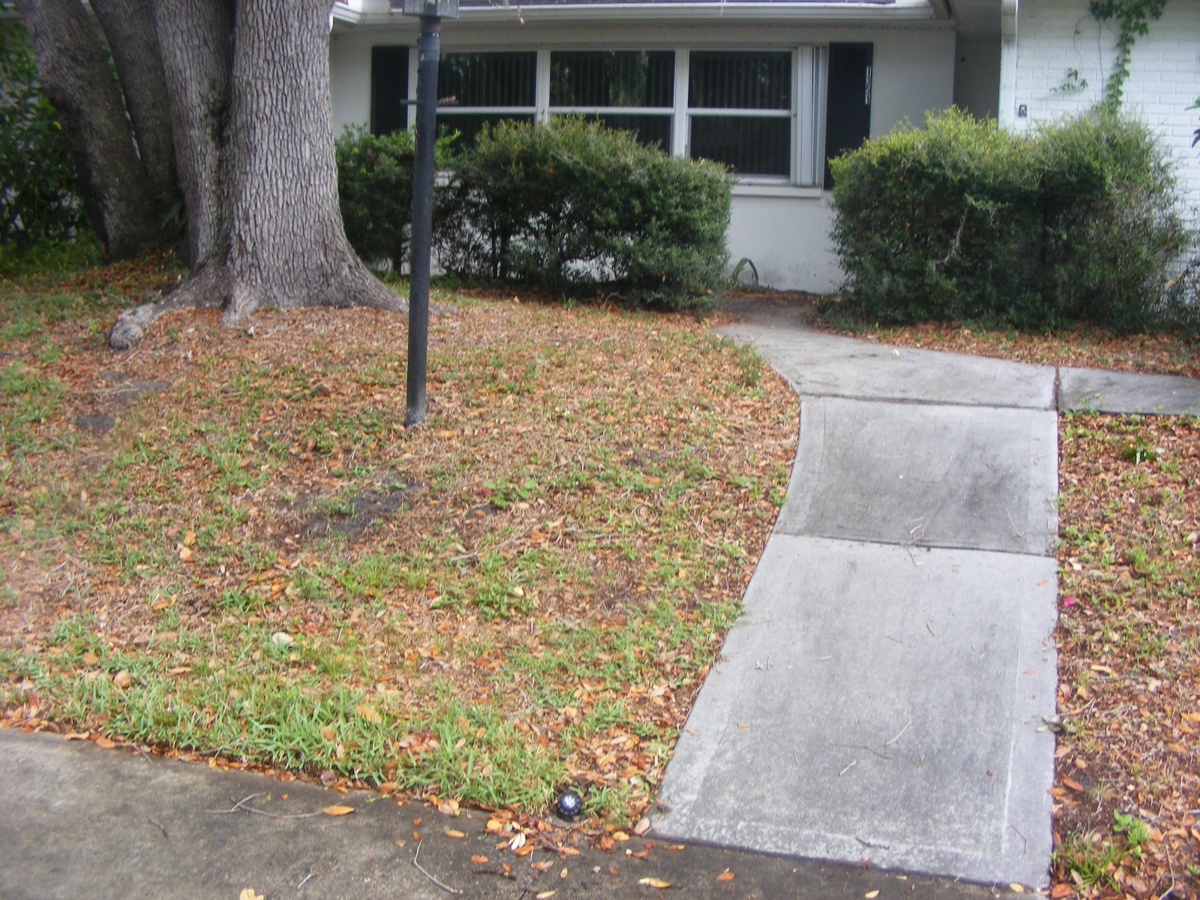
Here is the donut protecting the 90-degree rotating sprinkler head where
the sidewalk meets the old golf course maintenance road seen at the right side
of this photo.
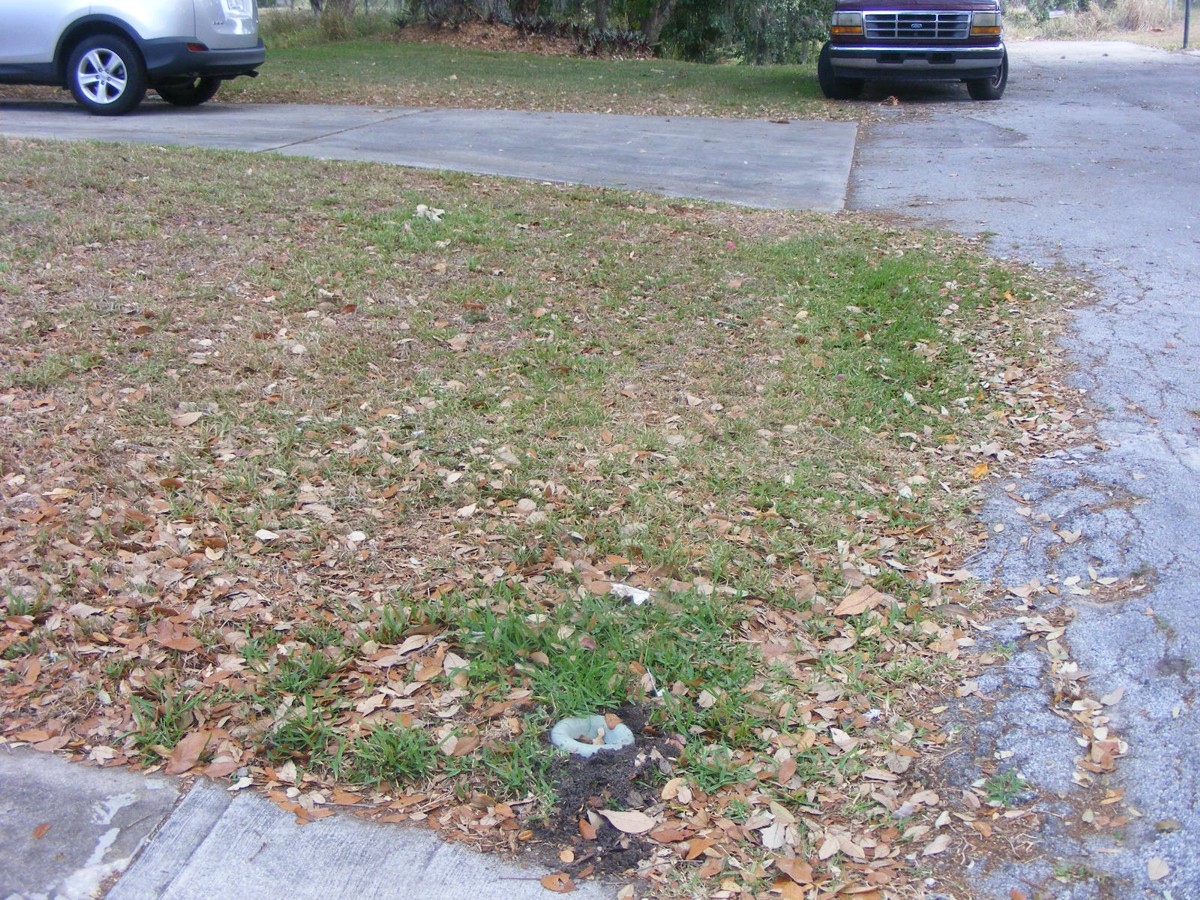
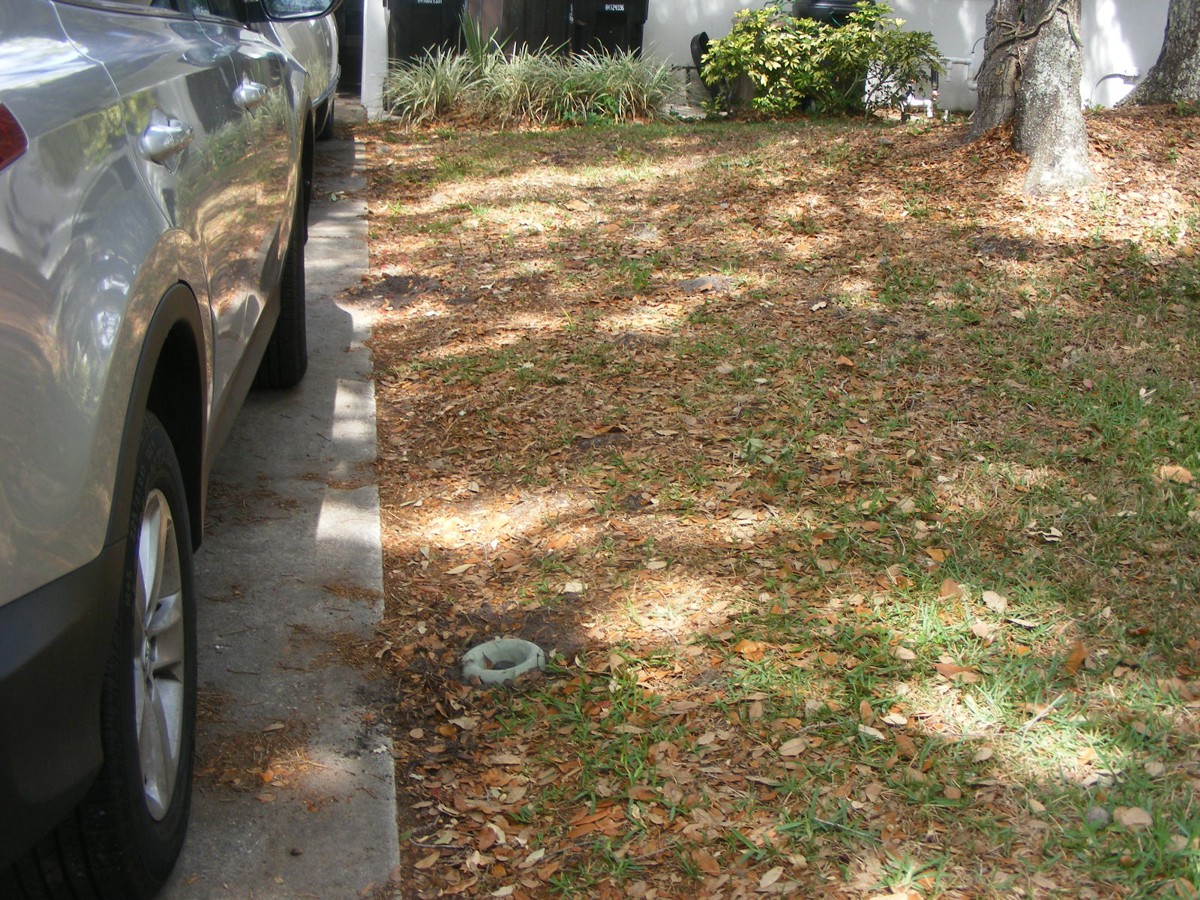
This donut and 180-degree sprayer are on south side of the driveway.
All that morning shade on the yard comes from the tree next door at 1361
Meadowbrook Road.
And the last of the four donuts goes on the north side of the driveway as
seen here. I noticed a different type of sprayer here as I removed some
dirt to get the donut in position.
I have been making minor adjustments to the coverage arc of some of the
rotating sprinkler heads around the house.
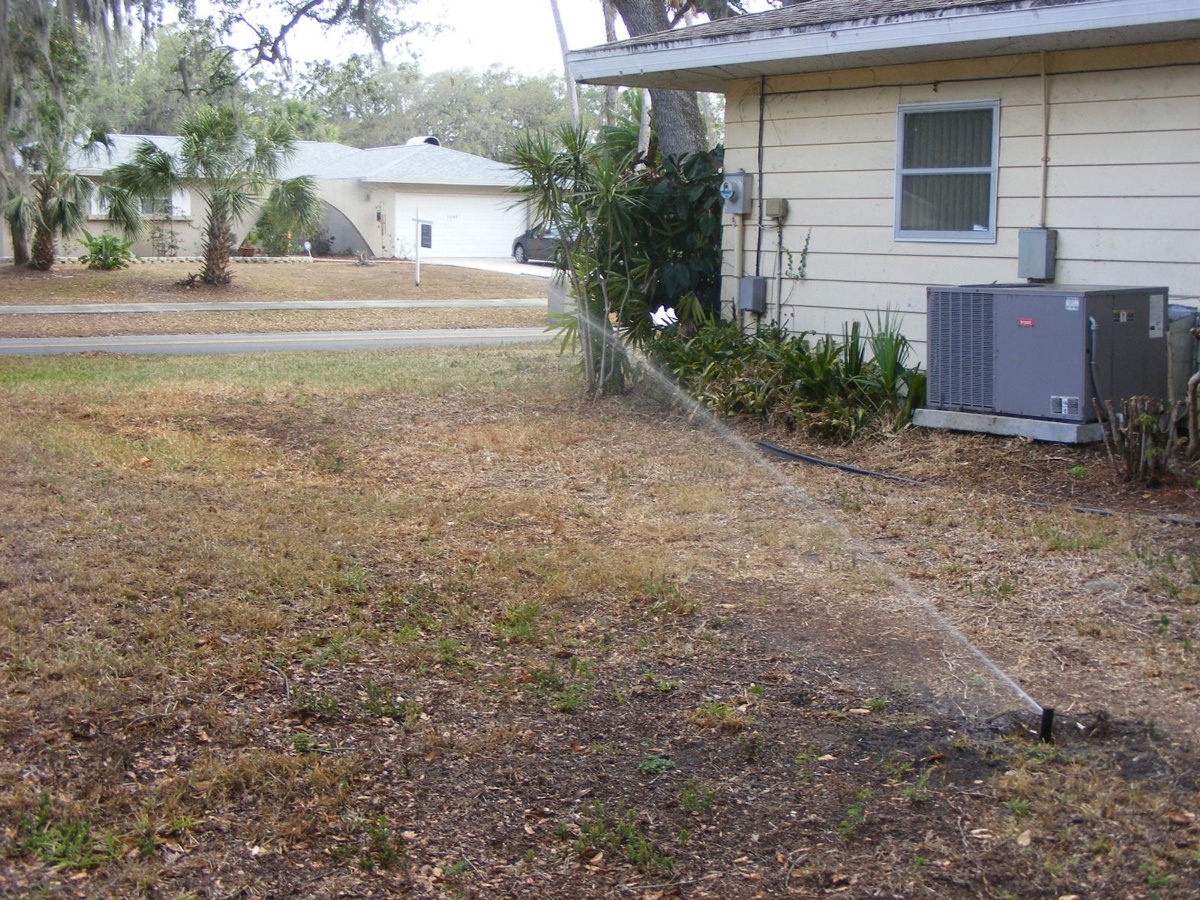
This is the same sprinkler from the photo above showing the coverage
looking south toward the street. This image shows how close the house next
door is to the property line.
I have replaced the rotating sprinkler head near the southeast corner of
the lot. This one rotates very nicely since it is a new one.
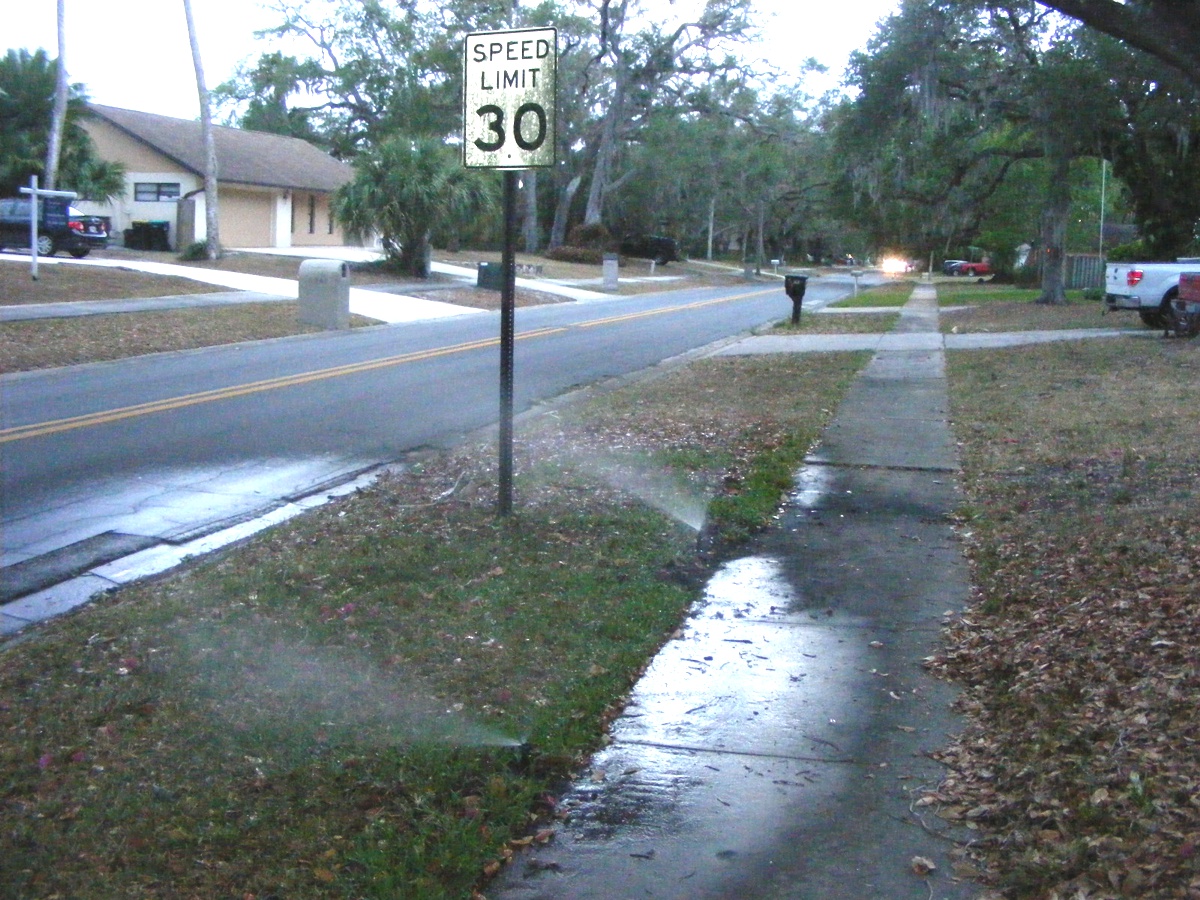
The front row of pop-up sprinklers get their first test after the repair
of the broken pipe near the end of the string by the speed limit sign. The
NINE sprinklers in this image plus TWO fixed shrubbery sprinklers behind the
shrubs up against the outside wall of the garage are on ONE water circuit.
The last two pop-up sprinklers are shown here. The spacing down here
between each of the last three sprinklers is 10 feet 6 inches.
The last photo shows the top of the last sprinkler head is at ground
level. When the last trench ahead of this one was open, I found a few more
roots that needed to be cut out to get the last few feet of irrigation pipe down
to the level for this final result.
May 2, 2015: I tried a cleaned, older
sprinkler at this location, but the small nylon gears that make the head rotate
were not doing the job. I went to get a new sprinkler head like the
previous three I have already installed. This is the location at the
walkway from the street to the front door. The sweep coverage area is
about 180 degrees to cover the grass in front of the garage walkway and the
sidewalk to the right of this walkway and on the left side overlapping the
180-degree sprayer midway down the sidewalk in front of the shrubs to the left
of the oak trees seen here.
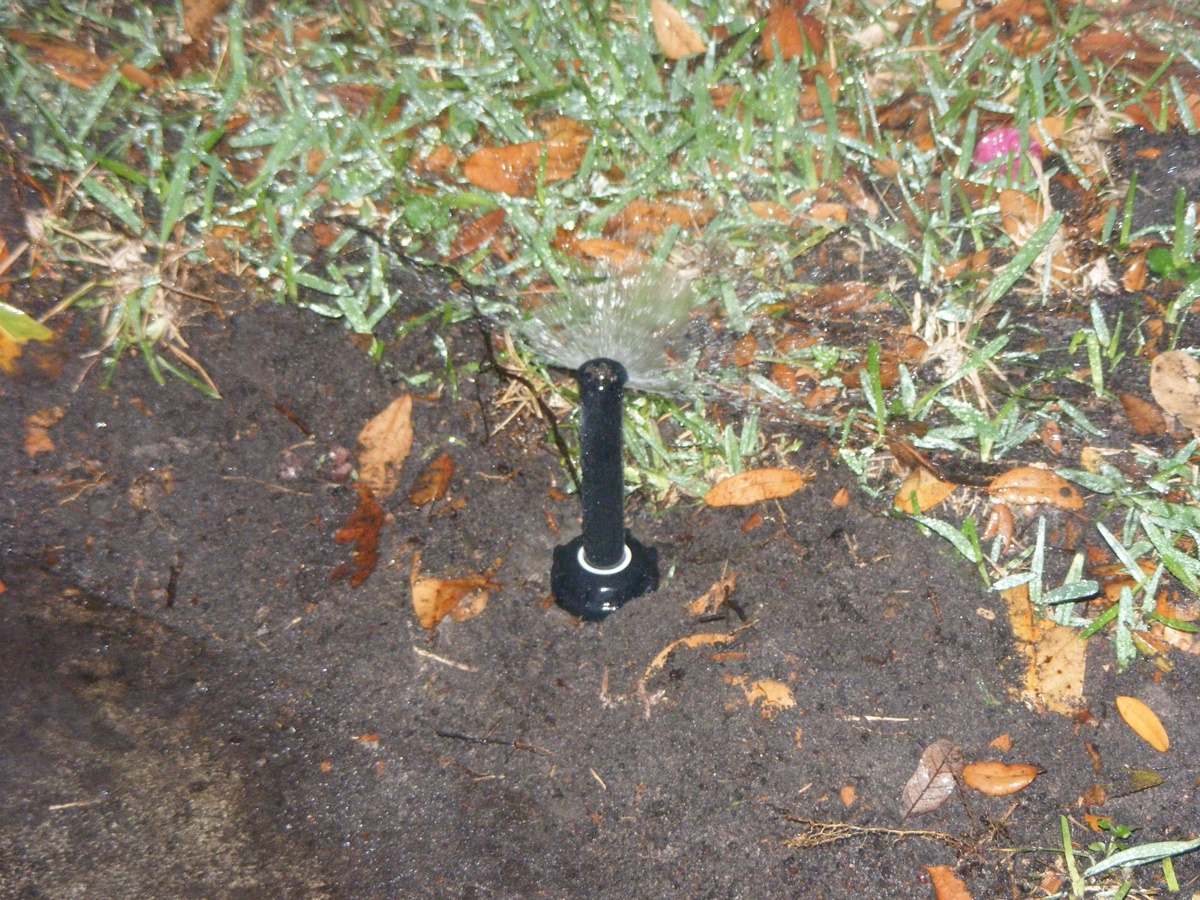
Here is a close up view of the sprinkler head. This model is
extremely easy to setup. Three of the four rotating sprinklers along the
north edge of the sidewalk are this model, along with the new one opposite the
Florida Room at the western edge of the property. You can see the label on
the side of this new K-1 sprinkler.

May 4, 2017: I was thinking about this
sprinkler up near the mail box and realized I needed to get it closer to the
ground. I had put in a short pipe extension since the body of this
sprinkler was shorter than the original one located here. Here it has a
lower profile to avoid a lawn mower now that the short pipe has been removed.
The other things I did today was to adjust the coverage arc of two of the
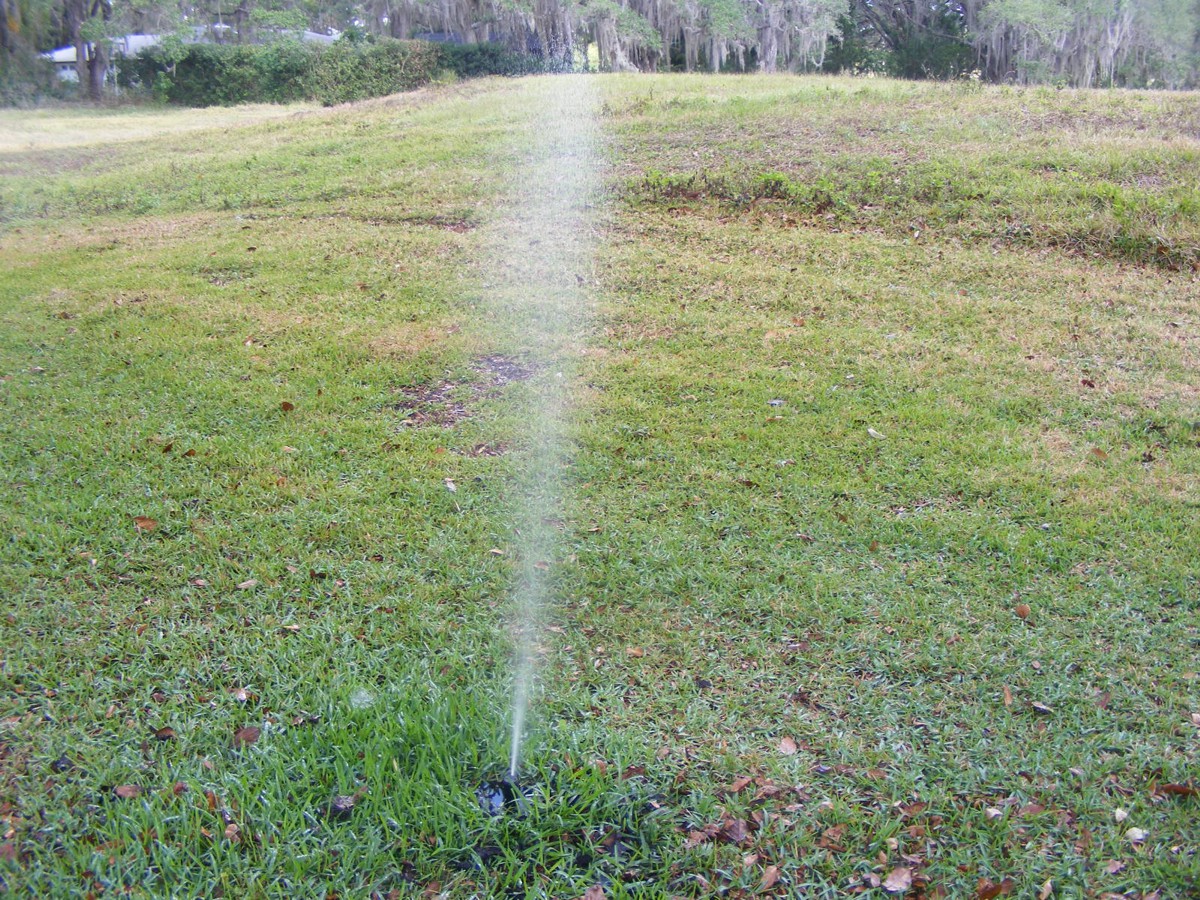
older working sprinklers in the back yard. This sprinkler at the back
corner of the lot now sweeps 180 degrees instead of the 90 degrees from its
previous setting.
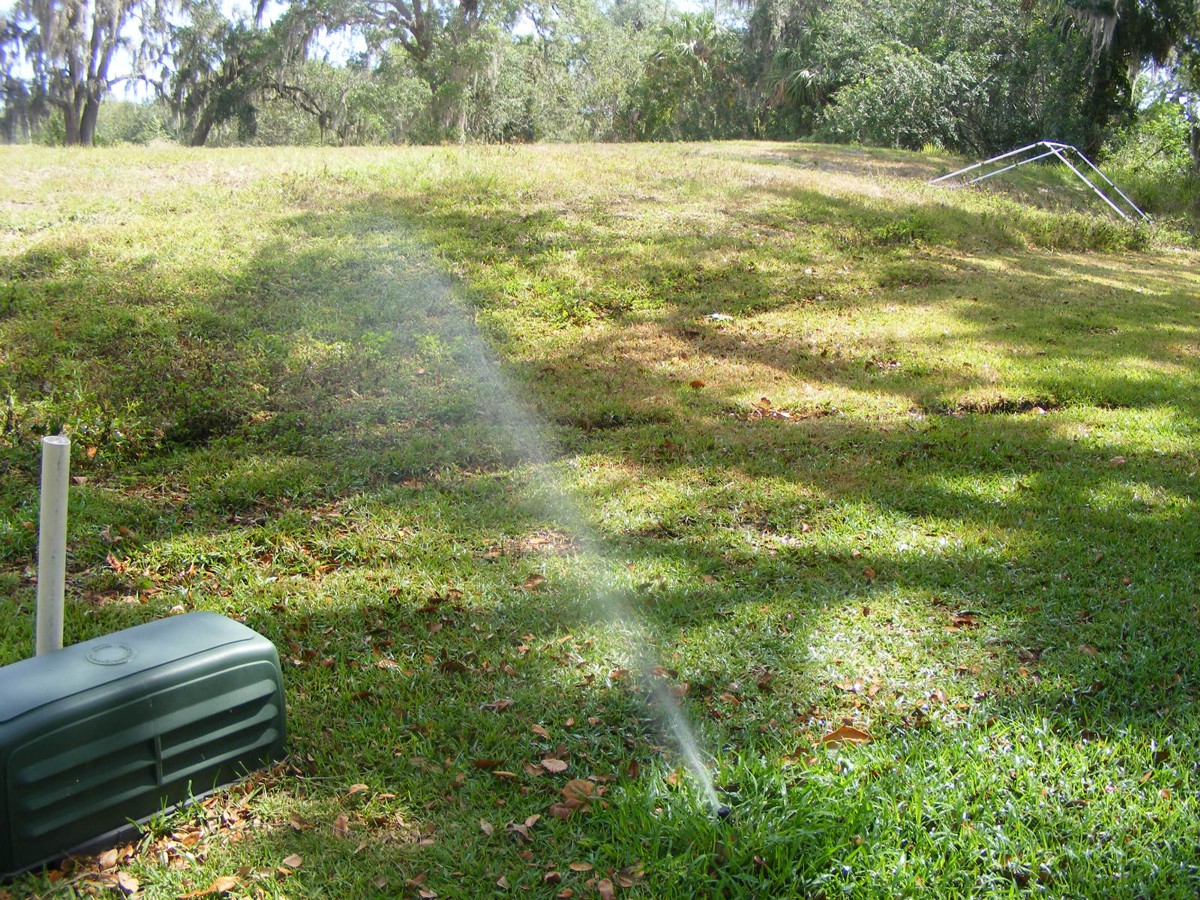
This sprinkler in the middle of the back yard now sweeps an arc of about
300 degrees. This image is looking northwest.
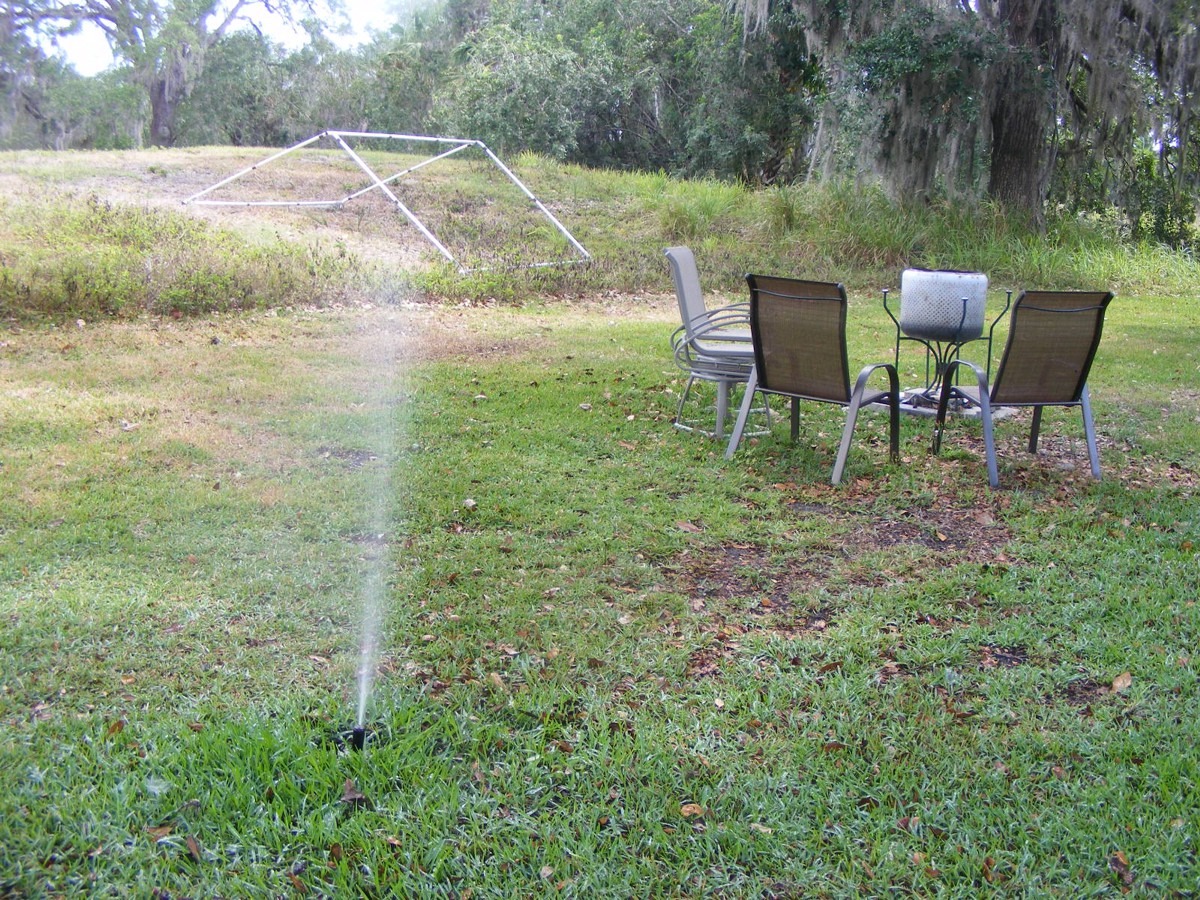
And the second image of the same sprinkler looking northeast. It
does not sweep across the chairs. I did not change the starting point
which is toward the east and to the right of the chairs shown here.
Here is what I have also learned about the sprinkler system. I got out my AMP PROBE and measured the AC current draw on both 120 VAC connections to the well pump. The pump uses 7 amperes on each motor winding. Since the windings are in series with 240 volts across them, calculating the number of WATTS used is 240 volts multiplied by 7 amperes to give 1,680 watts of power consumed in ONE HOUR of operation. That is 1.68 kilowatt hours (kWh) on my power bill. There are SIX zones to be watered on scheduled irrigation days. The amount of operating time is 24 minutes per zone, with 12 minutes between each zone when the motor is NOT running. That is 144 minutes of watering time for each cycle with 60 minutes of time when the motor is OFF. The electric power rate here is 12.1 cents per kilowatt hour (kWh). The 2.4 hours of use works out to be about 49 cents for each day the sprinkler system operates. The 24-hour clock timer counts 14 days with only two days in each week when watering is scheduled.
| GO TO PAGE 41 | BACK TO HOME MENU |