Carpet Removal, Tile Search, and Installation · · PAGE 24.
September 5, 2014: We had a visit from Jason
from Chapman Carpet & Supply. He came to remove our water-damaged carpet and
padding, and to confirm the actual measurements of the living room for a comparison of
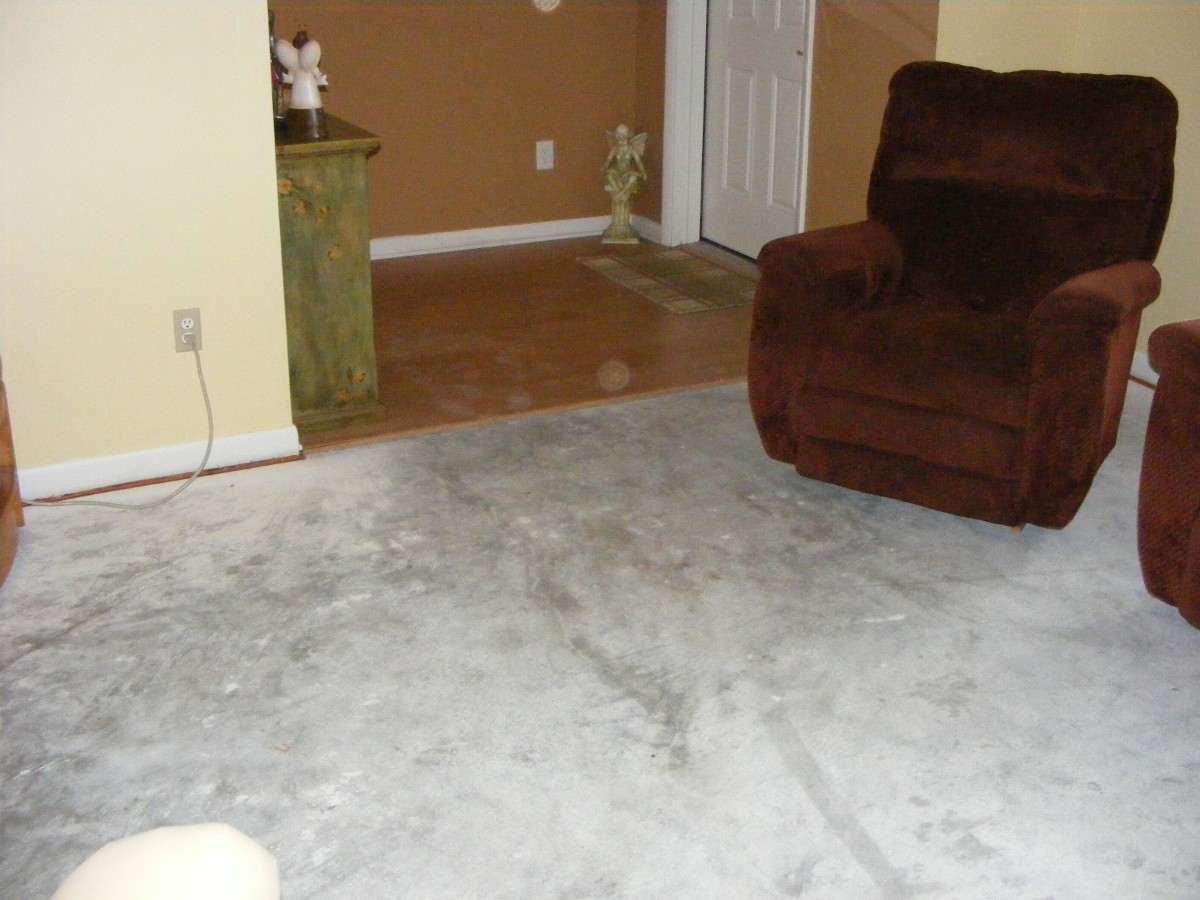
carpet vs. tile solutions. He worked quickly to carve out sections of carpet and
padding and loaded them onto his trailer. He was finished in about one hour and
helped me put some of our furniture back in place. He removed the carpet tack strips
from the walkway areas, one of those is seen here near the front door.
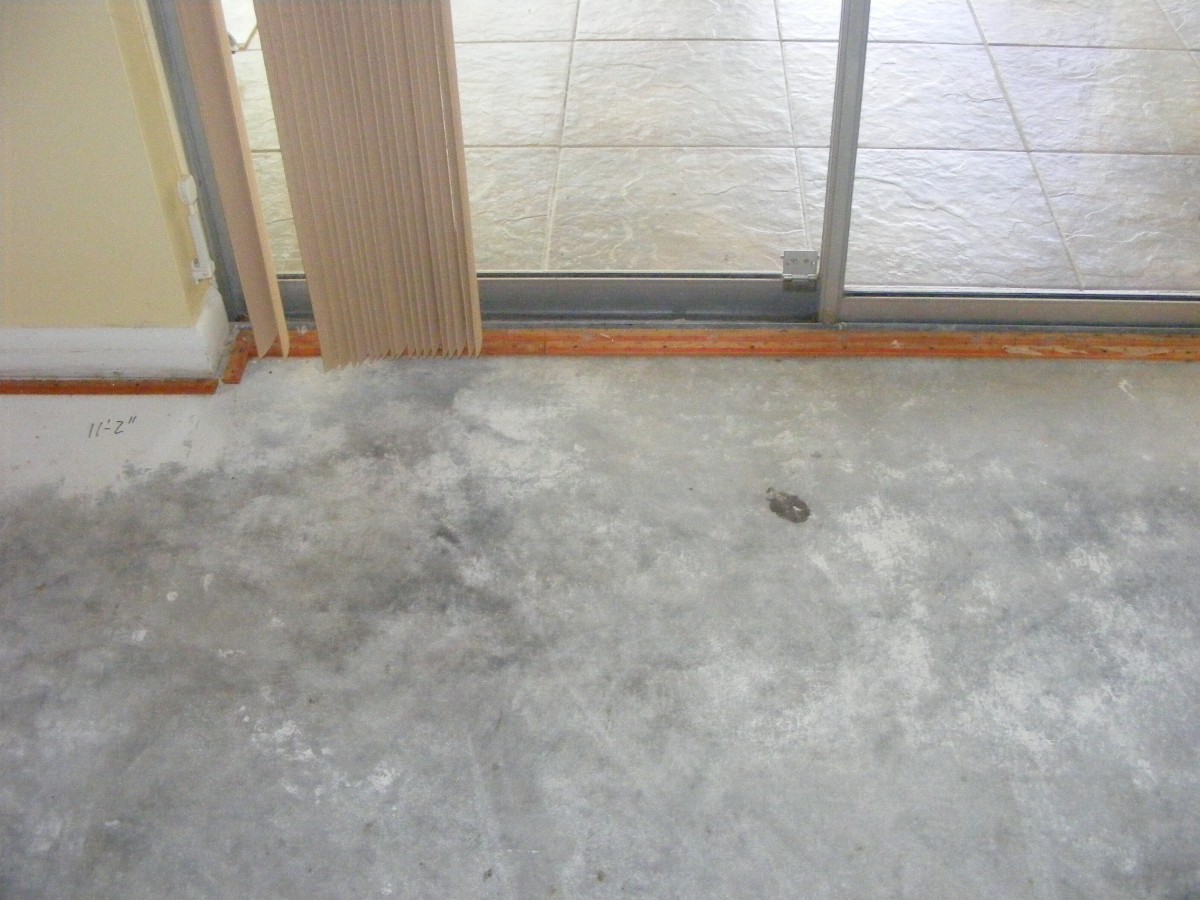
The tack strips were left at the sliding door to the patio for now.
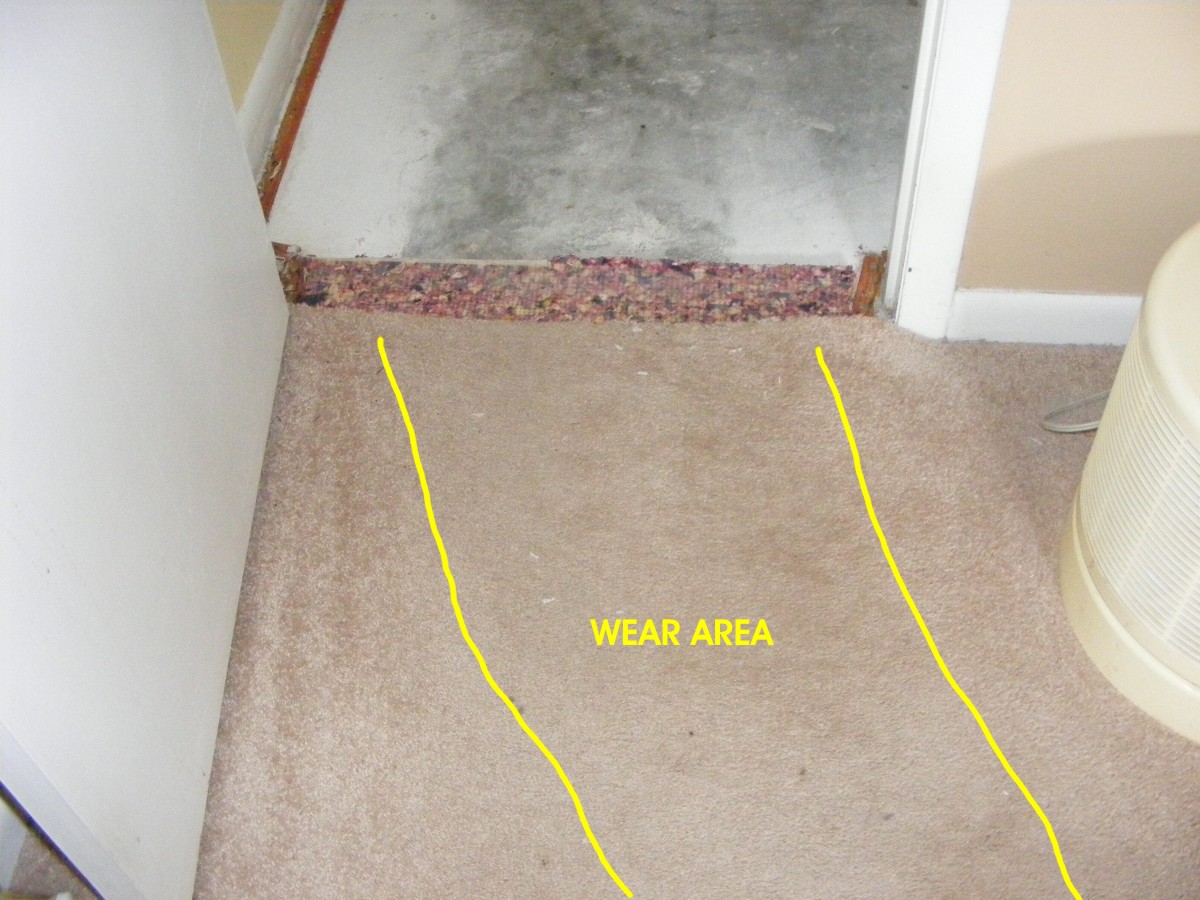
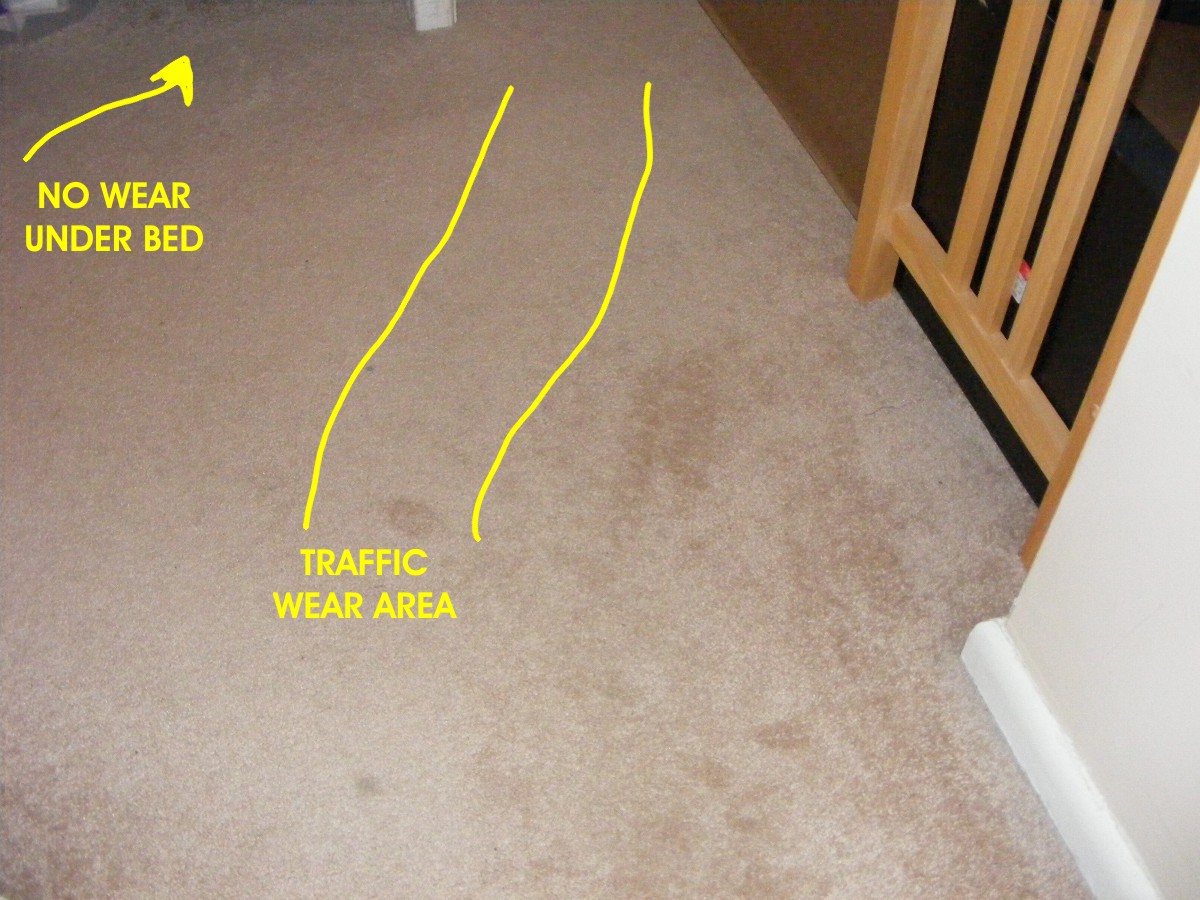
Jason pointed out the wear to the last remaining carpet in the master bedroom.
Compare the carpet seen at the baseboard at the right side of the door to the
living room area to the path between the yellow lines. The other bedrooms have tile
or wood laminate floors.
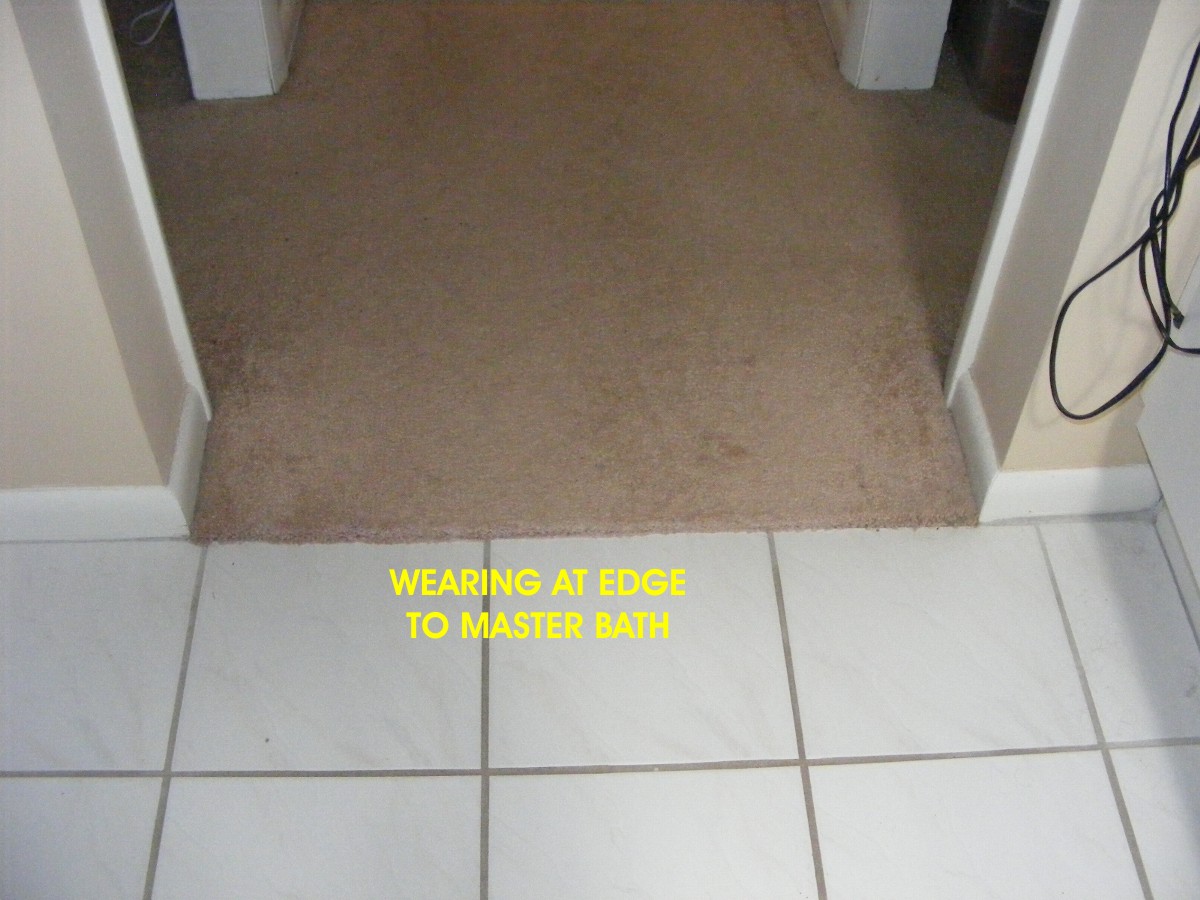
The edge of the carpet at the master bath shows wear when compared to nearby
carpet against the baseboards in the closet.
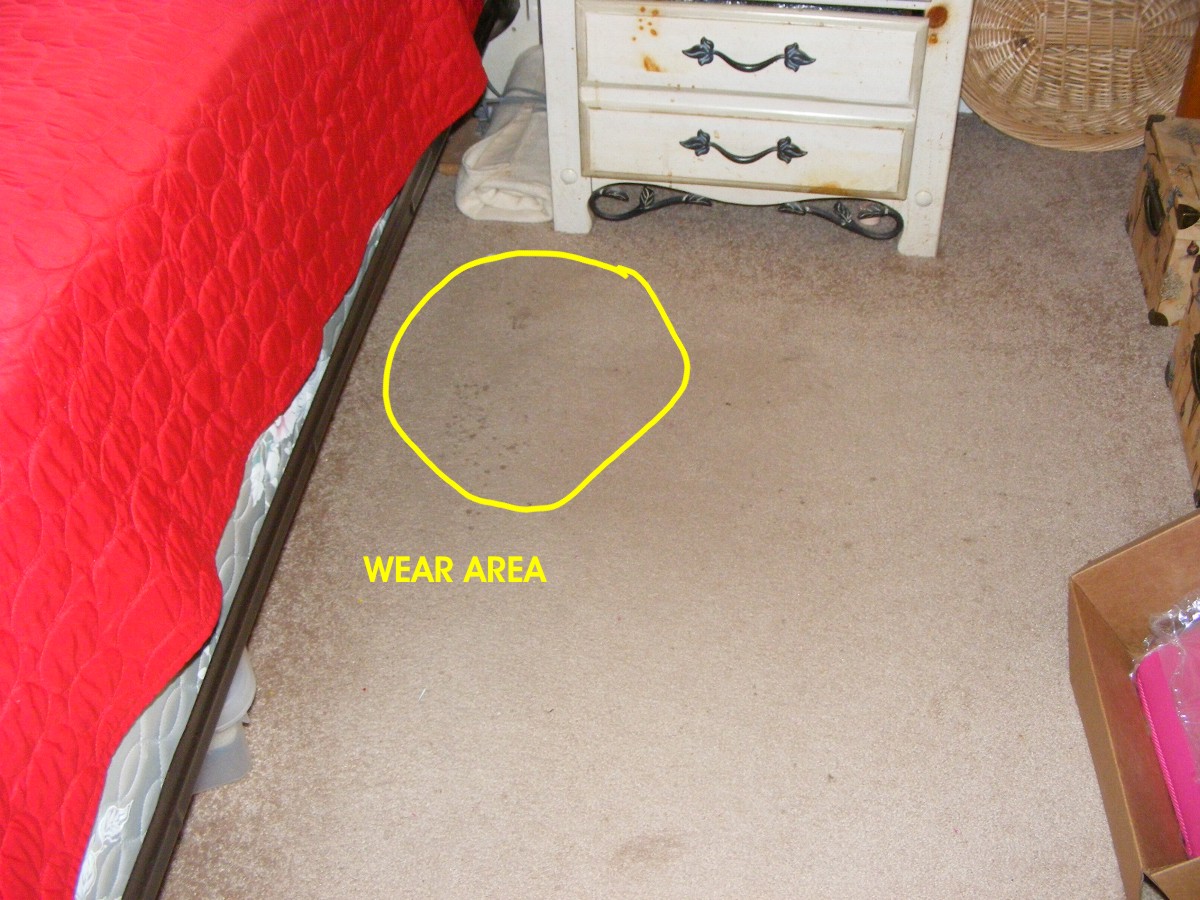
Our night stands are a bit smaller than the carpet foot prints from the night
stands of the previous occupants of this house. Not only is there wear there, but
some spots that we can try to clean with our recently acquired carpet cleaner that was
used to suck up the water from the previous page in the living room. My wife uses a
small rug over this spot.
The master bedroom is 20 feet long from the sliding doors at the Florida Room
to the tile in the master bath. This room is 14 feet wide from the wall adjacent to
the living room to the west wall at the head of the king-sized bed. The size of the
bed creates a narrow walk way between the bed and the small work desk seen at the upper
right corner of this photo. The wall to one of two walk-in closets is seen at the
bottom right corner of the photo. A plastic floor mat is seen at the desk.
Yesterday I paid a visit to Lowe's to look at tiles and Stairmaster B7037
carpet. The guy from Lowe's came by today to get laser measurements of the living
room area as the carpet was being removed. He only needed 10 minutes to collect his
data to offer comparison quotes for carpet or tile. I later went to Chapman Carpet
& Supply to see their tile and carpet samples and get similar quotes. Chapman is
a small family business with lower overhead. Their sales manager Simone feels they
can compete even though their tile prices may be more than tiles on sale at Lowe's.
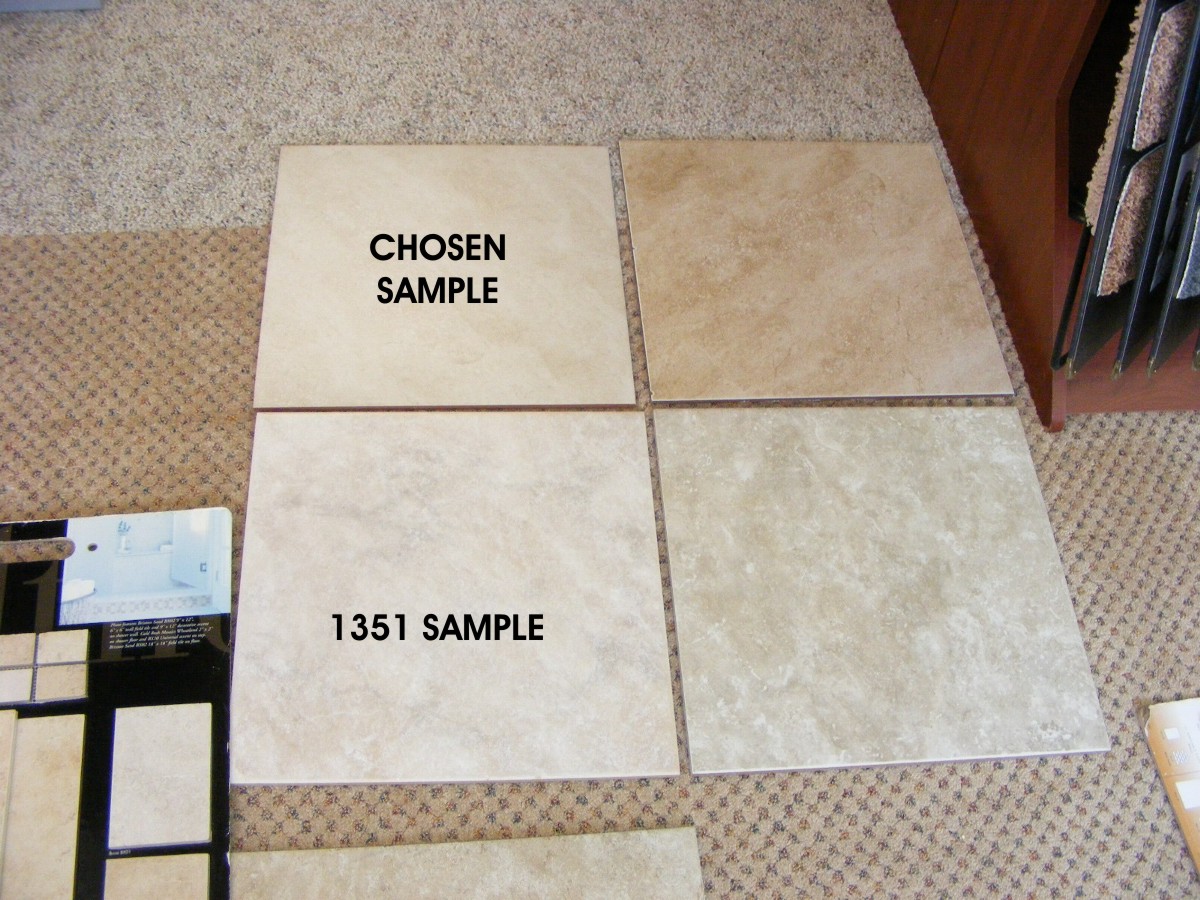
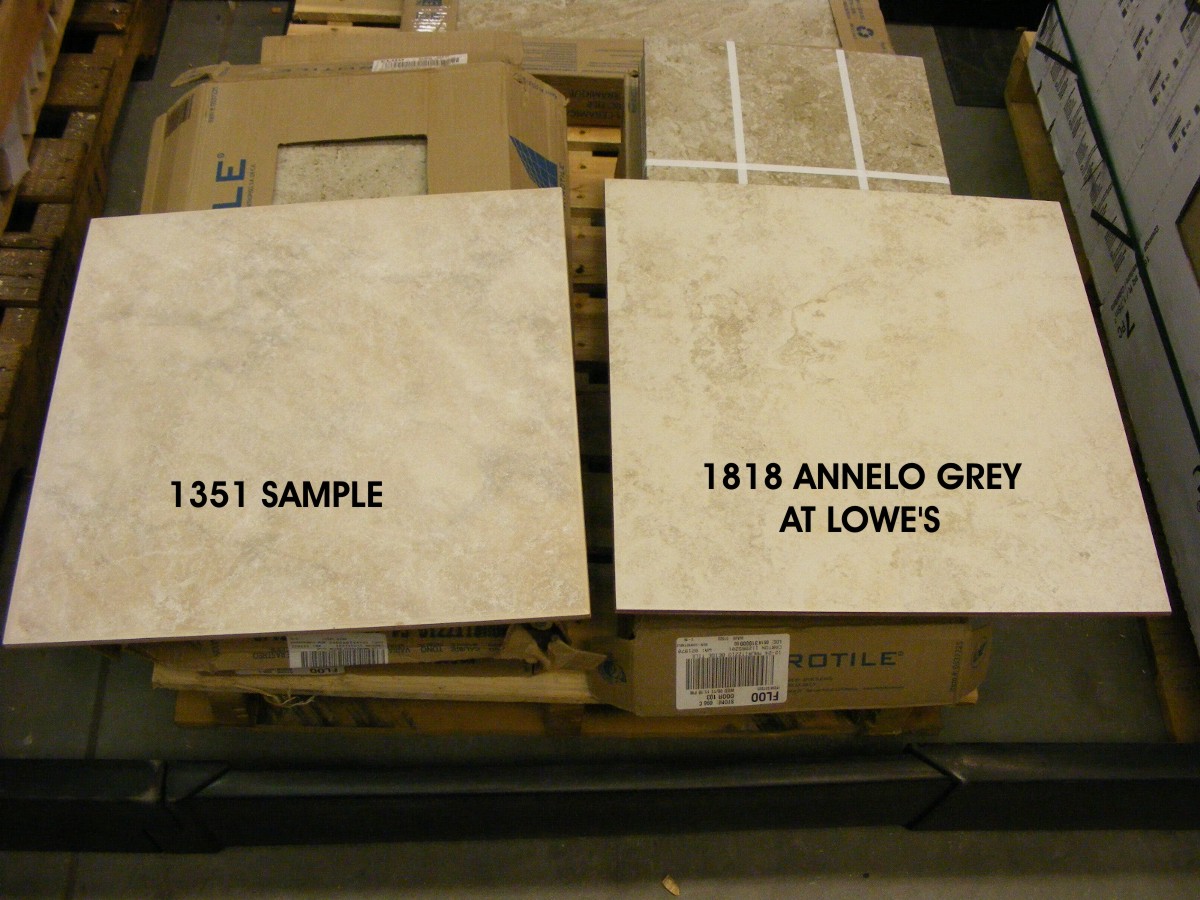
I found two spare tiles from our home and took one of them along for this visit.
The other three tiles are what Simone showed me to make my choice.
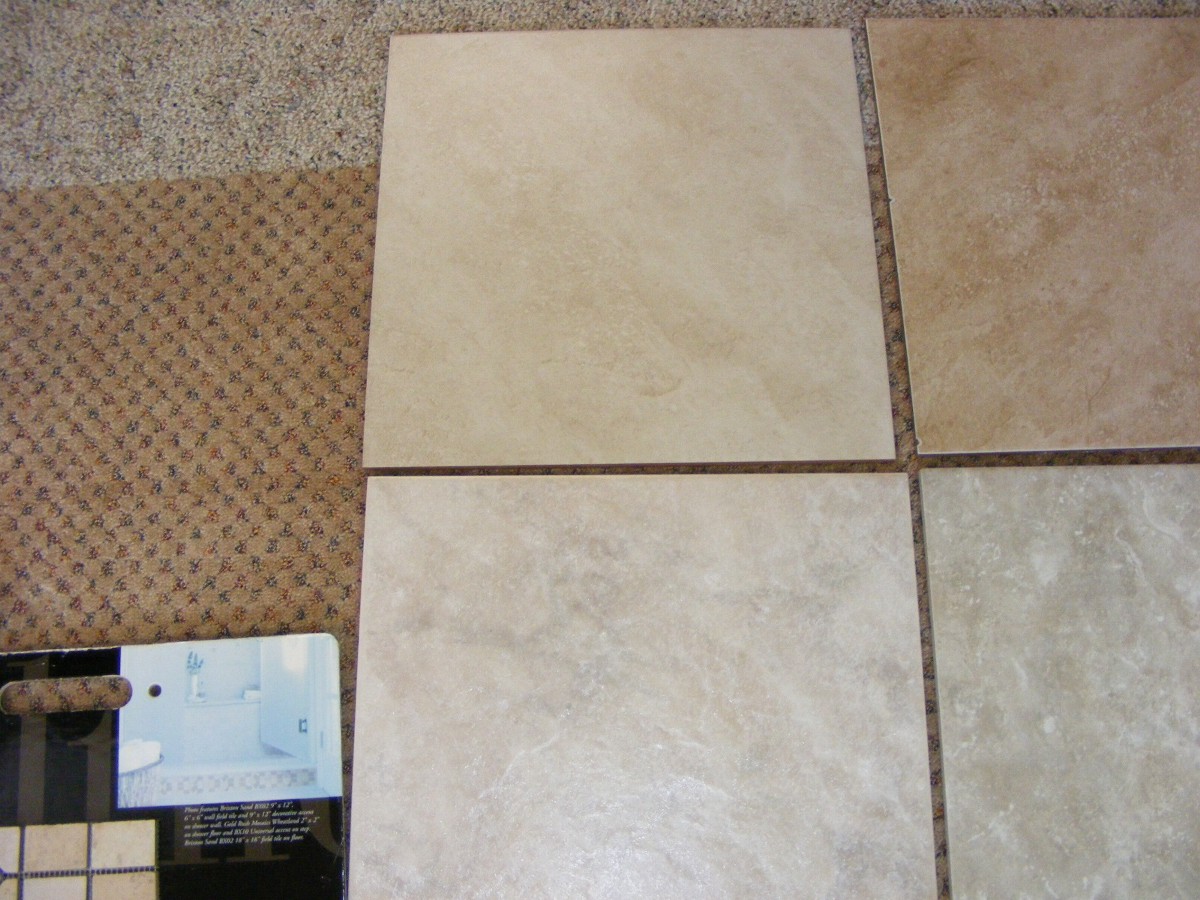
This second photo is closer on the chosen tile and the one used in my office at home.
Both of these tiles have non-skid surface (not slick). Simone priced the
chosen sample into the quote for tile.
She also provided a quote for carpet as a comparison. The sample below in
the middle is the color choice if carpet is to be installed.

Simone says she can get the tiles needed in about four days and can install them during the week of September 15-19. More to come when a choice is confirmed and a timely order is placed.
September 6, 2014:
Saturday and a visit to Lowe's with the 1351 sample tile for a shopping comparison.
I went to the store on US 192 at Minton Road and found a really good tile. Look at
the comparison in these photos. This first one is using the store lighting as my
flash did not fire.
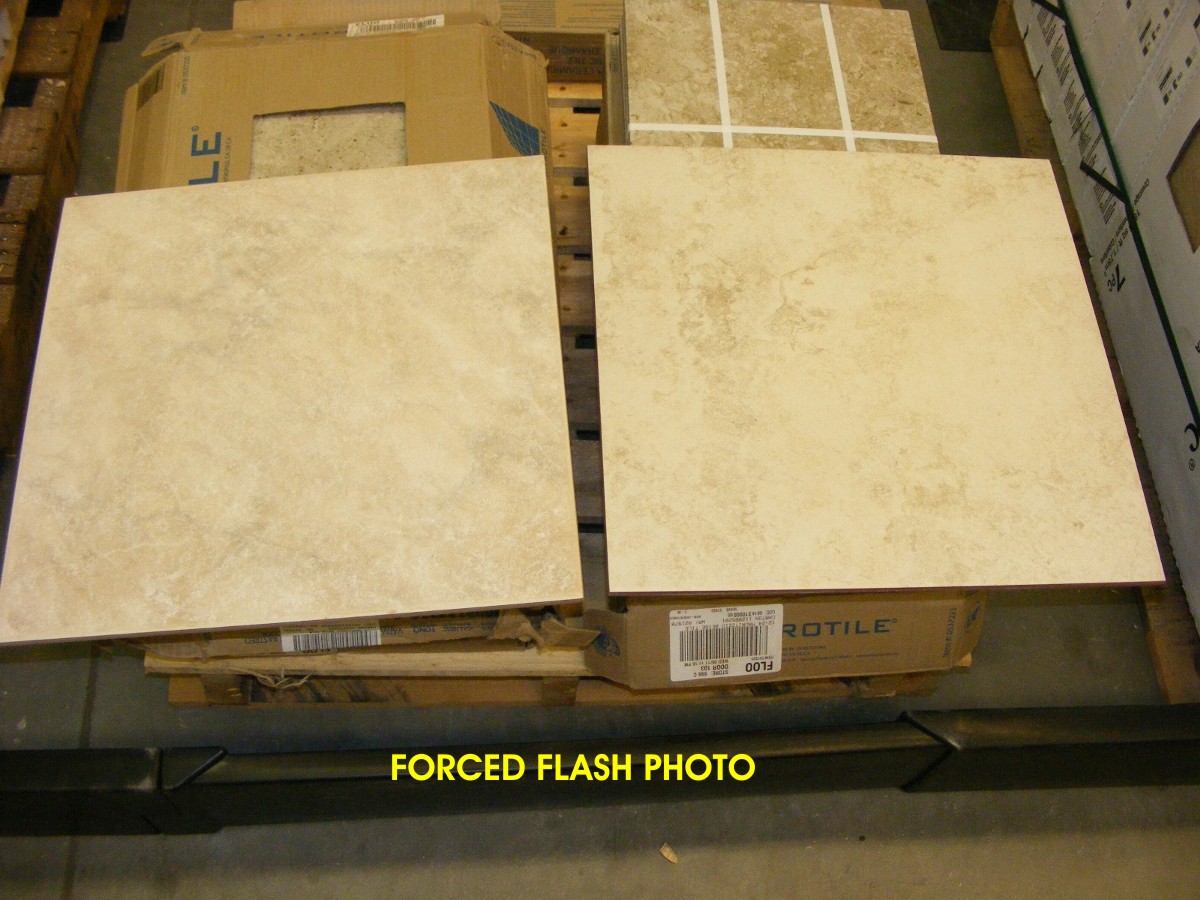
This second shot is also illuminated by my camera flash. The one on the
right has a flat finish and good traction, not "slippery smooth."
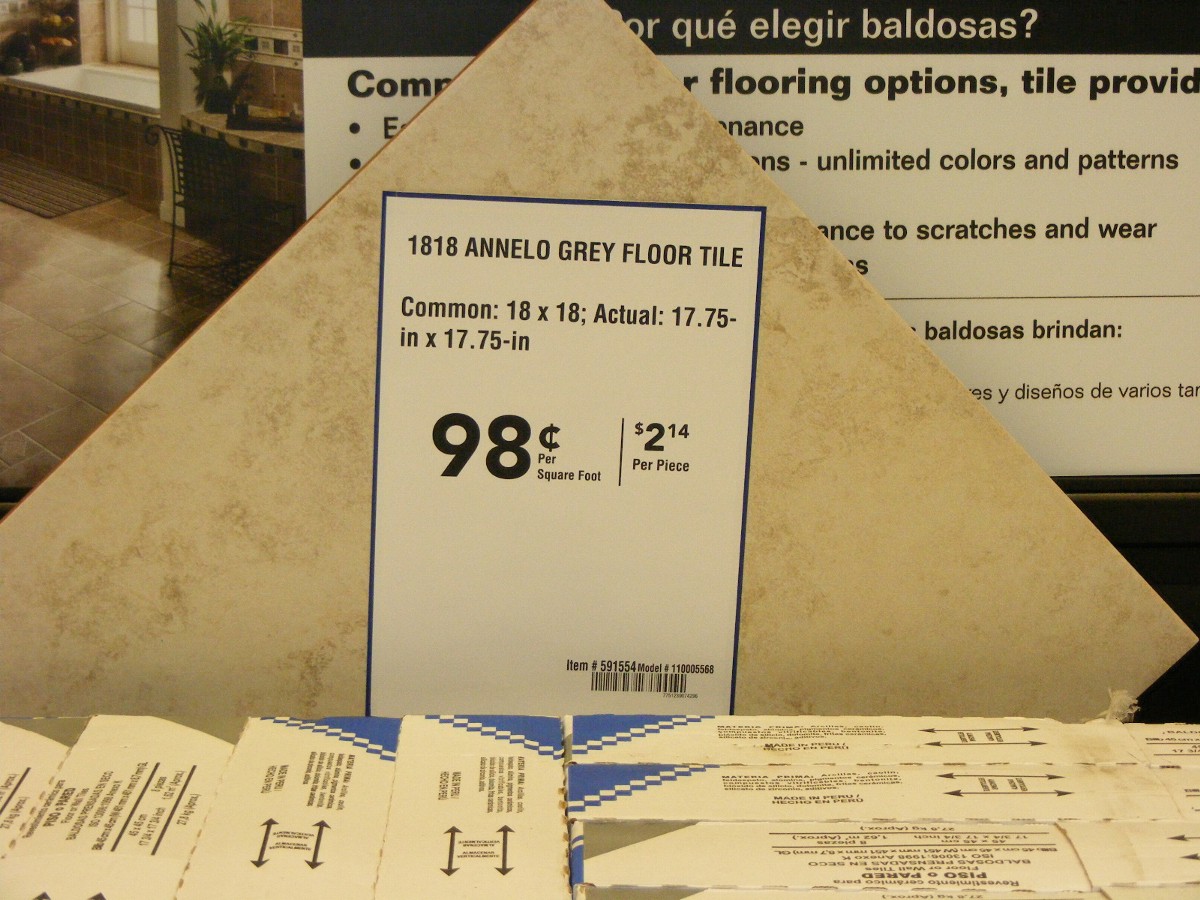
And here is the price for the tile from Lowe's. The Lowe's ITEM NUMBER is 591554 and the Model number is
110005568 seen in the small print above the inventory BAR CODE.
Their online data sheet for this tile is found via this web link:
http://www.lowes.com/pd_591554-10255-110005568_0__?productId=50249069&Ntt=

After looking at the data sheet linked from above, it appears the store has the Beige tile
on display, but the sign is talking about the Grey color seen on the data sheet and in the
photo above from that web page link. It says they have this tile pattern in Grey and
in the colors of Cream, Beige, and Almond. Which color was on display at Lowe's and
installed at our house? Is it Cream or Beige? Almond would surely be darker.
The empty tile boxes say Annelo Grey.
We have a winner on price, and they have more than enough tiles in stock to do the job at this Lowe's store. The store on Malabar Road has 330 square feet of this tile. It is a stock tile with over 600 square feet down at the store in Vero Beach. When I first contacted Simone, I mentioned the possibility of the tiles being supplied by us with the installation by Chapman.
September 8, 2014: A couple of phone calls and the work will be done this week using the "ANNELO GREY" tile in the photo above. Installing the tile will take two days and putting in the grout will take one day. If all goes as planned, the floor will be finished by Friday afternoon and the furniture will be put back in place over the coming weekend.
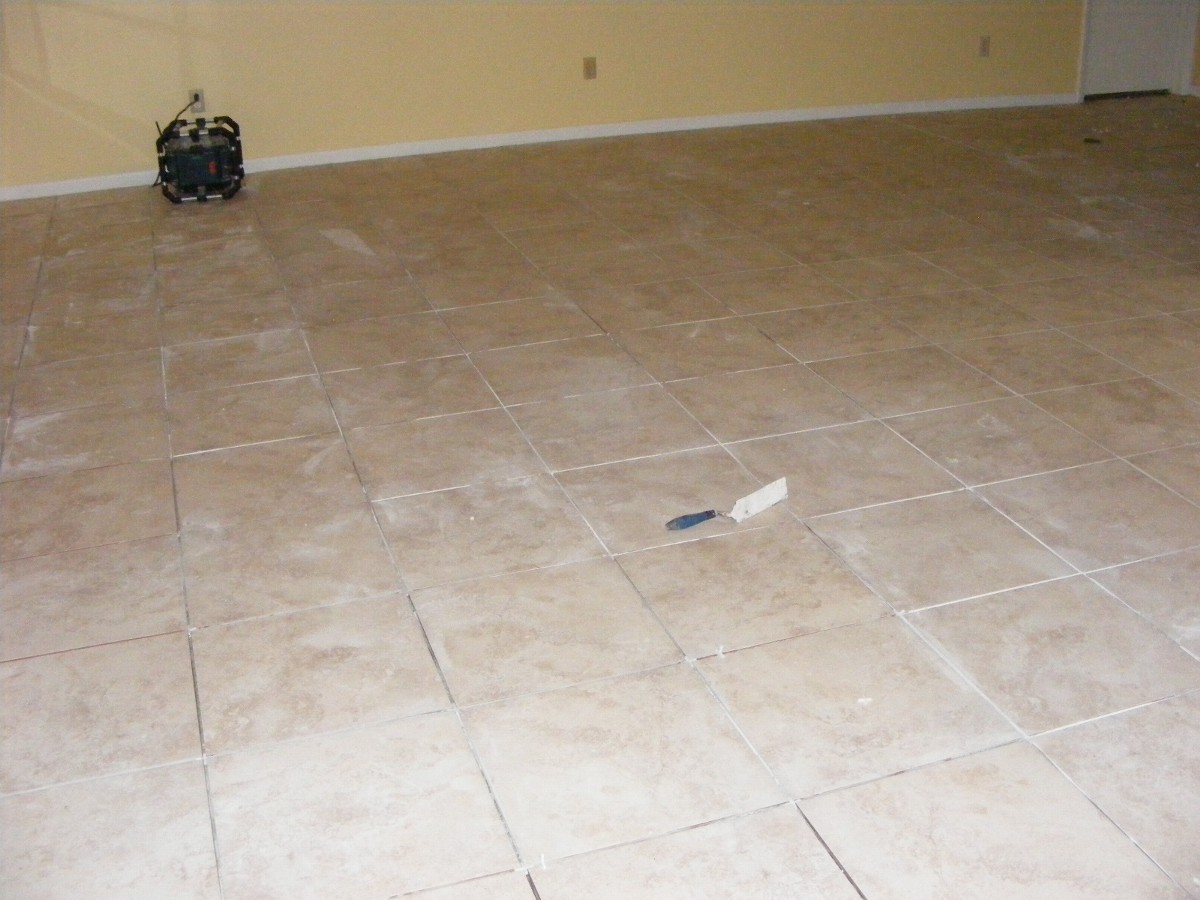
September 11, 2014: All
the tile has been installed in the living room area where the carpet was removed.
Most of the tile was installed yesterday, and the remainder was put in place today.
The grout will be added tomorrow to finish the job. We should be able to put the
furniture back over the weekend.
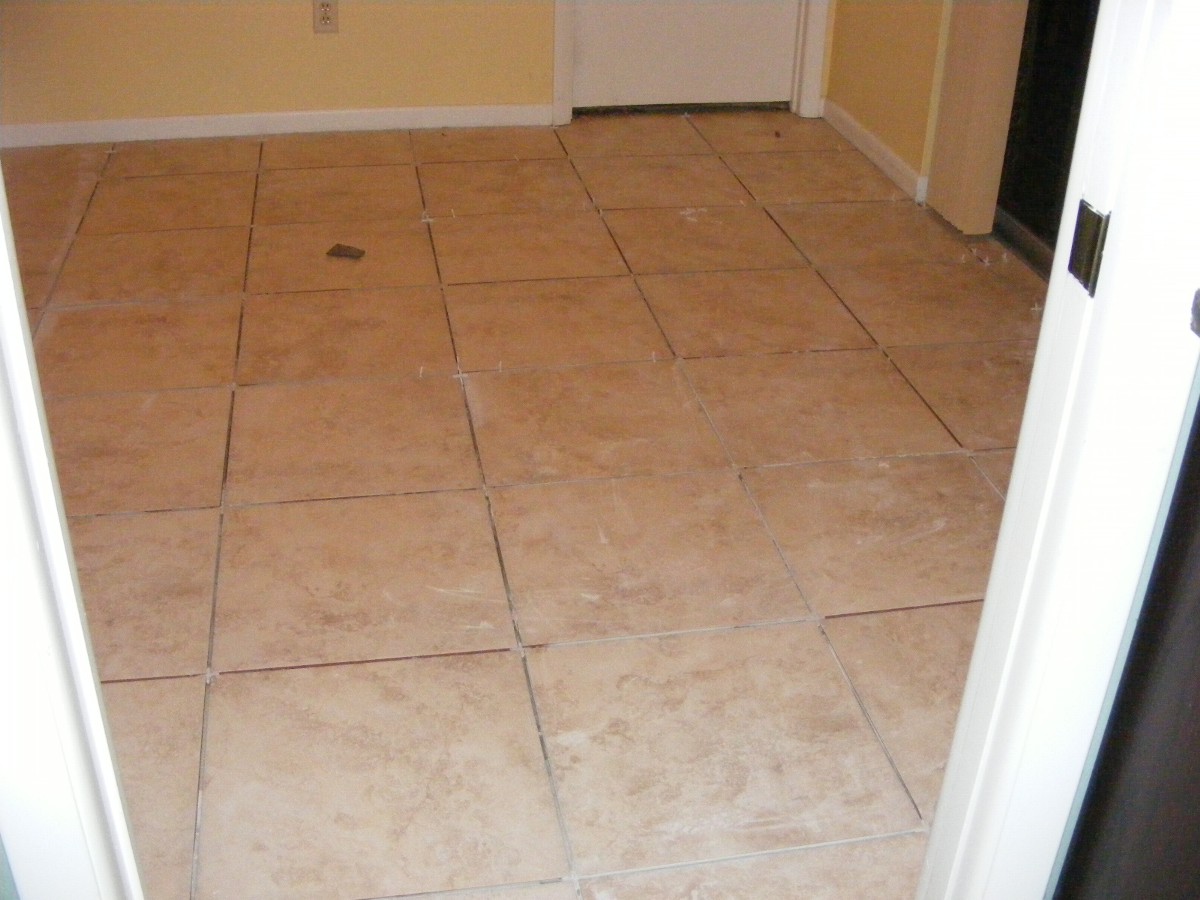
This photo looks from the kitchen pocked door across to the master bedroom
door.
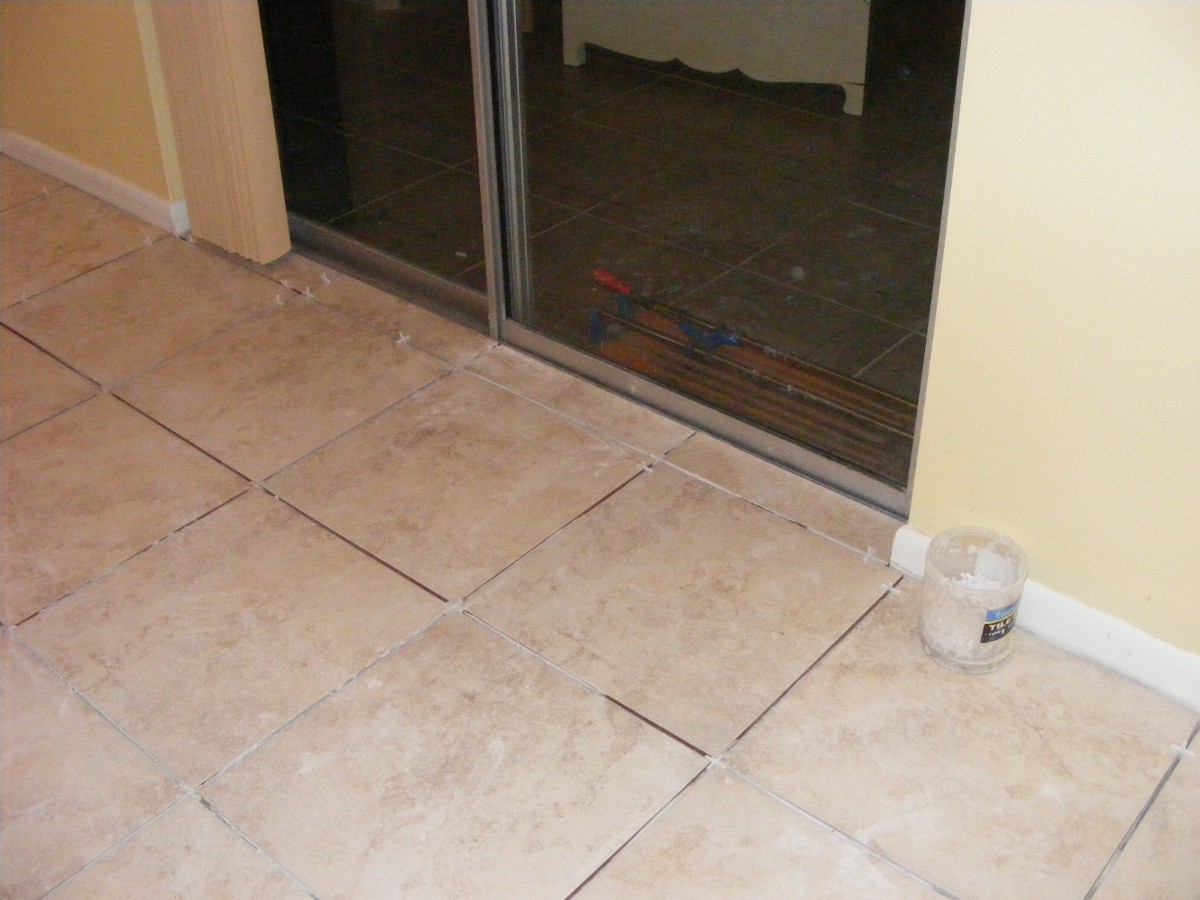
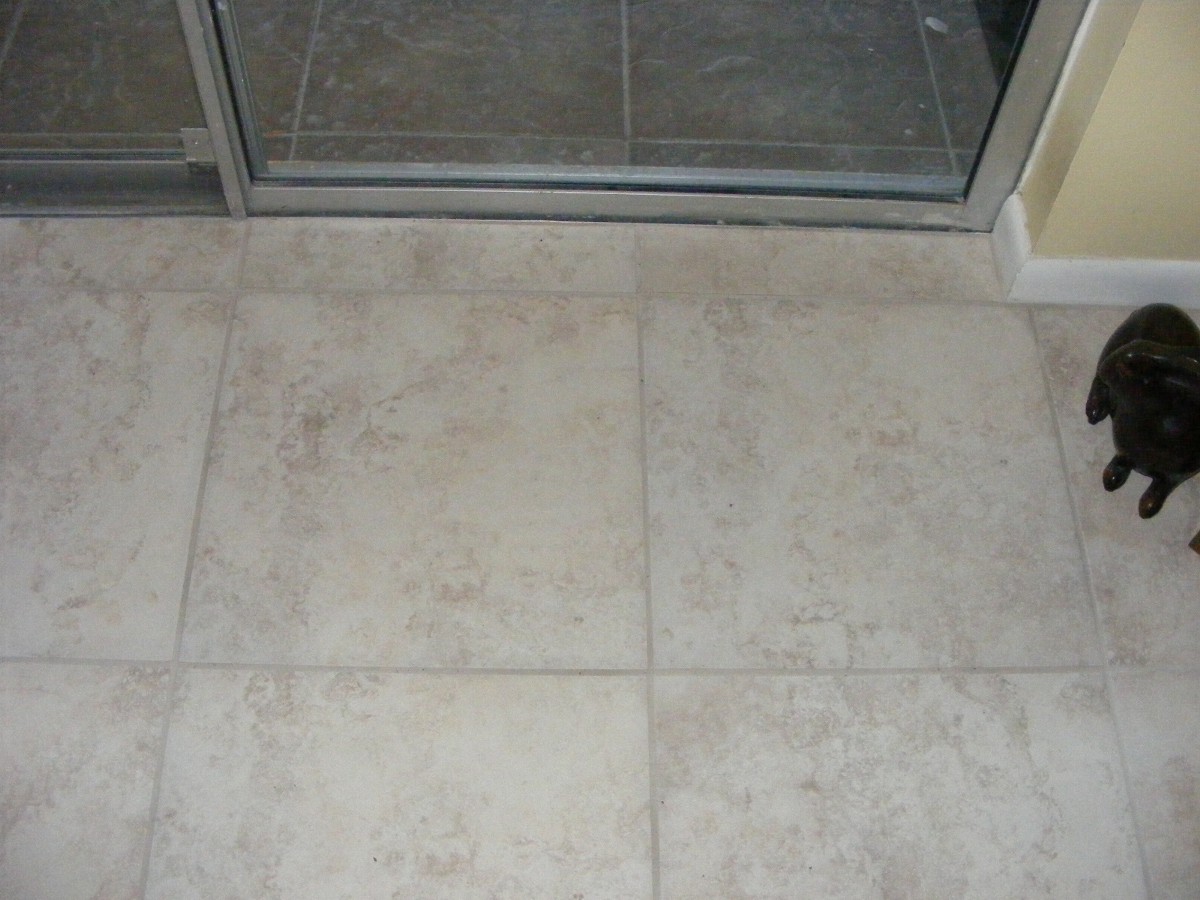
The final tiles installed were at the sliding glass doors to the Florida Room.
Take notice of how the four tiles are centered on the glass doors. This was
part of the planning done before the first tiles were installed.
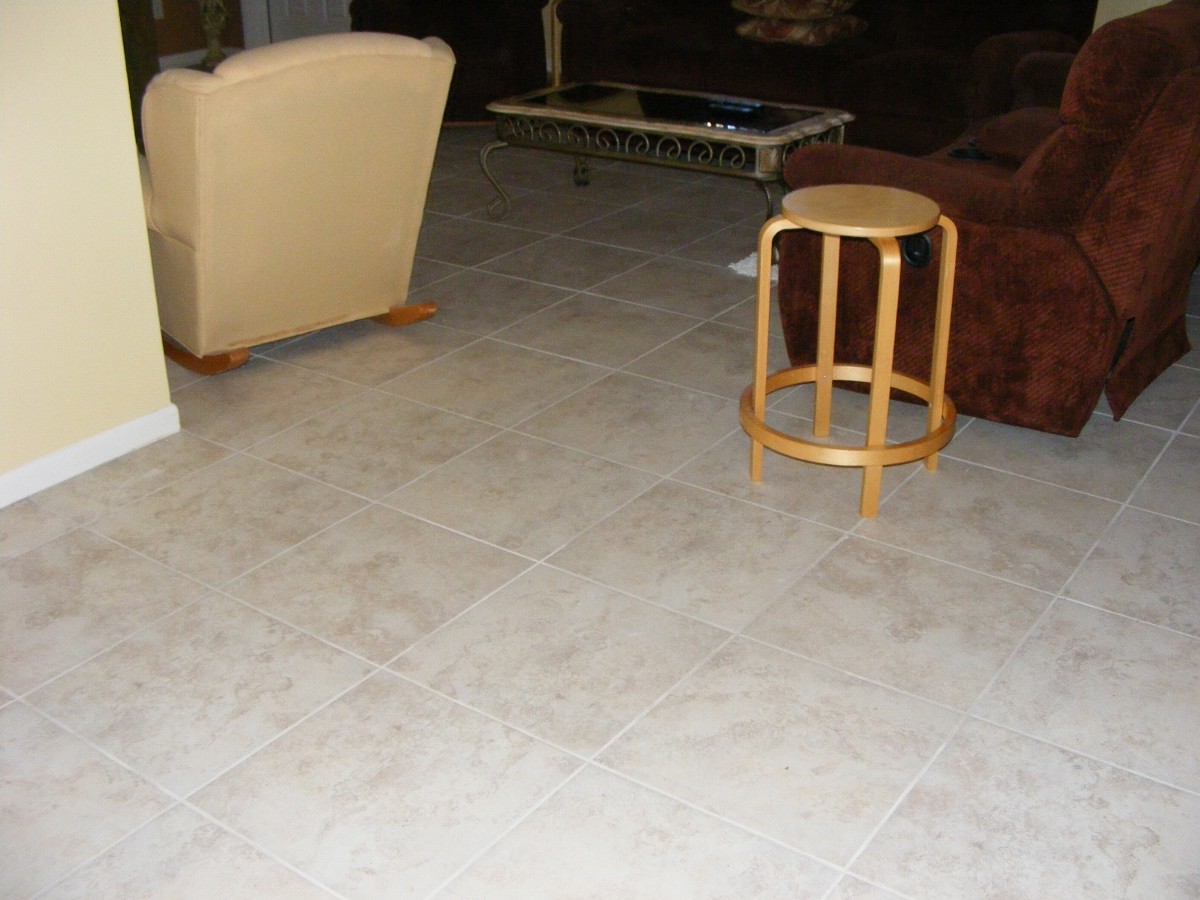
September 12, 2014: The
installation of the tile floor in the living room was completed before lunch today.
Here is the view from near the front door.
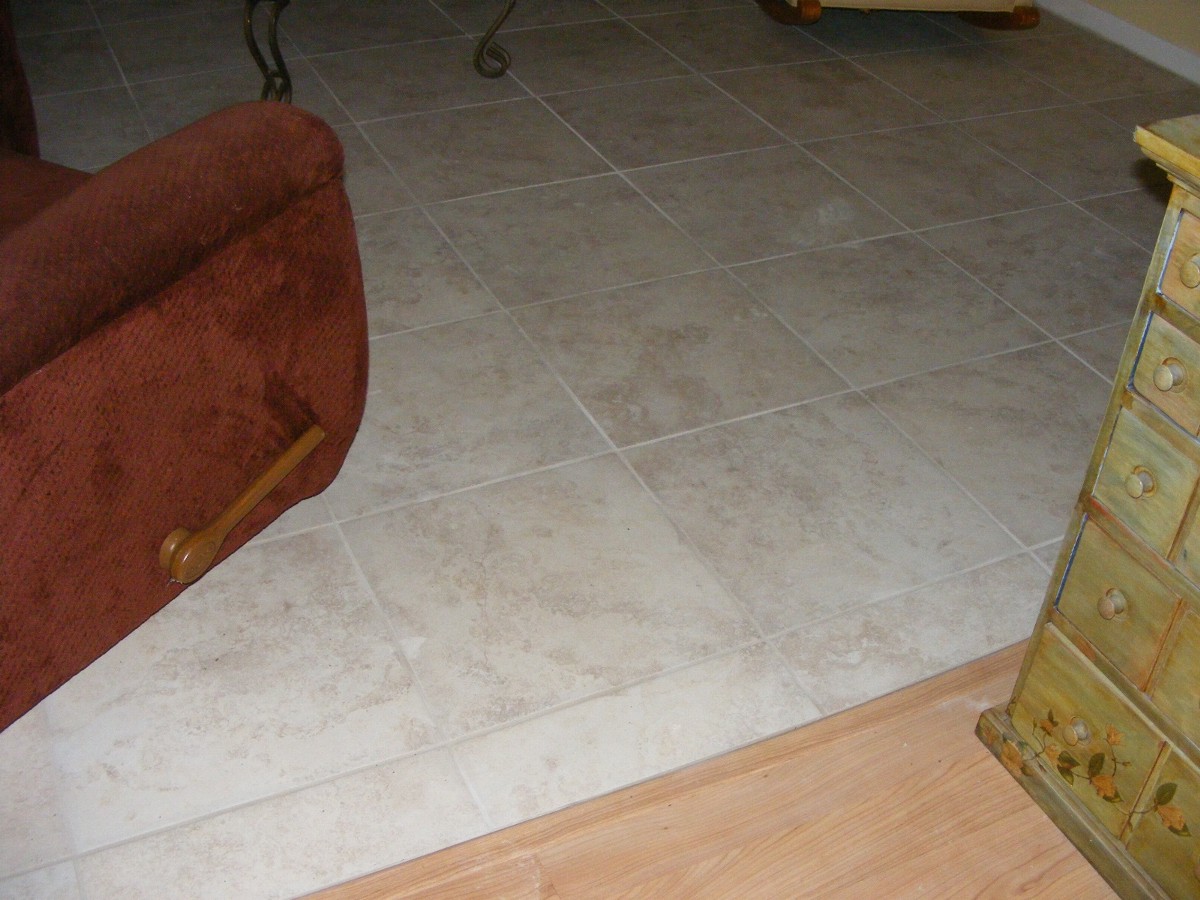
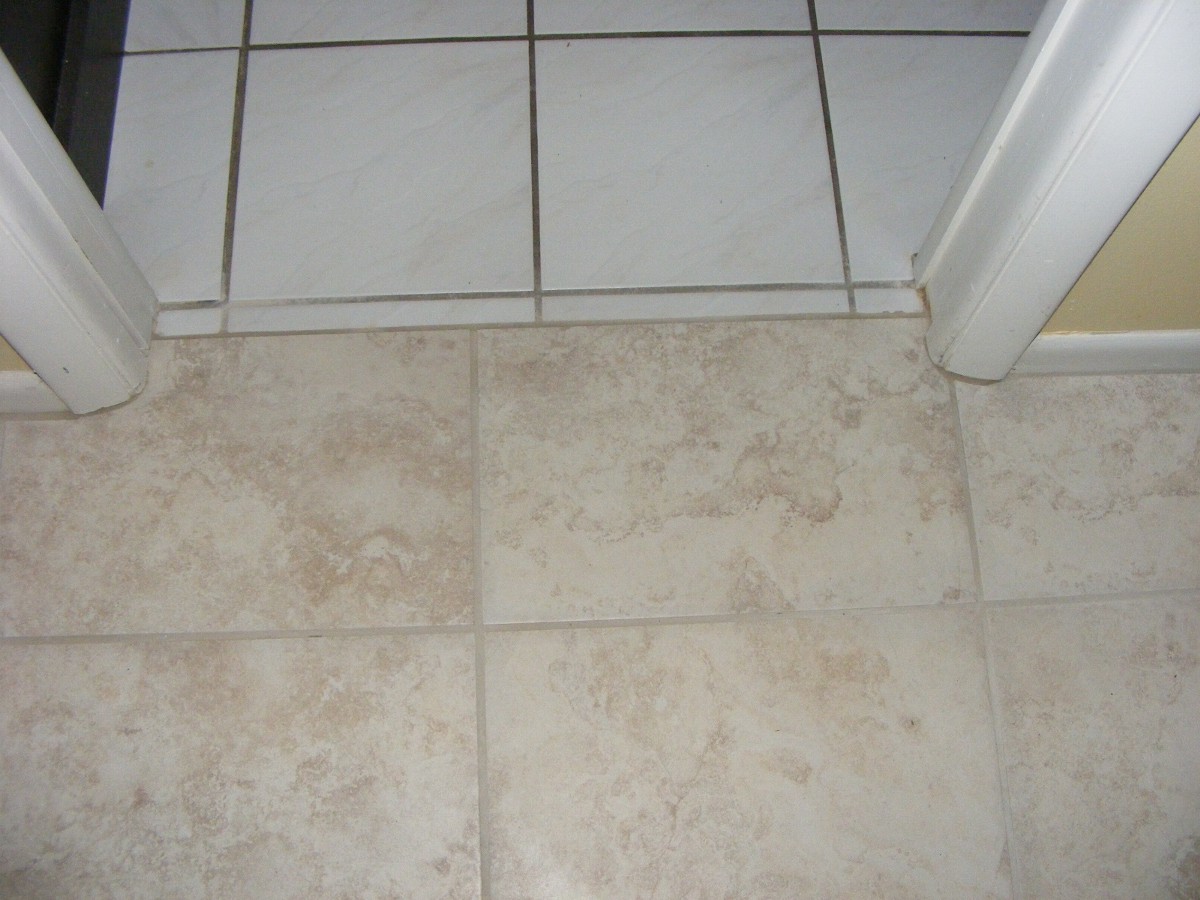
Here is a closer look at how the tile meets the laminate floor area. The
surface texture of this tile prevents reflection of the camera flash and insures good
traction for wet feet, unlike the tiles in the kitchens and two of the three bathrooms in
this lovely house.
The transition from one tile to another at the kitchen pocket door is done
well.
The connection to the sliding doors to the Florida Room is also well done.
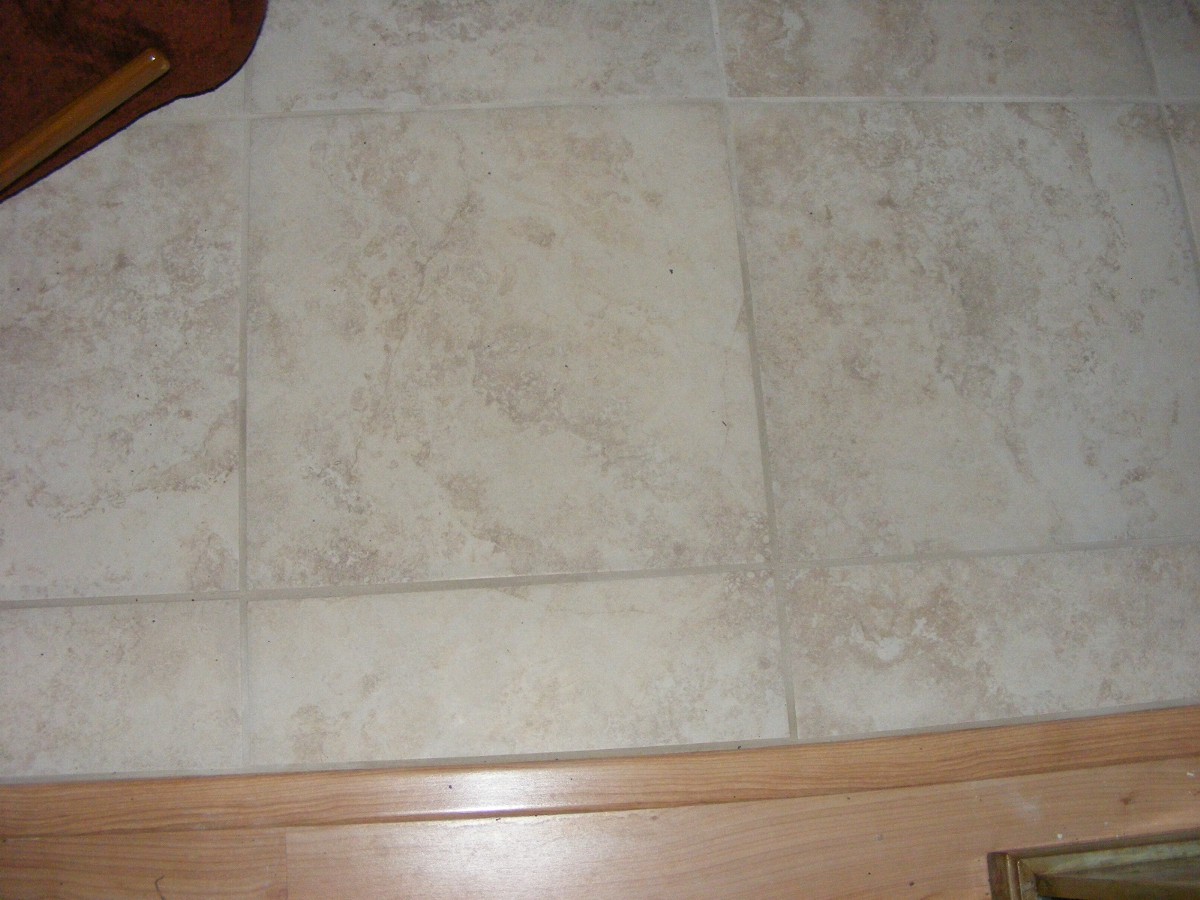
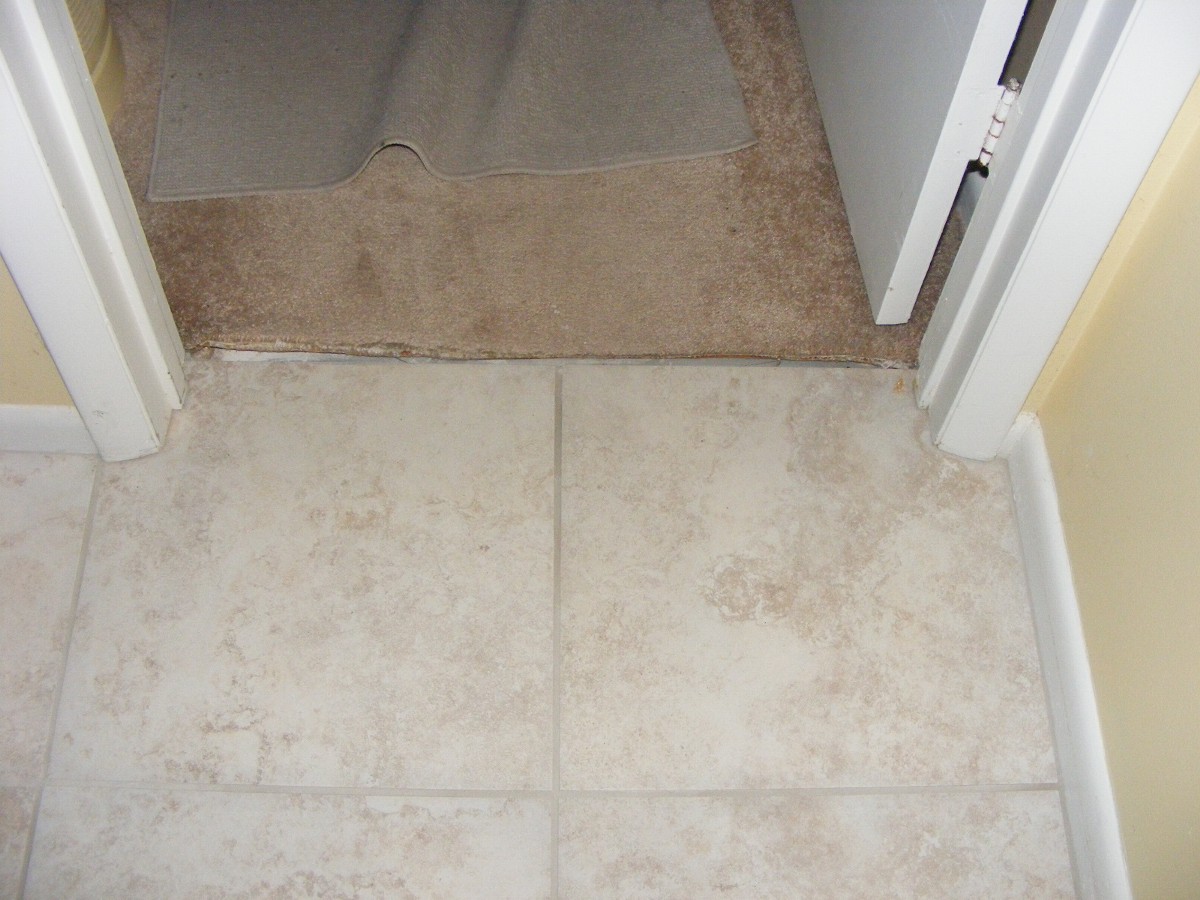
The entry to the master bedroom is good, except there is no way to secure the
carpet at this time. Part of the discussion before the team started was to insure a
good tile transition at this doorway when the bedroom gets its carpet removed and tile is
installed there soon. That carpet was previously stitched to the carpet that has
been removed from the living room, providing a good seam at the door. Those two
tiles that match up with the carpet are full size, with only the notches cut at the
corners where they meet the door frame.
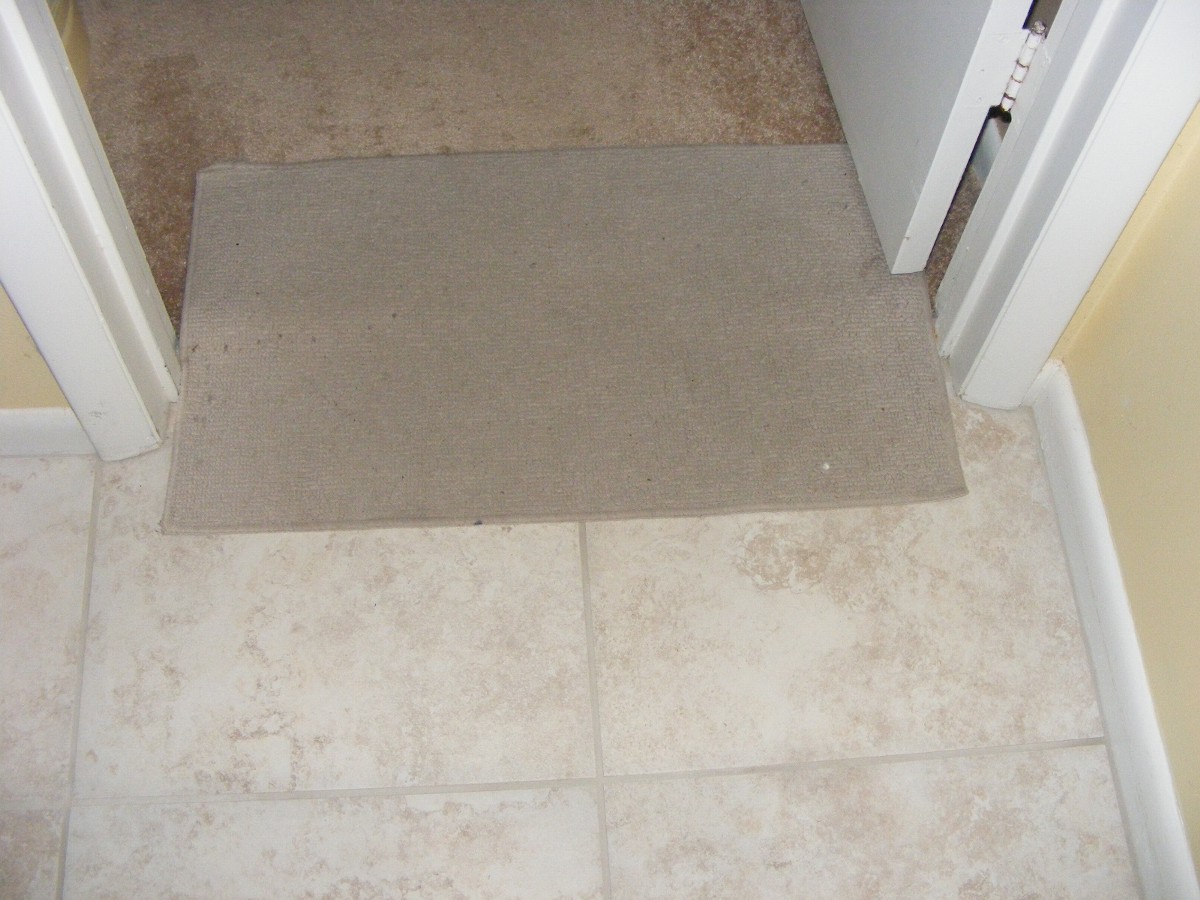
For now, this carpet door mat will prevent any tripping on the carpet while
entering the master bedroom.
Here is the view from the master bedroom door looking into the living room.
The main furniture is back in position. The large wool rug that got wet last
week will get a rug shampoo before it goes back in place in front of the sofa and love
seat. That coffee table with the wrought iron legs normally sits on the wool rug.
There were 12 tiles remaining at the completion of this job. Each tile measures 17.75 inches on each side with 1/4 inch grout around it covers 2.25 square feet of floor space. That means the edge of one tile is 18 inches from the corresponding edge of the adjacent tile. The 12 tiles will cover 27 square feet of floor. The master bedroom will need 280 square feet of tile to cover the living area and the two walk-in closets. We need to get another 253 square feet of tile. With EIGHT pieces of tile per box, another 14 boxes of tile are needed to equal 280 square feet of coverage. The tile should be bought now to insure it comes from the same batch of tile used in the living room and will match in color and pattern. Simone will store the tile at the Chapman Carpet warehouse until we can have the old bedroom carpet removed and the matching tile installed in there.
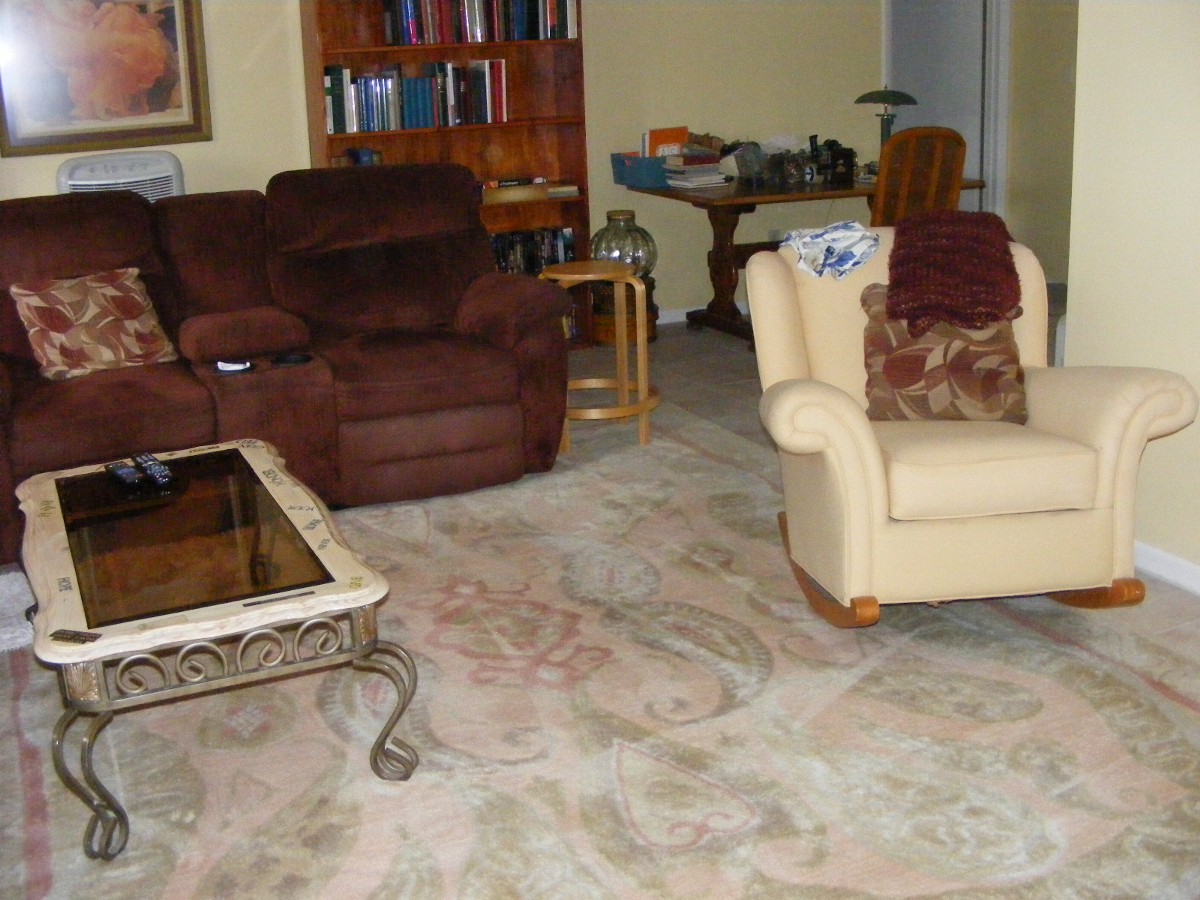
September 20, 2014:
Everything in the living room area is now back to NORMAL again. The rug was cleaned
over last weekend and was put back into place yesterday.

Here is the view seen from near the front door.
| GO TO PAGE 25 - NEW FRONT WINDOWS | BACK TO HOME MENU |