Plumbing Update · · PAGE 4A.
May 14,2015: The shower needed some attention
due to some seepage described in this new web page. In the previous PAGE 4 about the shower, I showed the need to replace the original
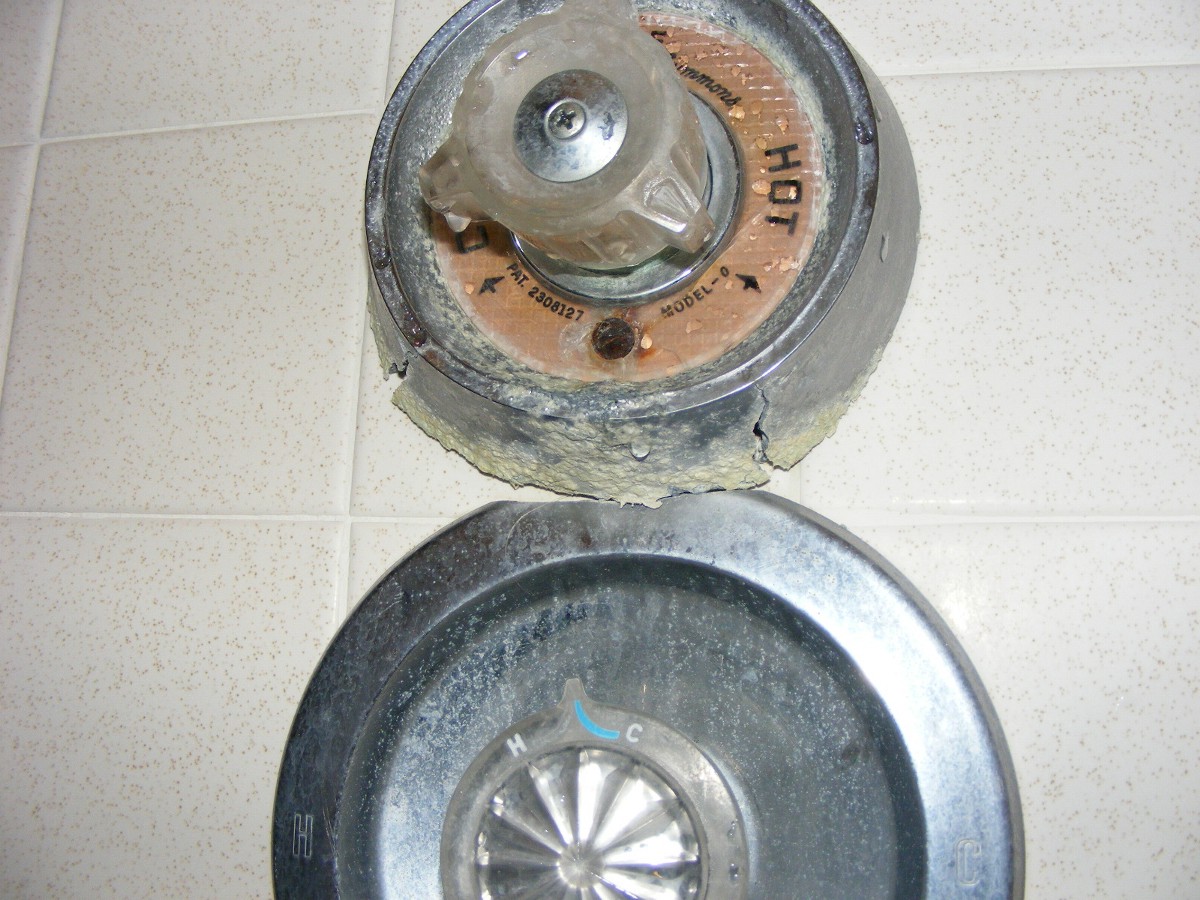
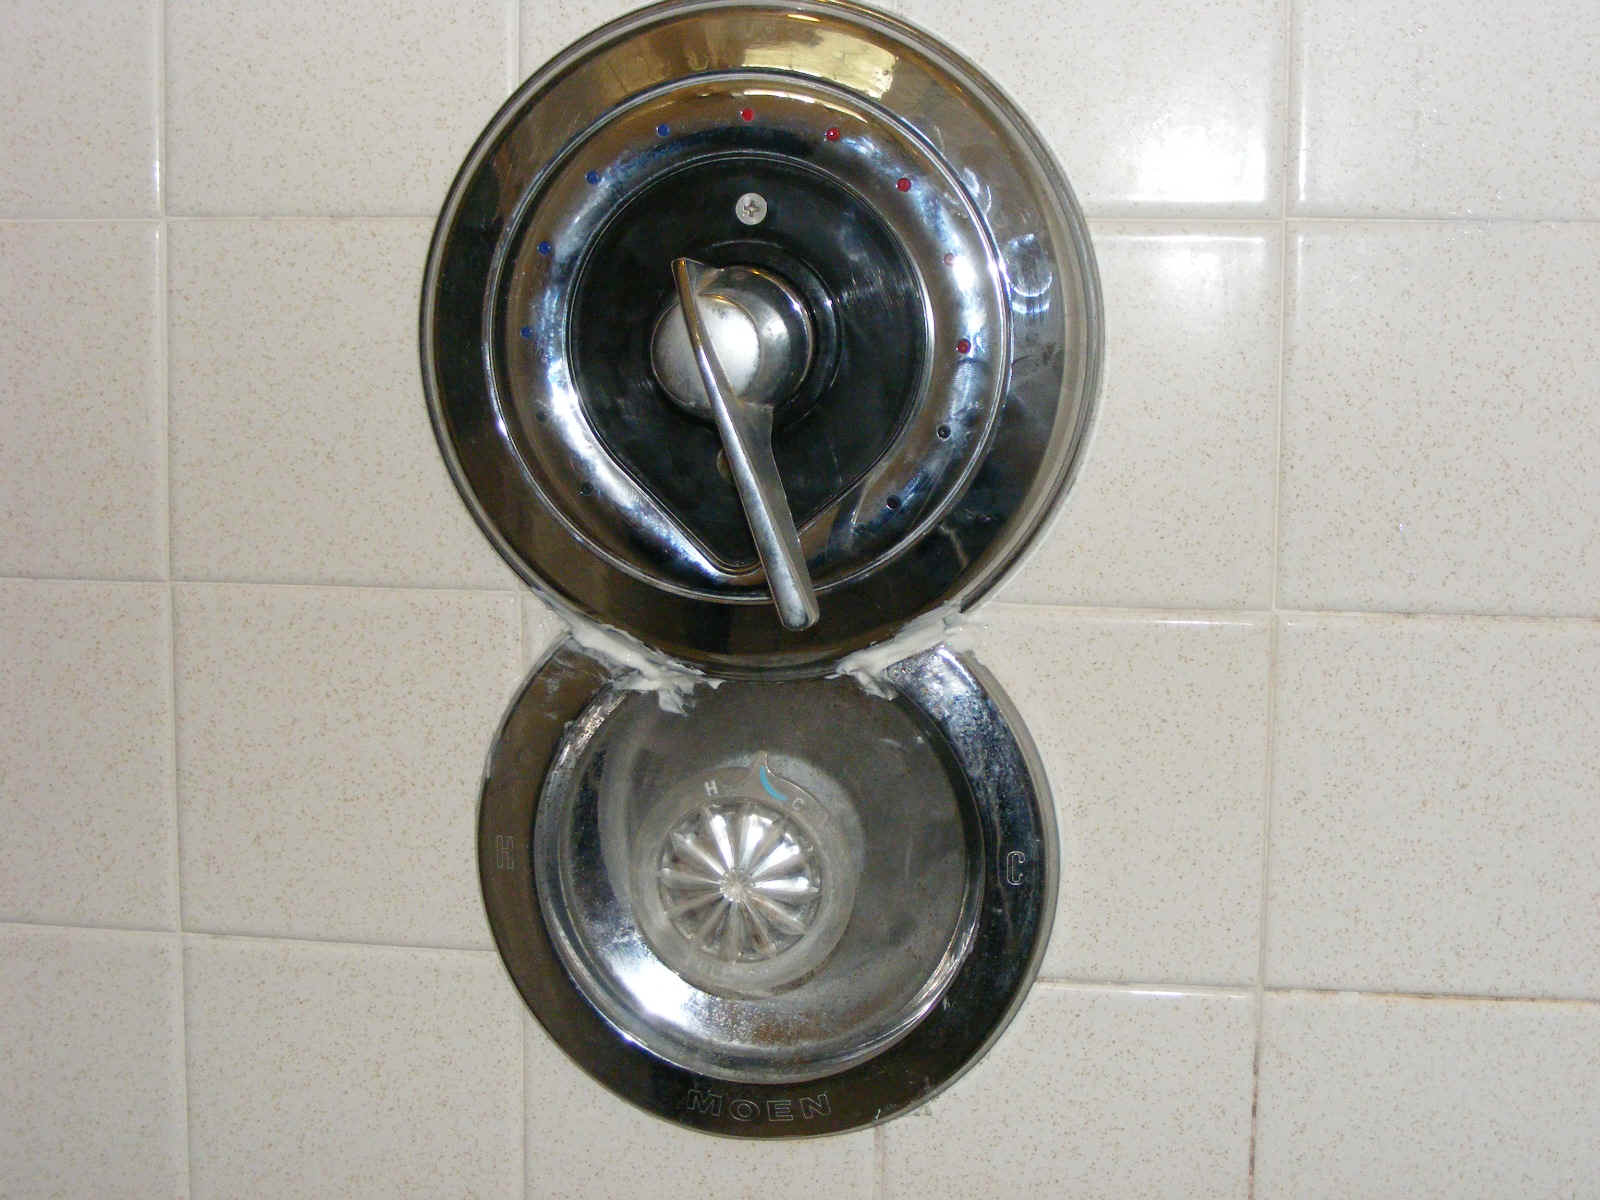
temperature knob and face plate. This photo shows how the face plate for lowest
shower head control had been cut away slightly to clear the Symmons faceplate that was
replaced in December 2013. That little area that was trimmed away allowed water to
seep into the wall area.
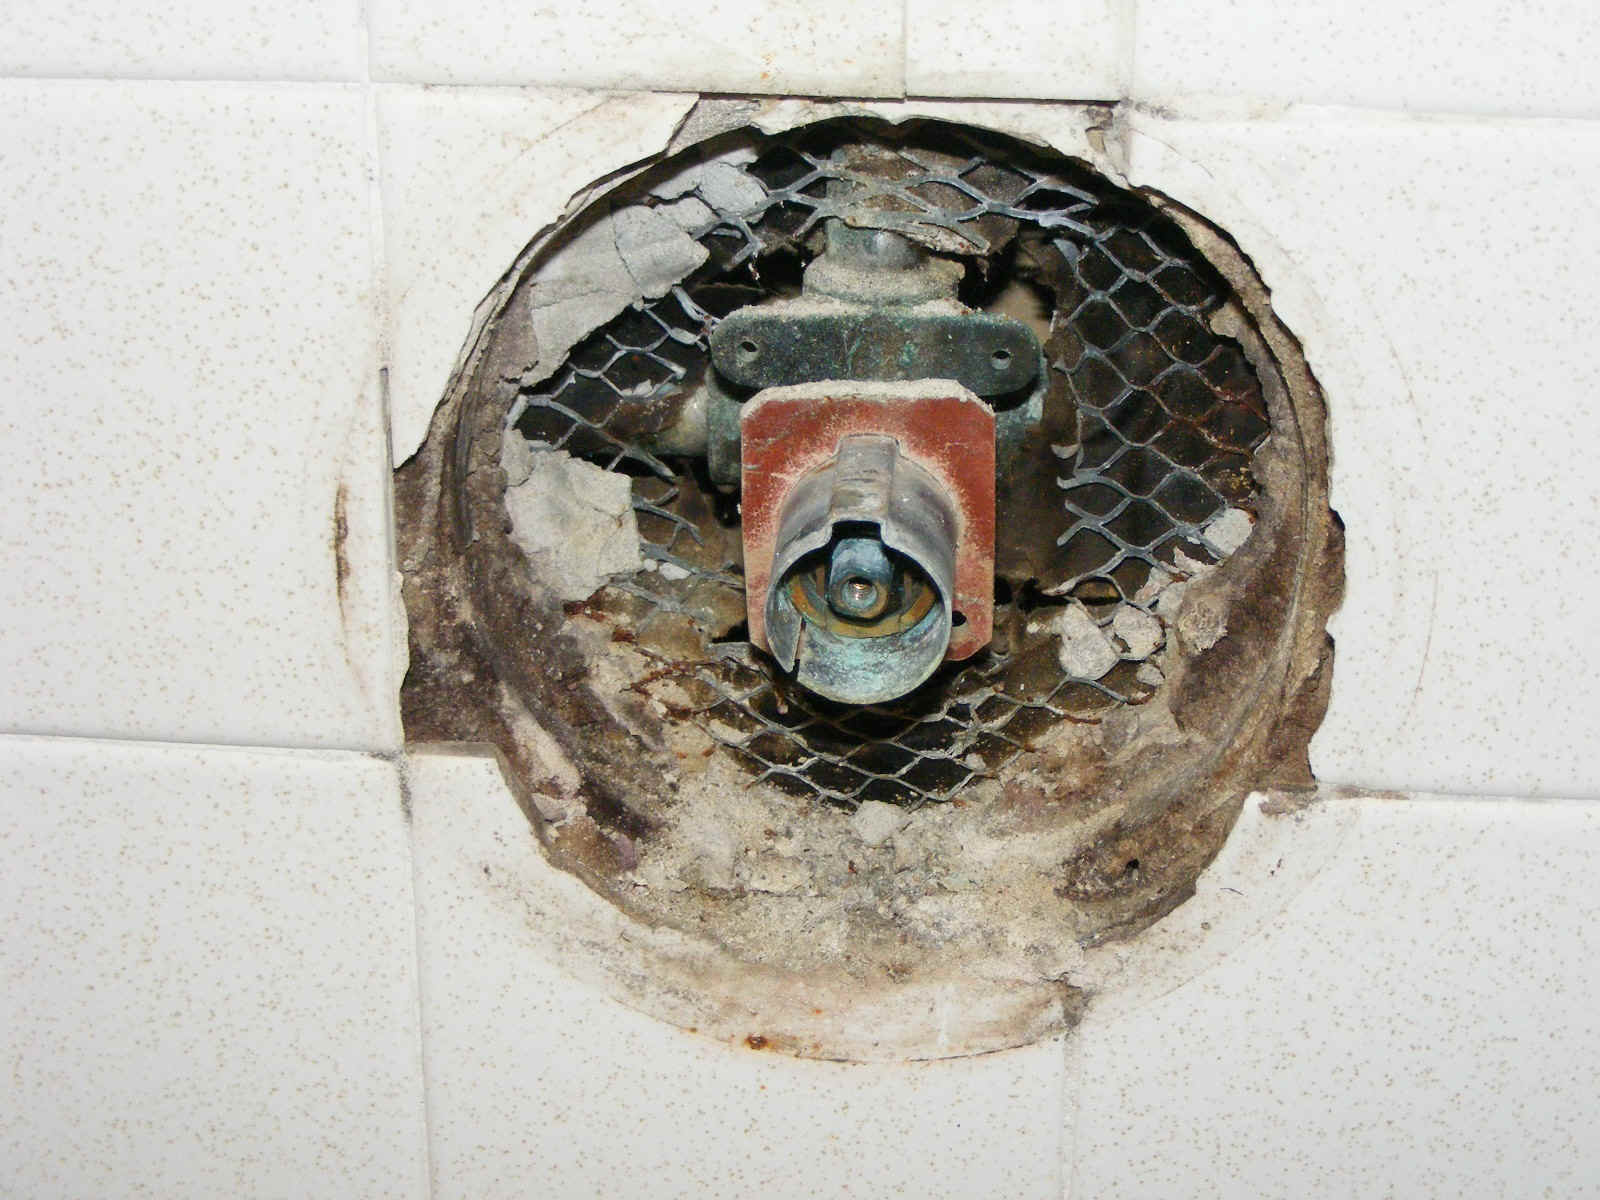
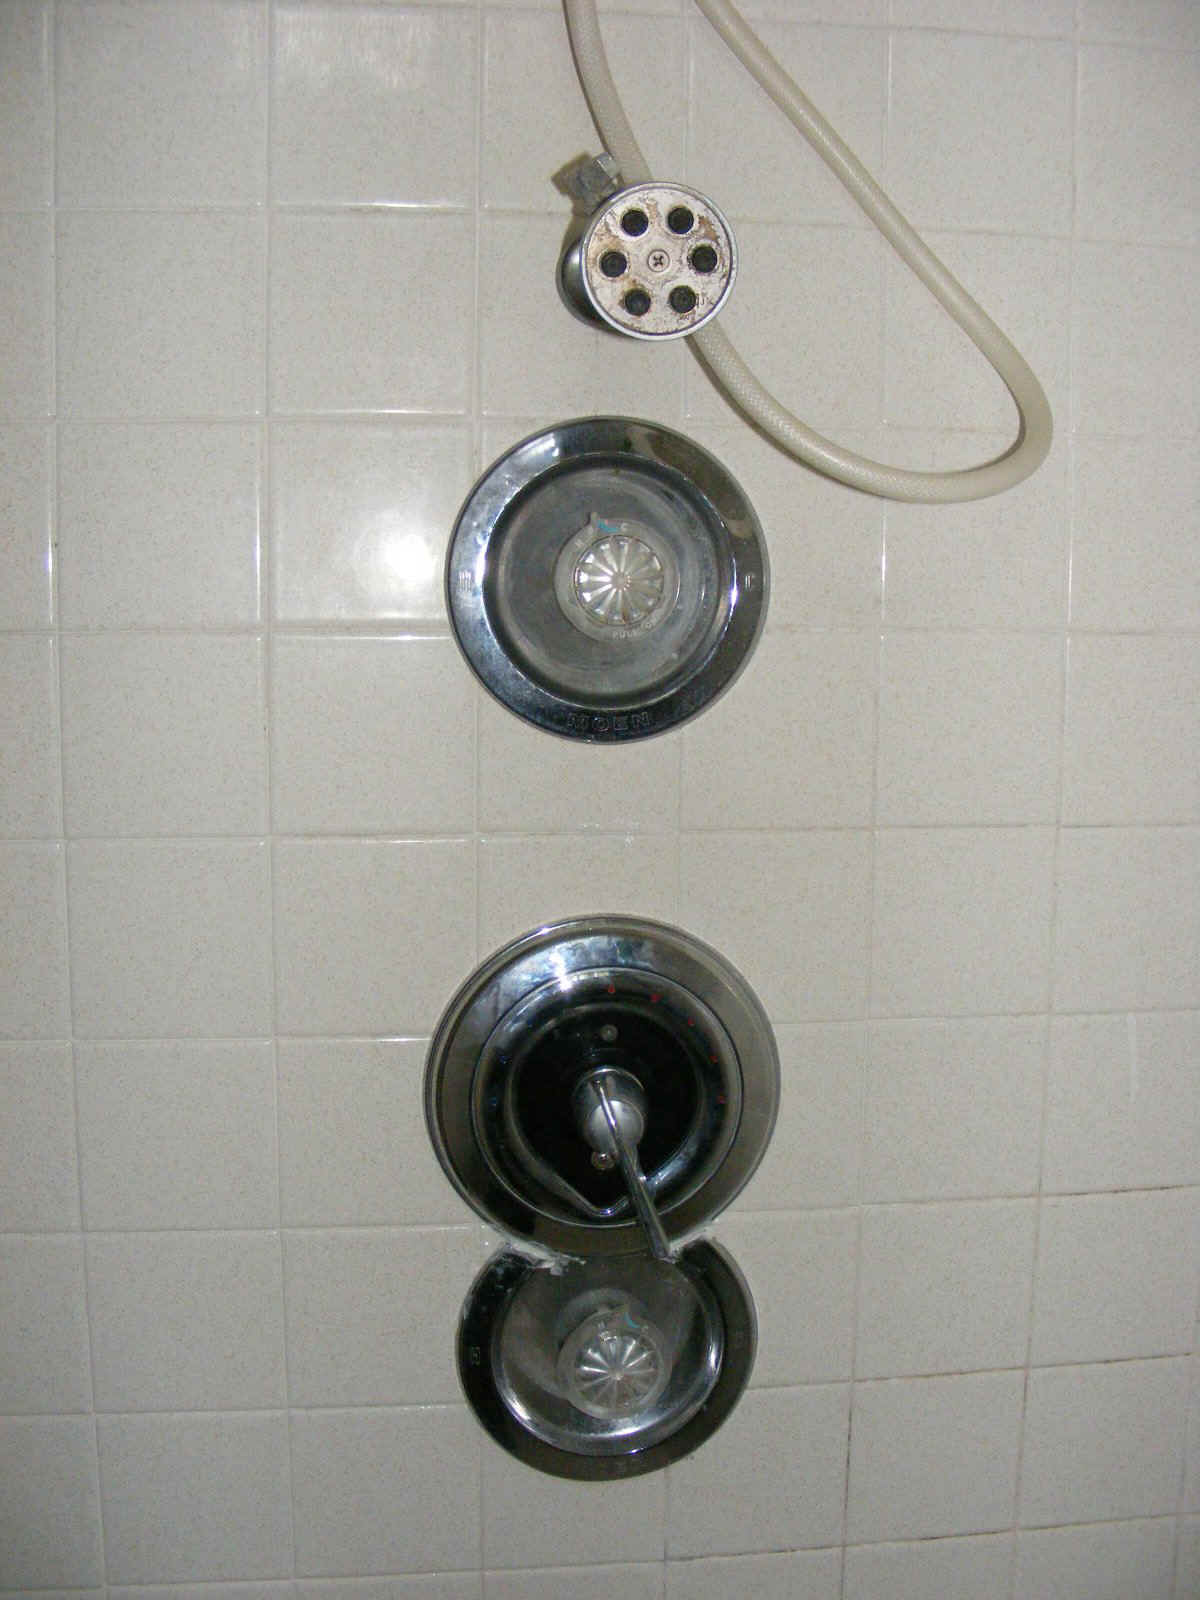
I took off ALL the shower control knobs and face plates to see what is going on
in there. This is the bottom control area showing what is inside the wall.
There is black "tar paper" behind the wire mesh. The 2x4 wood frame in the
wall is behind that tar paper. The wire mesh is in front of the tar paper and
secured to the 2x4's. Next is the real wall made from a plaster material with the
consistency of concrete. The small pieces of that concrete are visible in the mesh.
Notice the dark color of the plaster just behind the tiles. I cleaned the
tiles where the rubber gasket marks are seen around this opening. I sprayed a bleach
and water solution on the dark area and a little bit of bleach "mist" into the
wall area behind the tar paper. I also filled the areas where the tile is missing at
the lower "corners" of the opening using the silicone caulk before putting the
cover plate back into its correct position.
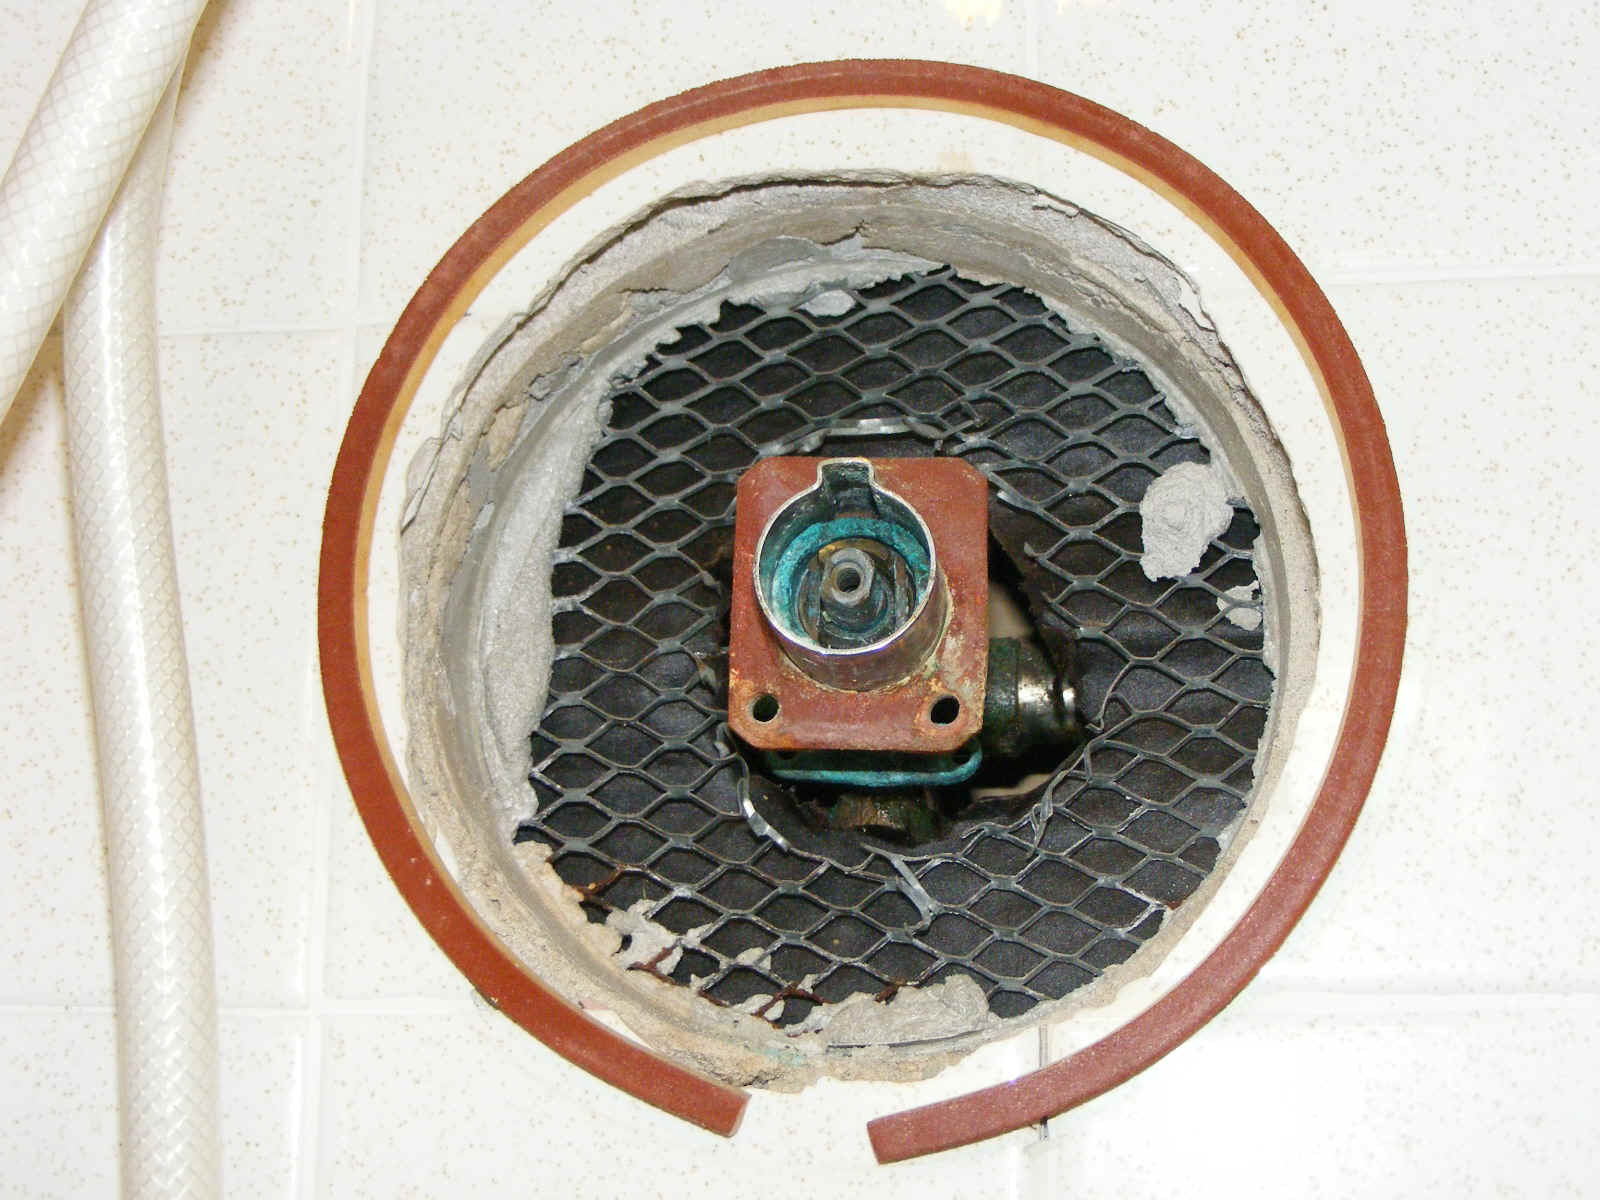
Here are the photos of the other two shower head controls with the same
construction exposed with the covers removed as seen in the photo above. There is no
sign of water seepage to discolor the plaster wall behind the tiles. The bleach mist
was also sprayed into the inside wall space in both these dry locations..

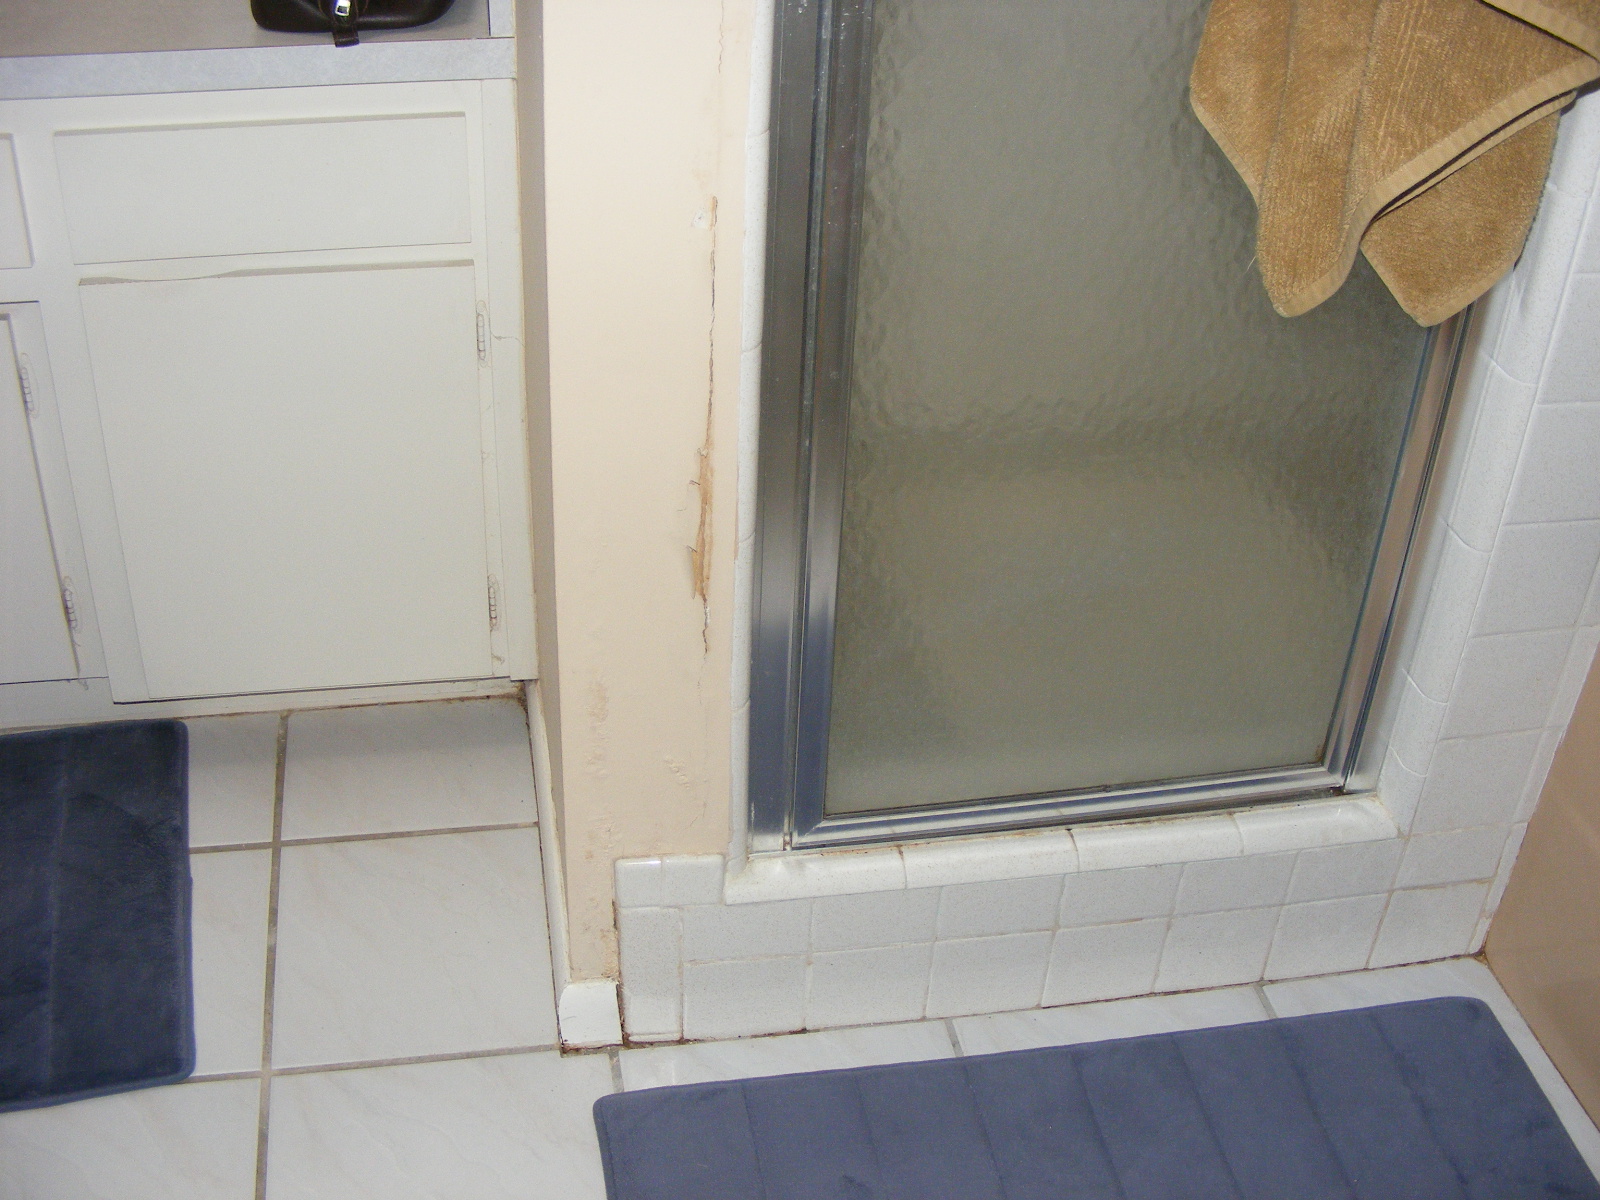
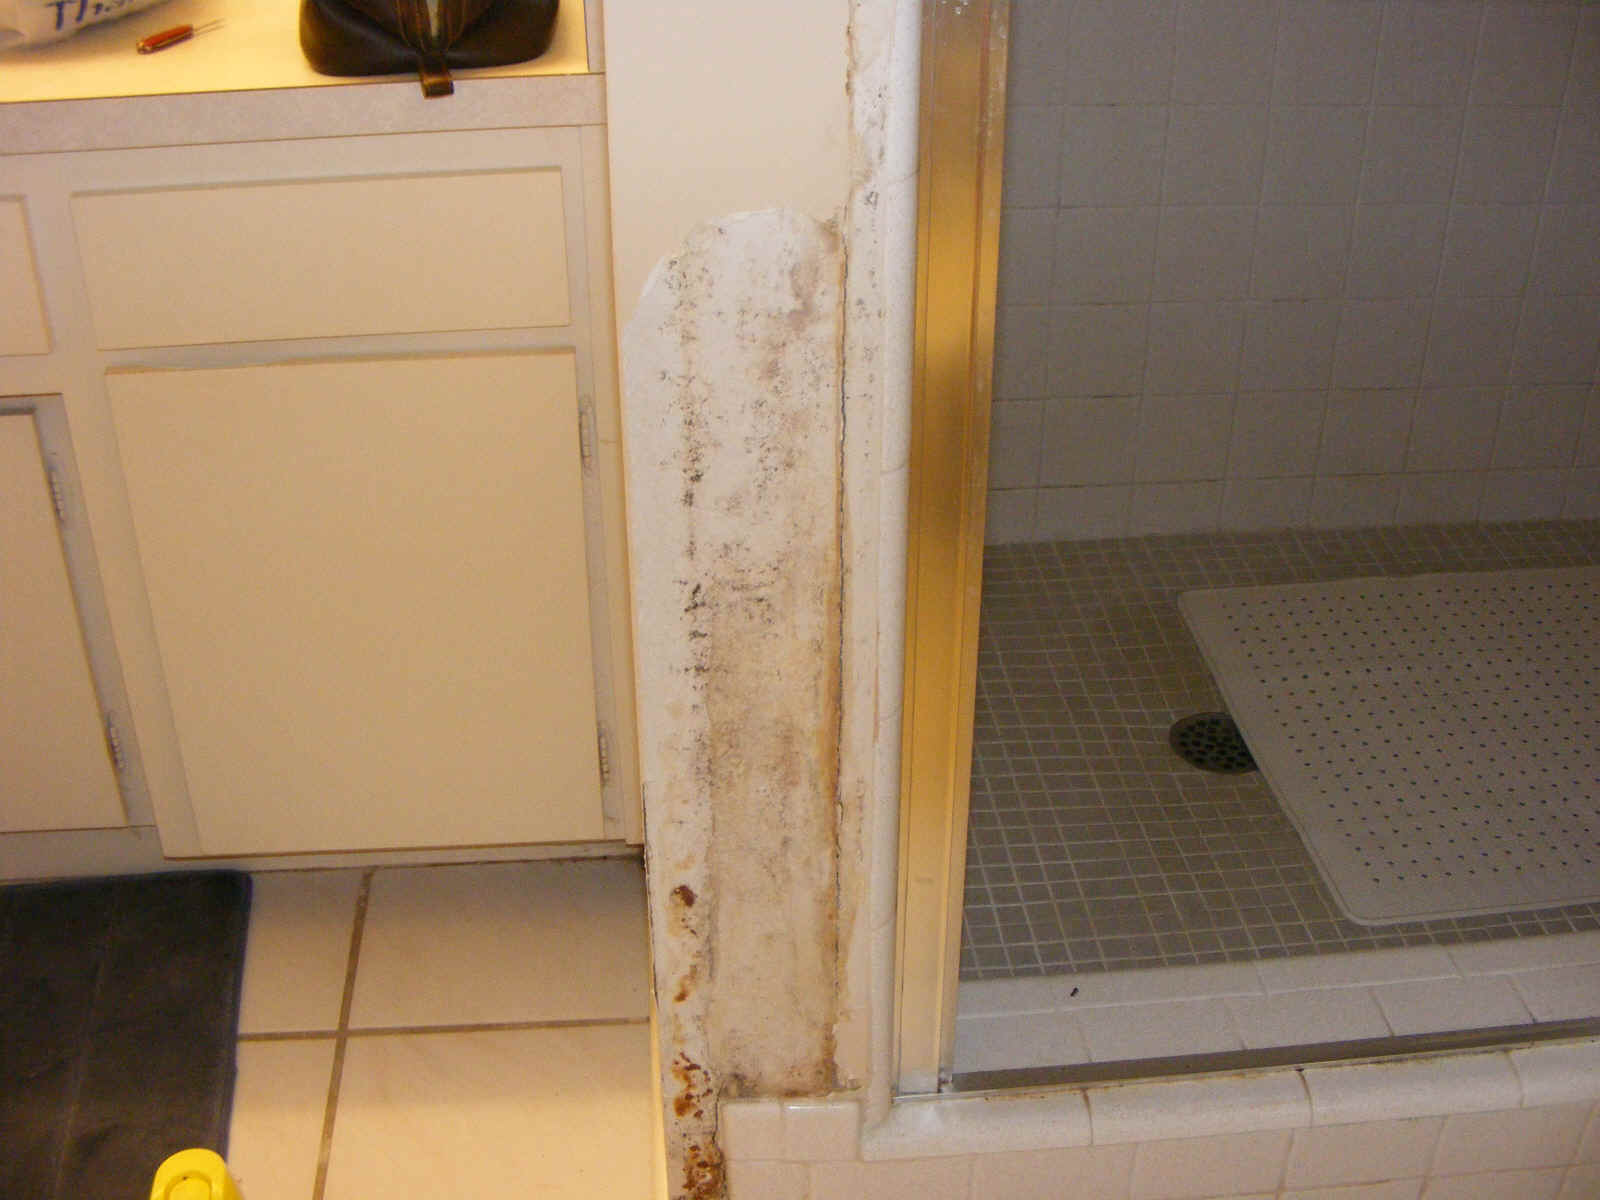
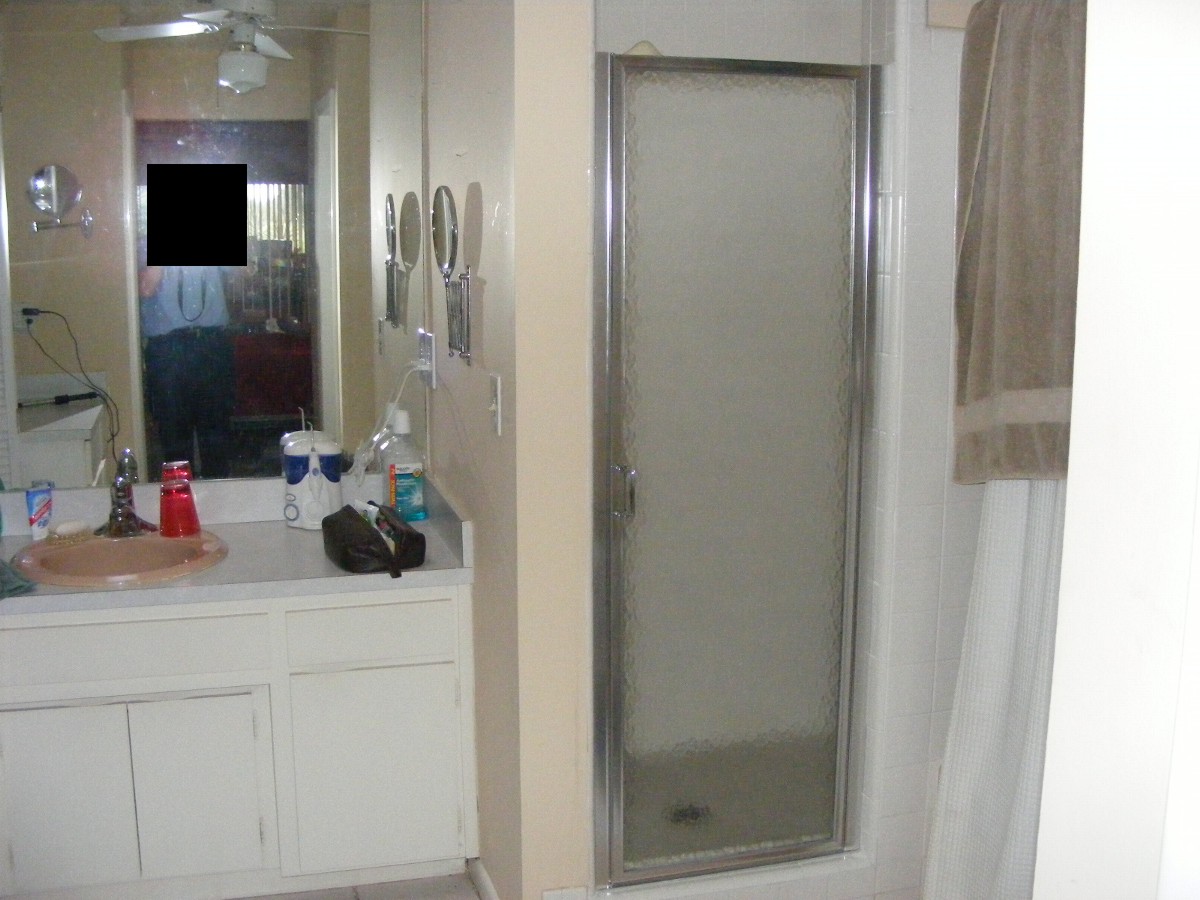
Here are the photos showing the visible signs of the seepage that showed up in
the wall paper adjacent to the shower door. This is the first photo I sent to you
via email showing the peeling of the wall paper from moisture underneath. This
wallpaper damage is where the wall paper meets the edge of the plaster wall from the
shower.
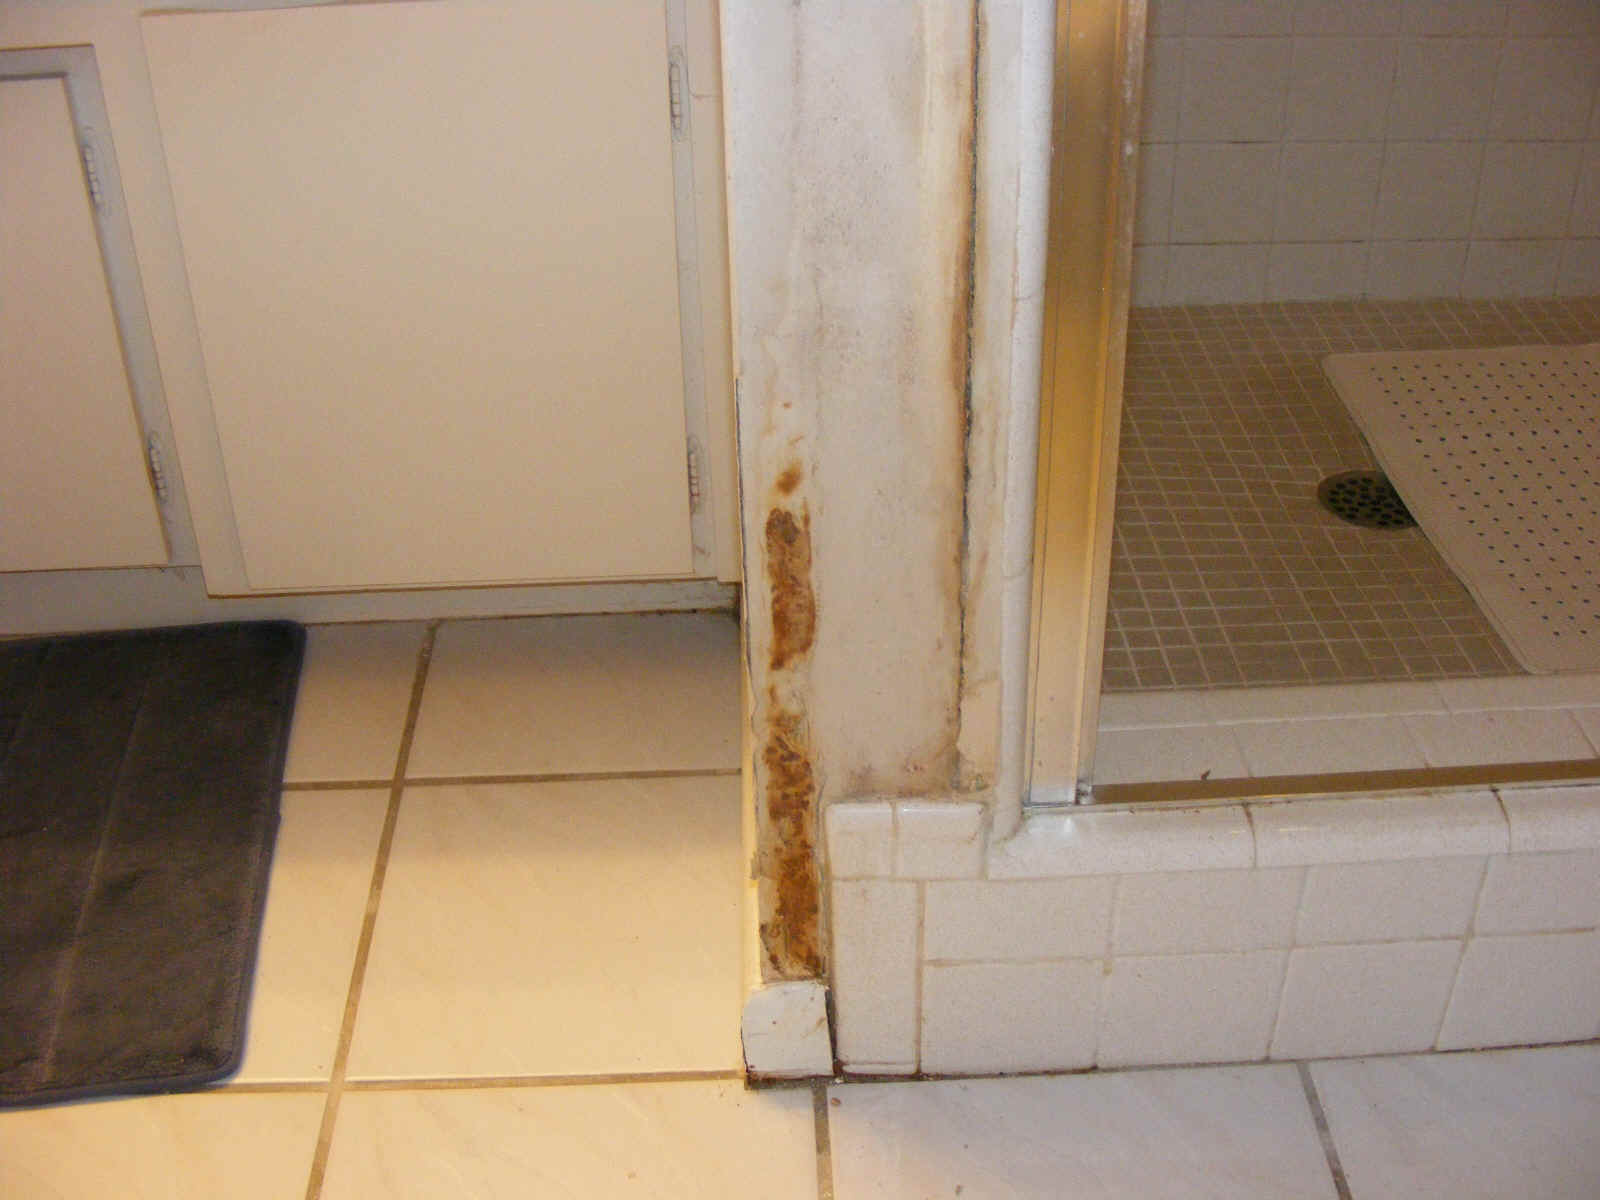
This photo was also sent via email. With the wall paper partially
removed, a small amount of mold on the surface of the sheet rock drywall is seen.
The seam where the drywall meets the plaster layer is well defined.
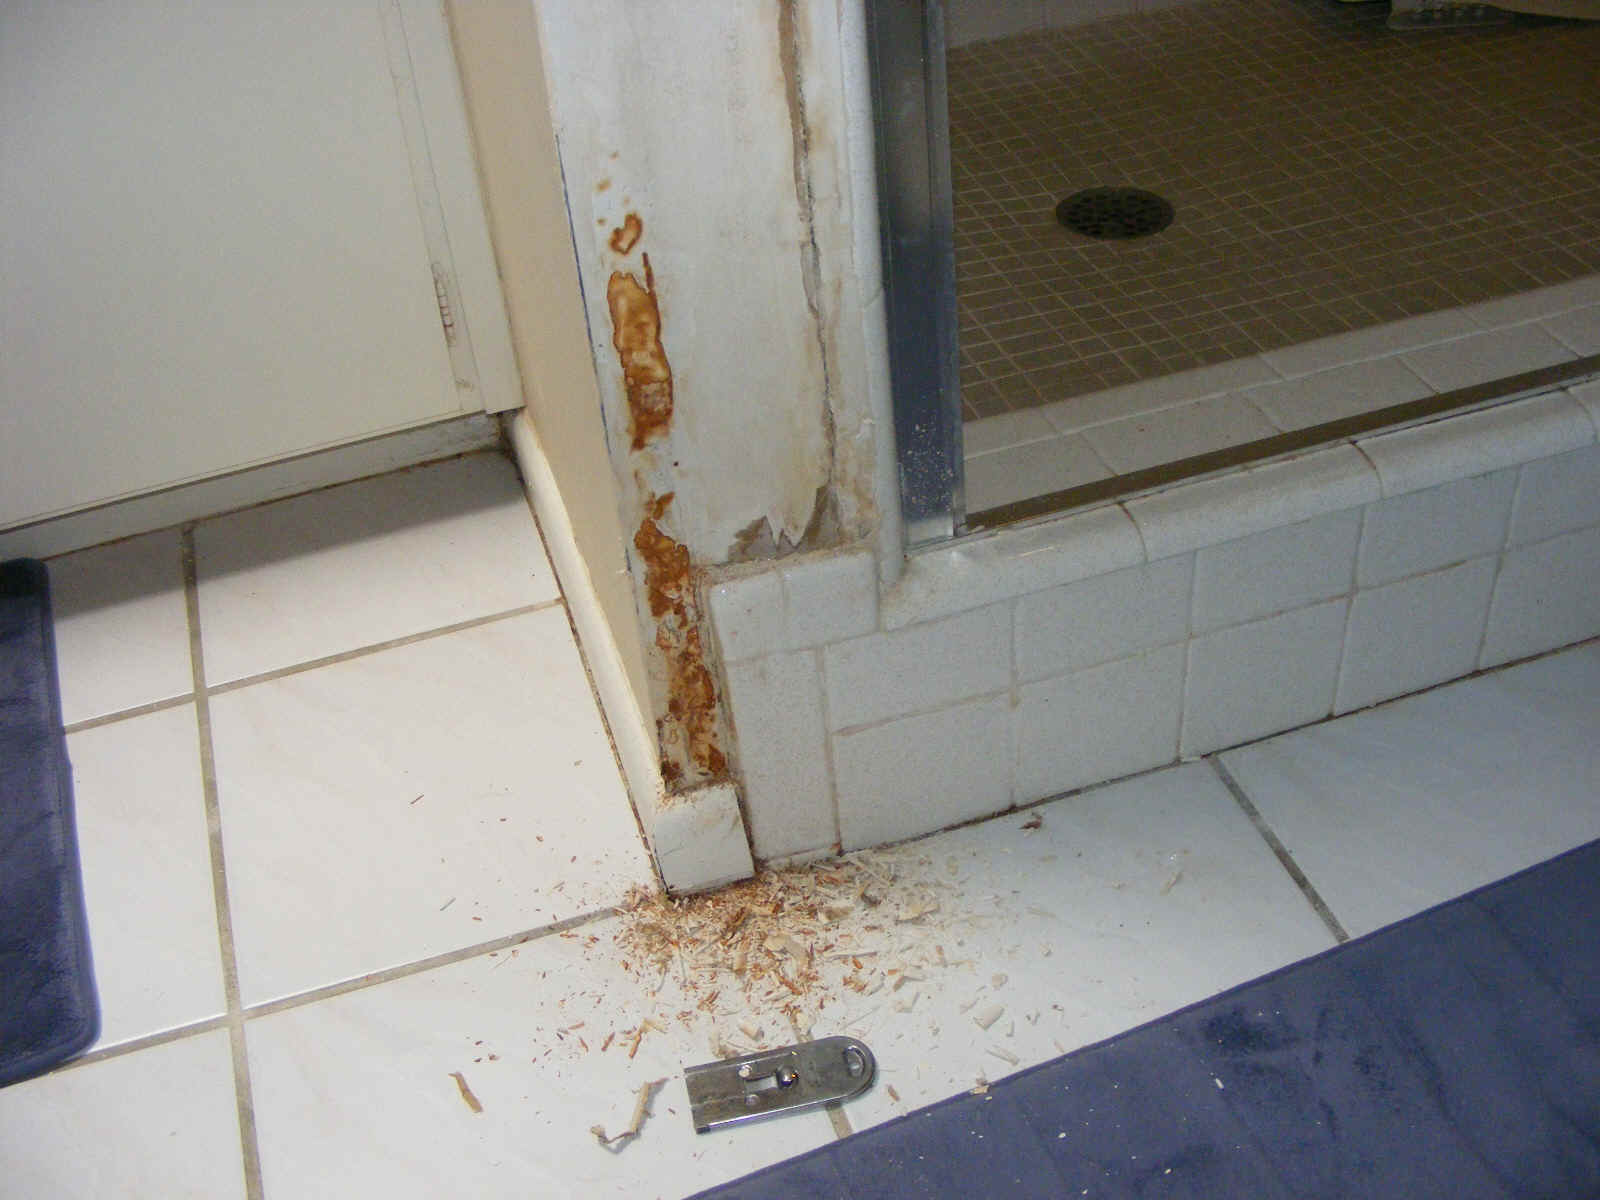
The mold wiped away easily with a solution of bleach and water. Only the
"brown stuff" remains. I thought this was another type of mold at first.
I brought in my paint scraper and discovered the brown stuff is similar to auto
body filler, very hard and had been sanded nearly smooth when it was installed many years
earlier. The brown stuff was thinned out a bit from my scraping as I was learning
about it. Compare this photo with the one above to see how the white drywall is
visible where I removed some of the filler. I also checked the edges of the drywall
to see if the moisture got inside it and it does not appear so. There is a hard
"putty" sealant where the wooden baseboard and the shower tile meet at the
bottom of the drywall. It has done its job as a moisture barrier.
The last photo of the drywall shows how I will leave the drywall unpainted and
open to the air to insure the moisture has dissipated. This is not a disaster of
drywall damage as you may have feared. I will spackle the exposed area to get the
drywall ready for paint when I am sure it is completely dry. (This is not like the
soaked carpet event from the living room.) I used the paint scraper over the full
area where I removed the old wall paper. It confirmed the moisture area was below
the lower shower valve opening in the wall.
Here is a photo showing how I sealed the gap at the bottom cover plate with
silicone bathtub caulk. I put the bottom plate on first with a bead of silicon caulk
holding the original red rubber gasket in place, insuring a good seal to the shower tile.
The overlap area of the two plates is where I wanted to prevent any dripping shower
water from getting inside and up against the plaster wall behind the shower tiles.
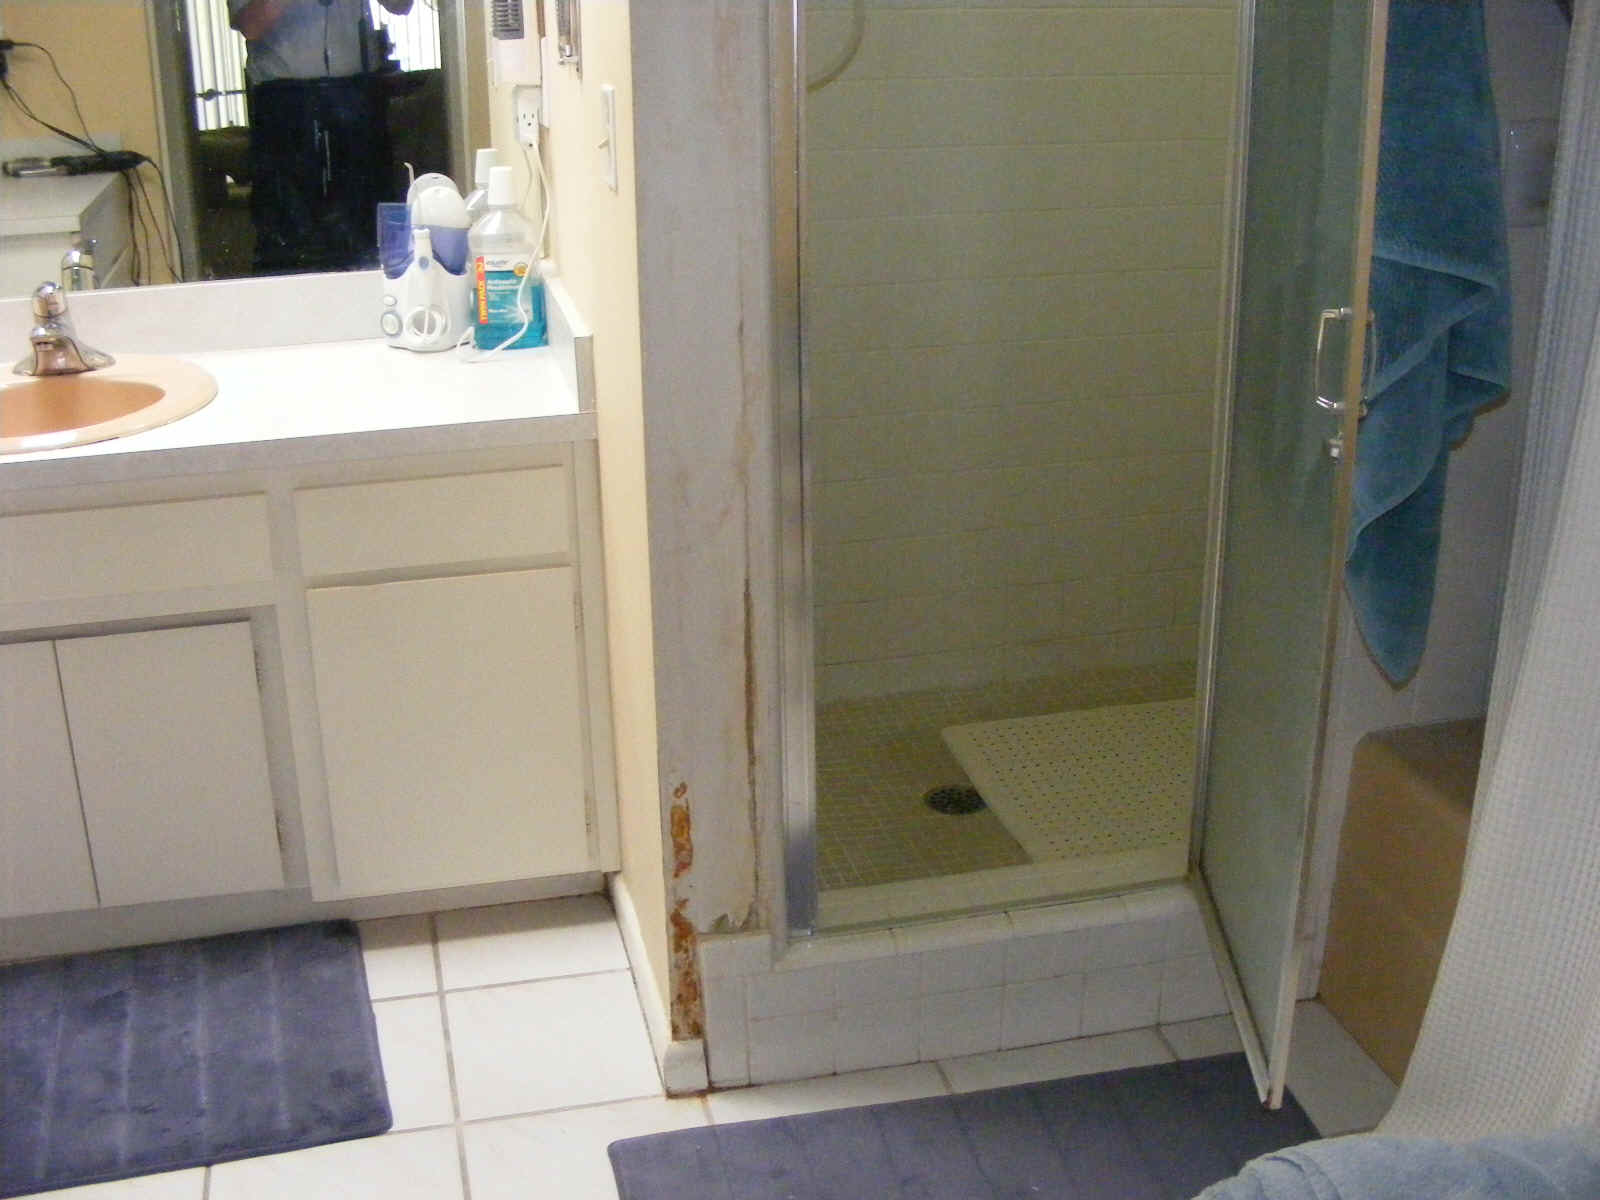
Here is the big picture after everything is sealed and back in place. I
could never separate that old shower head from the pipe going into the wall. I guess
I will have to get a new short pipe of the same length to put in place. I would then
cap off the pipe as I have done on the back wall where all three original shower heads
have been removed.
Here is the back wall showing two of the three pipes that had shower heads on
them when we first moved into the house in 2013. The third pipe is out of the photo
down near the shower floor. While I was working in the shower yesterday, I also
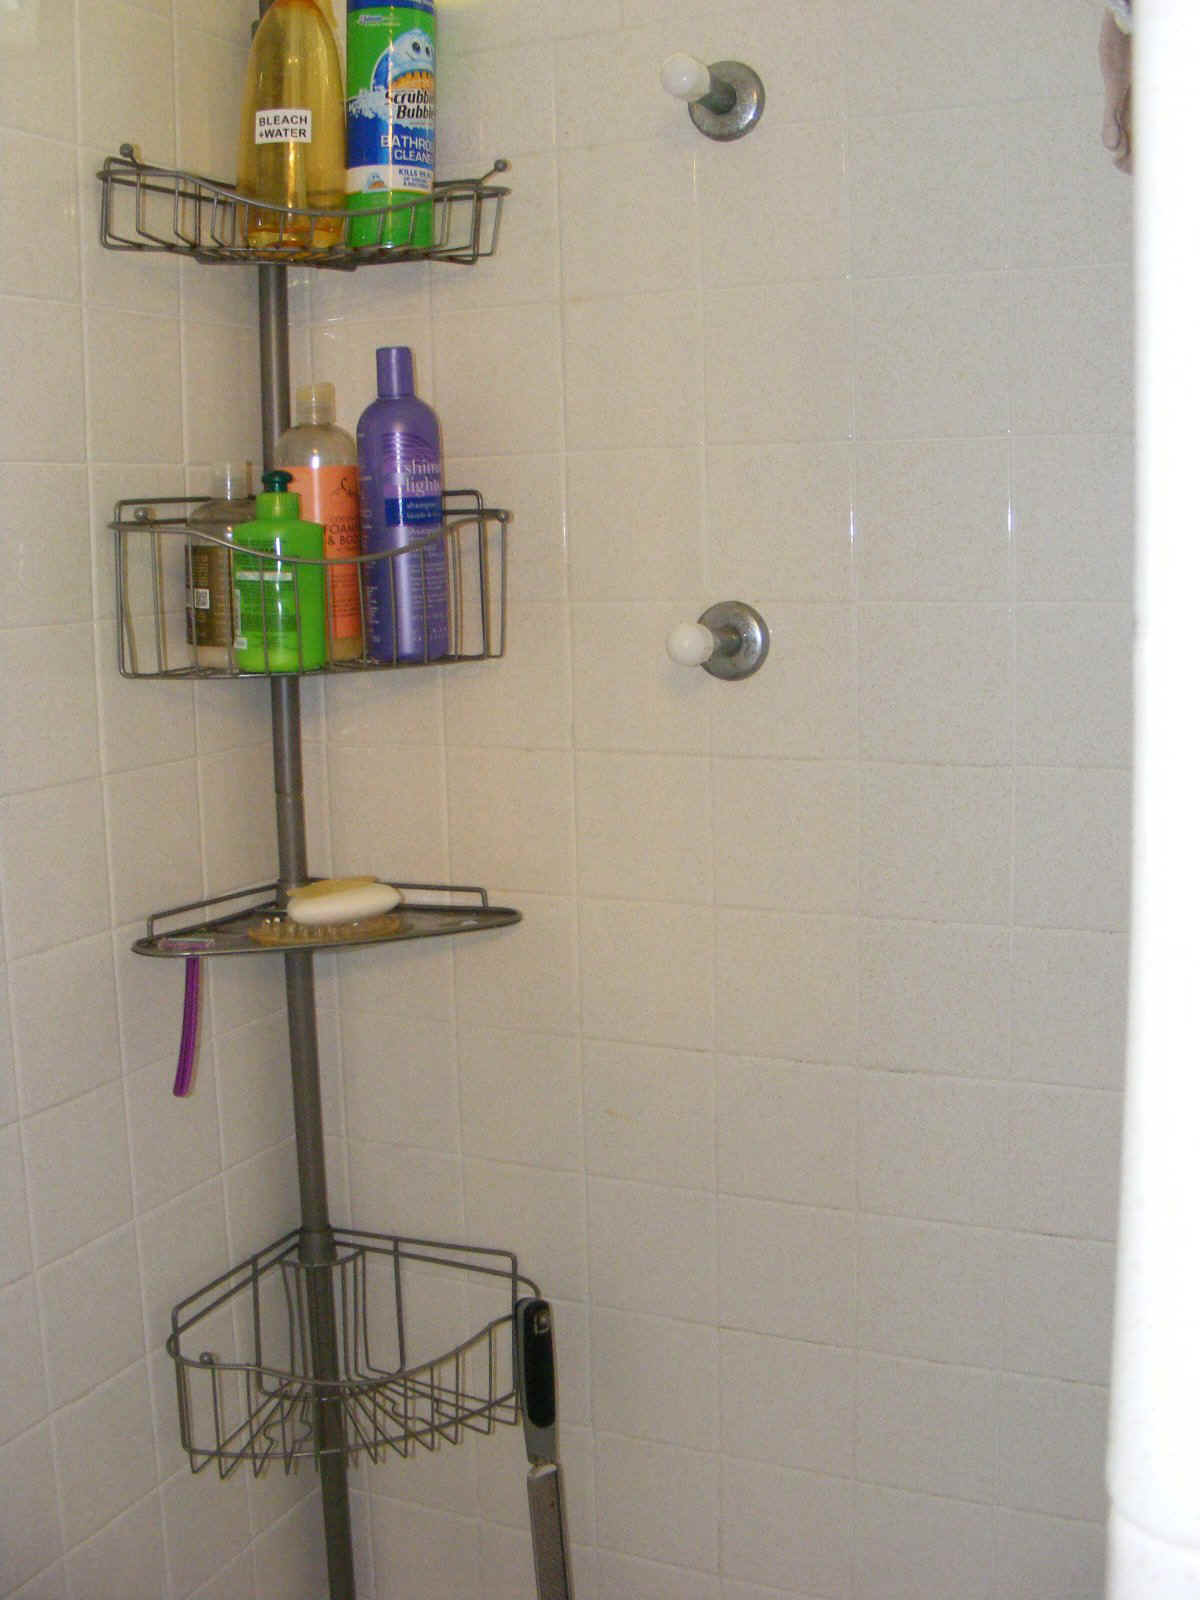
replaced the shower caddy pole and shelves seen in this photo. The old soap dish
shelf was getting some rust on it. My spritzer bottle of bleach water is there to
keep the tile grout clean when needed.
I went back to a photo on this web site from October 2, 2013 seen on PAGE 3 of
this section. It shows signs of the moisture where the wall paper meets the plaster
wall seam I discovered this week. It is a very faint line where the shower tile
meets the painted wall adjacent to the shower door frame.
Here is the magnified section from the original photo seen above.

| GO TO PAGE 5 | BACK TO HOME MENU |