Wendell Folks RV-8 Project - Page 75.
December 16, 2007: This Sunday afternoon
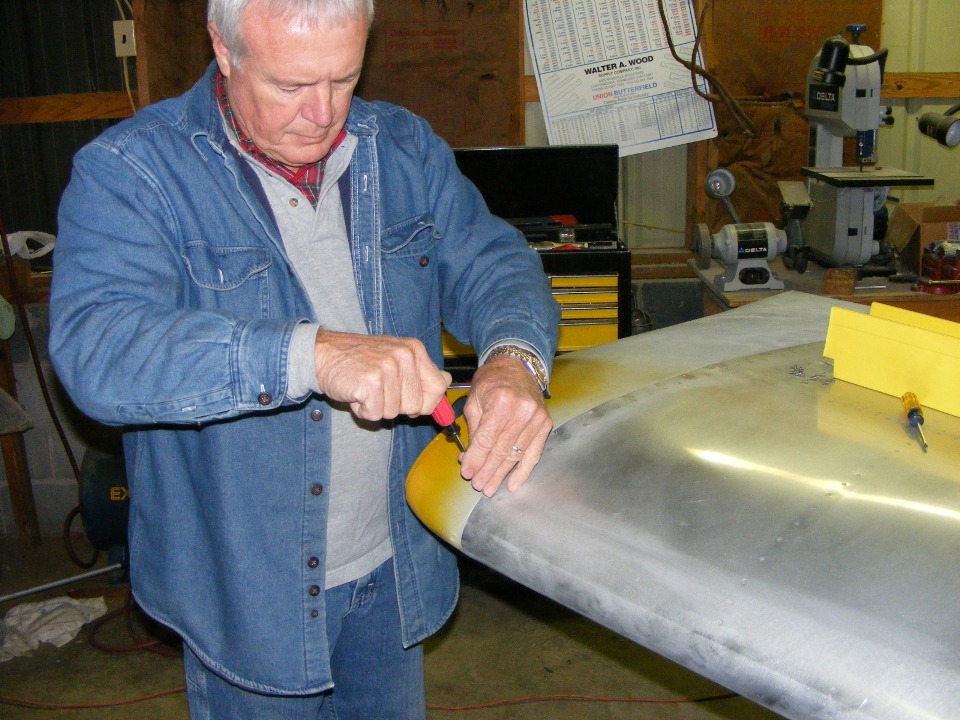
found me working with Wendell after 3 PM to finish up the work on the RIGHT wing tip
installation. The last lighting connections were made and the wing tip was
temporarily installed. After that the landing lights and the taxi lights were tested
and checked for alignment.
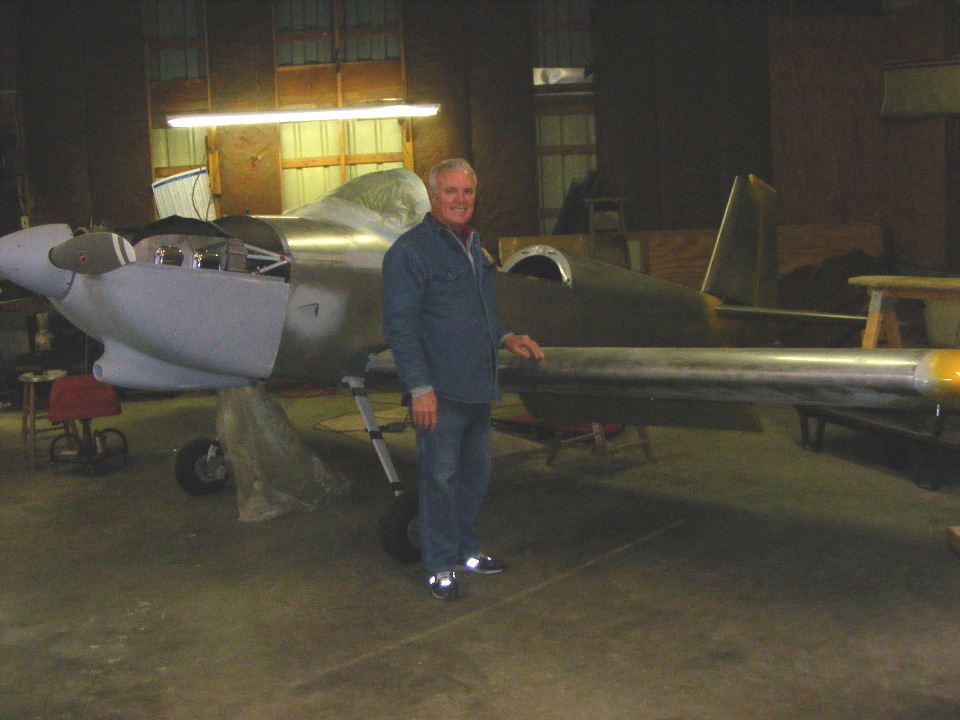
The airplane had to be lowered onto its tail wheel for the taxi light alignment
check. The landing lights point straight ahead in FLIGHT. The taxi lights have
to be aligned to point straight ahead when the tail wheel is on the ground. This is
the milestone that Wendell has craved the most in recent months. It shows in that
RV-Grin he is displaying.
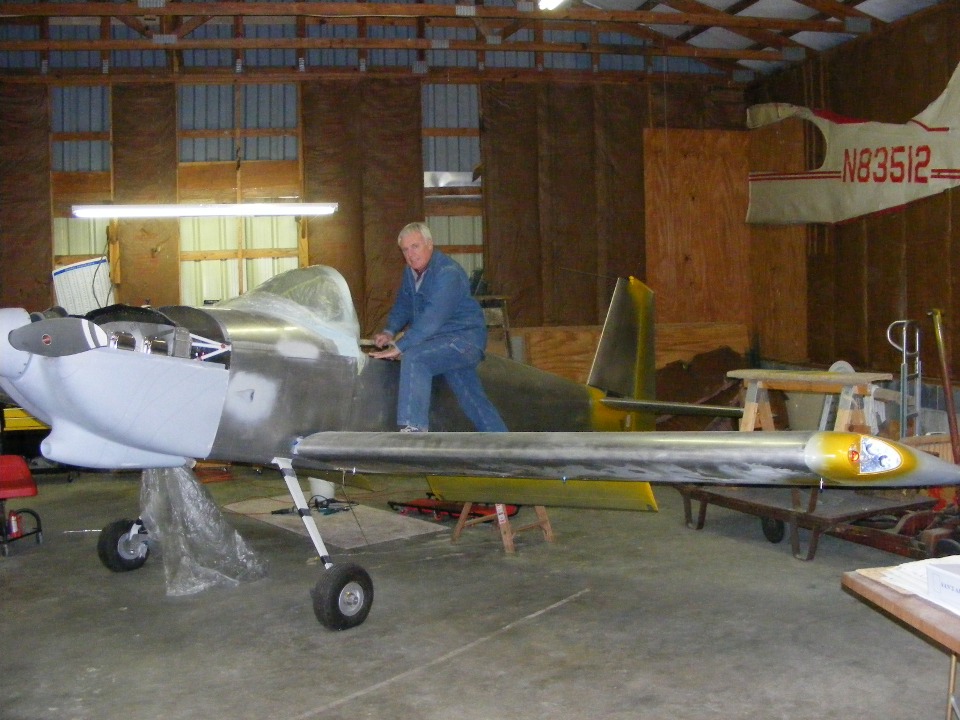
Here is the last photo of the day with a better fill-in flash from my camera,
and a better view of the LEFT wing tip and lights. The canopy is still in the other
work shop (heated) and will be getting its final preparations before being mounted on the
fuselage for some final fitting. The DAR has a full schedule until mid-January for
the airworthiness inspection. I have urged Wendell to get the airplane painted prior
to the final inspection. That way, the weight and balance of the airplane will be
finalized. Our local EAA counselor, Rich Nadig, will help Wendell with the W&B
checks.
Wendell also showed me the work he had been doing on the flap fairings and the final trim of the inboard lower skins of the flaps to fit properly against the belly of the airplane. Some additional priming in that area must be done before he will rivet those fairings to the fuselage.
December 18, 2007: This
Tuesday night session was all about giving Wendell more instructions on what to do for the
next few days. We first talked about fitting the antenna for the ELT inside the
cabin area. The reason for this is simple, there is no place on the upper aft
fuselage skin to mount the antenna due to the long sliding cockpit. The next topic
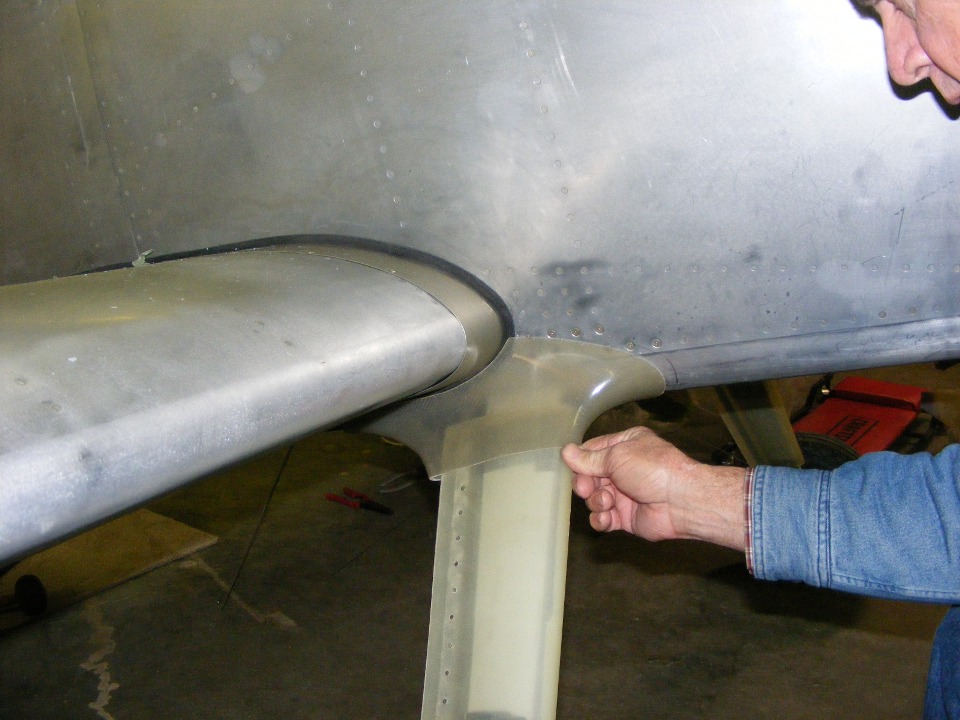
discussed was the rubber that goes on the wing root fairings. There is some work
needed there to get the clearance between the fuselage sides and the fairings allowing the
rubber to fit.
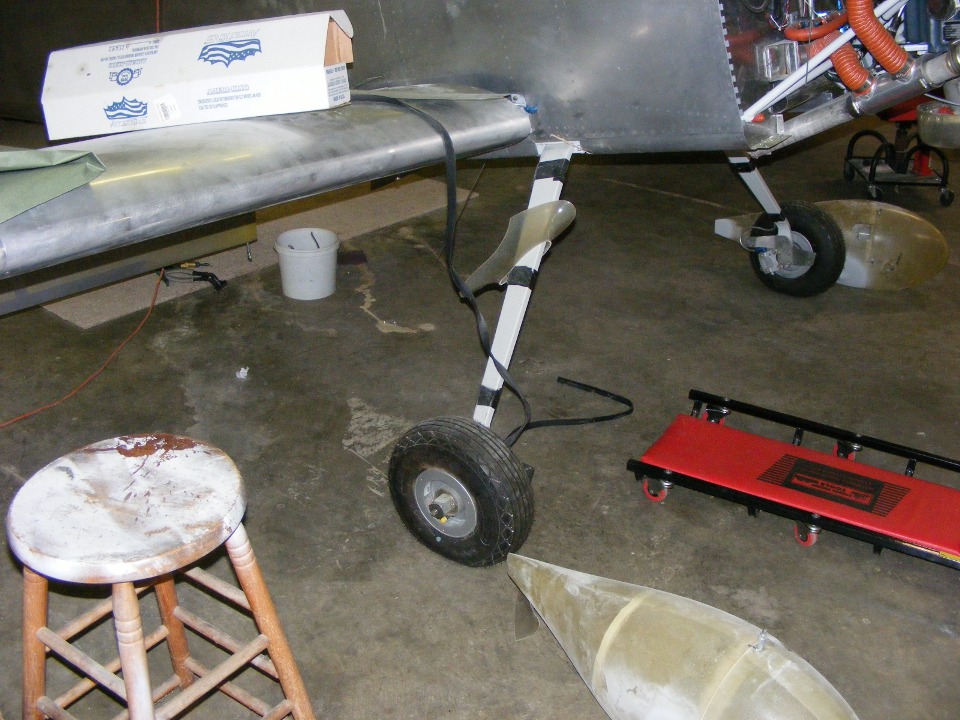
You can also see the wheel fairings are ready to be re-installed. This time, the gear leg fairings and the upper gear leg intersection fairings will be fitted AFTER the aluminum wing root fairings are installed. After that, the lower gear leg intersection fairings have to be trimmed and fitted to the forward and rear wheel fairings. Then it will be time for more epoxy fiberglass work to make those lower gear leg fairings an integral part of the wheel fairing sections.
Rich Nadig recently came by to visit Wendell for his final EAA counselor inspection. He made sure Wendell installed the safety wire on the prop hub bolts, but otherwise was fairly satisfied with what he saw of the RV-8 Project.
December 22, 2007: I
went over to see Wendell this Saturday after lunch. I found him changing a wheel
bearing on a utility trailer in the former airplane factory. After he completed that
task, we stepped into the hangar to answer some of his questions about the project.
The upper gear leg intersection fairing has his attention at the moment. We
noted the differences between the fairings on my RV-9A and his RV-8. Both of us
bought the fairings from Fairings-Etc.
I made suggestions as to where to drill holes for attaching the fairing and the
areas that need to be trimmed or filled for a better fit to the gear leg fairings, wing,
and fuselage.
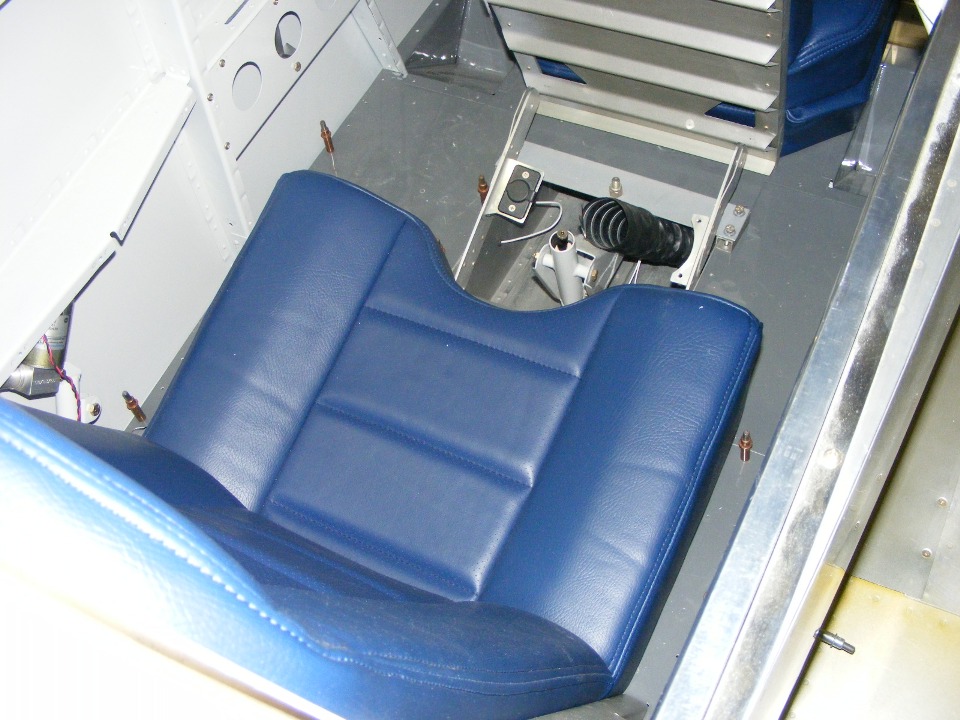
Here is a look inside at the rear seat with the floor panels temporarily
clecoed in position. We discussed how to build a floor panel and boot to surround
the rear control stick. It would prevent any foreign objects from being dropped down
into the sub floor area that is visible in this photo.
| CLICK for Folks PAGE 76 | Return to Other RV Menu | Return to Main Menu Page. |