Wendell Folks RV-8 Project - Page 57.
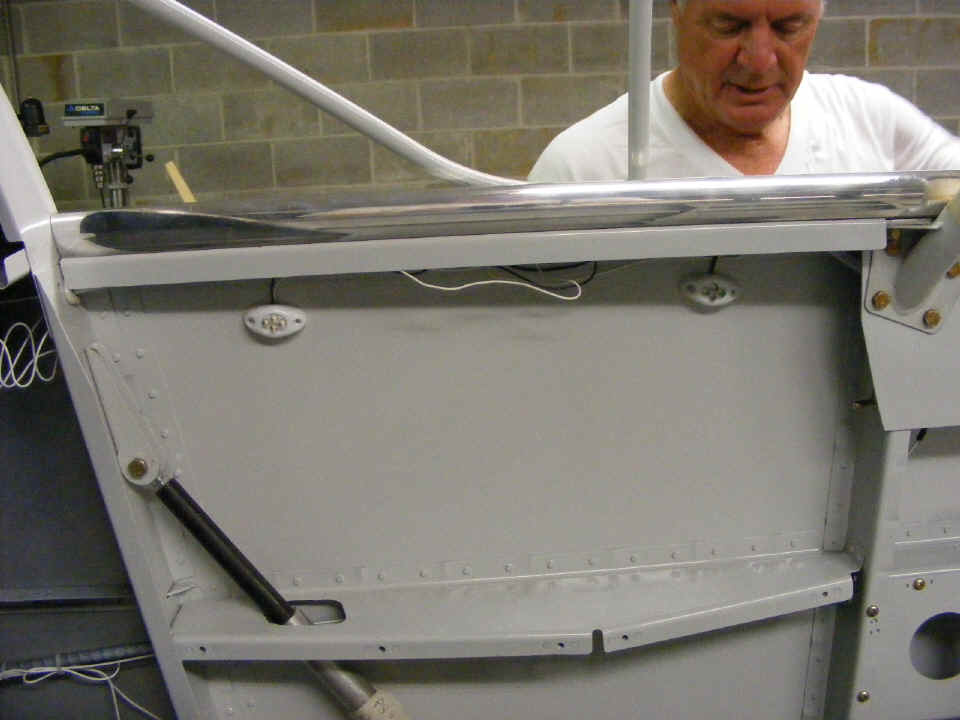
July 10, 2007: This evening's session saw
the rear seat LED lights attached to the side wall. Wendell has to tie up the wires
below the canopy deck. The plastic tube that is the static air line has been joined
back together with a suitable-sized barb connector.
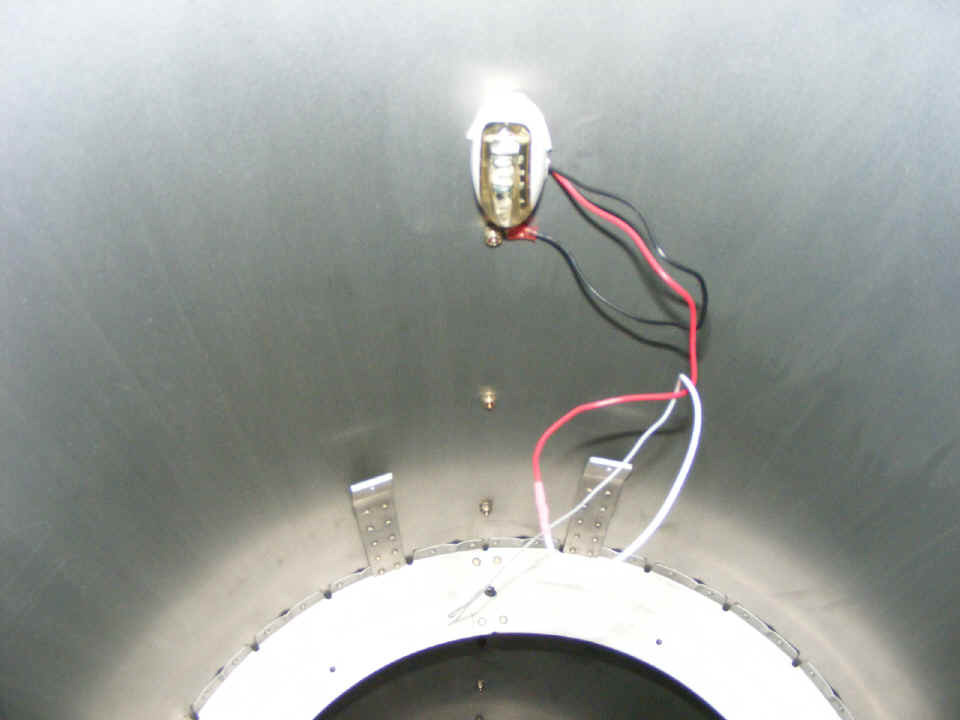
Behind the rear seat, an overhead baggage light has been installed. It is
wired to the same circuit as the two lights seen in the photo above. Wendell will be
taping these wires up to the skin in his next day session.
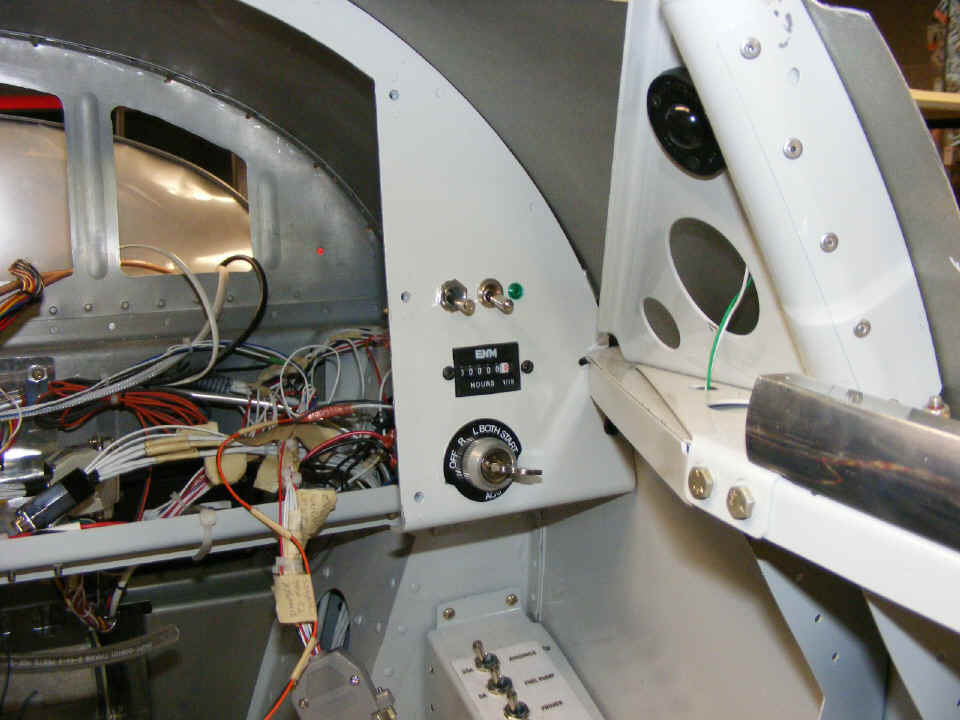
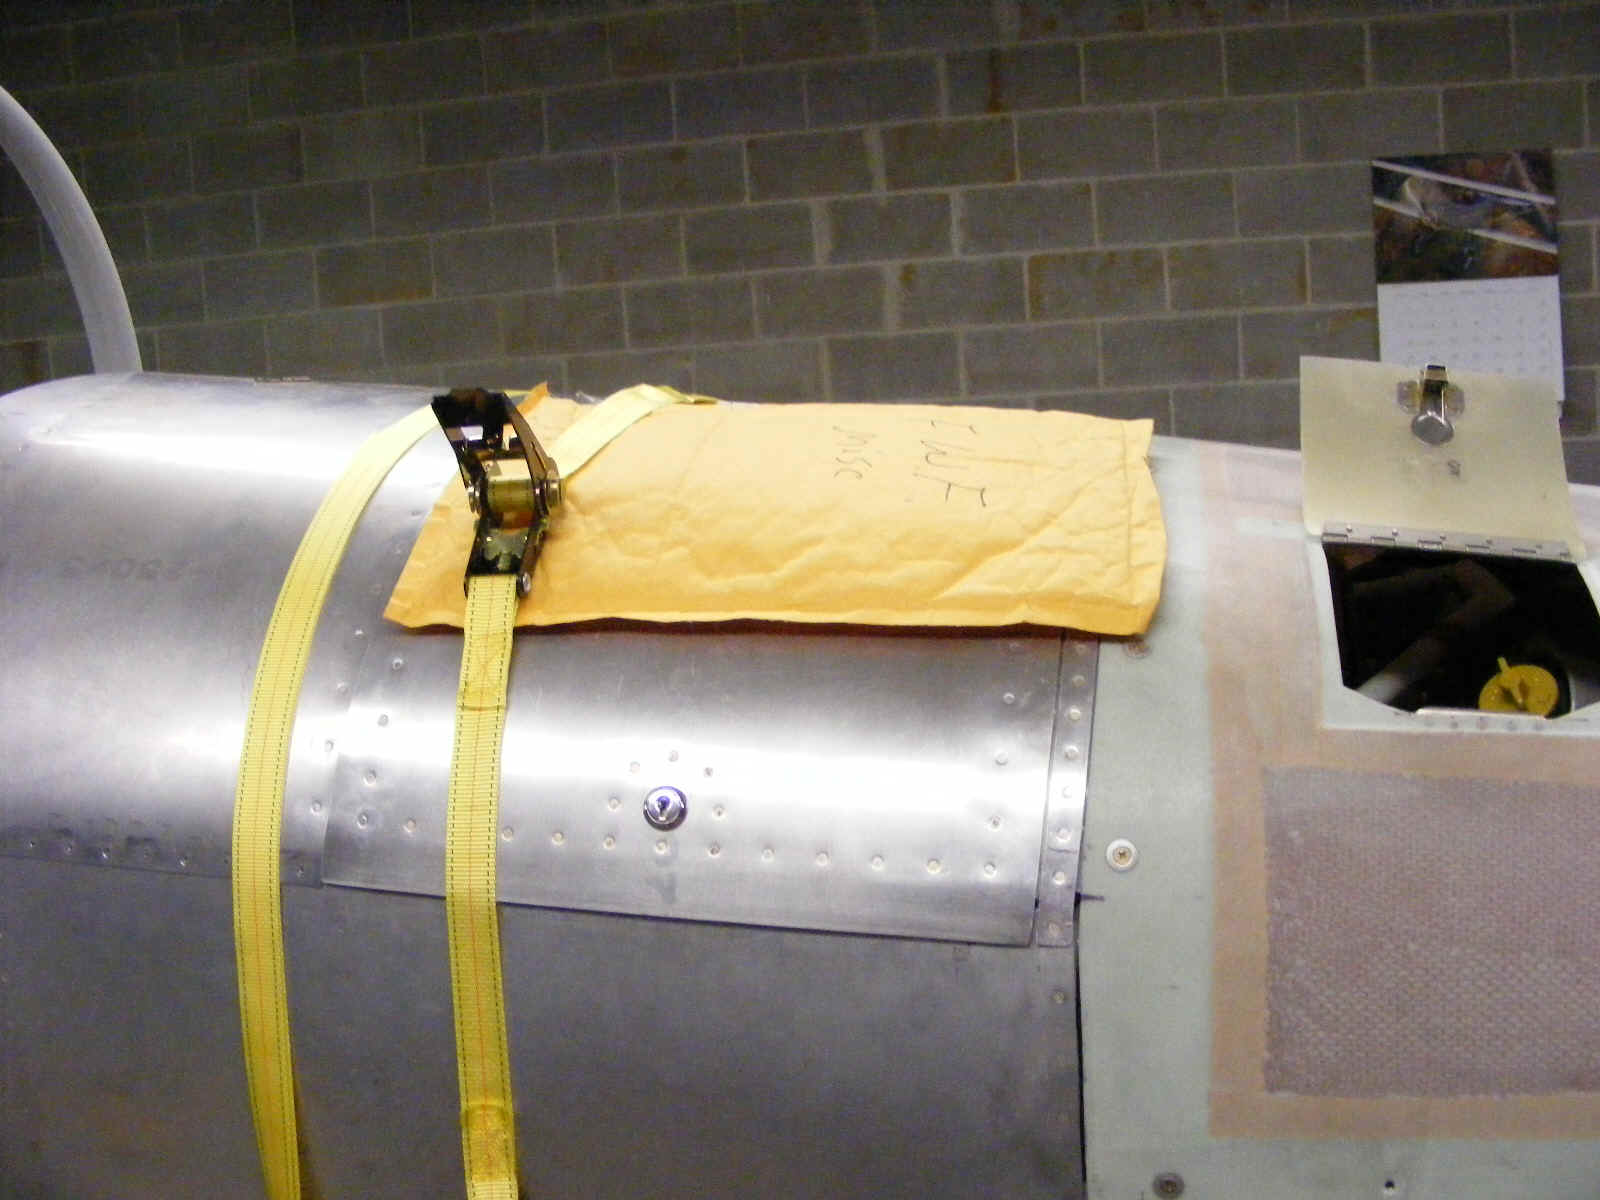
The Hobb's meter is now back in the panel where it belongs. It is time to
print some panel labels for the master switch and alternator field switch.
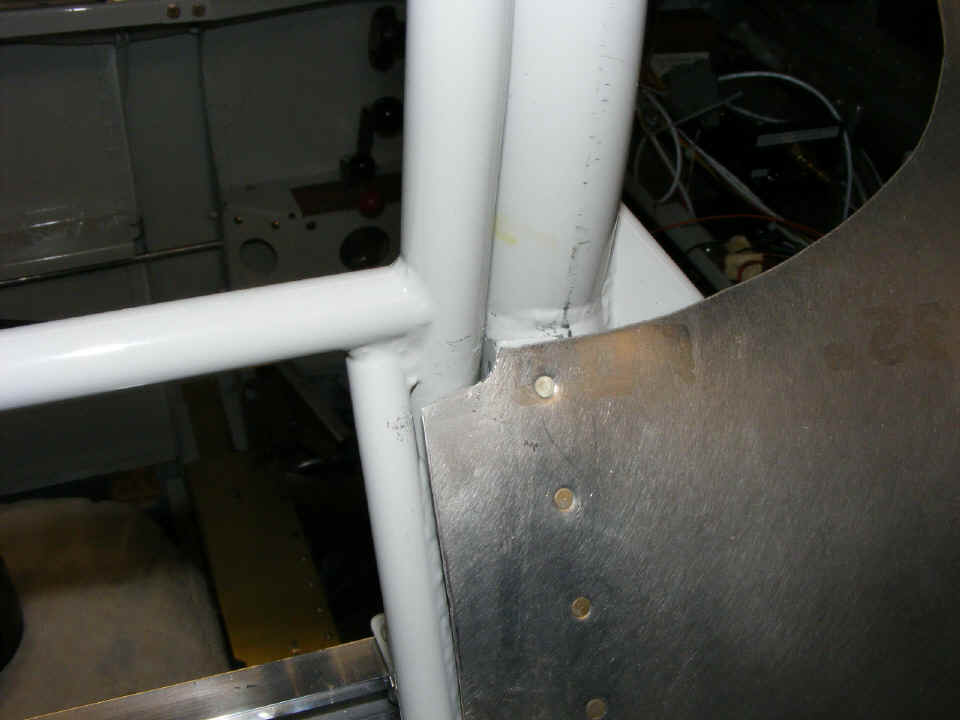
The rear edge of the forward top skin is being trimmed to clear the canopy
frame.
The baggage door final fit is in the schedule for Wendell's next day session.
We reviewed the procedures he will be doing to get the final fit of the door and
the method to secure that fit. It involves an epoxy-type glue as an intermediate
step.
July 11, 2007: There was not a lot of "work" done during our session tonight, but lots of blue print checking and instructions for the next few day sessions when Wendell will be doing his assigned tasks. We picked up the plexiglass canopy and set it on the fuselage for the first time. This made the RED trim lines on the canopy easy to see. Wendell could see the reason for the way it would be cut to fit the canopy frame and roll bar when the windshield is finally separated from the larger canopy section. I had him cut off a section of the scrap area of the plexiglass to get the idea of how the cutting process will happen. He has been reading about how the canopy frame has to be re-shaped at the back to be a certain height above the slide rail on the aft deck. He will be enlisting the aid of another RV-8 builder who has his airplane flying to get ideas of the best way to accomplish the changes needed. (Sorry, I forgot to take a picture of the canopy when we moved it to the fuselage. It now sits on a work table near the wings.)
As for the visuals tonight, here are a few photos to fill in the details of
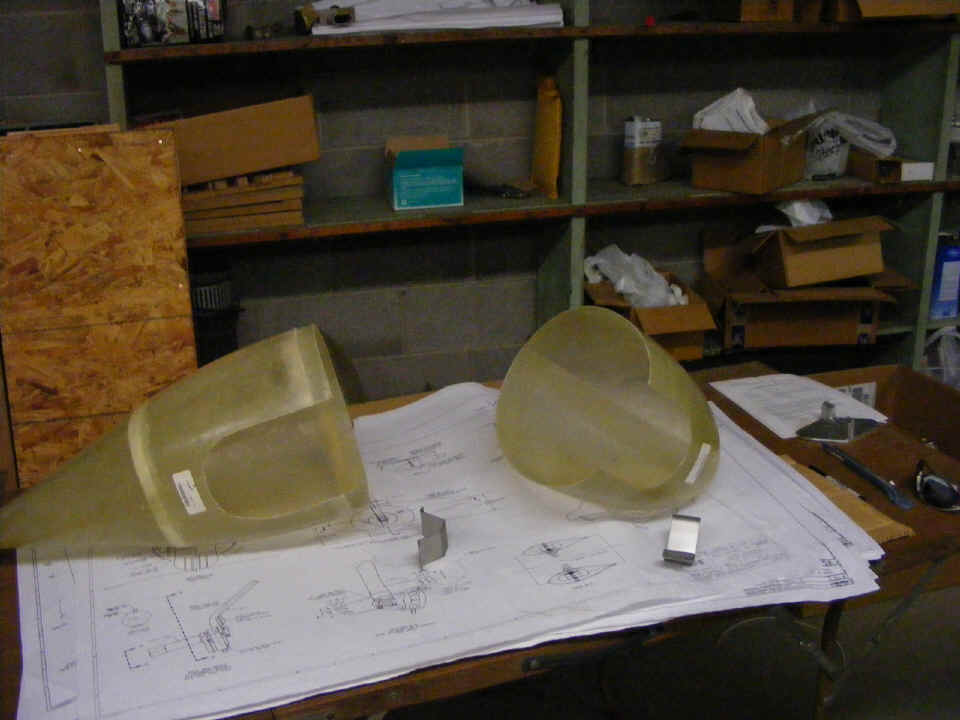
this Wednesday evening session. We talked about wheel pants and where the cut to the
aft section will be made to clear the landing gear leg. A centerline under the
fuselage must be laid out on the shop floor, along with the parallel lines fore and aft of
the main landing gear at the center of the tires. I gave specific instructions on
how to accomplish that procedure.
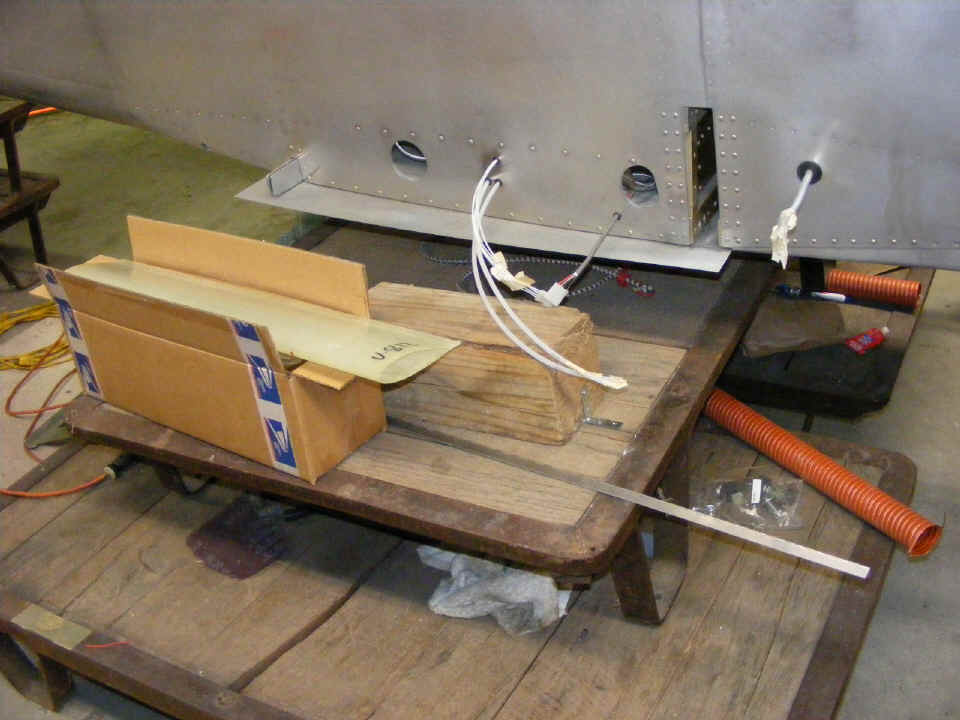
The gear leg fairings will be next after the wheel pants are properly
installed. The box contains the pre-formed gear leg intersection fairings from Bob
Snedaker's company "Fairings-Etc.".
Once we got into the box, it became apparent that the the final fit of the
intersection fairings must be made with the wing attached to the fuselage. Oh, well,
hurry up and wait. Wendell will be able to cut the trailing edges off the gear leg
fairings and cut them to length when the wheel fairings are installed.
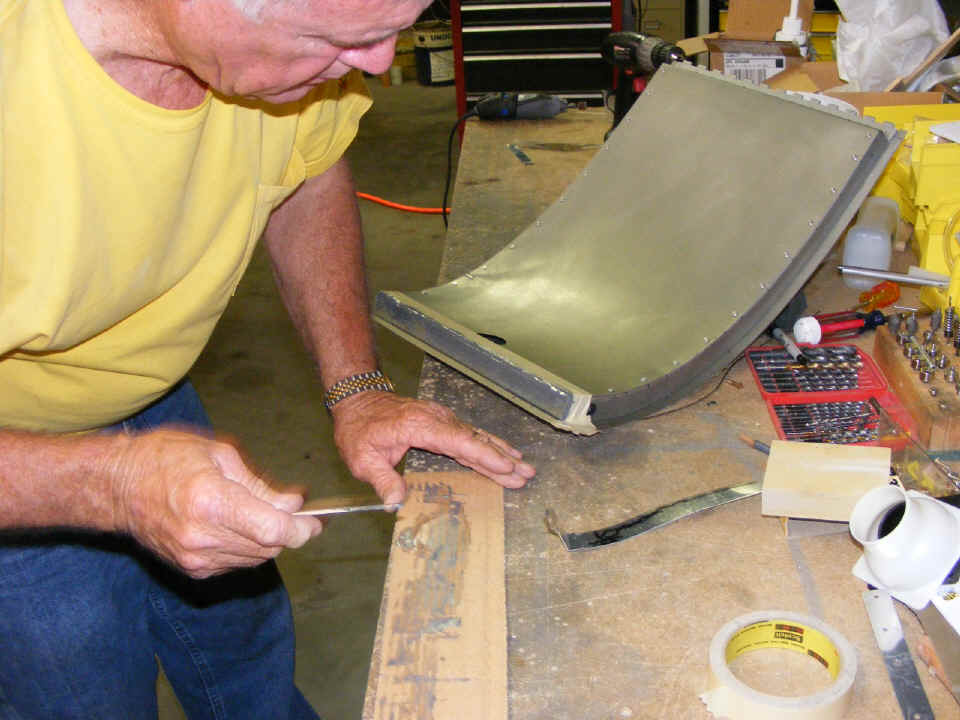
The lower end of the baggage door is being sealed with the epoxy formula from
JB Weld. We had tried to use blind rivets for that overlapped joint, and could not
get the desired fit. The epoxy made it an easy and precise fit. All the errant
pop-rivet holes now served to distribute the epoxy and bind the metal parts together.
When everything is cured properly, some blind rivets will be added to the layers of
epoxy and metal to insure the long-term fit and security of this joint.
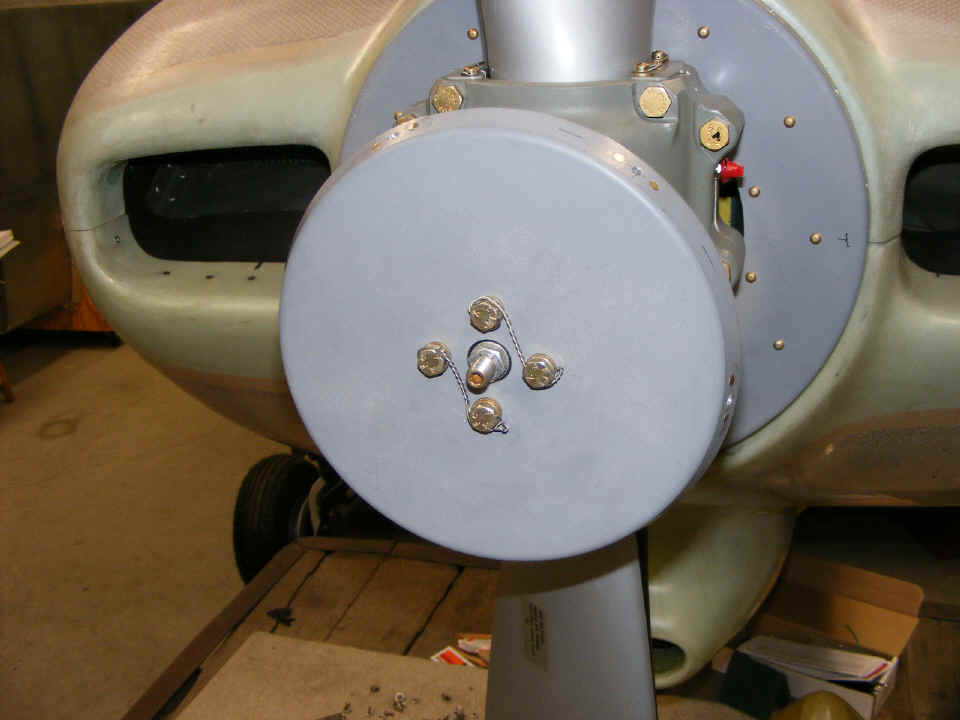
Fellow builder and A&P Rich Nadig dropped by to visit Wendell the other day
to properly torque the propeller bolts to the engine. The safety wire to those bolts
was added at that time. Wendell put the safety wire on the small bolts that hold the
front spinner bulkhead to the prop hub.
| CLICK for Folks PAGE 58 | Return to Other RV Menu | Return to Main Menu Page. |