Wendell Folks RV-8 Project - Page 36.
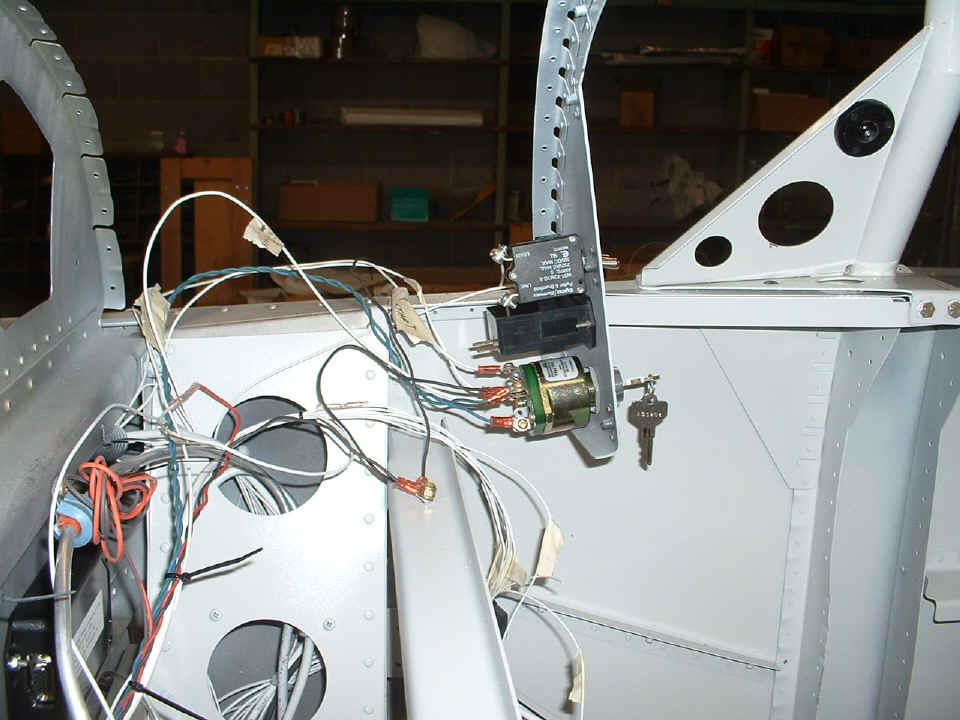
December 23, 2006: The focus today was on
wiring to something at last, not just pulling wires for future connections. The
outer instrument panel is clecoed in position to the sides of the fuselage allowing
connections to the starter switch, master switch and the alternator field control switch.
A ground wire connection has also been added behind the panel.
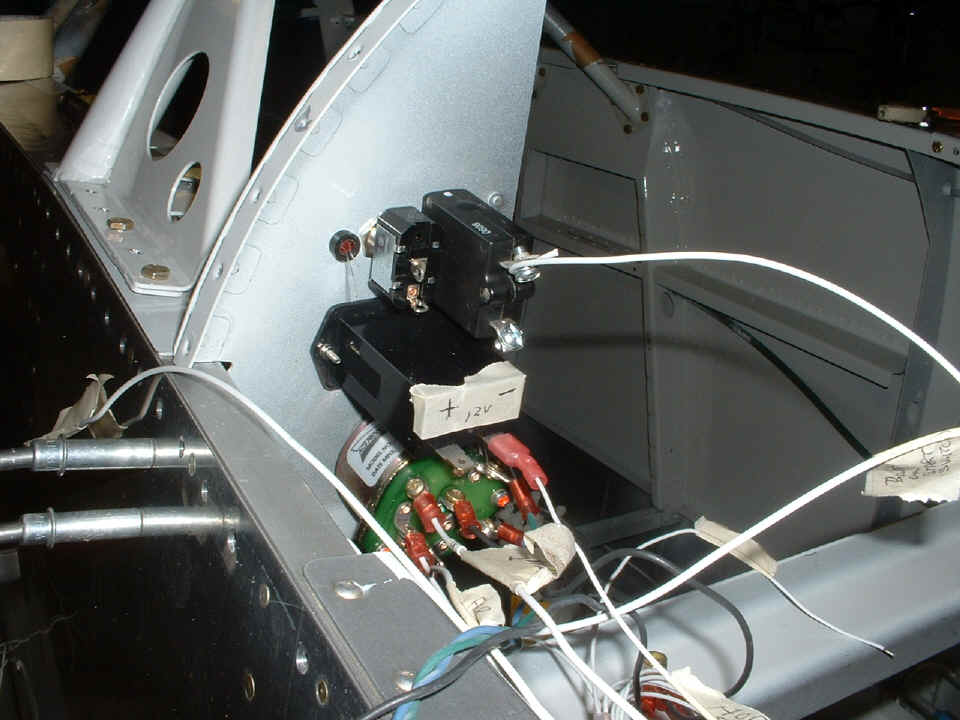
Behind the panel, the wires from the Lasar Ignition control module have been
connected to the circuit breaker on the master bus. The three wiring harnesses for
the Dynon D10-A, the Trio wing leveler, and the Trio altitude hold are all positioned
close to the instrument panel. Excess cable for those harnesses has been pulled from
the instrument area toward their termination points.
December 26, 2006: This
day after Chistmas is always a slow day "at the office" as usual. When 5
PM rolled around, I headed over to Wendell's workshop to help him with his airplane work.
He continues with the engine cooling baffles while I make sure more wires are put
in place. The oil pressure switch gets the wires connected to ground, the Hobbs
meter, and the low oil pressure warning light.
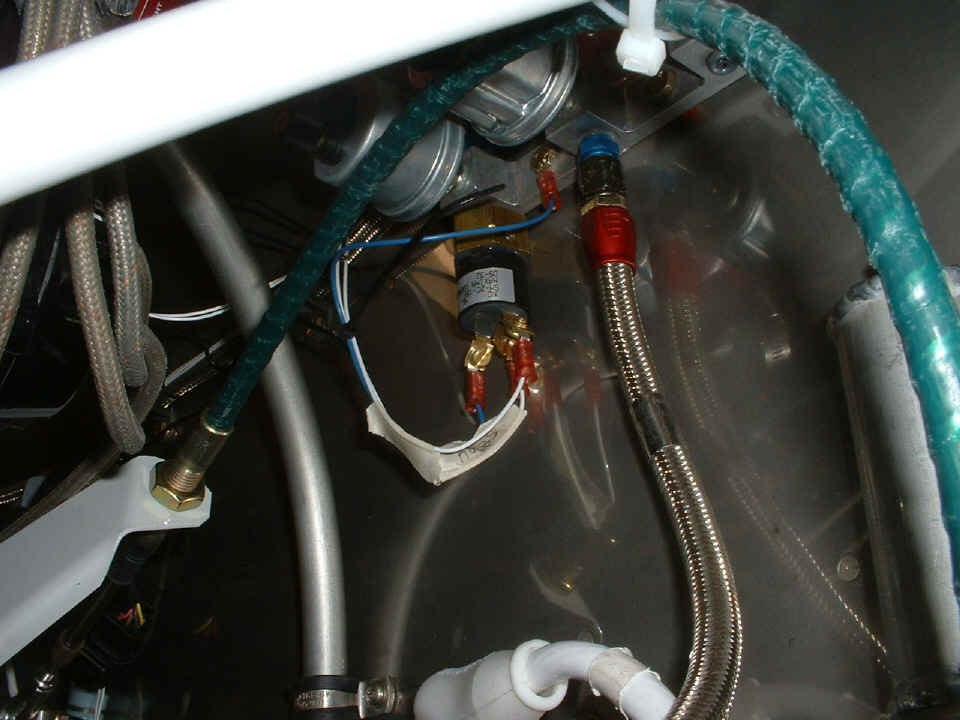
The new wires from the oil pressure switch are routed along with the oil temp
and carb temp probe wires. Wires still need to be added for the oil and fuel
pressure sensors. For now, the wires are tie-wrapped to the oil pressure hose.
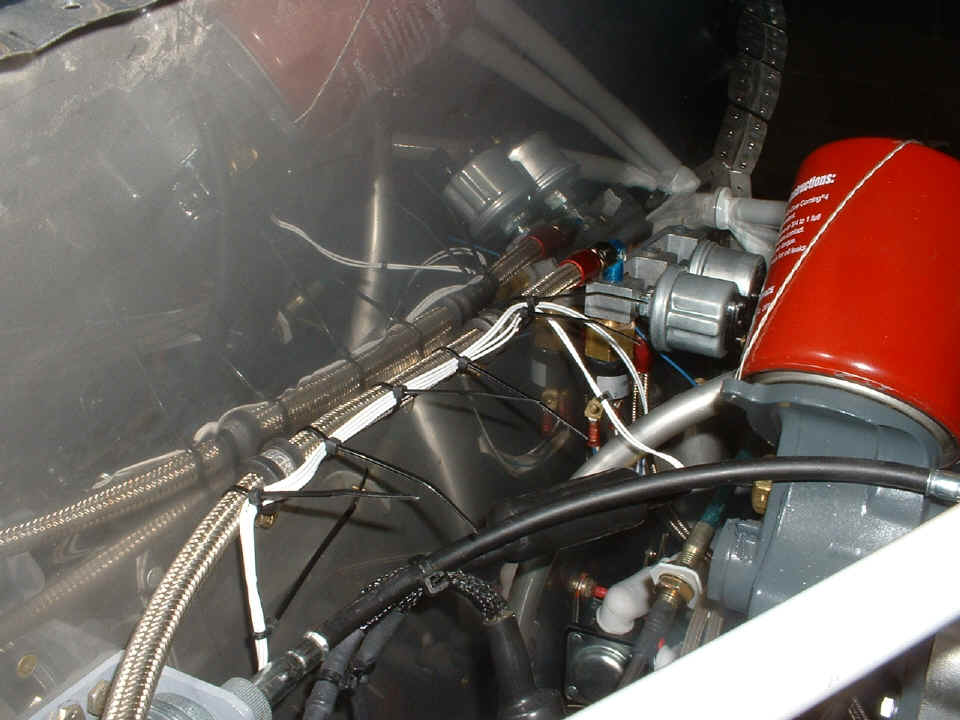
I can see that new ansel clamps will need to be installed just for the growing
bundle of wires. We still have eight additional wires to install to connect the EGT
and CHT probles on cylinders 2 and 4 on the left side of the engine.
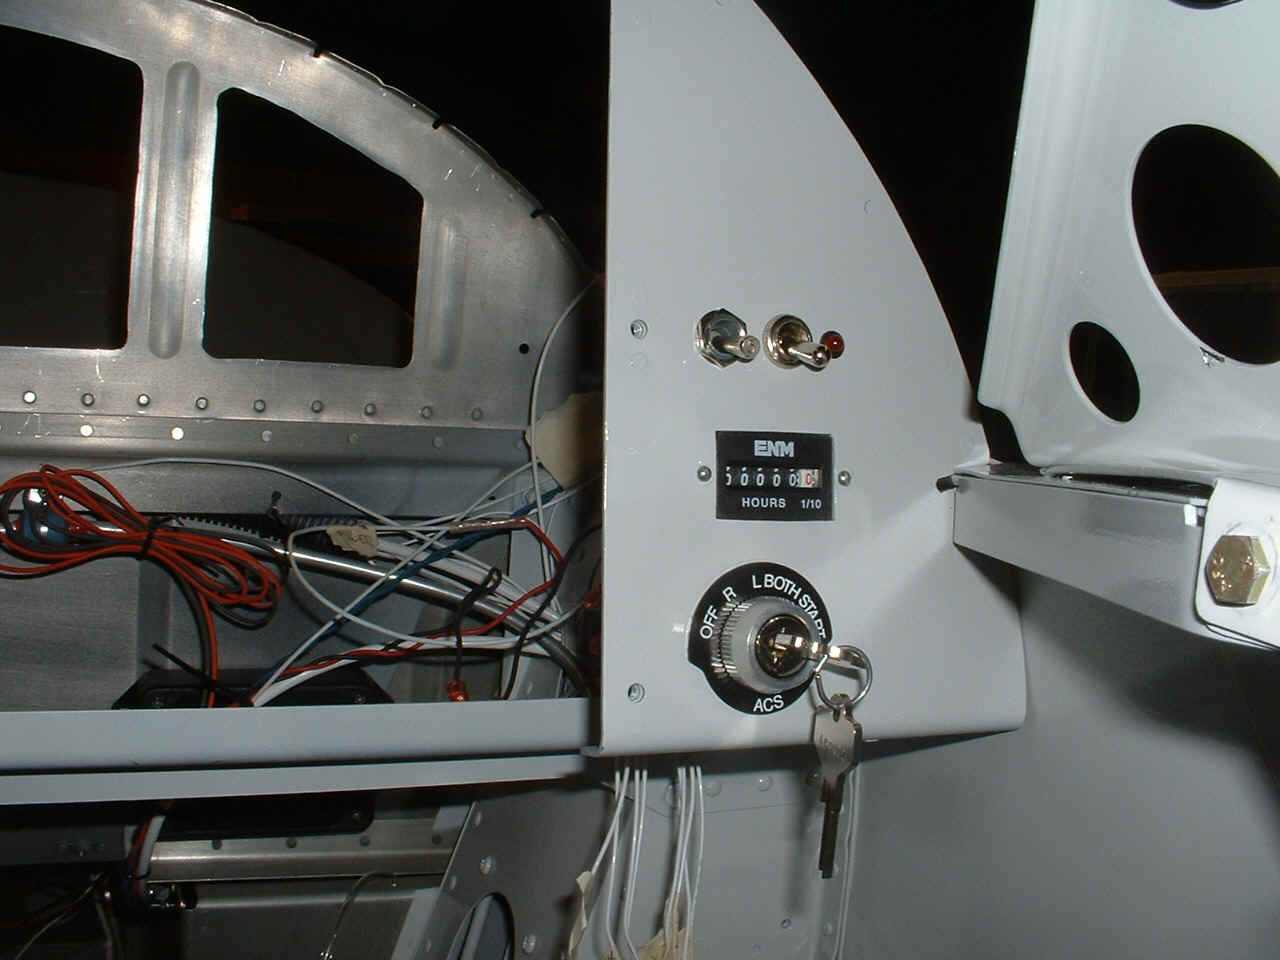
Here is the terminating point for one of the wires from the oil pressure switch
-- the negative terminal of the Hobbs meter. The power terminals on the Hobbs meter
were not marked in any way. I went online to get the drawings to be sure which was
positive and which was negative.
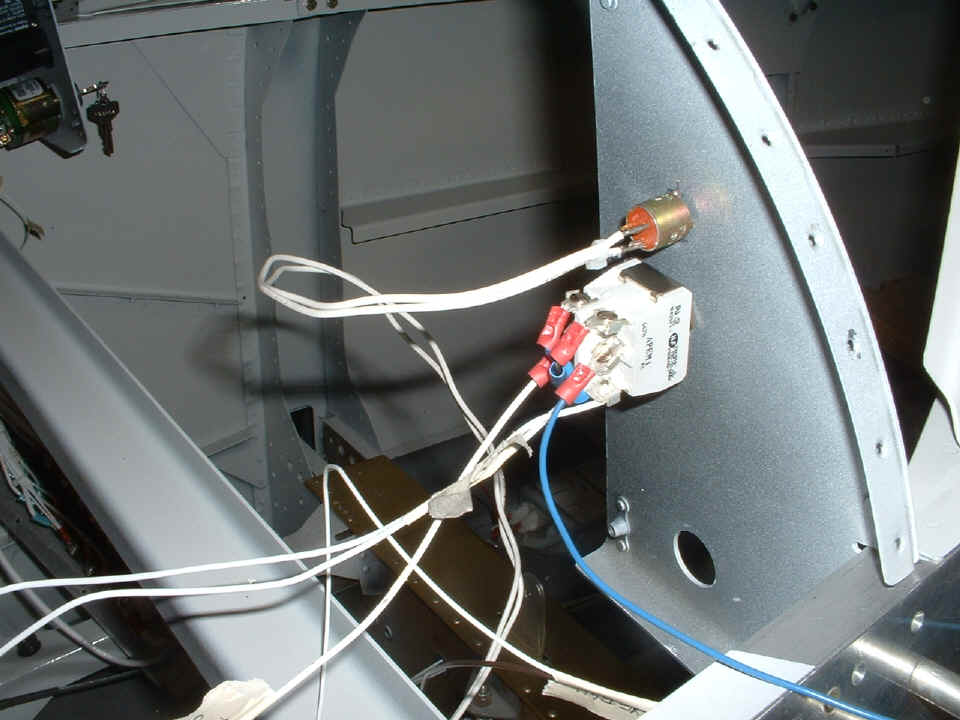
The flap control switch is now wired to the circuit breaker panel and to the
two wires that go to the flap motor. The blue wire will go to chassis ground to
complete the circuit.
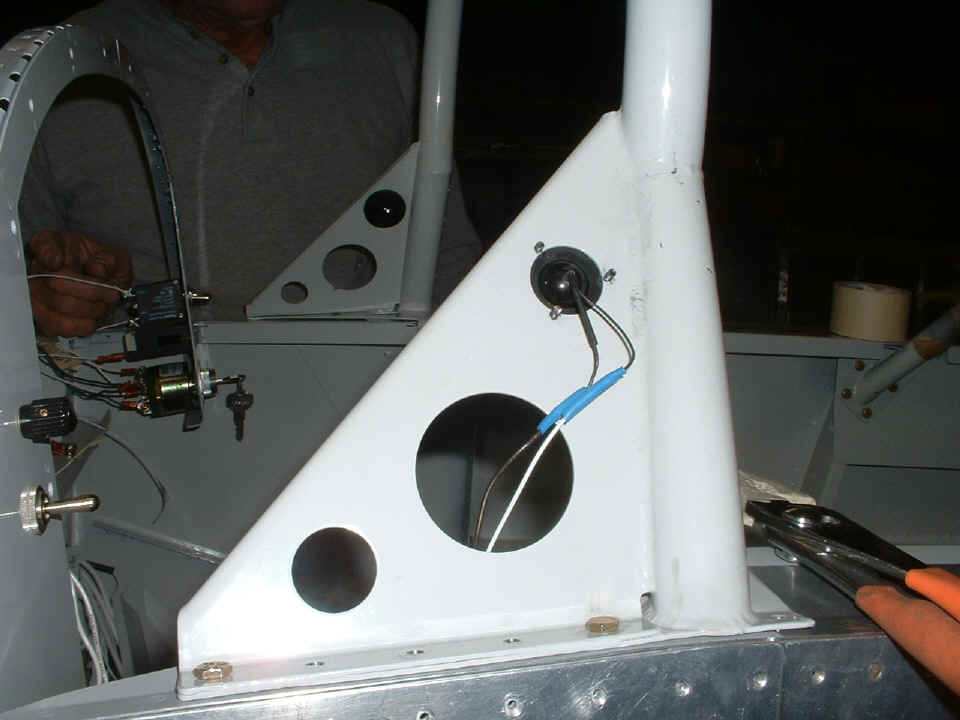
The last of the wiring completed tonight was on the eyeball light on the left
side. The wire gauge is small on these lights. The soldering iron and some
heat shrink was the best way to connect the lights to the 22 gauge Tefzel wire from the
switch panel. I made sure there is enough slack in the wires behind the instrument
panel to allow removal and replacement of the lights if one should ever burn out.
When the forward top skin is riveted in place, the only way to access these lights
for service is from inside the cockpit.
| CLICK for Folks PAGE 37 | Return to Other RV Menu | Return to Main Menu Page. |