Wendell Folks RV-8 Project - Page 7.
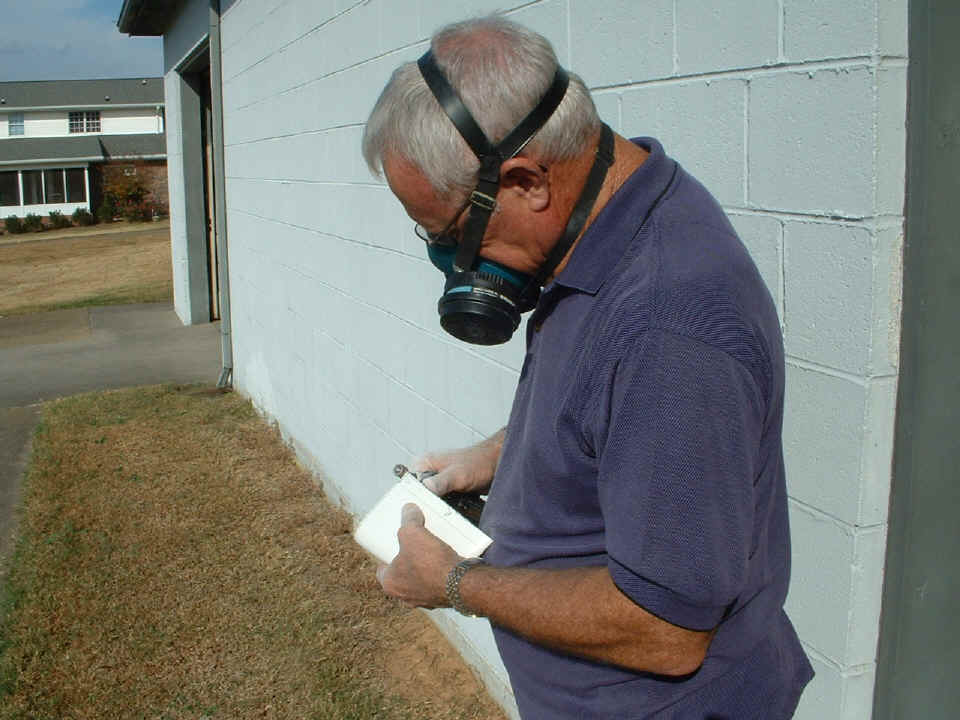
November 8, 2005: This is the first day I
put Wendell to work on trimming the fiberglass tips for the horizontal stabilizer and the
elevators. I started with the basic use of the Dremel sanding drum and the hazards
of the fine dust from the fiberglass and epoxy resins from trimming the parts.
Each piece gets a trial fit as the edges are trimmed to allow free movement of
the elevators.
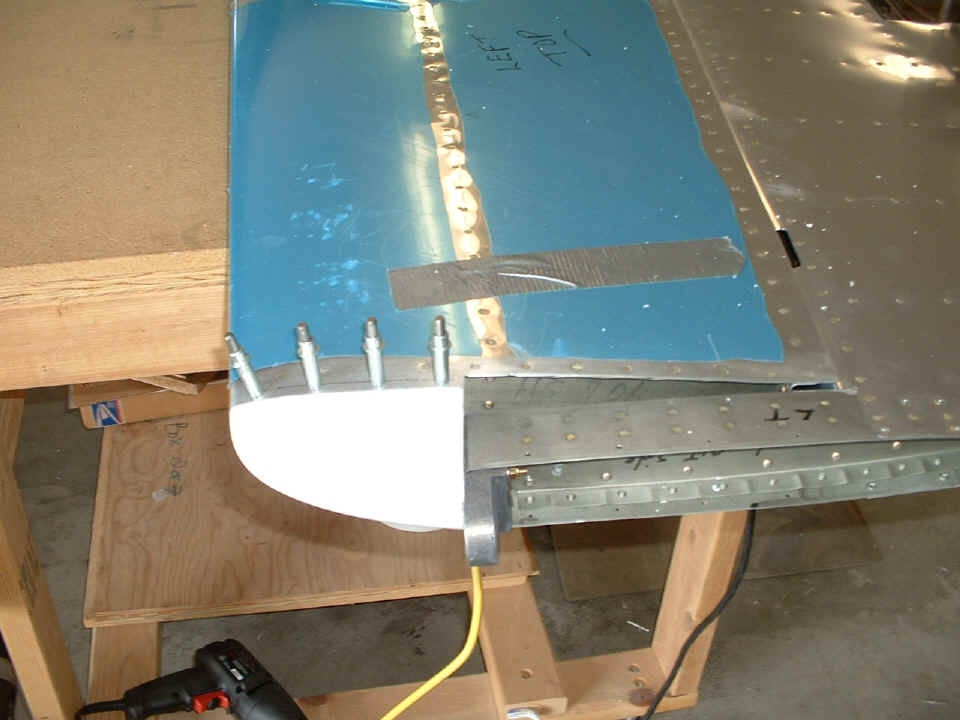
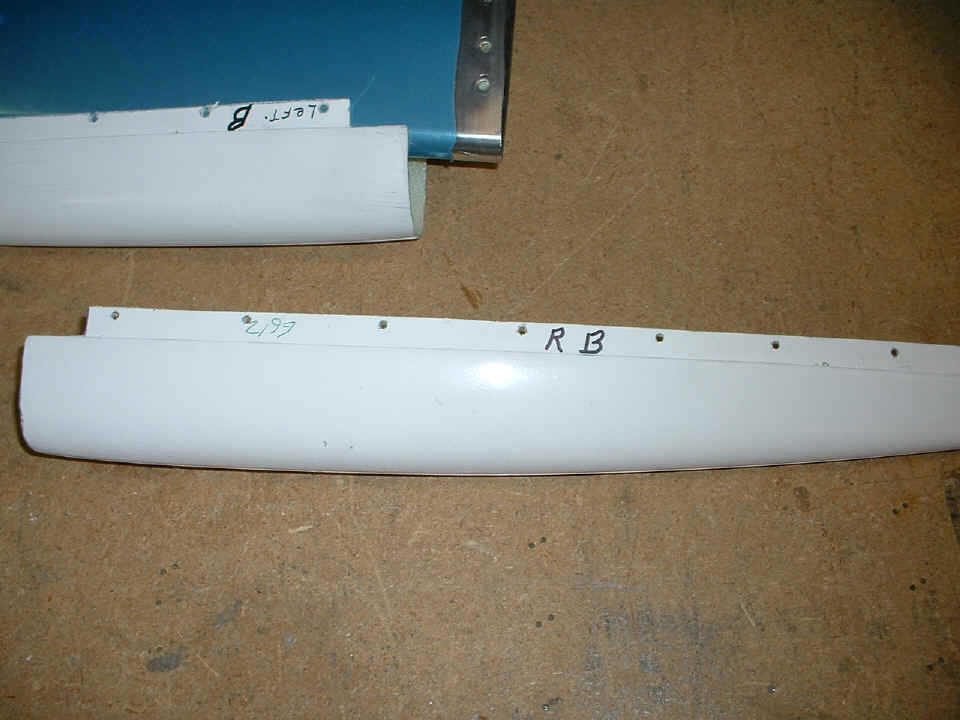
Next item to get the treatment is the fiberglass elevator tip.

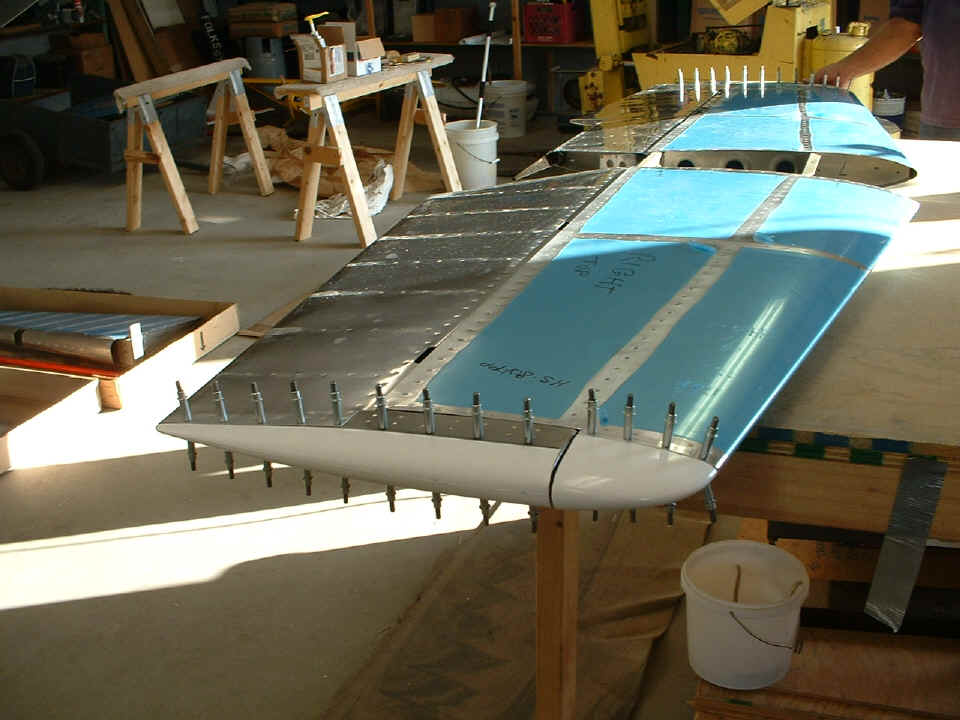
After repeating the process for both sides of the elevators and horizontal
stabilizer, it was time to enlarge the holes to accept the CS4-4 blind rivets that will
finally secure the fiberglass parts to the stabilizer and elevators. After the photo
below was taken, each silver cleco was removed one-by-one, the hole was enlarged with a
#30 drill bit, then a copper cleco was inserted. When all the holes were enlarged at
the tips of the elevators and the horizontal stabilizers, the fiberglass parts were
removed. The holes were then deburred and dimpled.
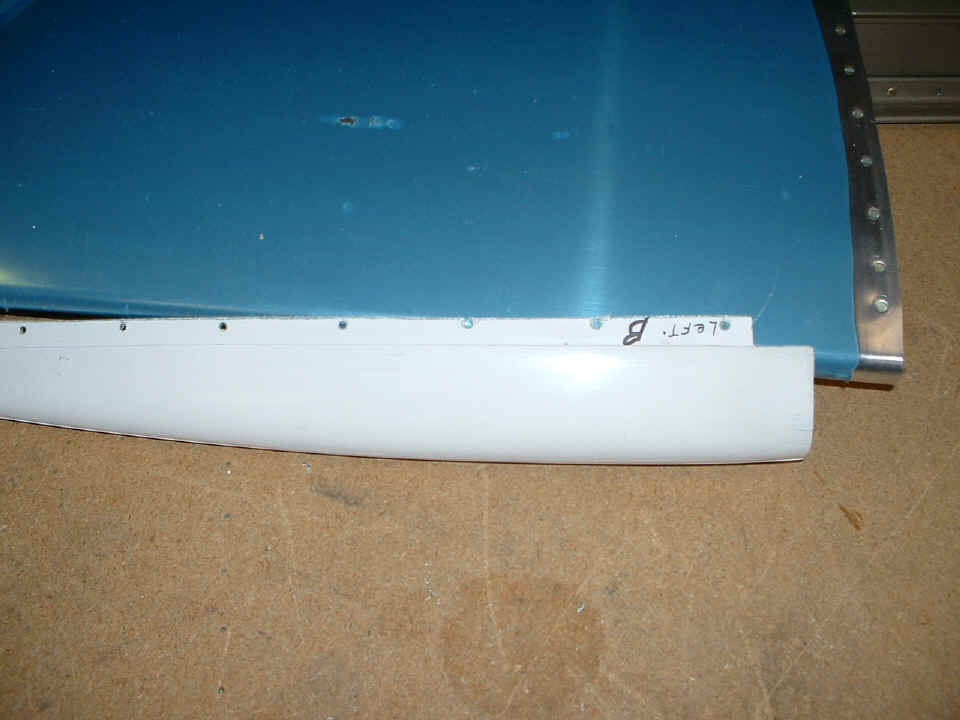
The elevator tips had recessed mounting flanges measuring only 1/2 an inch
wide. The horizontal stabilizer tips measured 5/8" wide at the flanges.
This made for excellent hole positions on the HS tips, but the elevator tips came up
wanting on some of the holes. This gives me a chance to show Wendell how to
reinforce the edges from the inside with epoxy and fiberglass. I had to do the same
thing on a portion of my RV-9A wing tips.
The right elevator tip had just a bit more material to work with, meaning none
of the holes broke during the countersinking of the rivet holes in the fiberglass
material.
| CLICK for Folks PAGE 8 | Return to Other RV Menu | Return to Main Menu Page. |