A Little Bit of Maintenance · · PAGE 379.
July 4, 2014: This is Independence Day for the USA and a holiday on a Friday this year to take time off and celebrate. I published PAGE 377 this morning.
I took some time this morning to update this virtual computer I use to publish my web site. I have been working on a couple of computers this week for a friend and one for my step son that had become very slow. I had to repair Windows update on the first computer. When that was done, 132 files were downloaded and installed to bring Windows XP up to date. It had not been used in about three years. During all that work, I noticed the first two computers had the Avast anti-virus program on them, which I updated as part of the clean-up process. The second computer downloaded 50 files from the Windows update web site. I discovered how much faster the computers booted to a usable level for programs. Avast allows the computer to get up and running before beginning a scan for viruses. That scan is controlled so as not to use up all the microprocessor capabilities. That is a good thing as the scan takes place in the background with a minimal impact on primary running applications.
As a result of the findings above, I changed from Avira to Avast on my network print server computer, and my old IBM T23 laptop computer which was the previous platform to publish this web site. Both computers now boot much faster as described above. I tried Avast a few years ago and was not happy with it at that time. The changes made to the program since then have made it the most popular A/V program in use today. I researched Avast on Wikipedia and discovered the story of the evolution of the program and the company that created it.
I have one more computer in the house that needs to be updated to Avast later today when my wife is not using it. I also want to take a ride up to the airport this weekend to measure the access panels on the front of my fuselage. I received an email from another RV-9A pilot in Roanoke, Virginia who wants to modify his airplane with the same type of access panels. He was looking at my web site on PAGE 95 to see how I did it back on February 21, 2005. IF you are interested in this part of my airplane, visit that web page for a look into my past while building the airplane.
July 6, 2014: Sundays give me some free time
to update the web site. Yesterday being Saturday, I got a fresh haircut and headed
to the airport in some old clothes to work on the airplane. When I had my flight
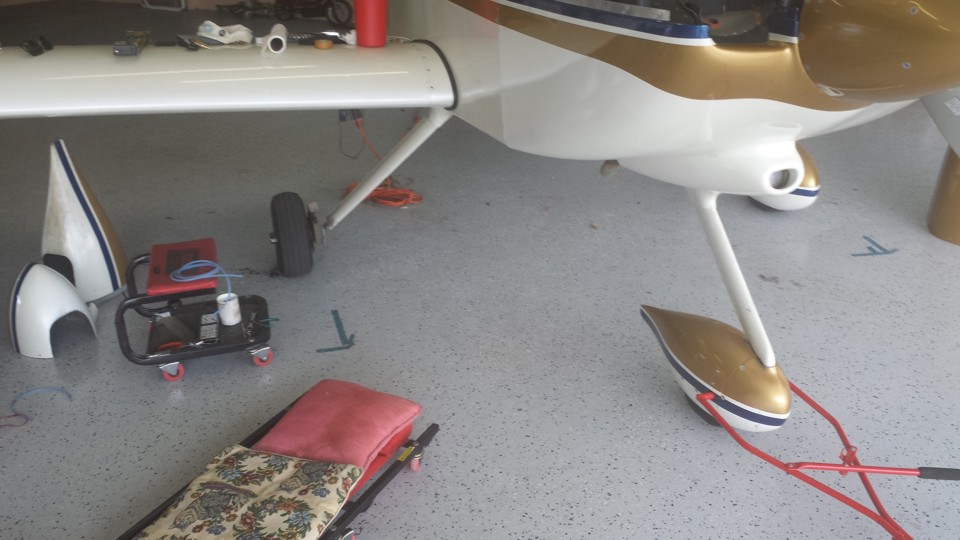
last Saturday, I notice the right brake pedal action was soft. When I got to the
hangar today, I took off the right wheel fairing and gained access to the brake bleed
valve. I pumped some extra brake fluid into the line until it would not take any
more. I closed the bleed valve and climbed into the pilot seat to find both brakes
now have solid pedal. I moved over to the passenger side and found both pedals to be
soft and ineffective. At that point I laid down in the seats with my head over on
the pilot's side of the cabin and my legs up to the canopy slide rail with my lower legs
bent out the right side of the fuselage. I describe this since I did not take any
photos at that time. I took the photos below with my Samsung Galaxy S4 smart phone.

I used my flash light to examine the two brake lines between the rudder pedals
and confirmed both of the nylon lines had air in them and just a little bit of brake
fluid. I got my oil can that has ONLY been used for brake fluid and proceeded to
fill both lines from the pilot's side to the passenger side. I could see fluid
passing through the two brake cylinders over there and up toward the brake fluid reservoir
on the other side of the firewall. I later went outside to be sure the reservoir was
topped off with fluid. It is seen here with the vented cap secured before putting
the top cowling back in place.
I made one more final check of the brake pedals before putting the upper cowling back in place. I also made sure all the tires were inflated to proper pressure.
One other thing to note was a very heavy thunder storm that came to the Rockledge airport yesterday afternoon as I was finishing my work on the airplane. I put the hangar door down when it really started blowing. I even had to close the back door to the hangar as rain was blowing in there. With a metal roof and heavy rain, the noise inside the hangar was a problem. I did not hear my phone ringing when my wife called. I used the other smart phone to look at the weather radar of the storm and got all my stuff ready to pack into the car as soon as possible. It was around 6:15 PM when the weather changed to a very light rain. At that point I opened the hangar door and brought my car from the parking lot over to the hangar. I backed the car inside to load my stuff before heading home.
I did take a couple of photos for the RV-9A builder in Roanoke to show how the
hatches between the firewall and the instrument panel are cut into the forward skin of the
fuselage. I remembered my thinking of how I chose the dimensions back on page 95.
I made an arbitrary choice for the width of the skin panels to be 6.5 inches with
the top edge of the panel cut to be parallel with the line of rivets on the nearest rib
under the aluminum skin between the firewall and the instrument panel. The lower
edge of the access panel was cut to be parallel with longeron rivets. I used about
3.5 inches as the distance from the firewall, longeron, and ribs for the edges of the
access panels. Three inches of clearance would also have worked, which would allow
for a larger access panel. The photo below shows these clearances around the panel
from all the rows of rivets to the internal structure, plus in front of the windshield and
the fiberglass fairing that is under the paint.
This next photo is a bit closer and a different angle to show rivet details.
As you can see from the chipped paint, I had to open the panel on the right side to
add some connections in the radio stack.
The access panel on the pilot's side has never been opened since the airplane
was painted.
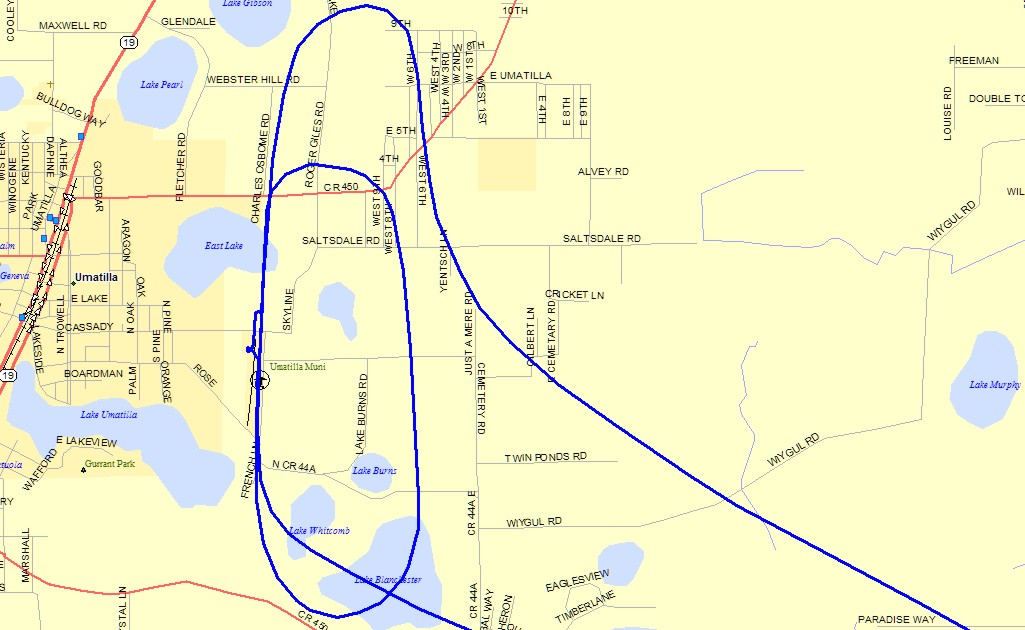
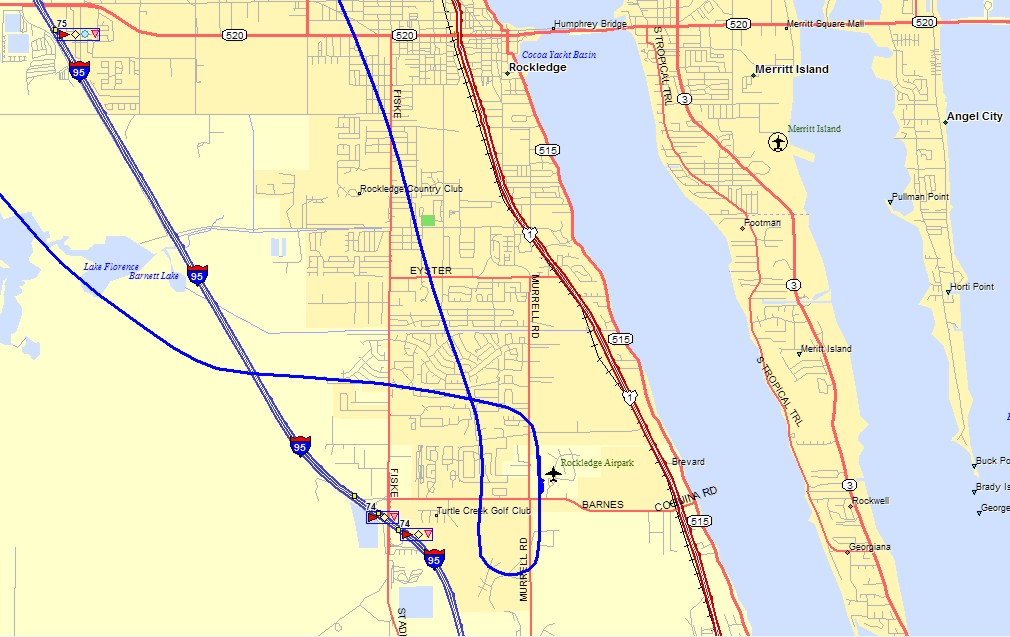
The other thing I did today (Sunday) was learning some extra details about networking with the virtual computer that is used to publish this web site. My photo processing software is on my real computer. I needed to be able to send photos and files to the virtual computer. I found one box in Windows 8.1 that needed to be checked which got everything moving smoothly. I also used my new USB to RS-232 device to download GPS ground tracks to my old mapping program that I use for the maps on the web site. The two maps I added to page 378 today were a result of that download. I no longer need to use my old IBM T23 computer which has a real RS-232 port. What this means is that I now have access to all the features I need on the NEW laptop computer!
I talked with a couple of the local pilots before I began work on the airplane. They mentioned that Billy had sold the remains of his airplane to Aventura, the company that built the hull and the wings on the airplane that crashed. They plan to rebuild the airplane and get it flying again.
July 19, 2014: This
Saturday was the first flight after topping off the brake fluid as seen above. Both
brakes were firm on the landing at Umatilla (X23) to fill up the fuel tanks with 100
low-lead AVGAS. I heard a radio call from a Cessna Cardinal landing there as I was
about 4 miles from the airport. I called to him as I was entering the downwind to
let him know I would extend my downwind to give him time to taxi back to the ramp.
The runway does not have a parallel taxiway south of the ramp. The wind was favoring
an approach from the north. I pulled into the parking area north of the fuel pump
ramp and went over to visit the pilot and his young eagle passenger.
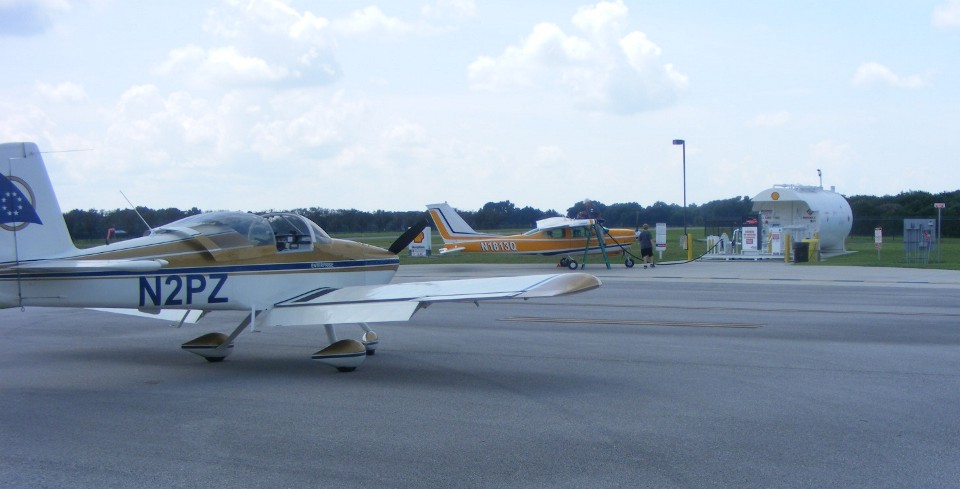
You can see Charles is finished fueling as I took this photo. All he has
to do is remove the wheel chocks and taxi back to the runway. He asked me if I
wanted him to pull the airplane out by hand. I replied that I had parked near the
hangar to allow him to crank the engine and taxi out.
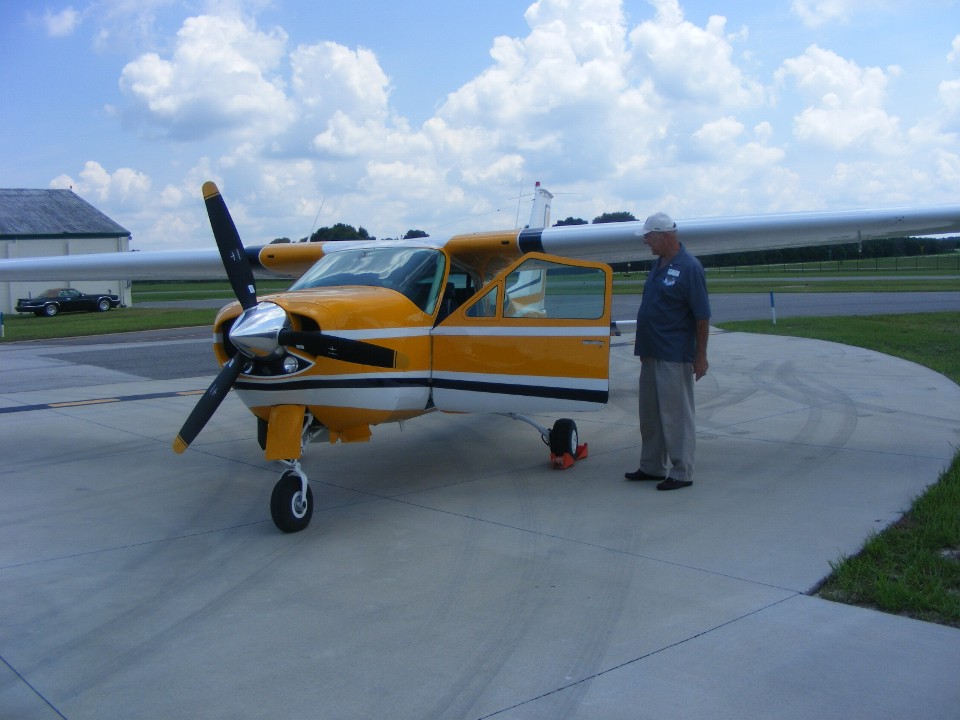
I filled my tanks and took off, remaining in the pattern for one touch and go
landing before departing the pattern. It was really hot today and the oil
temperature alarm light came on during the climb out after the T&G. I backed off
the power setting and made the rate of climb a bit less to cool down the engine as I
headed for home.
I was cruising past the north side of the Orlando Class B and Sanford Class C
air space as I snapped this photo looking across the lake toward the town of Sanford,
Florida.
I took this photo about two minutes later when I was due north of the Sanford
airport. It is hard to make it out in the haze, so I outlined it on this photo.
One runway is near the center of my outline pointing north directly toward my
location, and the other is an east/west runway.
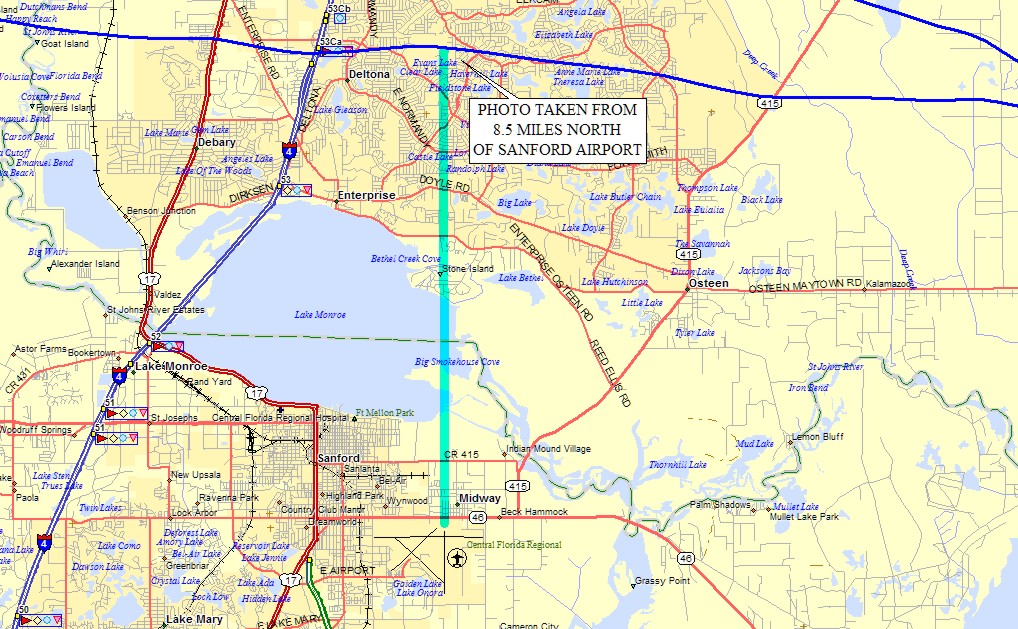
I flew about 26 miles from the photo above until I turned south over the Indian
River Lagoon and took this photo. The area above the river is usually clear of
clouds except when a thunder storm passes by.
I was descending on a path that follows US 1 and the river. This path
keeps me west of the airport traffic pattern at the Merritt Island Airport (KCOI). I
took this next photo near the Titusville Executive Airport (TIX). I stayed above
their Class D air space before my final descent to pattern altitude at Rockledge Airport.
Staying over the river gives a smoother ride and I remain clear of the clouds in
VFR conditions. As most pilots know, the ride gets bumpy in the air below the
clouds.
I landed on runway 36 back at Rockledge with my third greaser landing for the
day. There is usually some turbulence from the trees when landing at Rockledge.
The air gets smoother in the last few feet above the runway. The Hobbs meter
added 1.6 hours today for a total time of 357.8 hours.
My wife received her new computer Friday, July 18. I was busy for the next week moving her files to the new HP Envy laptop computer and getting it customized the way she wants.
As I write publish the web update on July 26, AirVenture 2014 at Oshkosh is happening next week. I will not be going this year. Sorry guys, maybe next year.
| CLICK HERE for PAGE 380 | Return to MAIN MENU |