FINISHING - Page 93.
February 17, 2005: I got back from my
business trip VERY late or EARLY depending on how you look at it. Starting a
648-mile trip at 2:15 PM makes for a long run. Anyway, the result was no work on the
airplane the first night back. I did get in 3.7 hours this evening and finished up
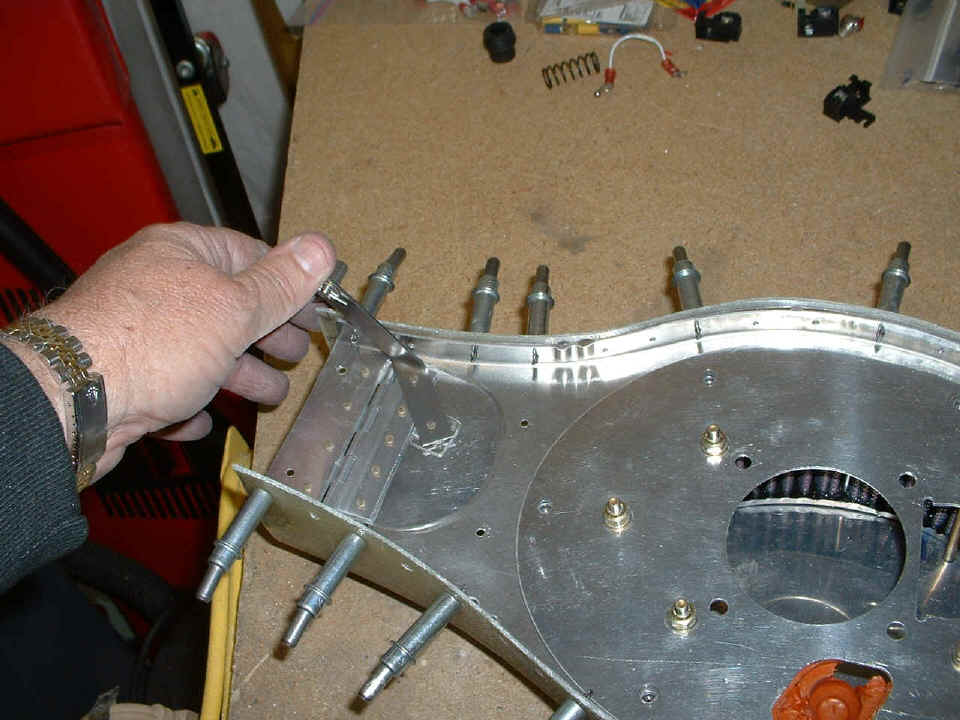
most of the work on the Filtered Air Box (FAB). It now has a carb heat door after
building a second one to get it "perfect" as much as I could. Here you see
it in the carb heat position.
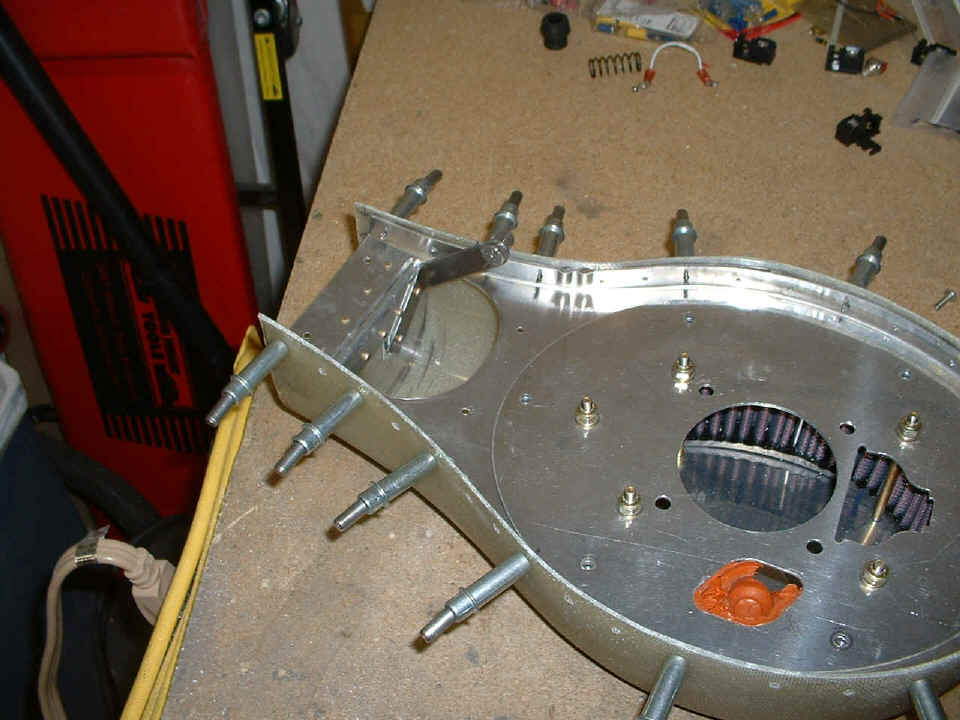
Here is the normal position of the carb heat door for ram air into the filtered
air box.
Here is the front view of the carb heat door after the fiberglass box and the
filter plate are riveted together. The first door had a gap on one side that was
about 1/16". As you can see, the second door is a much closer fit.
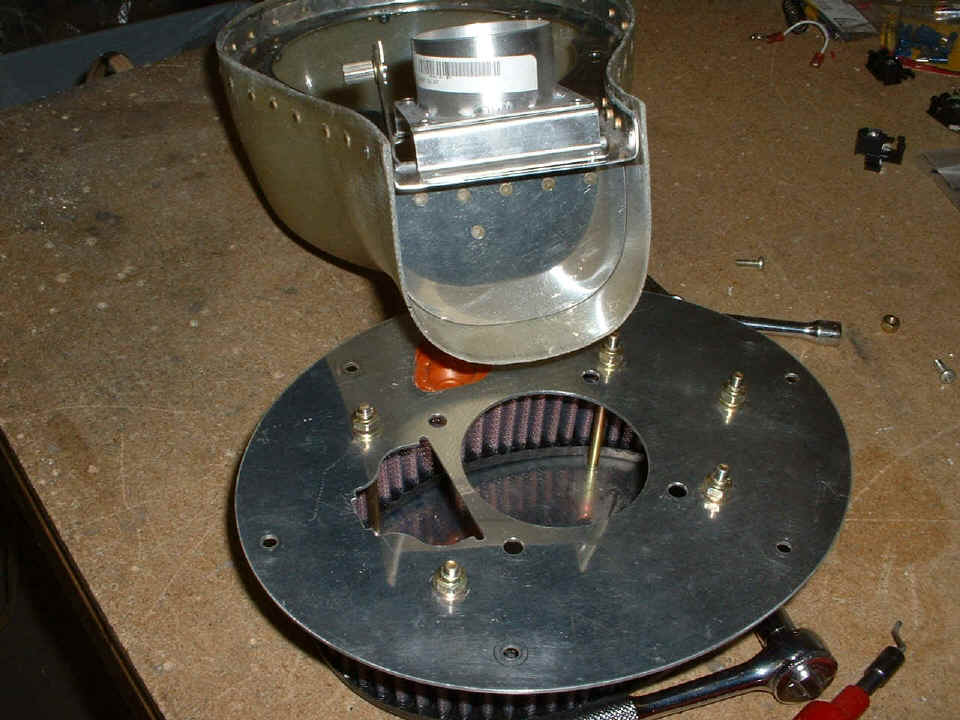
Here is the overview of the riveted assembly. The last thing to put on is
the air seal fabric after I fiberglass the lower inlet on the cowl to form the ram air
intake for the FAB and carburetor. It is good to be making progress again.

I made a call to Van's Aircraft technical assistance just after 6:30 PM Eastern time and got some good advice on the FAB, and a problem that I will face when it is time to put the wings on. It involves saw horses and getting the landing gear off the ground to assure an easy fit of the bolts through the wing spars and carry-through spars, and through the steel weldments that secure the main landing gear legs. The weldments have moved a bit since I bolted them to the carry-through spars. More about that when the wings go in.
February 18, 2005: As
usual, Friday night has other demands and the session was short as usual. I removed
the carb float bowl drain plug and put some fuel lube on the threads to insure against
possible fuel leaks. I put the filter mounting plate on the carb with some RED RTV
to seal the aft cutout in the plate seen in the photo above. I bolted the entire FAB
assembly together and looked at the fit between the carb heat muff that is secured to one
of the crossover header pipes from the exhaust system. The muff needed to be shorter
by about one inch.
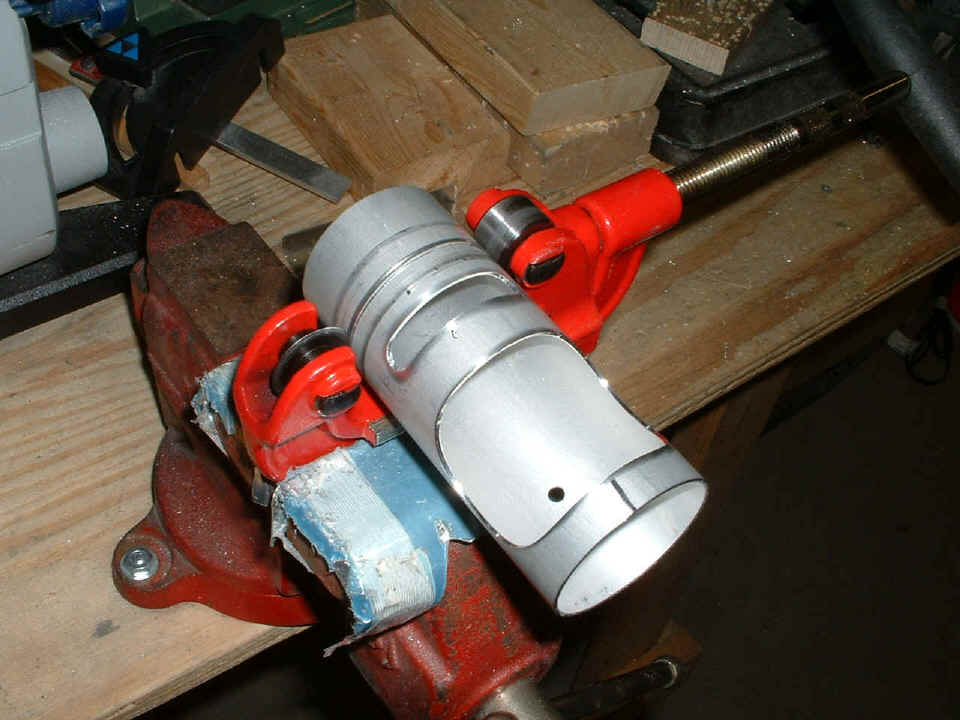
I found it to be easier to clamp the pipe cutter in the vise, put on my leather
gloves and turn the pipe in the cutter with gloved hands, not the other way around.
I did this to minimize the chances for deforming the muff pipe.
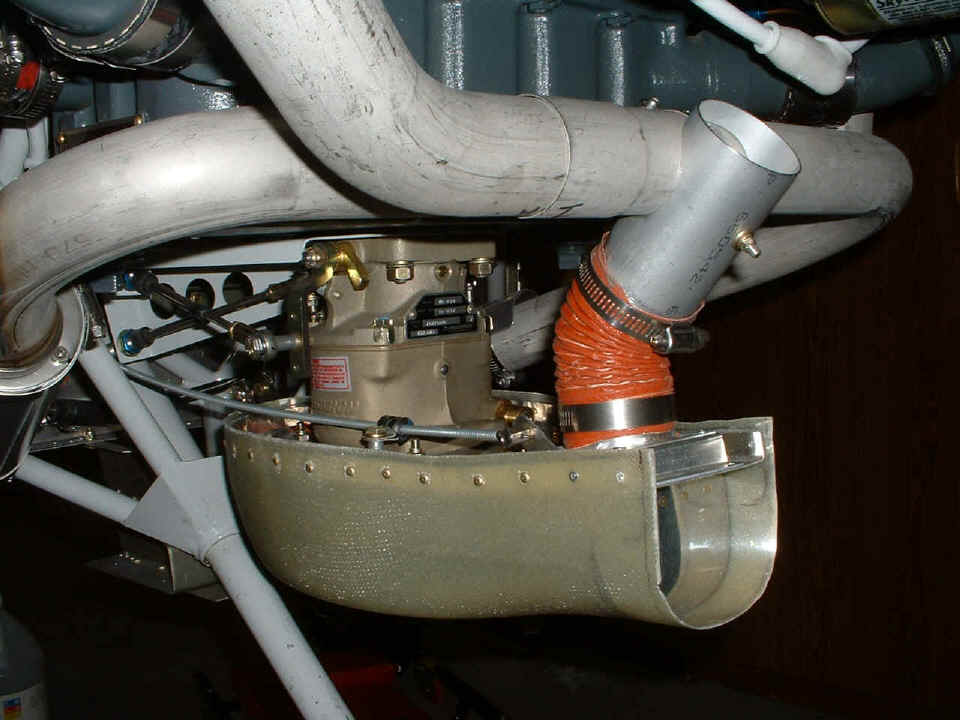
Here is the end result after everything was completed, including cutting the
carb heat control cable to the proper length. The carb heat door is shown in the closed
position. The black knob on the throttle quadrant is pulled out to close the door.
Pushing the cable all the way in opens the door for ram air in from the lower cowl
scoop.
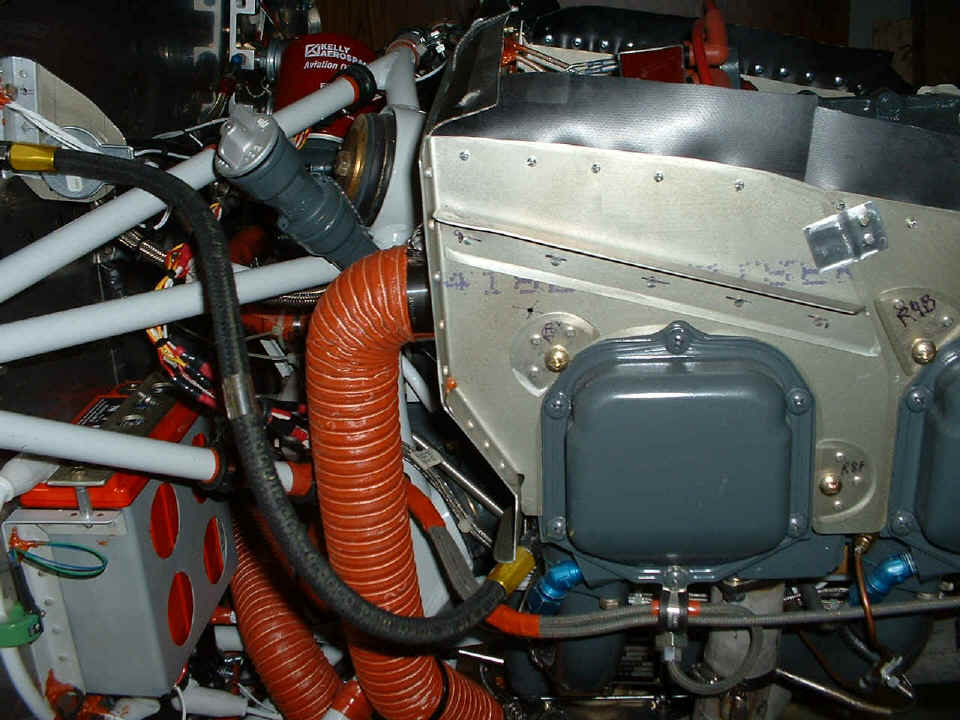
During the visit from David Edgemon, he suggested that I replace the clear
plastic tubing wrapped around the spark plug wired with the RED high-temperature silicone tape you see
wrapped around the spark plug wires in the photo below. One of them does not show in
this photo, but two wire clamps were relocated behind the long red SCAT tube near the
center of this photo. This provided some clearance between the tube and the two
spark plugs wires on this side of the engine.
I have some similar work to do on the other side of the engine in my Saturday
session tomorrow, and then it is time to fit the cowling again in preparation for some
fiberglass work. That will be the air scoop for air going into the filtered air box.
| CLICK HERE for Finishing page 94. | RETURN to MAIN MENU. |