Wendell Folks RV-8 Project - Page 58.
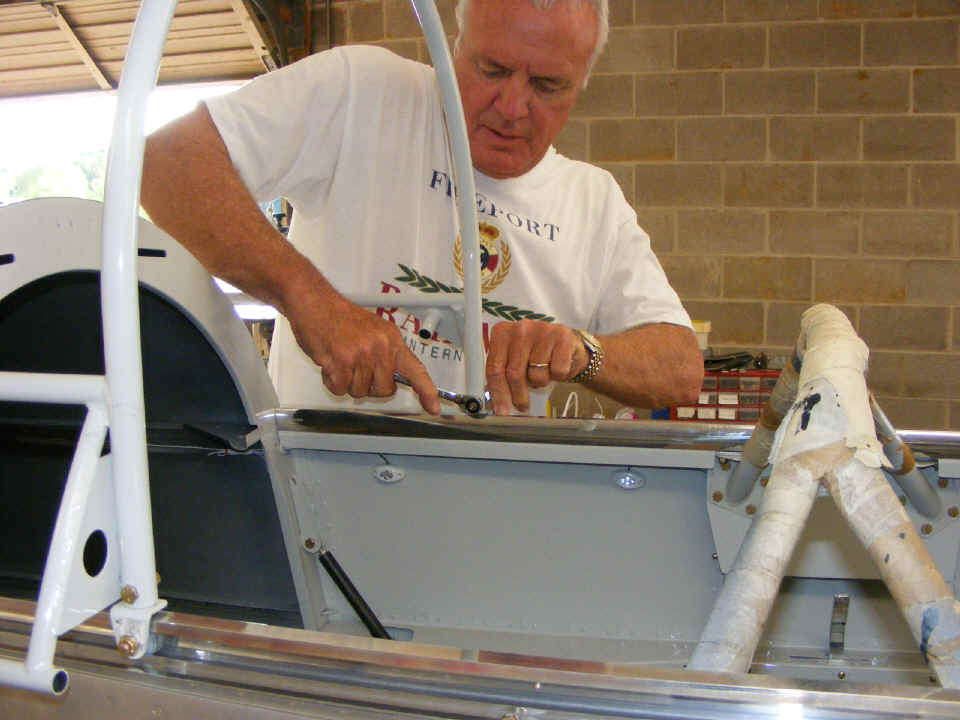
July 12, 2007: This was the evening the rear
of the canopy frame was bent to the proper shape. Van's plans called for the canopy
frame to clear the slide rail by 5/8" to 3/4" above the rail. It was
easier to remove the two bolts that hold the frame to the rollers than to take off the
canopy rails. We placed the rear of the canopy frame upside down on a carpet place
on one of his freight pallets seen in so many of the photos in his pages. I was busy
standing on the rear of the canopy frame when Wendell was pulling up on it to get it to
the right shape. That is why you dont see a photo of the frame during the bending
process. The final result: the actual clearance of the frame was 11/16"
and exactly in the middle of the desired clearance range.
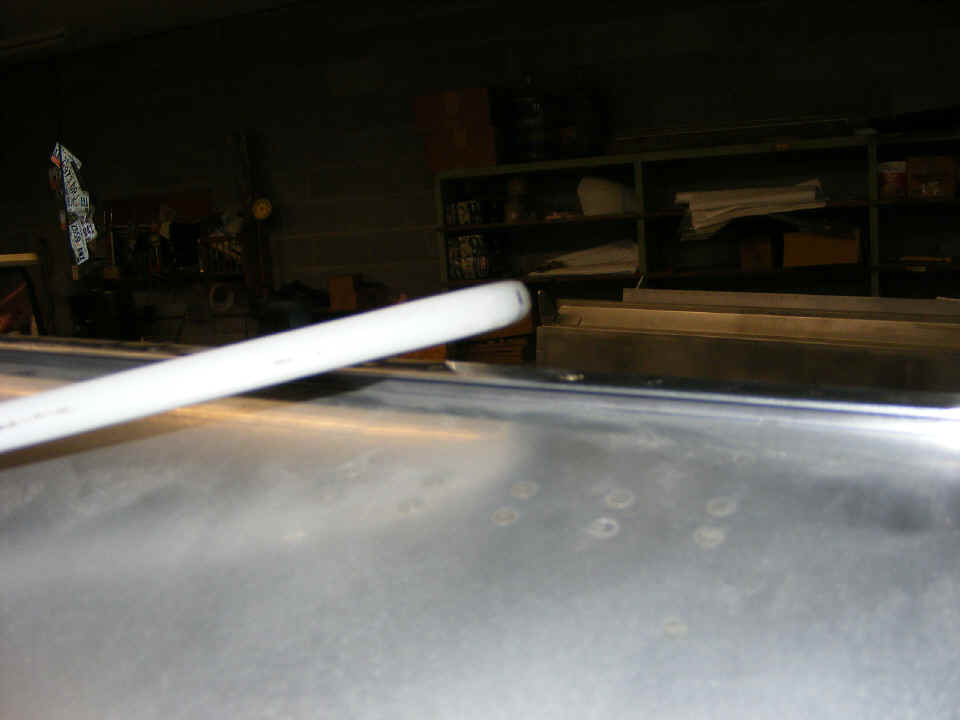
Here is the final result of the bending of the canopy frame. It is back
on the fuselage and ready to receive the plexiglass canopy when it is trimmed.
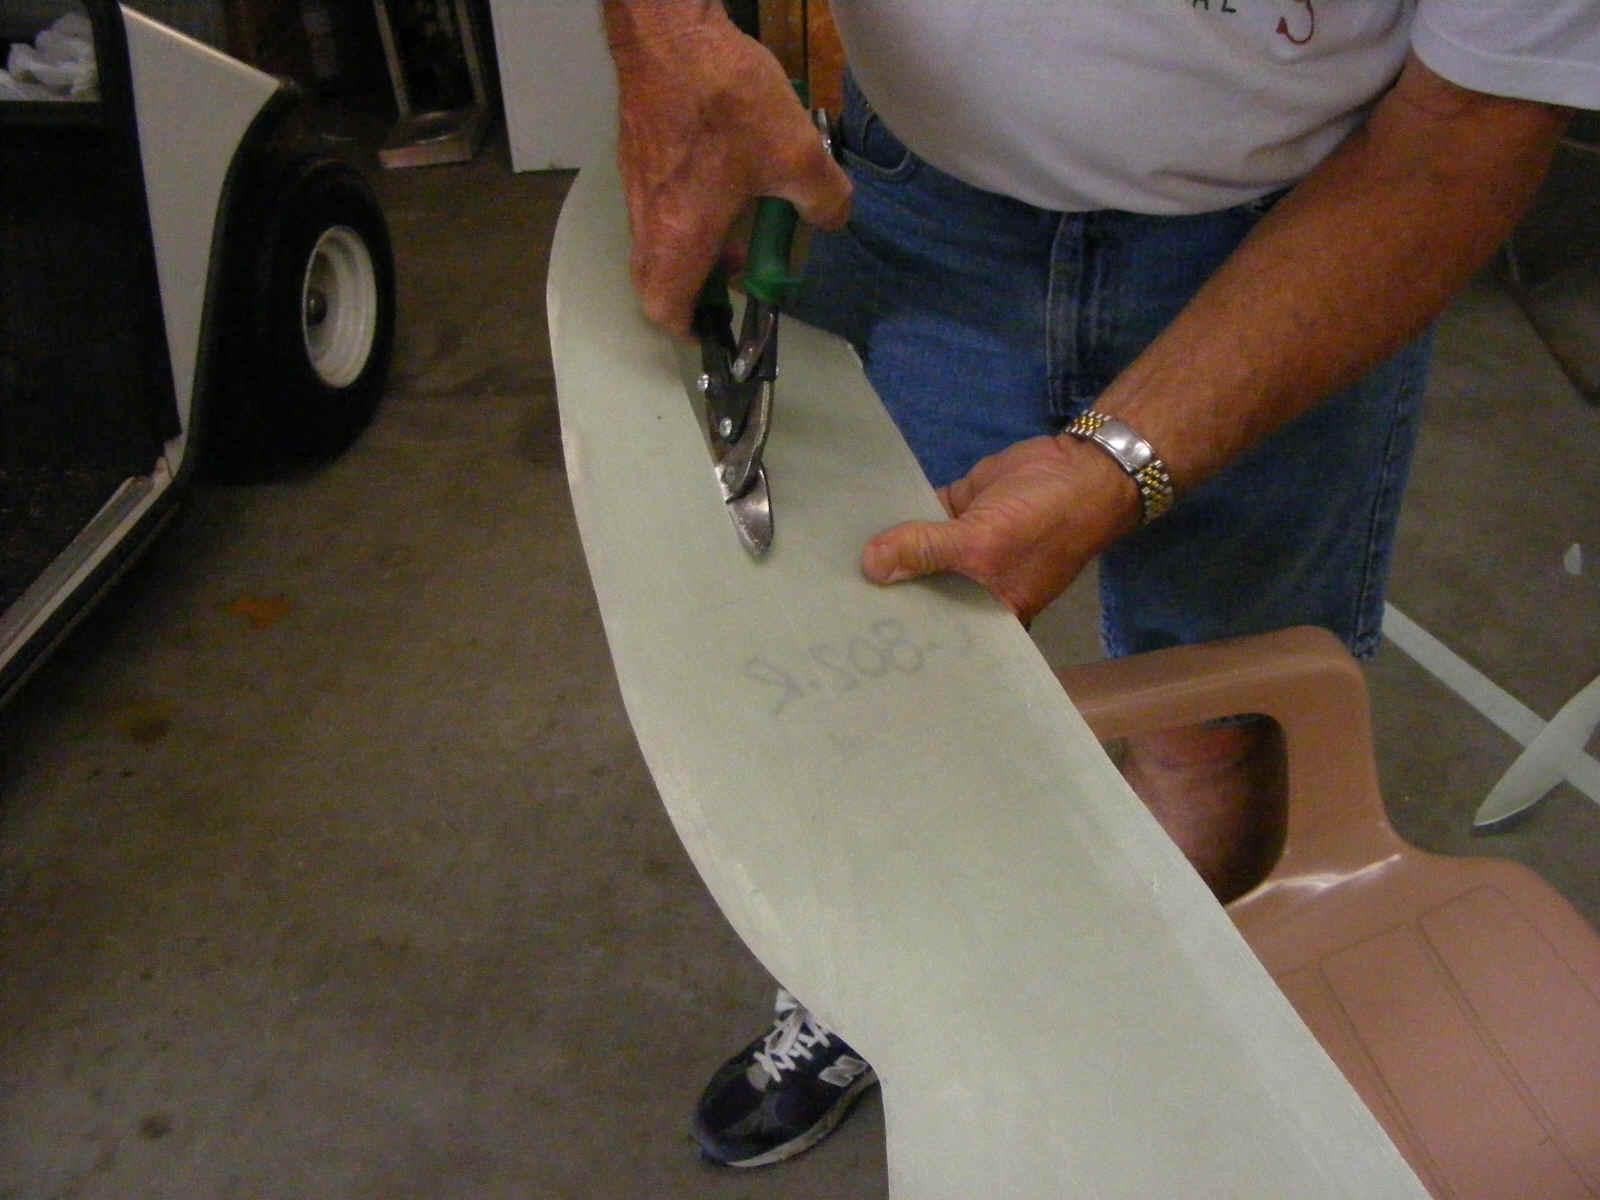
The canopy skirts were next with the tin snips doing a good job of the rough
cut outside of the scribe marks. A sanding block and the Dremel sanding drum will
take away the remainder of the skirt when the time is right.
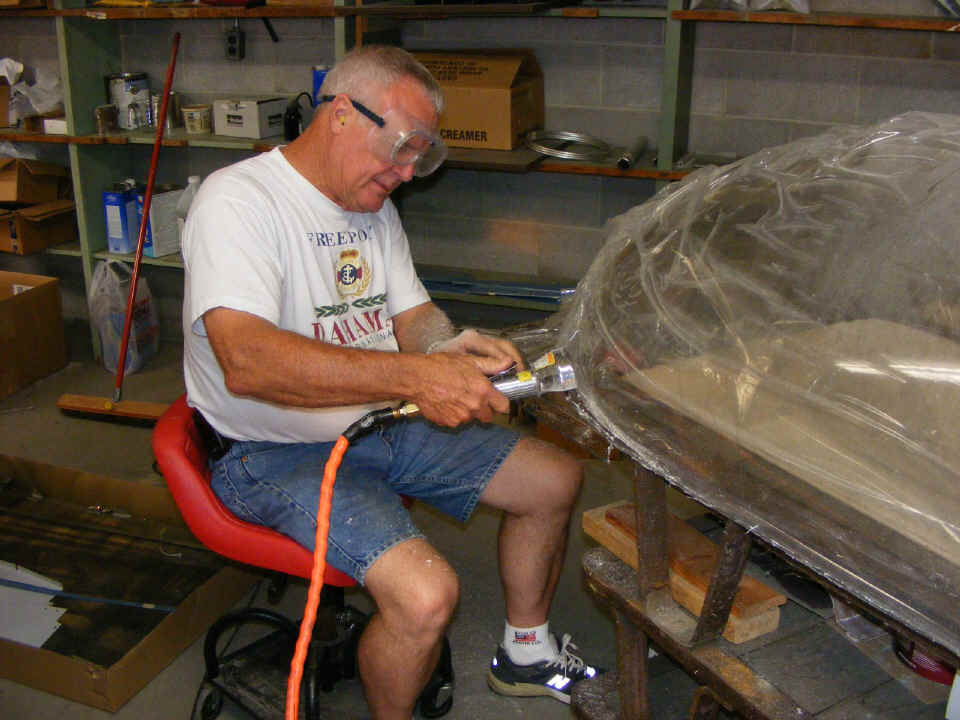
Wendell then turned to removing the flange from the bubble canopy to get ready
for the final cut of the plexiglass to its correct size. I wanted him to get the
"feel" of cutting the plexi before he gets to the "red line" cut from
the factory. Yes, there really is a red line marked on the plexiglass at the point
which should approximate the final size of the canopy and the windshield.
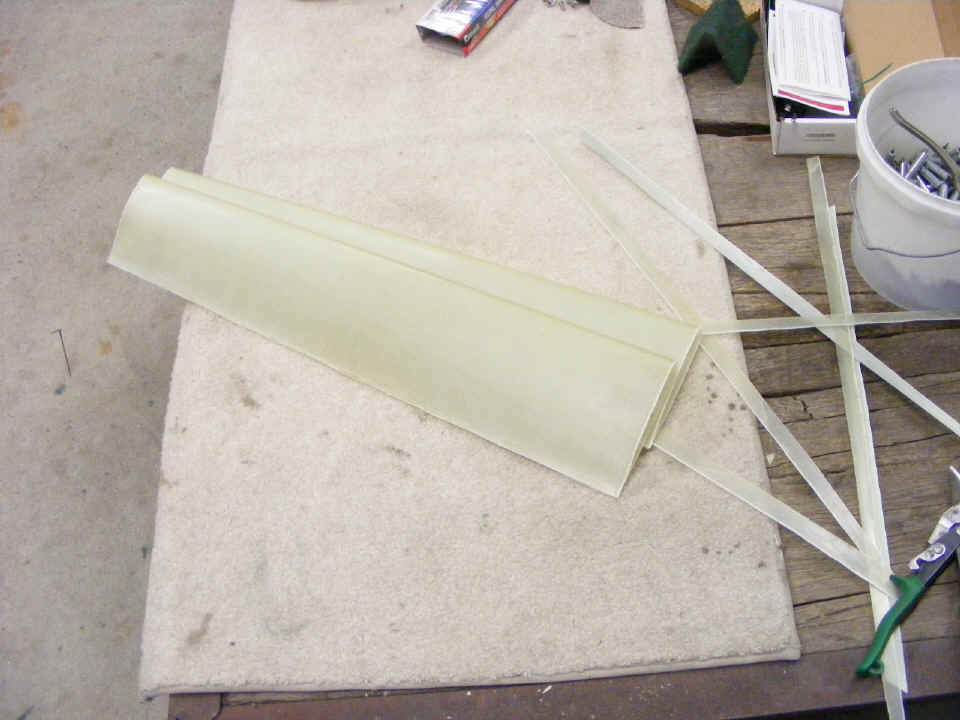
One of the other things that was easy to do tonight was the cutting of the
landing gear leg fairings along the aft edges and to a length that will allow them to be
installed on the legs. There is more to be done here, but it will have to wait until
the wheel pants are installed. At that time, the length of these fairings will be
shortened to their final size, then the hinges will be installed that close the aft edges.
Before the end of the evening session, I showed Wendell how to create the centerlines in front and behind the tires for the proper installation of the wheel pants. The dropping of plumb bobs and laying out the centerline of the fuselage on the floor is the first step of the process. After that, the parallel lines that will run through the center of the tires comes next. I demonstrated how to transfer the center line tire marks to the floor using a combination square. I also showed Wendell how to use the combination square for the final vertical alignment of the wheel pants per Van's drawings detailing the alignment.
July 14, 2007: The focus of the Saturday
session was the baggage door installation final step. The two UHMW plastic blocks
had to be properly positioned and installed. We got an old tube of lipstick from
Wendell's wife, then put some on the ends of the two tubes that are connected to the
baggage door lock mechanism. When the door was completely closed by hand, the key
was turned in hopes of putting lipstick marks on the aft baggage bulkhead and the
firewall. That did not work since the length of the metal tubes was insufficient.
A few layers of masking tape on the bulkhead and the firewall provided a good
marking surface where the lipstick impressions could be seen. At that point, the
3/8" holes in the UHMW plastic blocks were centered on the ring of lipstick on each
tape marker. We now had a way to line up the #30 holes in the blocks to drill into
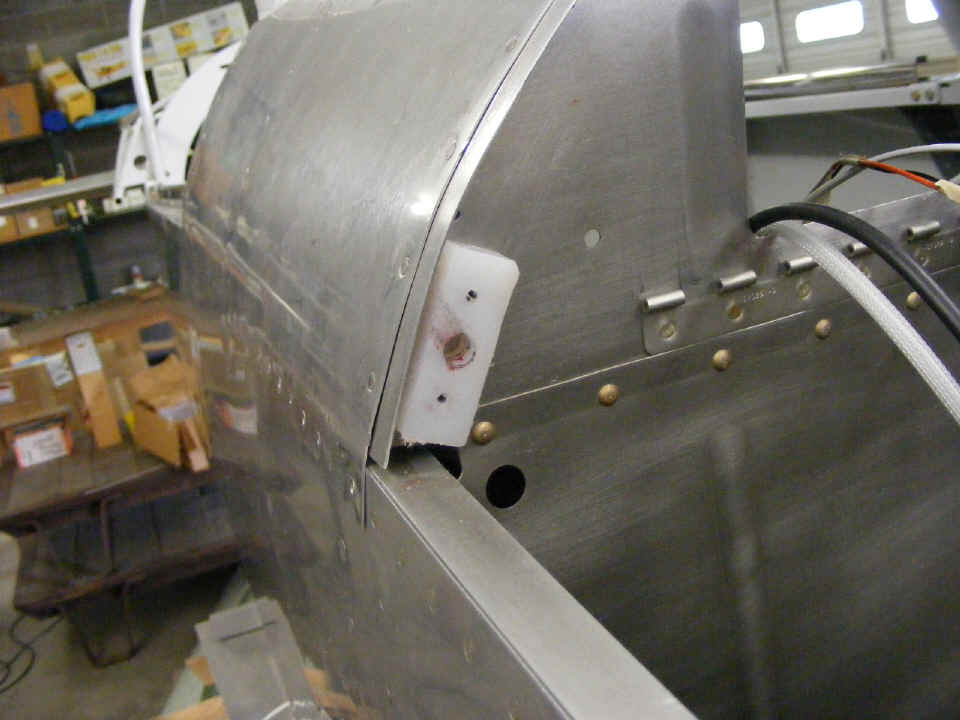
the bulkhead and the firewall for final attachment of the blocks. At the end of the
process, the blocks were clecoed into position and this picture was taken. We had a
minor scare when the firewall "oil-canned" to put the front block out of
alignment. Once that problem was diagnosed, I showed Wendell a simple technique to
engage the door lock with one hand put inside the oil door to insure the block and locking
tube engage properly. The #30 screws will be drilled to accept #8 screws in the next
session for the final attachment of the blocks.
Wendell also finished trimming the plexiglass canopy flange away today. It will be ready for the "red line" cut in his next day session.
| CLICK for Folks PAGE 59 | Return to Other RV Menu | Return to Main Menu Page. |