Summer 2010 · · PAGE 334.
June 26, 2010: The official start of summer was this past week. The sultry southland is living up to its name. I started this Saturday with the usual trip to Folks Field to see Wendell and the guys. Wendell talked about his trip to Middletown, Ohio last week for the Aeronca Champ fly-in. I gave some of the guys a look through my 200-power fiber optic microscope at a fiber optic connector with the 9-micron core of the fiber lit up with a flash light. It was to let them know how cable TV gets out to the neighborhoods from the master headend.
When the guys headed out for lunch, I went over to Walmart to get some
additional tent pegs for the upcoming trip to Oshkosh 2010, weather permitting of course.
I looked at the various spray can paints there and none of them looked good for the
final repairs of my nose wheel fairing nose bowl. I went down the road to Lowes
Building supplies and took the repaired nose bowl in to the paint section.
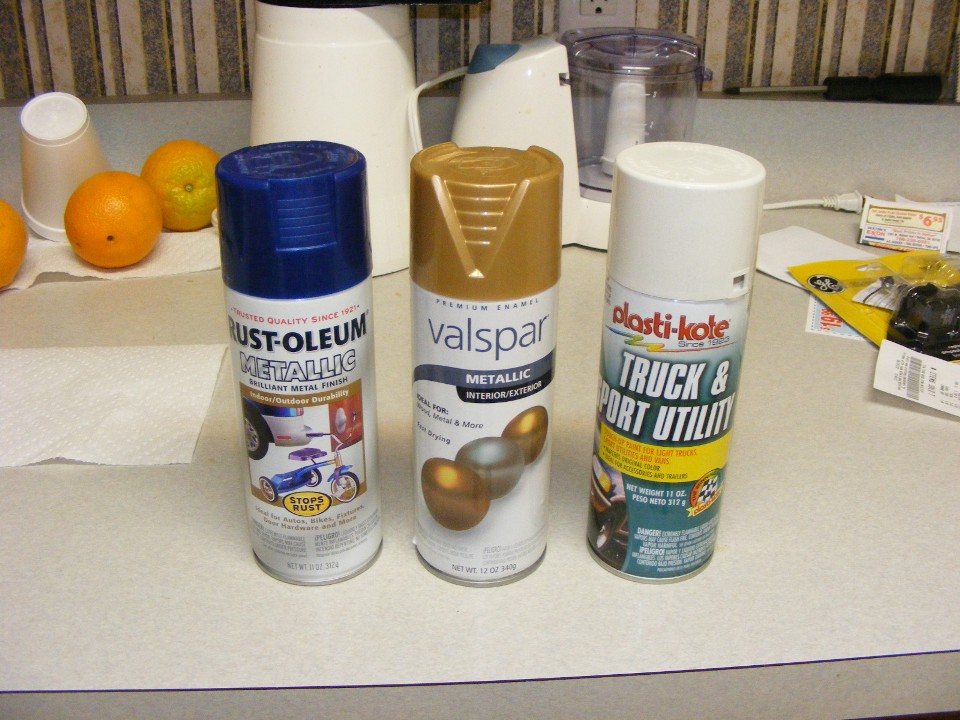
"Lowe and behold" (pun intended), there were the two colors I needed. At
first glance the Valspar 65061 GOLD paint looked close, but a little bit lighter than my
original gold paint. It was close enough, so I bought it. The real surprise
was the Rustoleum 7251 COBALT BLUE METALLIC was really close. I was beside
myself. I picked up a roll of blue painters tape and some 600 grit sand paper and
headed for the checkout. After last week's report about getting a just one pint of
Sikkens gold paint for $55, the $21 invested at Lowe's today was not so bad.
If it feels like an oven out there, then let us bake some spray can paint and
put the fiber glass repair of the nose bowl behind us. When I got home and had my
lunch, I could hardly wait to get outside and try out the paint. I lightly sanded
and cleaned the gold areas that needed new paint. I grabbed a supermarket veggie bag
and the blue tape and masked off the areas not being painted gold. I sprayed on a
small amount of gold paint and let it dry in the heat of the day. I could not
believe how closely it matched the original Sikkins gold paint. I was satisfied, so
I sprayed the remaining gold areas and let it dry for an hour and watched some on demand
TV on the cable box. When it was dry, I sat in the living room moving the tape and
plastic to cover the gold areas and also taped over the original path of the blue stripe.
I pulled out the can of Plasti-Kote 1520 White B/C I used last year when I repaired
my left elevator trailing edge. It is not a match to the Pearl White of the
airplane, but it will do the job down under, if you know what I mean. When the first
coat of white was dry, I sanded with the 600 grit, then repeated the process with a second
and third coat. It looked "not bad" but certainly not professional by any
stretch of the imagination. (Did I say I worked with fiber optics, not paint?)
When the hot garage temperature finished baking the white paint, I finally got
everything masked off again and removed the tape from the blue path. I applied a
couple of coats of the Cobalt Blue Metallic paint with some light sanding in between the
layers of blue.
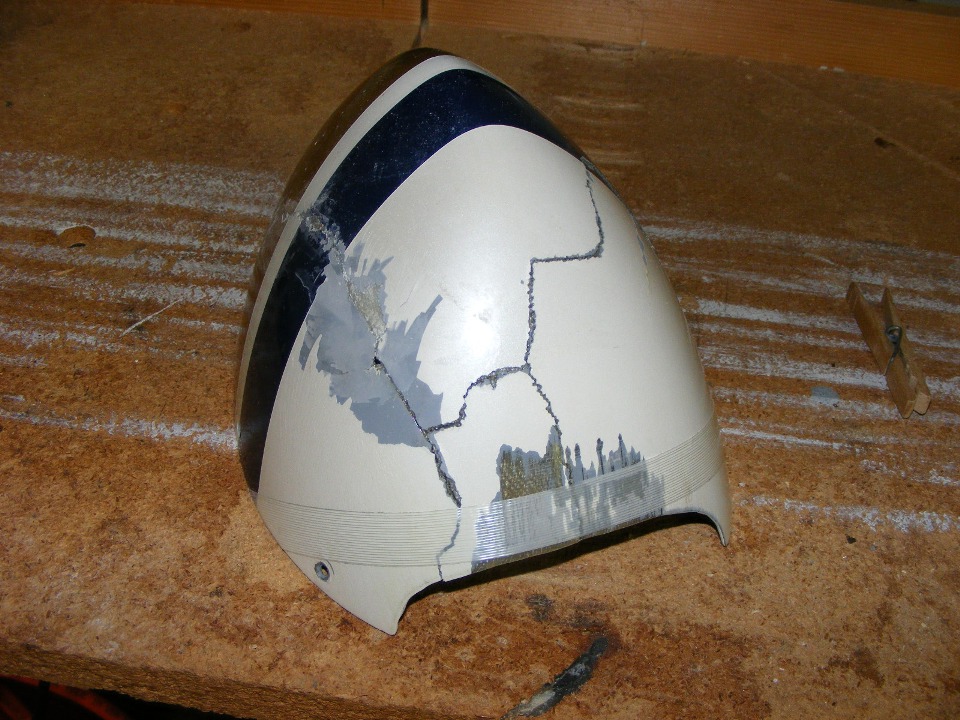
This is how it looked December 27, 2009 when I started putting it back
together after the hard landing. Those ragged edges remind me of the Frankenstein
monster with his facial scars.
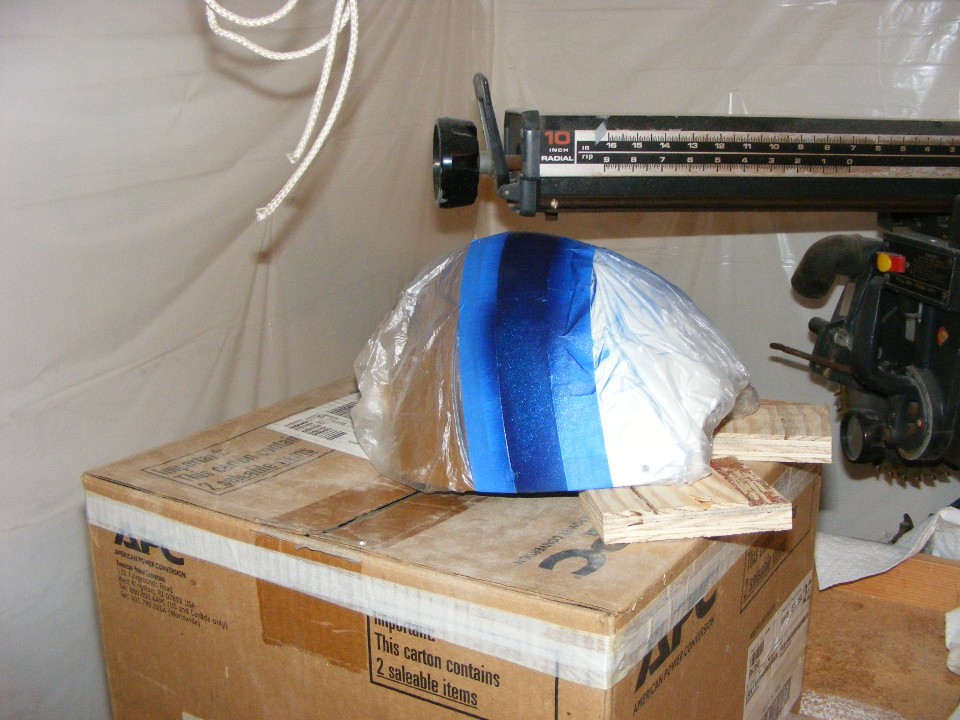
This is how it looked before I started working on it this morning. This
picture was taken January 24, 2010 after I had added three or four layers of glass cloth
inside the bowl, and some smaller strips and pieces on the outside. Leaving the old
paint stripe in place helped me to tape the areas to be painted today in the correct
locations.
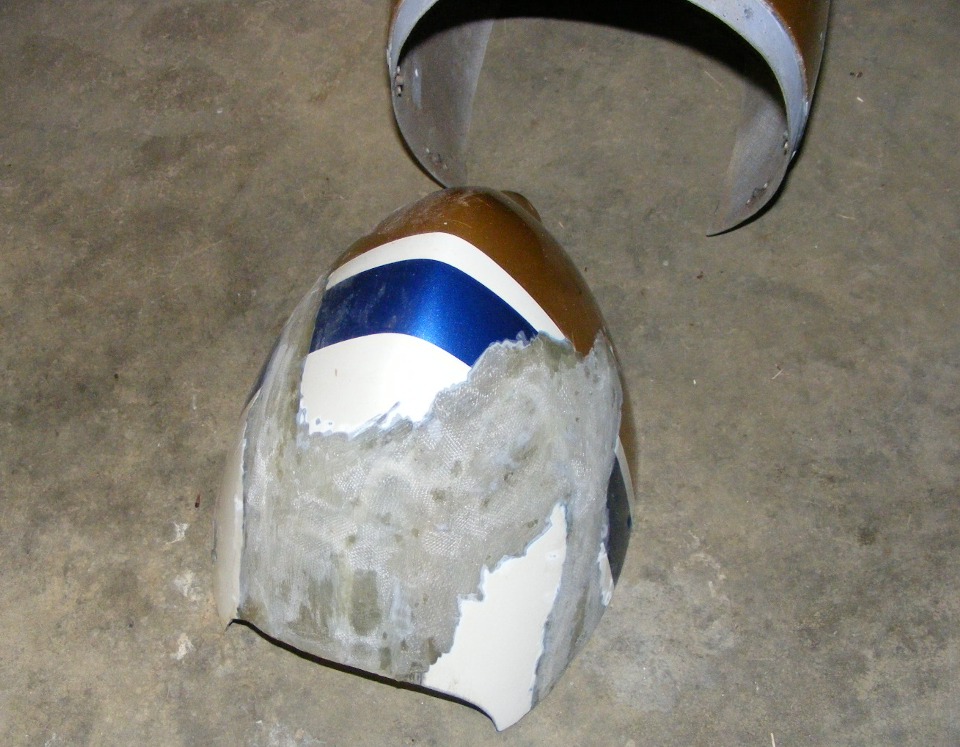
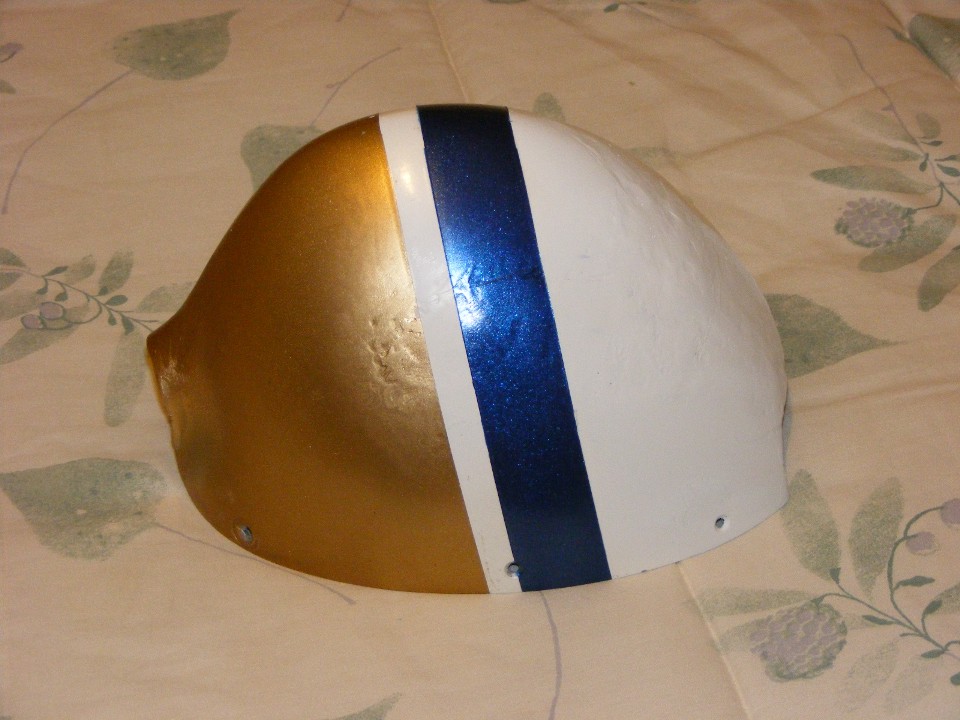
Here is the finished nose bowl, for now. I said before I work with fiber
optics, not paint. The metallic blue looks good, and yes, there are still some pin
holes. I did not worry about filler for now. It reminds of a kid with acne
scars, but this is not to be judged, just flown and not look like a broken bird. I
can always do this over again later. I just wanted to get things looking normal
again, not like the raw fiber glass patch job that I did after I learned my lesson about
wind shear on landing approach back on December 27, 2009.
I also spoke with David Edgemon today when I got home and when some of the paint was drying. He plans to fly over to Folks Field in the morning when I will be back at the airport to install the nose bowl on the nose wheel fairing. Since he painted his first RV-9A and his present RV-8, I plan to ask him about how I can improve my paint skills. Some clear coat paint should help. David has rebuilt his RV-8 instrument panel and I want to see that makeover. Photos of our meeting will be online for you guys tomorrow night.
The weather for next weekend is looking good for now. My old boss from the late 1990's will be at his place near Dublin, Georgia next weekend. We have been talking about giving him a ride in that part of Georgia. It is looking like Saturday, July 3rd will be for him and his wife to get a local site-seeing ride in my airplane.
June 27, 2010: I spent
Sunday morning at the airport finishing up the nose bowl of the nose wheel fairing with a
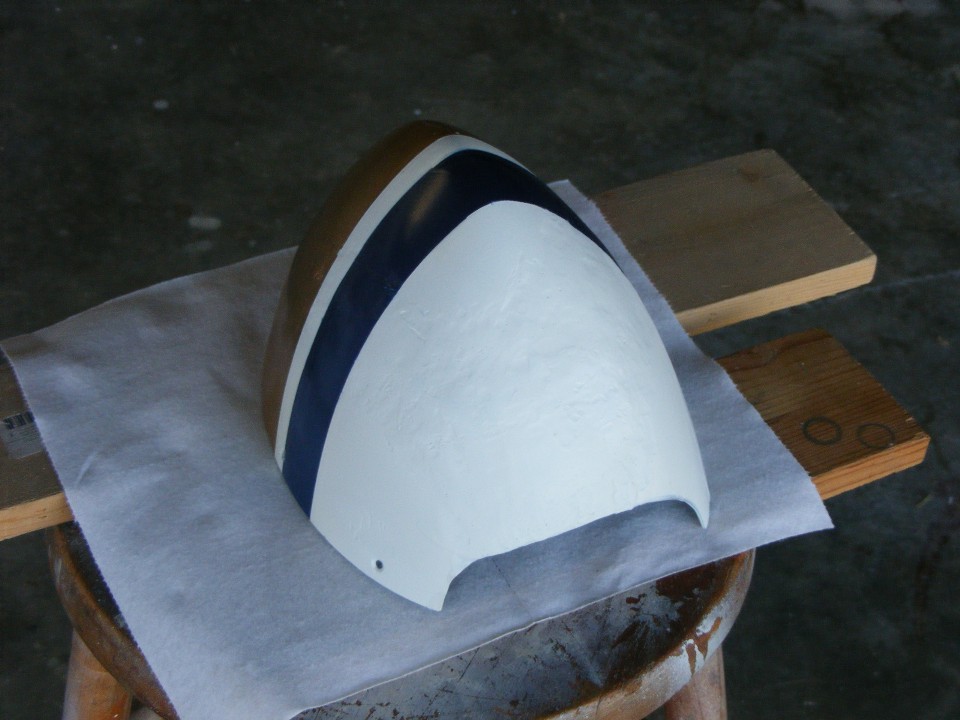
clear coat over the three colors. This is how it looked in the hangar before I
started spraying the clear coat.
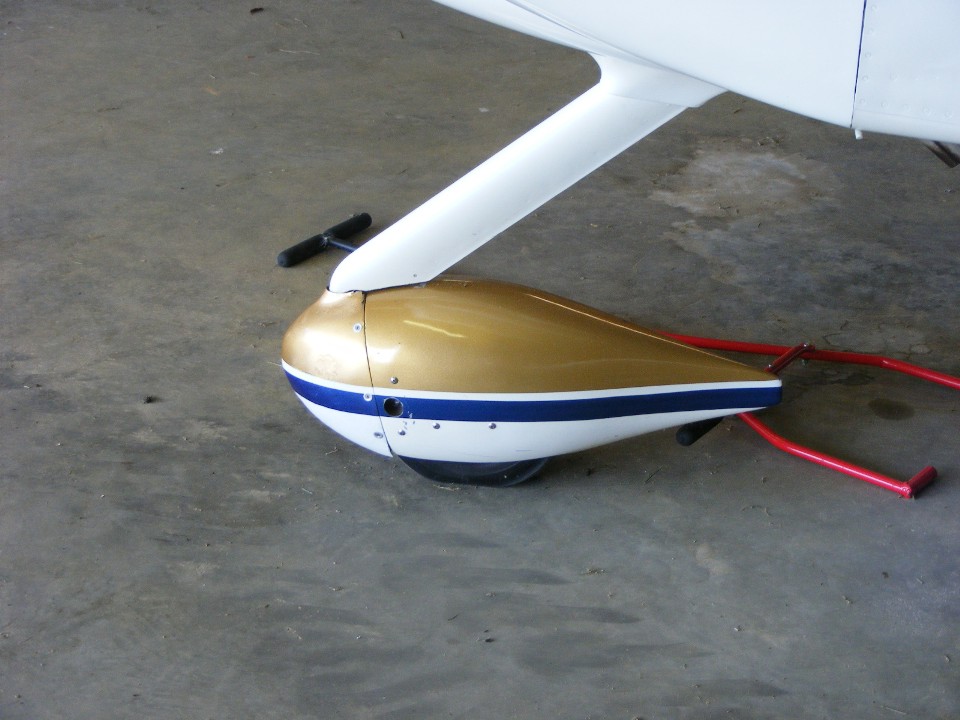
This is the left side view after two coats of clear coat and curing in the
85-degree heat of mid-day. The objective here was for the colors to match close
enough, and the stripes are in alignment. The spray can clear coat does not shine as
"deep" as the original Sikkens urethane clear coat.
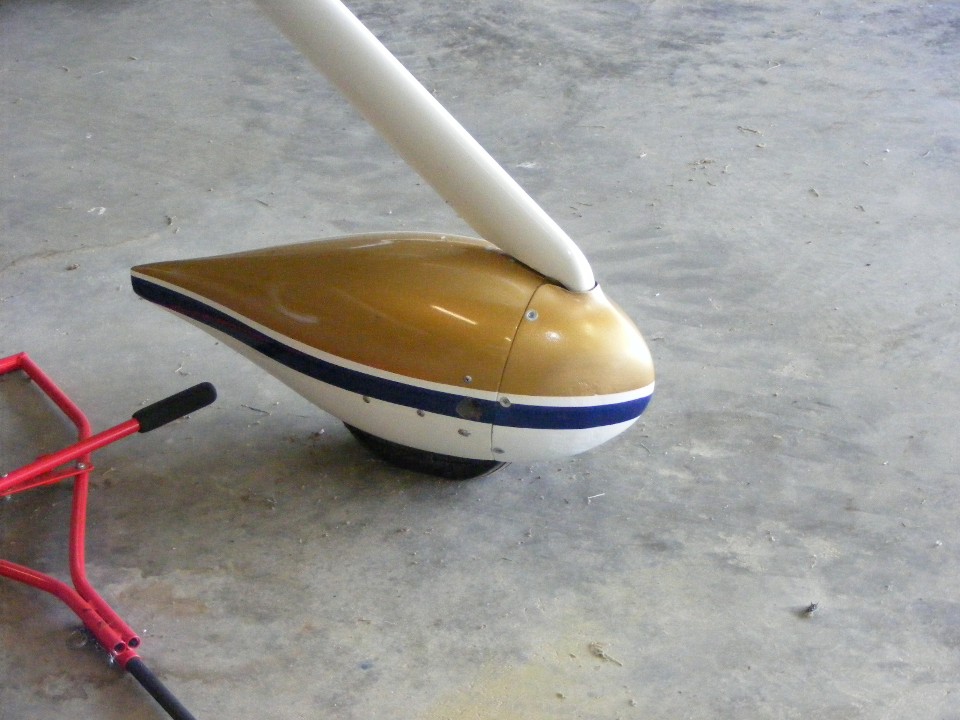
Here is the other side view. I also sprayed some gold and clear coat on
the left wing tip scratches from the wind damage to the hangar last year.
David Edgemon did not come today. The weather in Huntsville was looking for more rain showers and pop-up thunder storms today. He stayed home doing chores around the house, like re-painting the front door among other things.
| CLICK HERE for PAGE 335 | Return to MAIN MENU. |