Denver Trip Preparations · · PAGE 212.
June 11, 2006: I am posting this update on
Monday night, June 12th, to show the photos taken over the weekend and provide details
about the video tests in the airplane cockpit. This series of photos were taken on
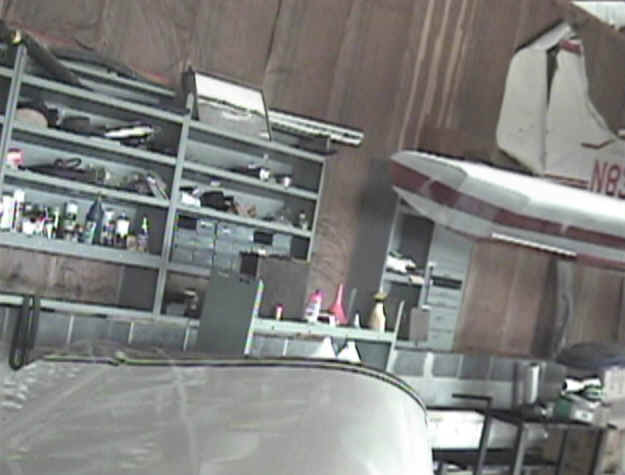
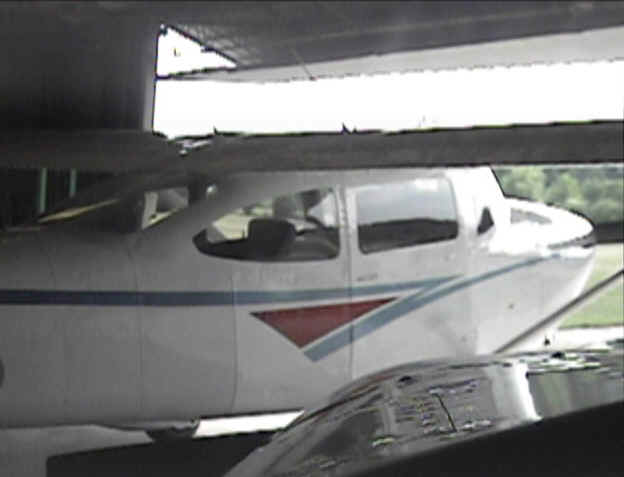
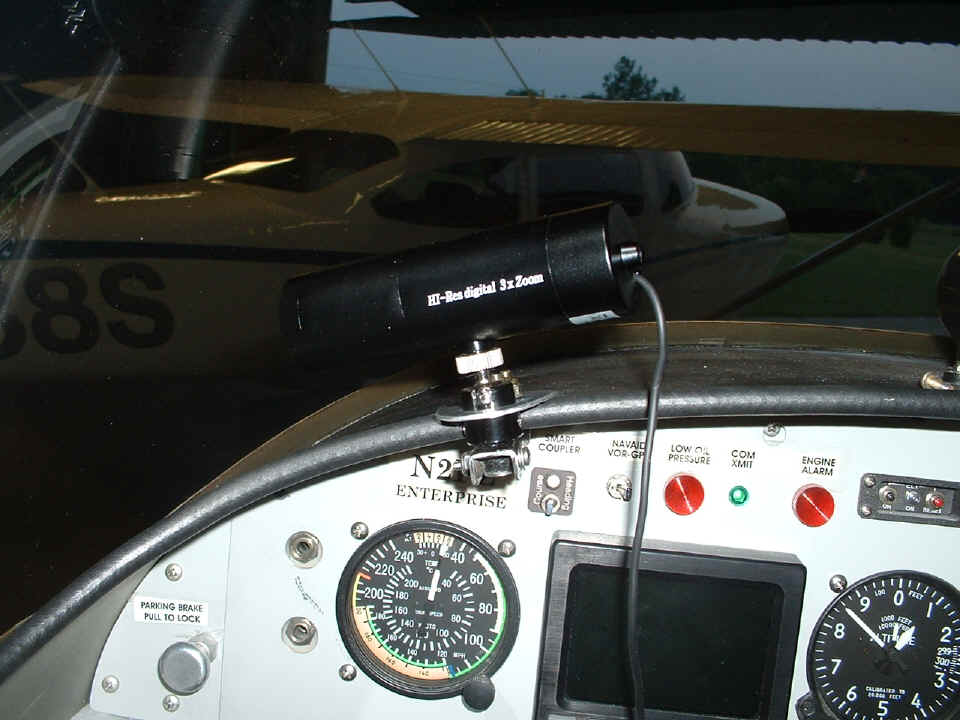
Sunday, June 11th. This first one shows the final location selected for mounting the
video camera on the pilot's side of the panel. From this location, the camera can be
manually panned and tilted as needed to view everthing I can see from my pilot seat.
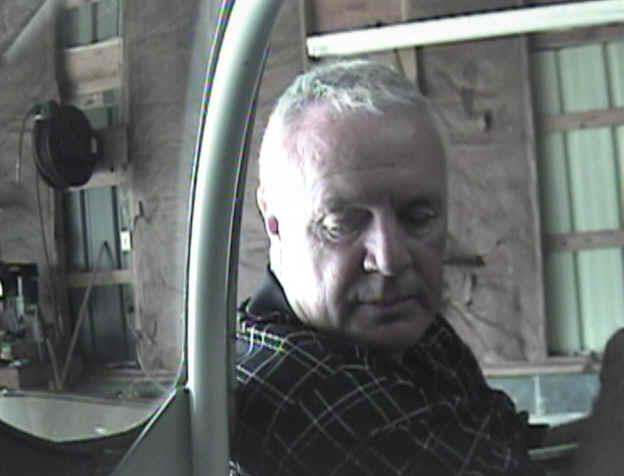
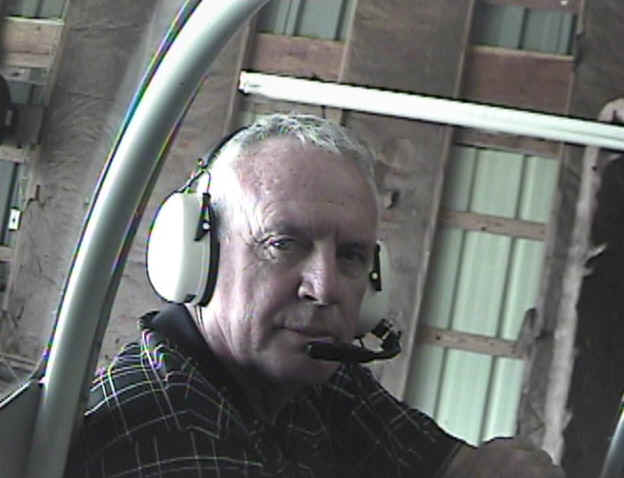
I even checked it to see that I can turn it around to look at me or my passenger if
needed to narrate the flight and have a "talking head" on the video. Most
of what I plan to do is narrate what I am seeing outside during takeoffs, landings, turn
around a point or in passing of major landmarks: St. Louis Arch, Mount Rushmore,
Devil's Tower, Grand Tetons, Statue of Liberty, etc.
The old digital camera is not doing too well on focus, but you get the idea of
how this thing is mounted. At this point along the panel, the forward top skin
overhang of the panel is curved, and therefore quite STIFF! At the center of the
panel, the skin is too flexible and the camera could vibrate to easily, not to mention the
center post would be in the way of some of my intended video shooting angles. I am
not sure if this location would vibrate or not, but the odds are better here for good
operation. A test flight will tell the tale soon enough. Two AN-3 bolts hold
the mount to the overhang. The aft bolt has two AN3 washers between the channel and
the bottom side of the skin. One AN3 washer is on each bolt on top of the fabricated
aluminum upper piece, where a nylok nut holds both bolts secure.
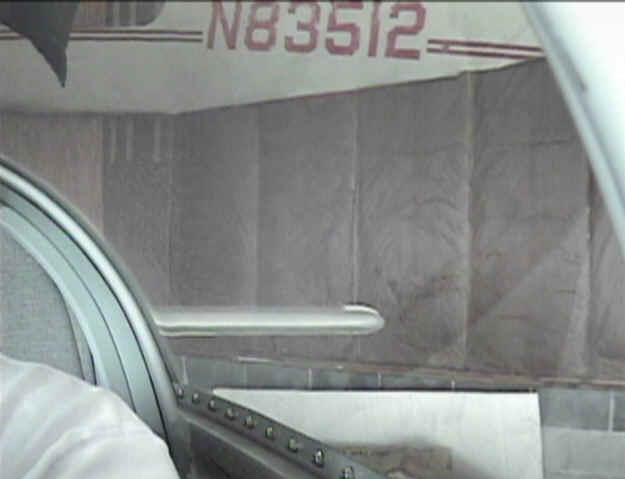
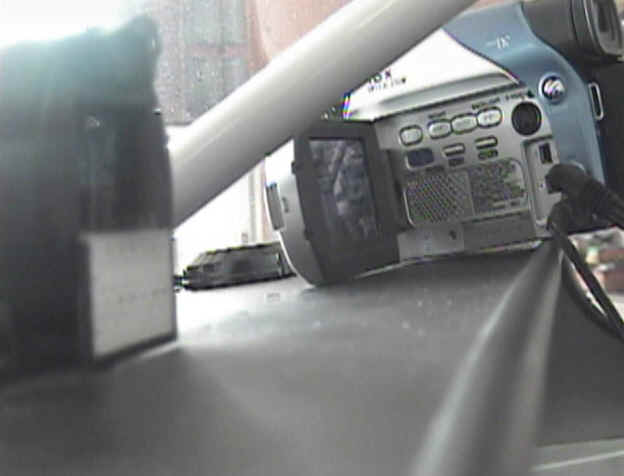
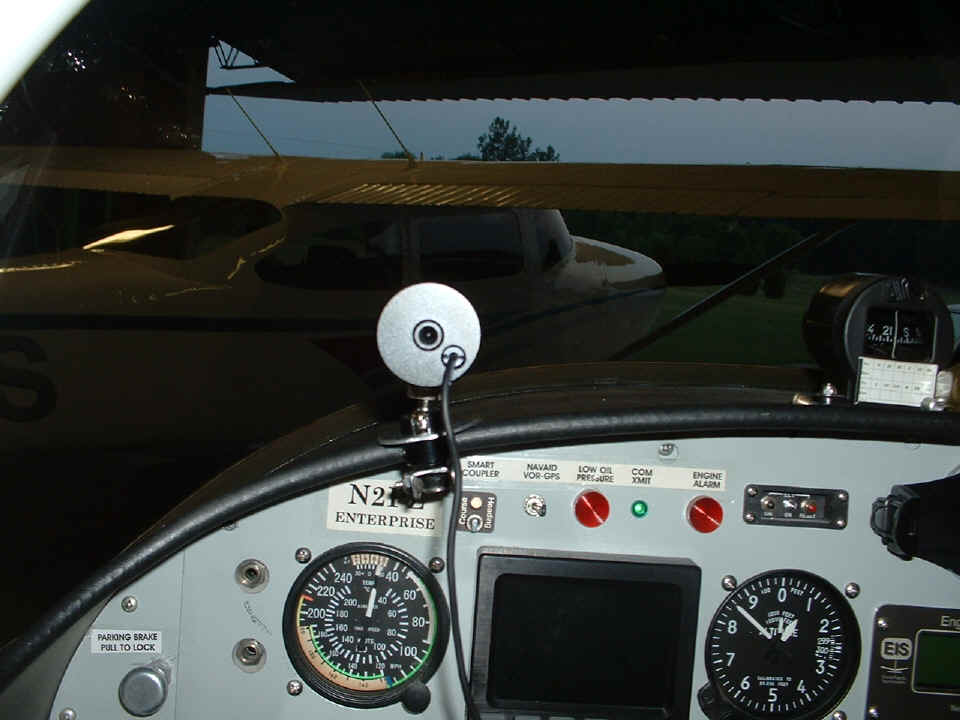
I lined up the digital camera behind the video camera for this photo. I
have the video camera lined up parallel with the centerline of the fuselage. My
normal view point is about half way between the video camera and the "whiskey"
compass. I have scratched the paint on the panel between the headphone and
microphone jacks, again! Wendell tells me I should get the panel powder coated.
I still have plenty of road sign left, maybe I should cut a new panel and fix some
of the layout issues I have with this one.
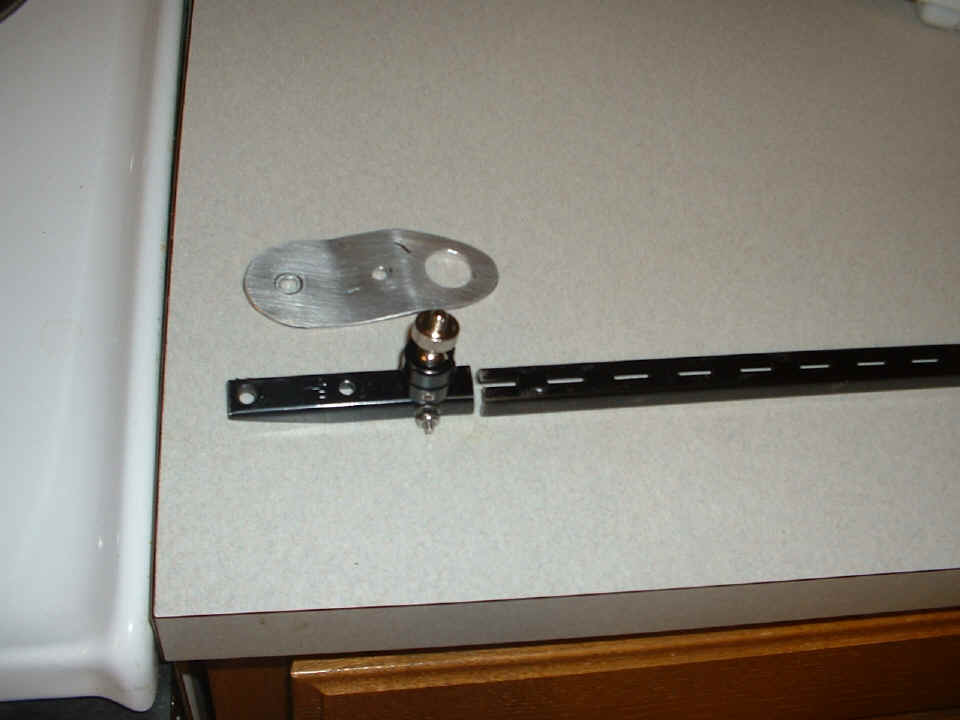
Here is the clamp I made Sunday after a visit to Ace Hardware to find this
steel wall-mounting strip for adjustable shelving. The steel is apparently
non-ferrous. I presume that to be true since I passed it in front of my whiskey
compass and the needle never moved. The ball and socket that is secured to the end
of the steel "channel" is from the original mount provided with the video
camera. The aluminum plate with the three holes in it is fabricated from scrap
0.063" 2024-T3 alclad aluminum left over from cutting out my original Van's Aircraft
instrument panel. The hole at the left end of my short piece of channel is the
original wall-mounting hole in the steel strip. The other #10 hole is my choice to
be sure that the brace would be about half an inch from my instrument panel, and the hole
closest to the ball and socket mount would be behind the rubber edge tubing on the forward
top skin of the panel. The bend in the aluminum bracket with the three holes in it
is to assure the fit of the two pieces above and below the tubing. The ball and
socket mount is secured with a 6-32 x 1-inch stainless steel screw, washers, and a nylok
nut. I ground down the end of the short channel nearest the instrument panel in
hopes that it would clear the removable panel, but it does not, at this time. I will
need to cut a small notch in the upper edge of my panel to clear this bracket, or remove
the bracket whenever I need to get behind the instrument panel.
I brought all those above pieces home to get them painted with the same flat black paint that is on the top of the instrument panel glare shield. I took them back to Wendell's Monday evening (June 12th) to install the camera and make a new demo tape with the camera mounted to the top of the panel. ALL went well with the demo, including the sound from the copilot's headset worn by Wendell. I will take some time tomorrow to grab a few snapshots from the video and put them on this page.
| CLICK HERE for PAGE 213 | Return to MAIN MENU. |