First Annual Inspection · · PAGE 210.
May 27, 2006: It is the Saturday of Memorial
Day weekend and I have started my first annual inspection of the "Enterprise"
with some simple steps. Here are the photos from today as I took a good long look
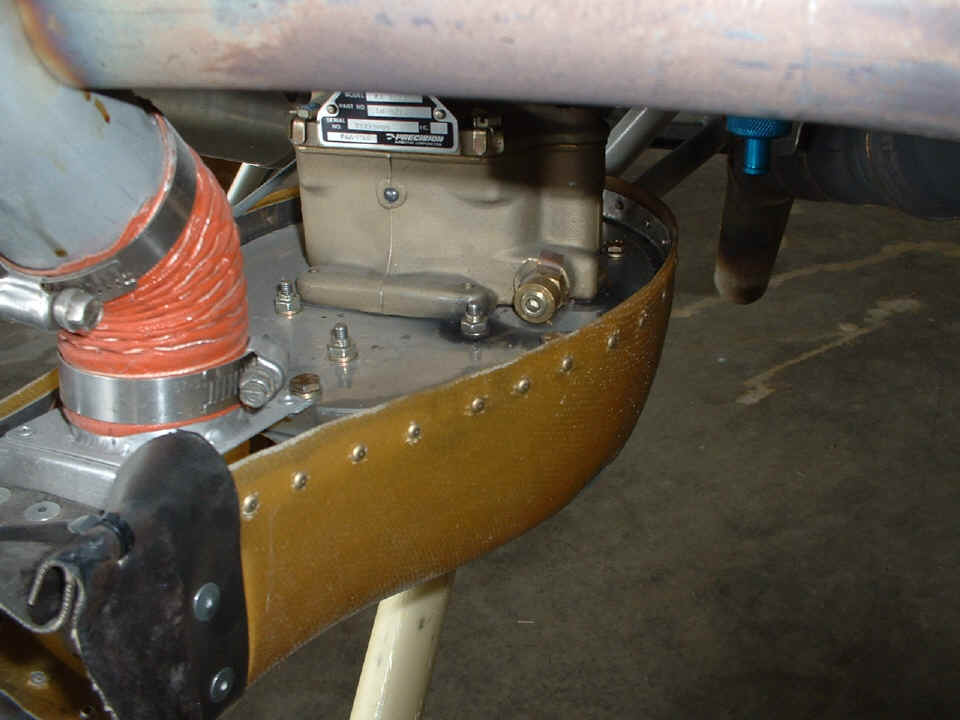
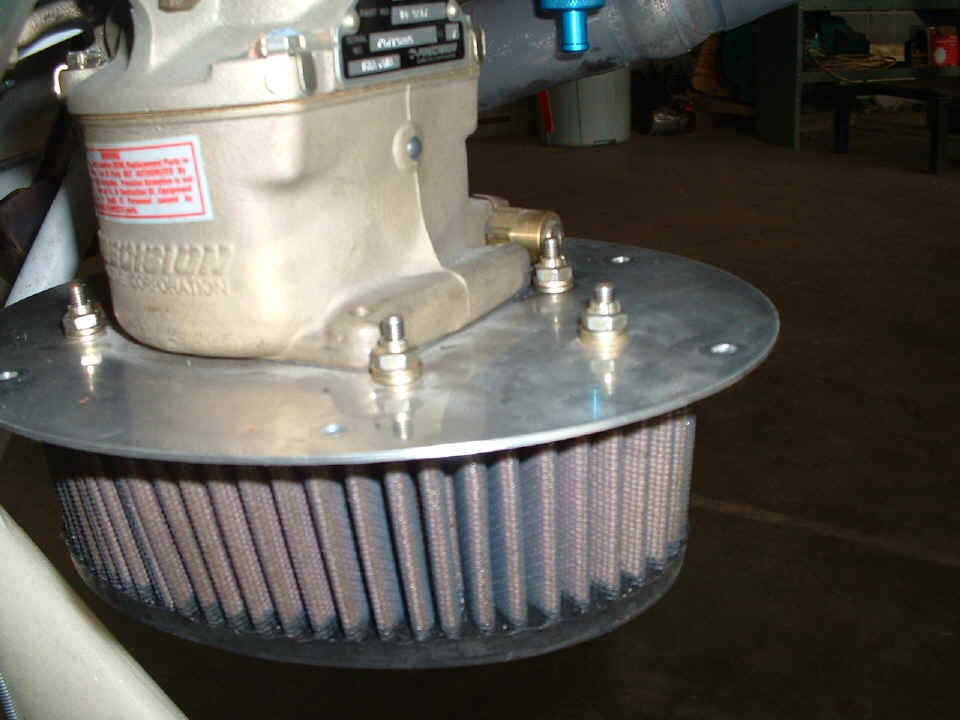
inside the cowl. The first thing I noticed before I removed the filtered air box
(FAB) was a loose bolt that secures the air filter lower plate to the upper plate over the
filter element. That black stain around the lock nut and flat washer in front of the
carburetor is NOT oil, but metal. I put my fingers on that nut and the entire AN3
bolt spun easily. The other four bolts that secure the air filter were snug.
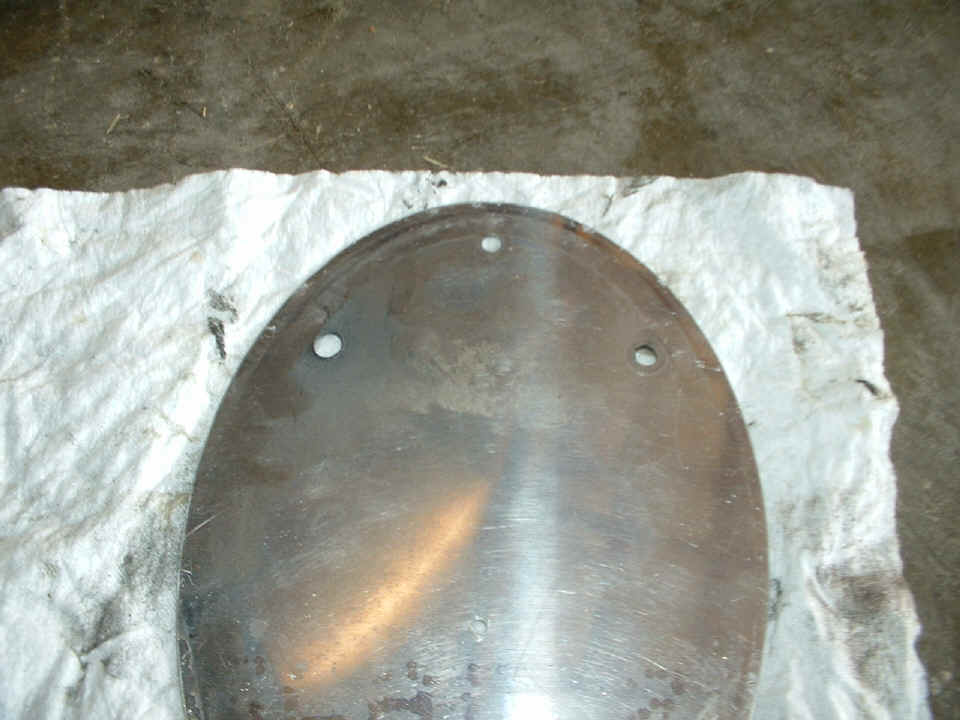
The lower plate and the air filter element were removed after the five bolts.
I discovered that the bolt had been vibrating around for some time. It
enlarged the hole you see that is bigger than the other two on the front of the plate.
The very small hole near the bottom of the photo is a "weep hole" to
allow fuel to drain from the filter assembly in the event of a flooded engine. A
hole in the fiberglass of the FAB is below this little hole.
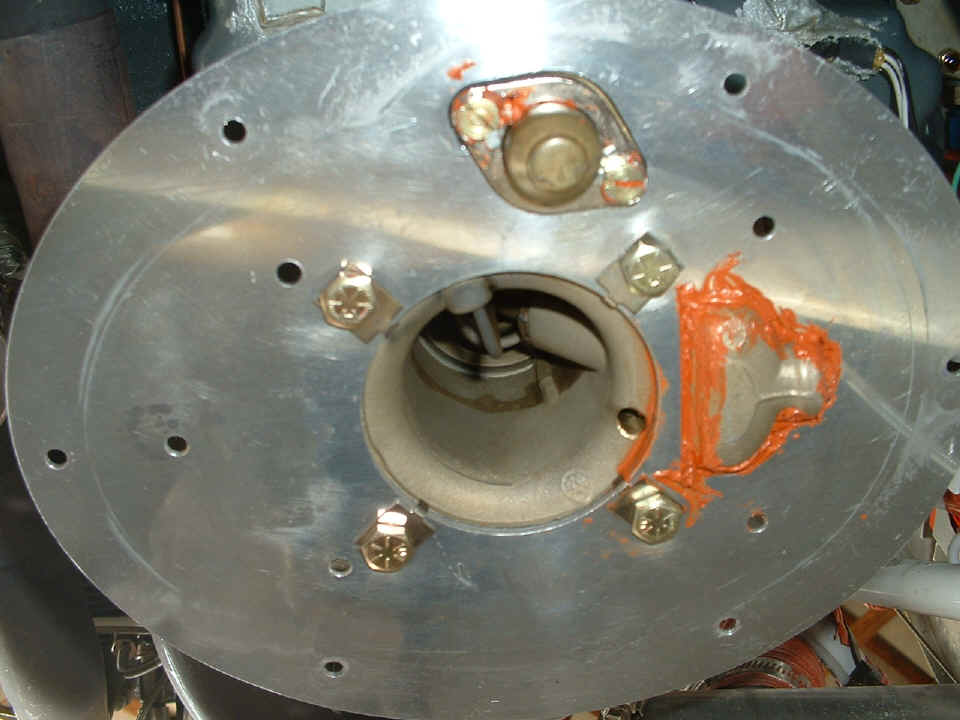
Here is the view of the bottom side of the upper plate which remained bolted to
the carburetor. I wanted to be sure the four bolts that hold it to the carburetor
were still secure. There is a locking tab with two corners bent up to secure each of
the four bolts. The RED high-temperature RTV is still fine and doing its job of
sealing around the accellerator fuel pump and the fuel "bowl" on the bottom of
the carb that passes down through the plate inside the air filter area. I had to
clean off some oil that had dripped down on this plate during the last oil change.
The oil residue was outside the seal of the air filter on the bottom side of this plate
and on the deck of the filtered air box.
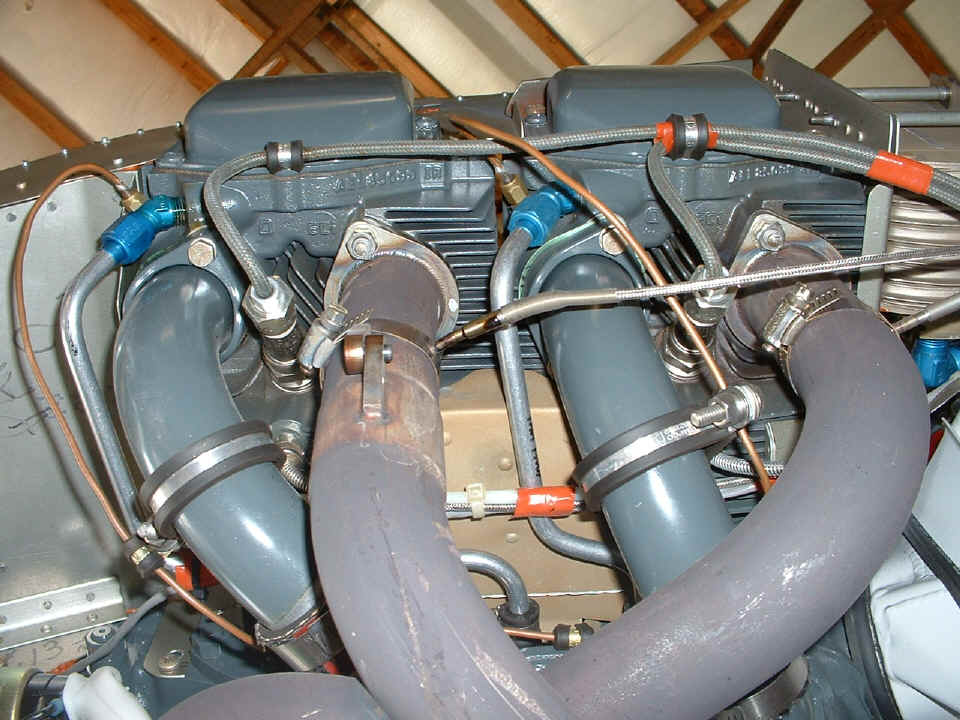
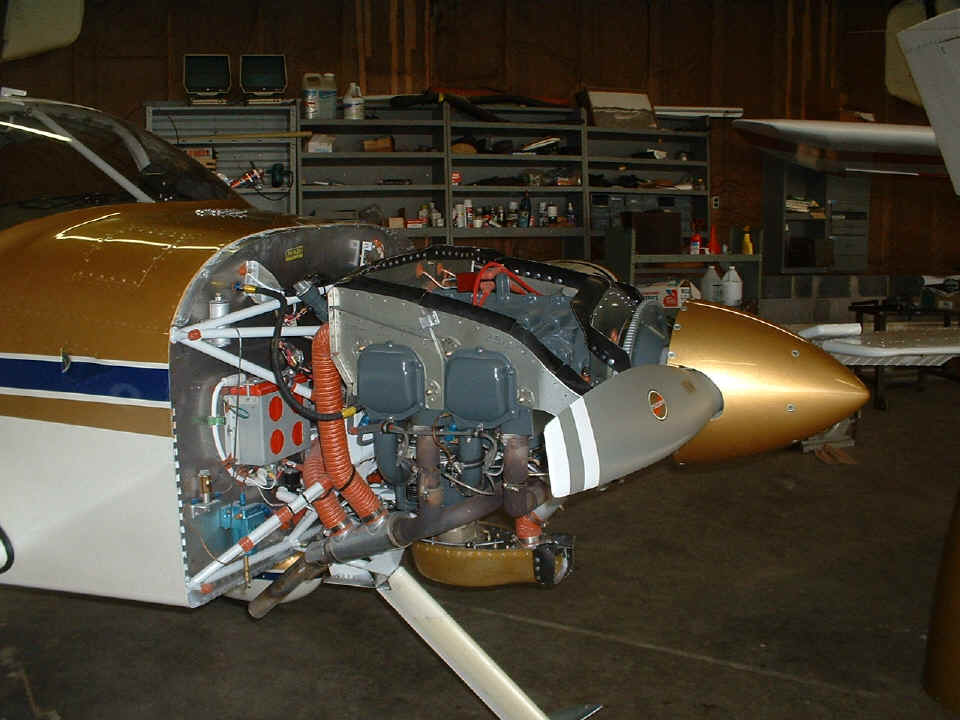
As long as I was down on the crawler looking up at the carburetor, I decided I
would take this picture of the two cylinders on the left side of the engine to see what
would show up in the photo. And there on the EGT probe of the #2 cylinder is a drop
of oil. Now I have to find out where it came from. Those two big aluminum
tubes with the blue AN fittings on them are the oil return lines from the rocker boxes.
It looks like the leak may be coming from the front cylinder (#2), but I won't get
a chance to confirm it until tomorrow when I go back to resume the inspection. The
copper lines are part of the primer system for those COLD morning starts in winter.
After cleaning the air filter element, I installed the five long AN-3 bolts
with double flat washers on each bolt and found them all to be secured and not able to
spin any of them with my fingers after they were tightened. I will check these bolts
at every oil change to be sure they remain snug. That blue fitting at the top edge
of the photo below is the quick-drain oil fitting on the bottom of the engine oil sump.
I got the filtered air box secured again along with the carb heat control
cable. I had found the carb heat cable was vibrating against one of the gear leg
support tubes behind the carburetor. I wrapped some high-temp red RTV tape around
the tube and control cable and stuck them together I will add some safety wire to
them tomorrow since a tie-wrap would not hold them adjacent to the heat muff and the
exhaust pipe.
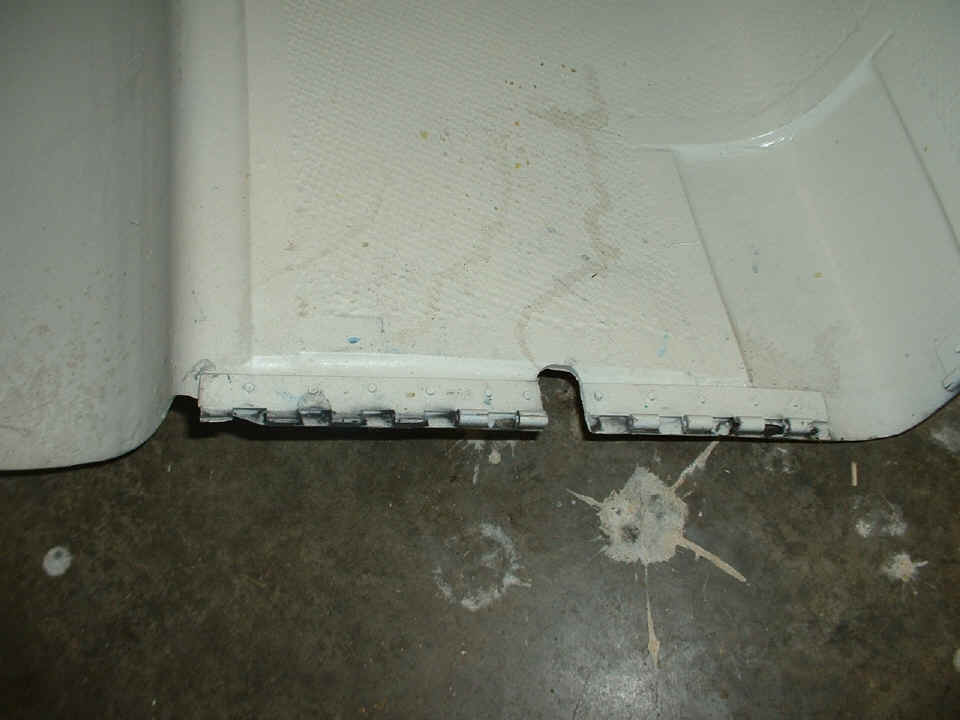
And down on the lower bottom edge of the cowl, I found that additional hinge
eyes had failed. I will have to replace the length of hinge that is between the gas
colator access slot and the exhaust/cowl air exit area. The hinge on the right of
the slot still has all four hinge eyes. The other hinge on the left of the slot has
lost four of six eyes. Those oil stains are below the oil dip stick and are from
drops lost during checking or refilling the oil. The oil stains at the bottom left
of this photo are sprinkles from the crank case vent tube over flow.
| CLICK HERE for PAGE 211 | Return to MAIN MENU. |