FINISHING - Page 110.
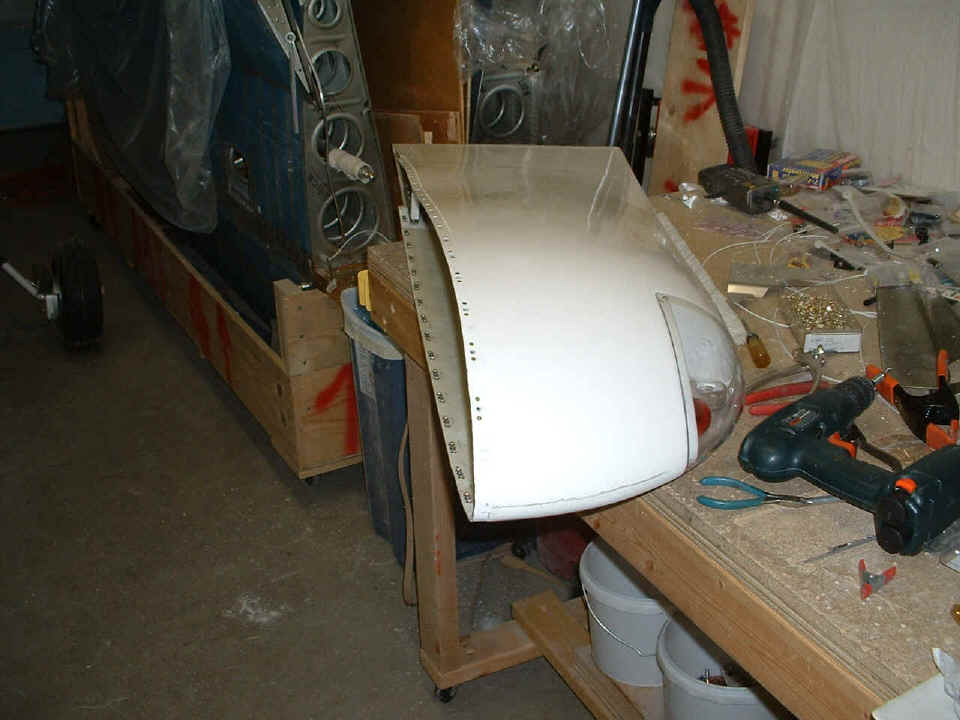
March 30, 2005: Only one task today putting
the platenuts on the LEFT wing tip. My package arrived from Cleaveland Aircraft Tools
with the stainless steel screws and platenuts for this part of the project. This one
is ready to attach to the wing when we get to the airport.
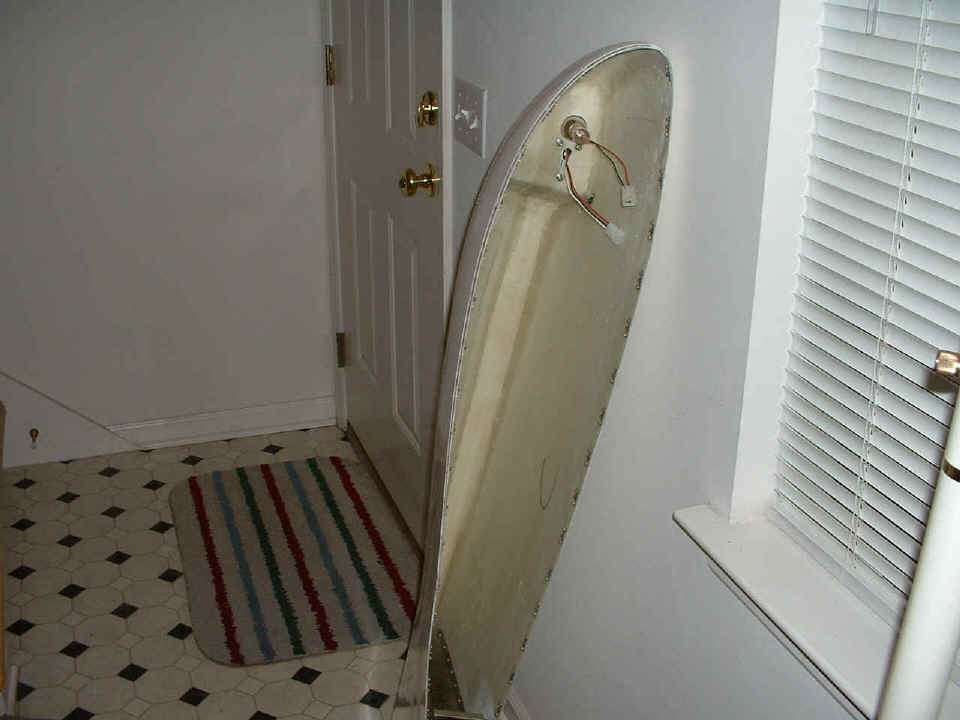
I took it into the living room for this parting shot and to gather dust for a
short time. I put the top 2-pin Molex connector on the Whelen light fixture.
The three-wire connector on the strobe assembly came from the factory that way. I
have to put the matching connectors on the wires that I have threaded through the LEFT
wing conduits. I put this wing tip by the front door for this photo, but now it
lives in the corner next to the entertainment center where the plexiglass once lived
before I fabricated the canopy and windshield.
The order from Spruce arrived with two microphone jacks, 25 black plastic snap bushings for LRI tubing protection in the RIGHT wing, 1.5-pound kit of AeroPoxy Light filler, and an Atlanta Sectional chart.
March 31, 2005: I did a bit
of rework tonight on something that another builder pointed out to me in an email.
Rex Newlin is also building an RV-9A and had changed his AN4-12 bolts through the gear leg
weldments and the front wing spar to the longer AN4-13 size. The object was to get
some bolt thread showing through the AN4 nuts. He saw I had the problem on page 109
in my last two pictures near the bottom of that page. Today, I addressed that
problem and the alignment of the gear leg weldments to allow easy insertion of the close
tolerance wing mounting bolts all the way through when the time comes to put the wings in
place. I replaced all 12 AN4 thick washers with thin ones. I had to jack up
one side of the airplane at a time and place a saw horse under the wing spars "just
inside" the gear leg exit ports to do this. I have all eight large wing spar
bolts loosely in position just to be sure the gear leg weldments really stay in place
until I get ready to put the wings on at the airport.
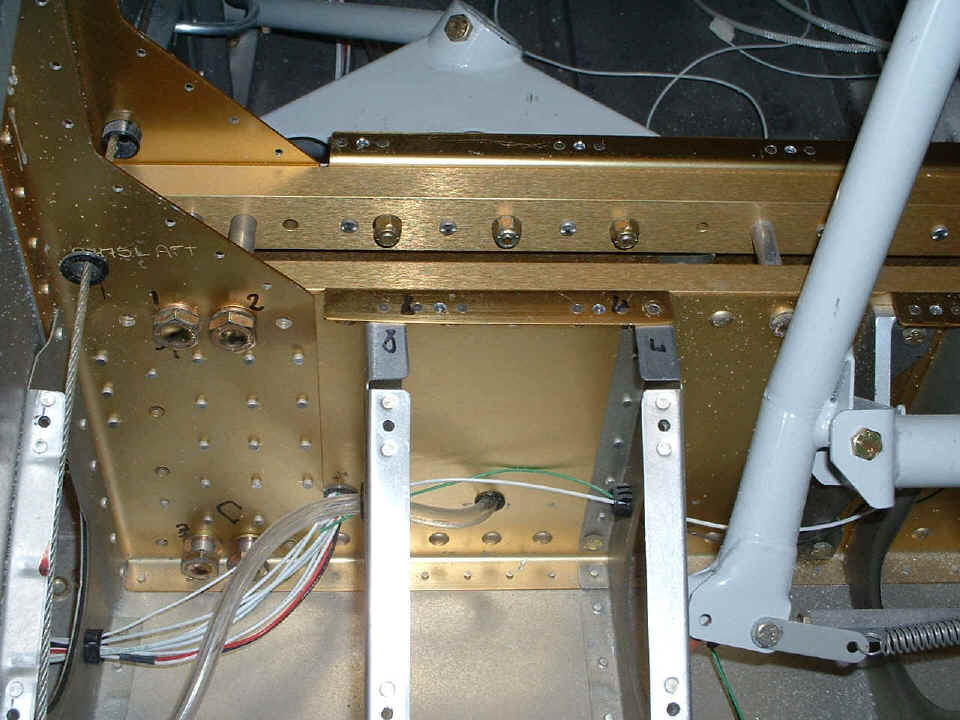
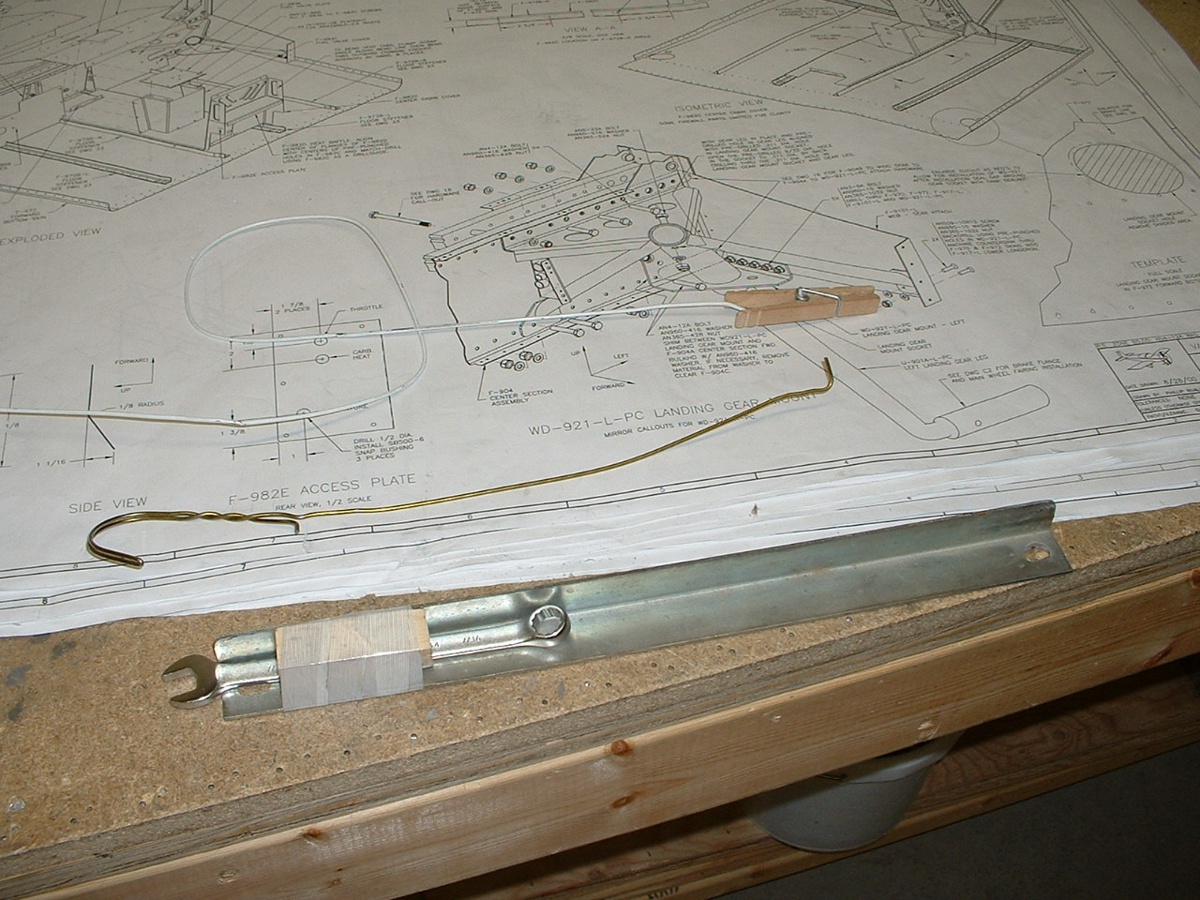
I had to dust off my old home made tools for getting to the three nuts down in
the bottom of the wing spar area. This is the same photo I have posted back on page
28. The "gold" clothes hanger puts the washer on the bolt and also can
pickup a dropped nut. The white clothes hanger gets taped to a clothes pin to hold
the nut when I am turning the bolt with a socket wrench to tighten the nut loosely, then
secure it with my extended open end combination wrench.
April 2, 2005:
Saturday, cold, blowing, overcast, in the garage with the door sealed against the stuff
outside. I was monitoring Atlanta center along with Chattanooga approach and tower
frequencies. I heard reports of icing at 4000 feet. The fan and electric oil
heater got the temp in the garage up around 70 degrees to do some minor fiber glass
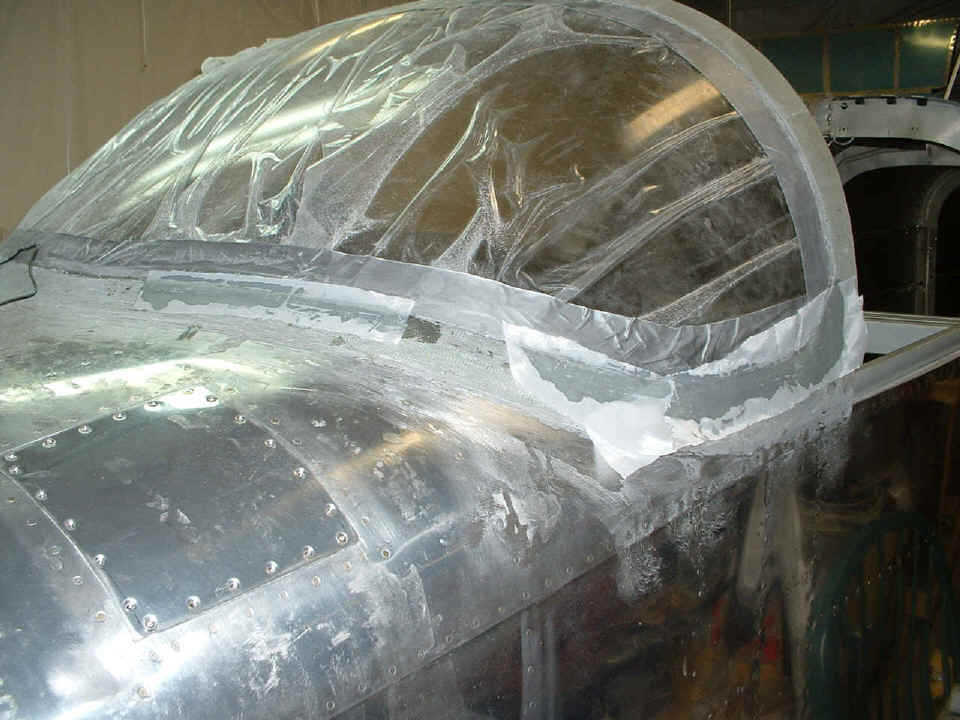
work. You can see below where I put additional glass and epoxy on the thin spots
around the windshield as needed. The Peel Ply went over the work areas of course.
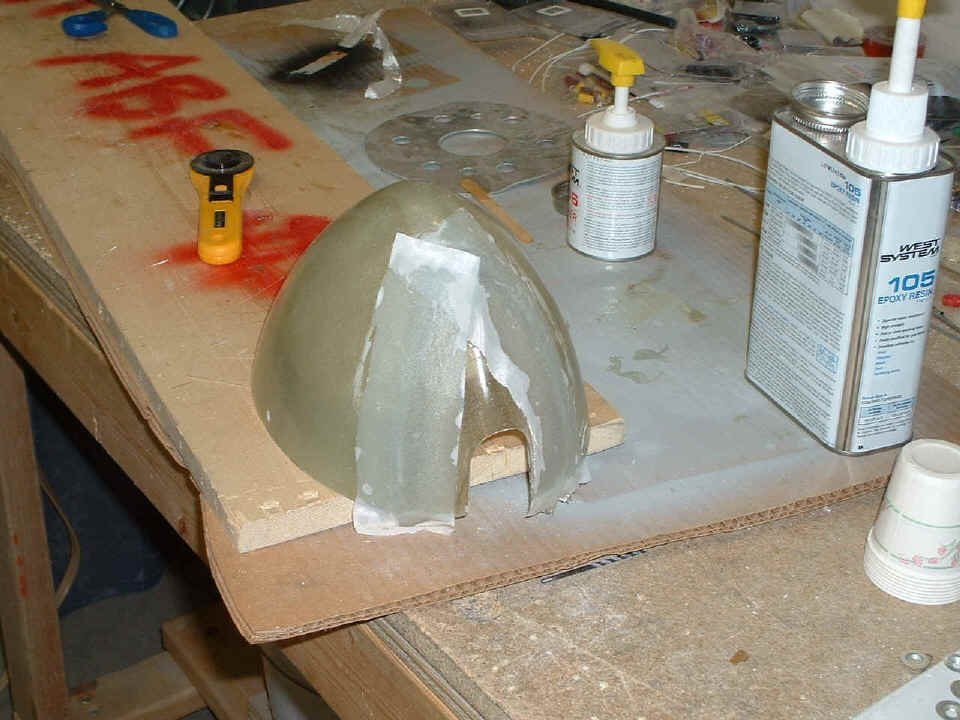
The front cap on the nose wheel fairing got some extra glass and was also
covered with Dacron Peel Ply.
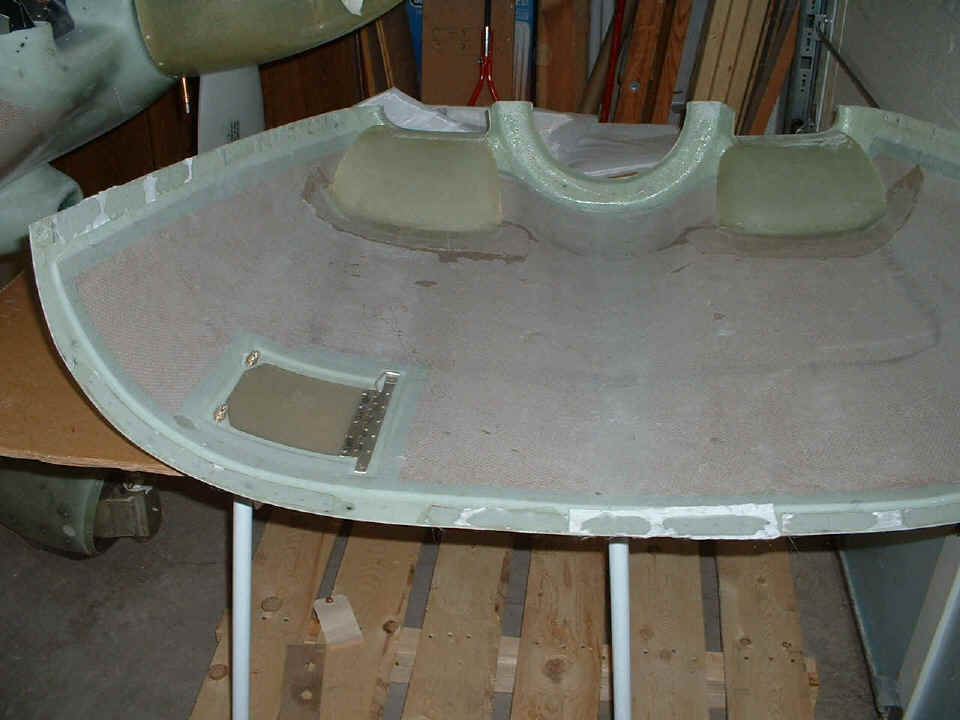
Next came the patching of the remaining abandoned rivet holes in the upper
cowl. Three sets of rivet holes near the left of this photo and all the holes
across the edge closest to the camera were the focus of this patch session.
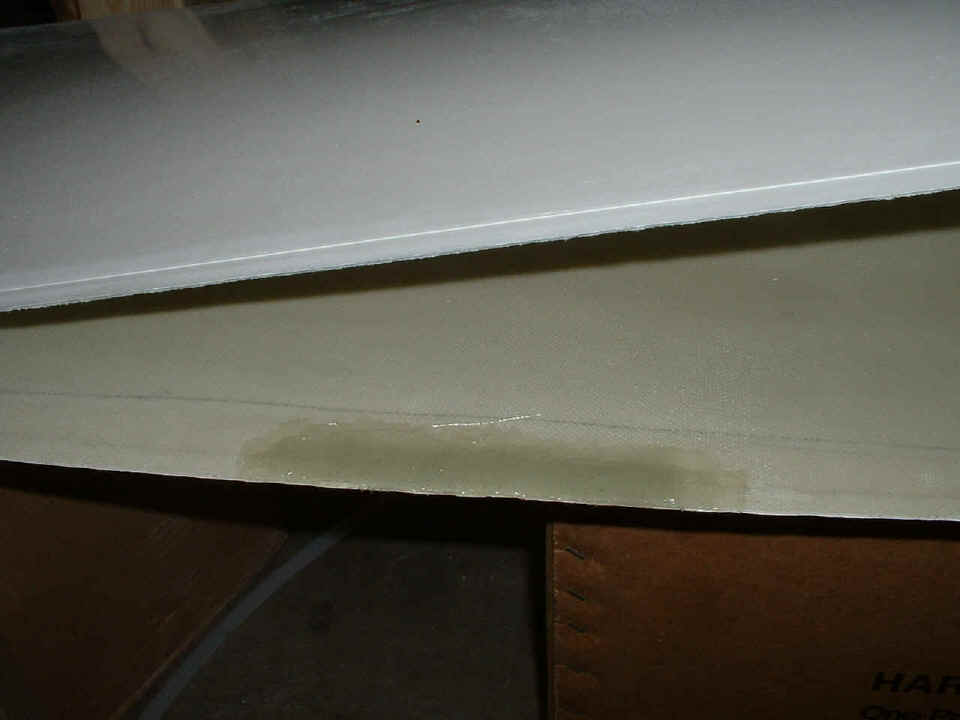
And of course, the bare gel coat on the inside of the RIGHT wing tip got a good
covering with about five layers of glass and epoxy near the edge.
That gives us eight (and a half) pictures for this page. Next time we go back to some wiring of extra circuits on the audio panel and replacing one of the microphone jacks. I get to climb inside again and do some soldering along with using logic and a screw driver.
| CLICK HERE for Finishing - PAGE 111. | RETURN to MAIN MENU. |